
做完我们的删除 那肯定是做编辑
其实编辑和添加基本是一个东西
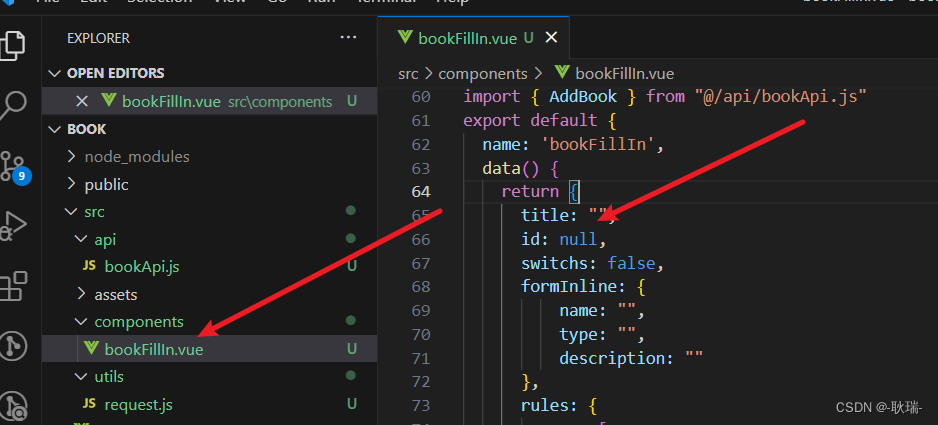
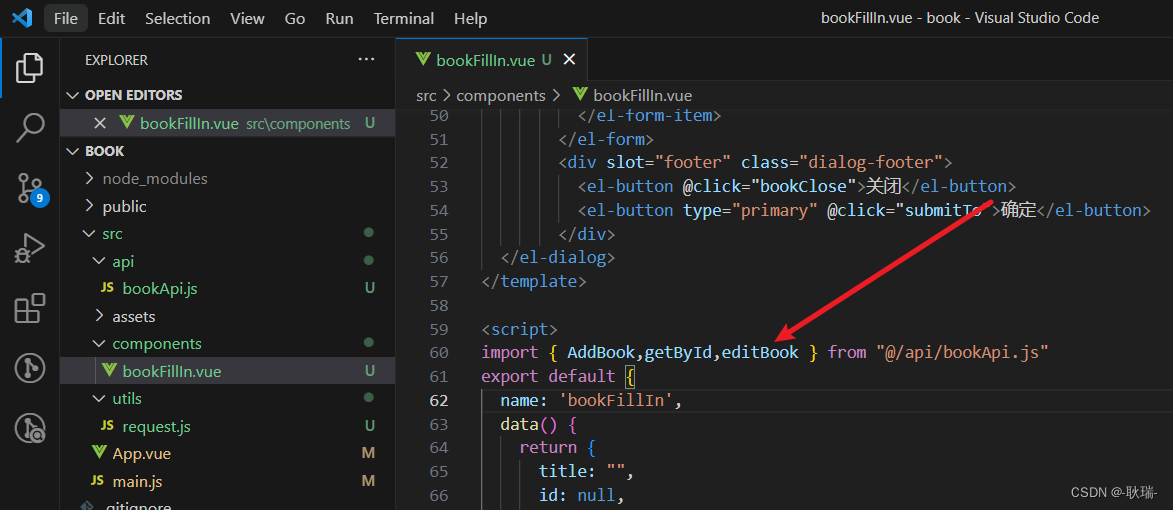
我们打开 src下的 components 下的bookFillIn.vue 组件
之前我们做添加的这个弹窗组件
加一个函数叫 editBook 接收一个参数 id
内容先不管
然后 在data中 加多一个键 id 值 null
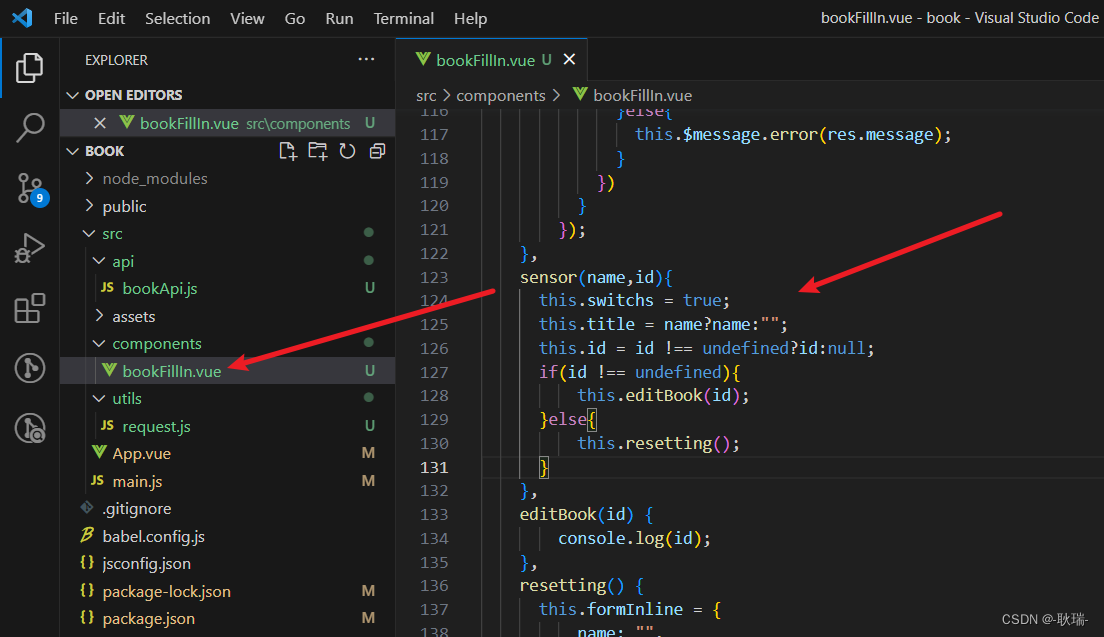
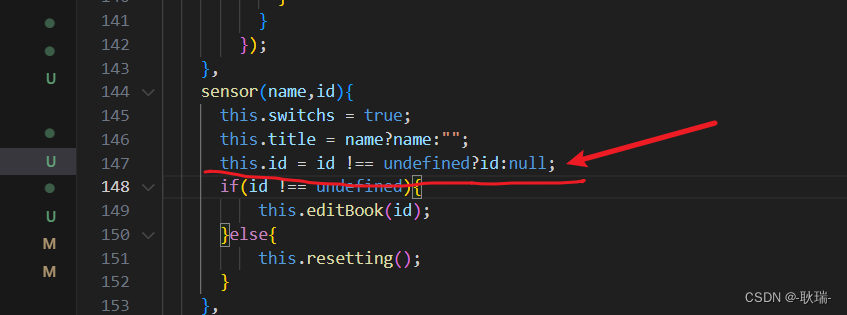
然后 将sensor 展开弹窗函数 更改如下
sensor(name,id){


  this.switchs = true;
  this.title = name?name:"";
  this.id = id !== undefined?id:null;
  if(id !== undefined){


      this.editBook(id);
  }else{


      this.resetting();
  }
},
这里 我们判断 外面调用sensor中有没有传id 如果传了 则 让data中的响应式id也等于传进来的id 否则 就等于 null
然后 我们还是判断外面有没有传id 如果没有 则调用原来请空所有数据的resetting
否则 就以id作为参数 调用editBook
editBook这个参数 我们就用来做编辑数据回显的处理
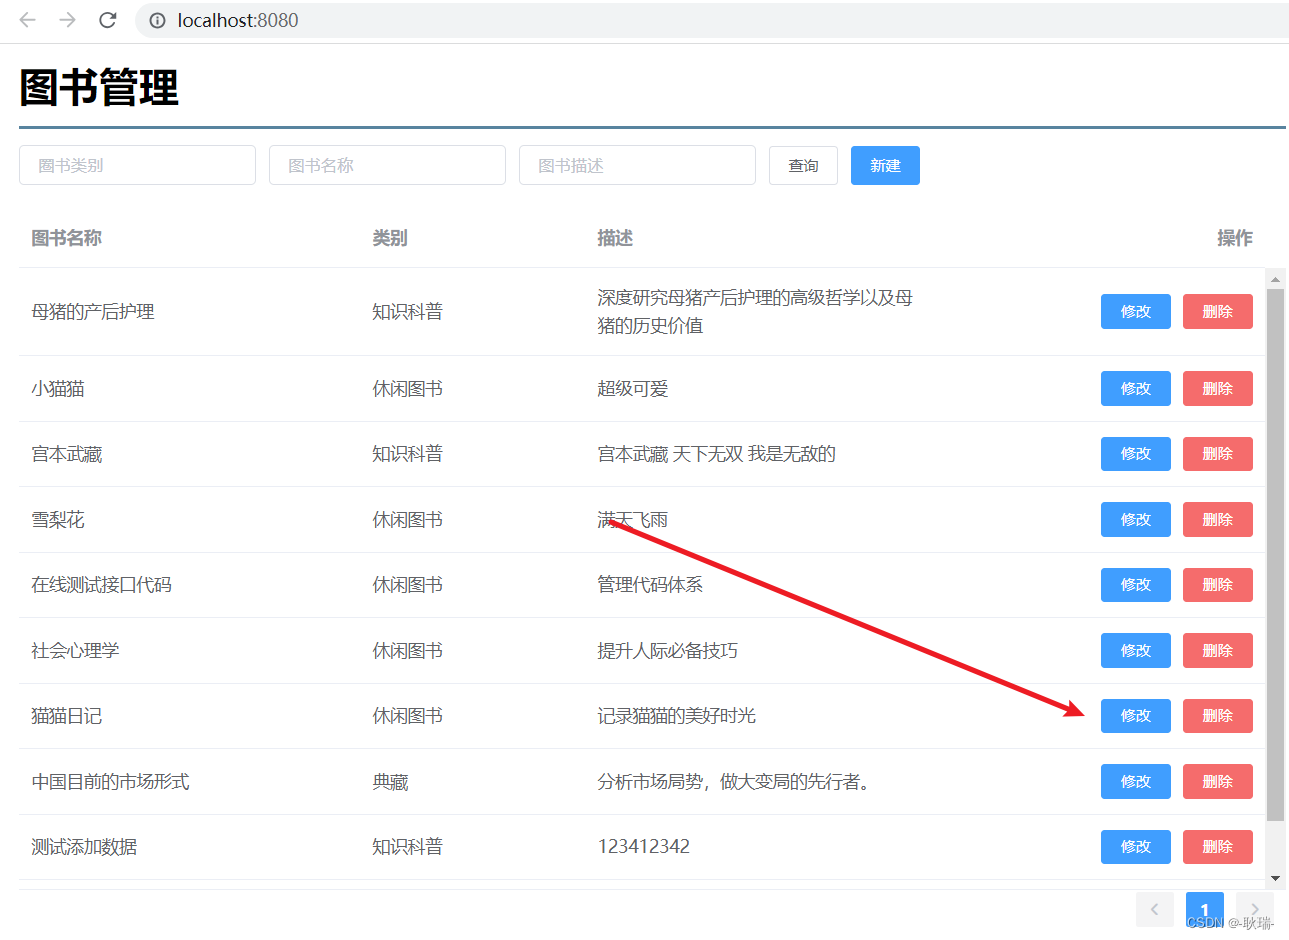
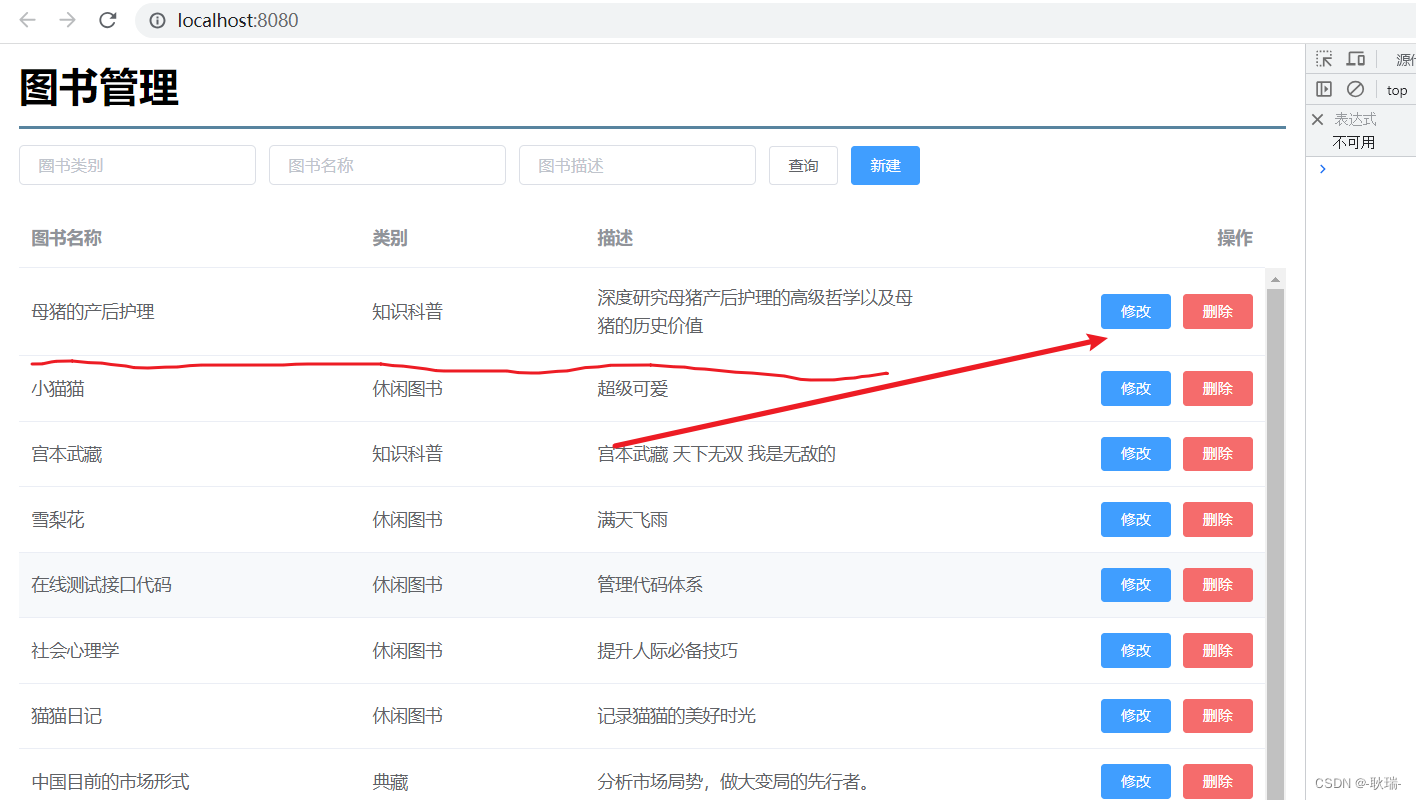
然后 我们看到这里的 App.vue组件 这里 修改按钮中确实是绑定了一个事件modify
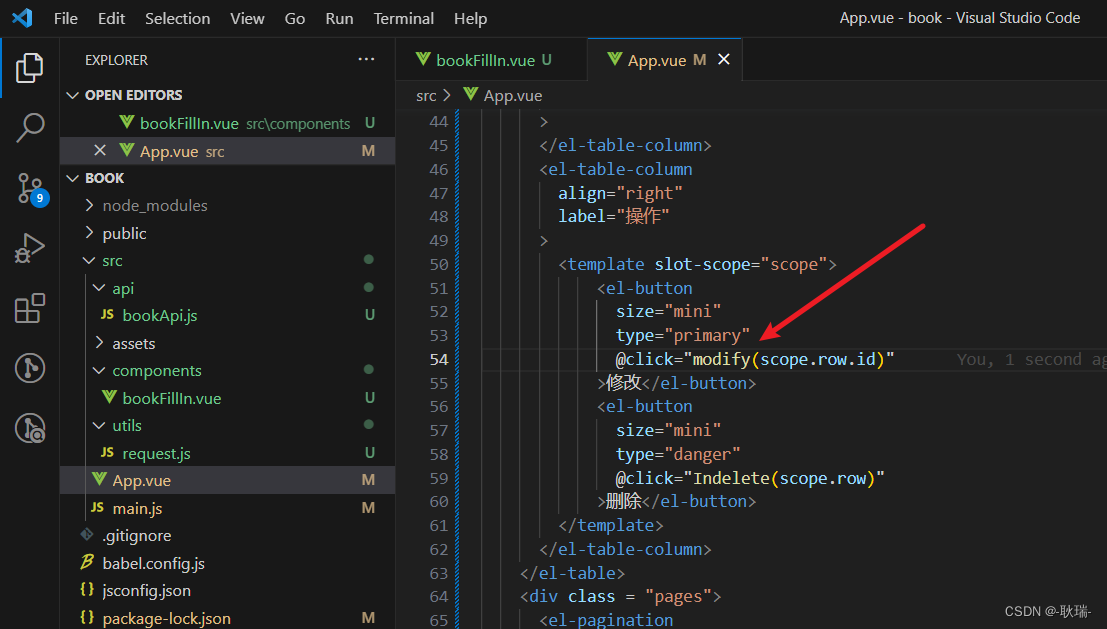
我们的参数是 scope.row.id
上文中 我们见过 scope.row 是取的当前用户点击的这一条数据的对象 那么 scope.row.id 就是当前用户点击的这个对象的id
那么 我们在下面将modify内容更改如下
modify(id) {


   this.$refs.bookFill.sensor("编辑图书", id);
},
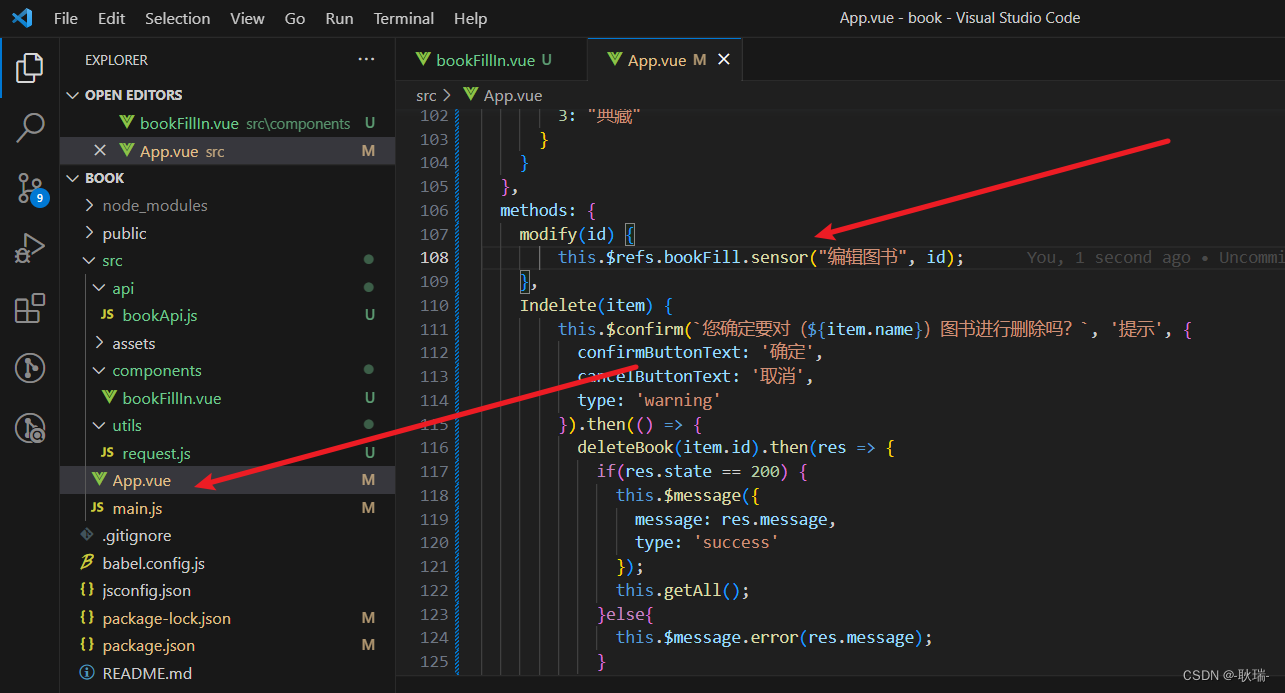
这个意思就是 当我们调用 modify 他就会调用bookFill弹窗组件的启动sensor函数 并传入 第一个名称参数 叫 编辑图书 第二个参数 当前数据的id
我们到页面上
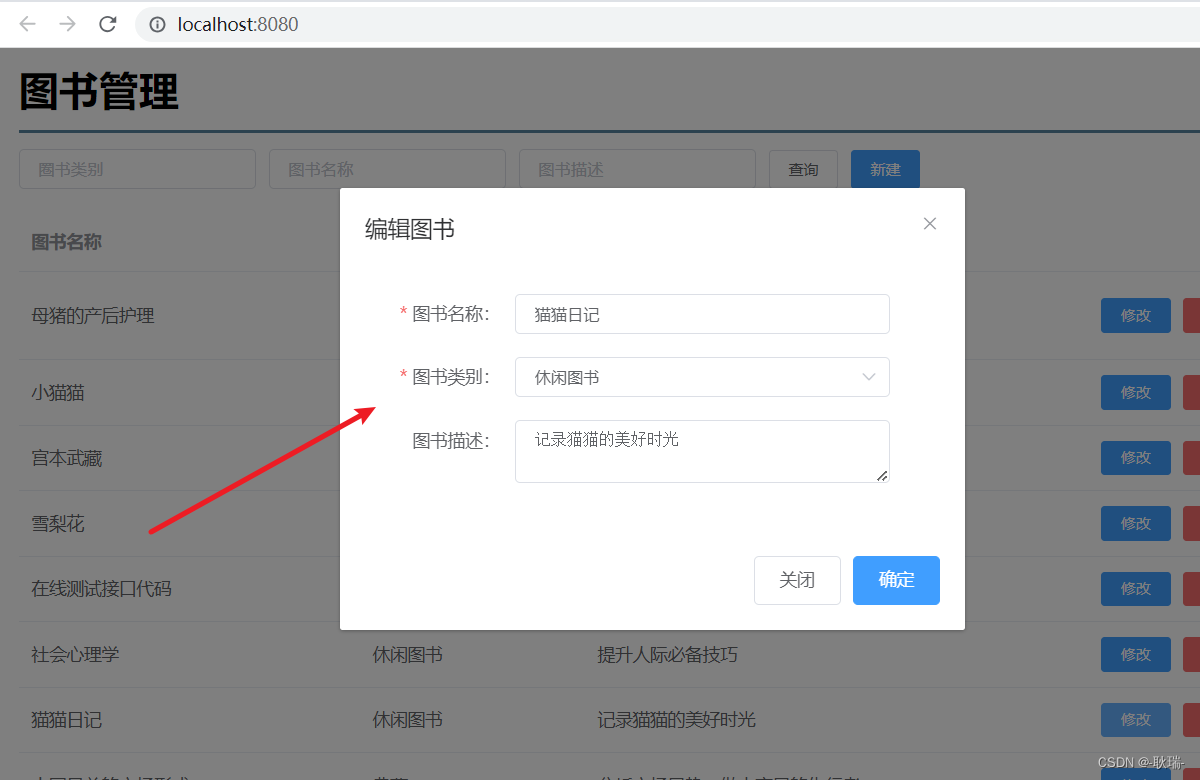
点击 修改 界面上非常明显的是 弹窗出来了 然后控制台 我们在
bookFillIn.vue中写的editBook 通过 console.log 帮我们将传进去的id输出在了控制台上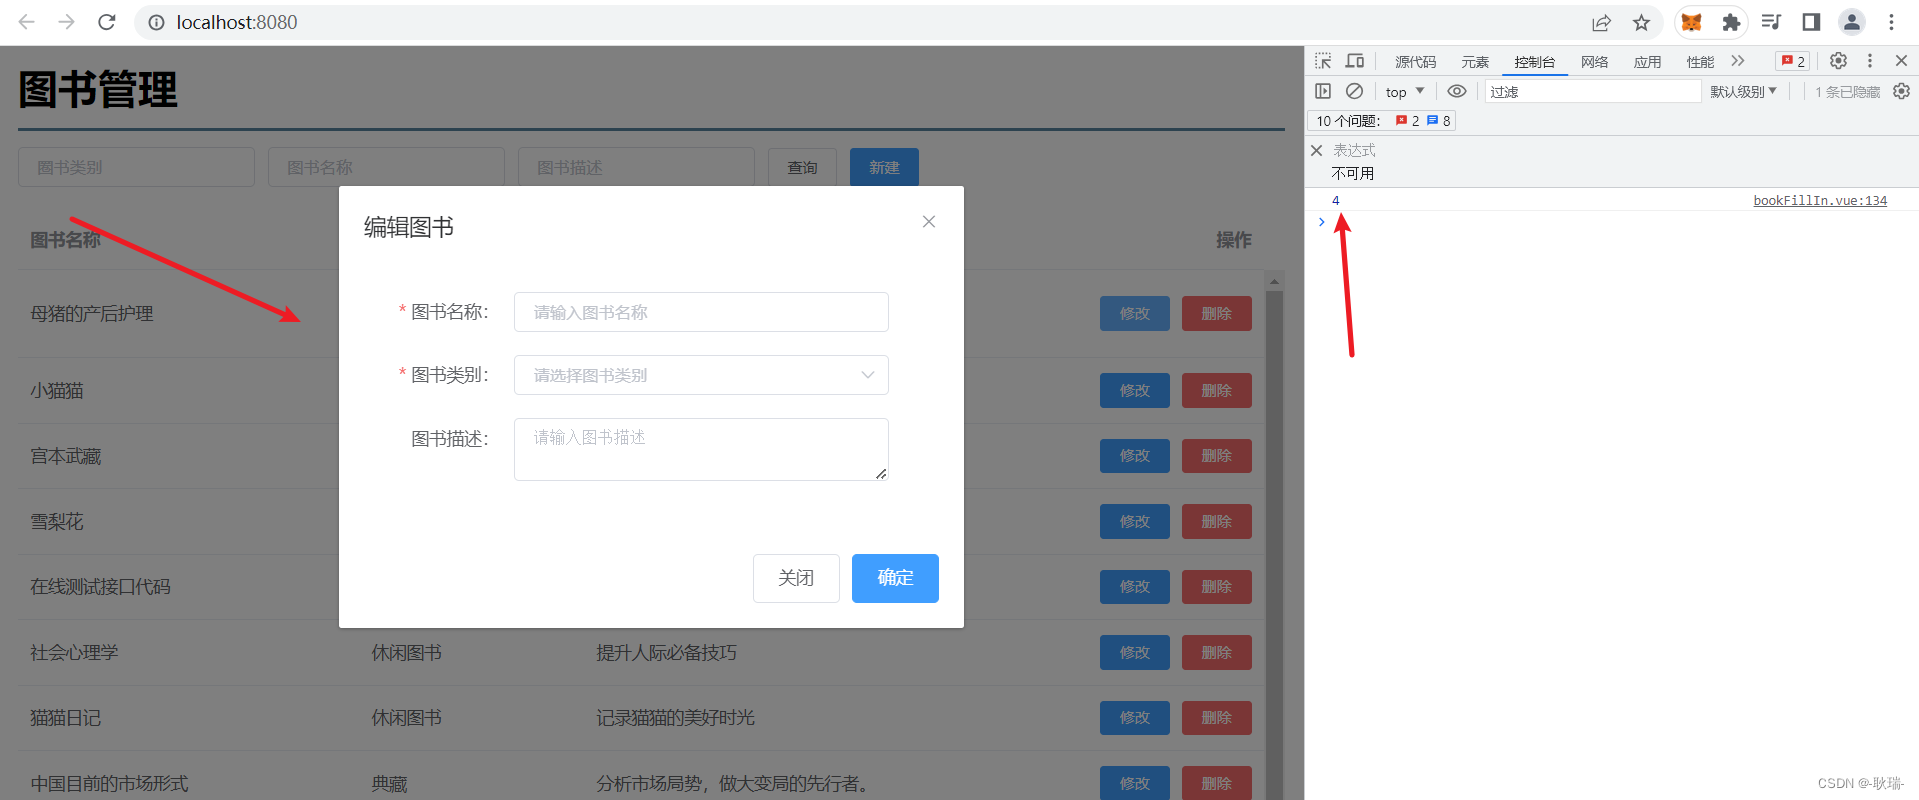
那么 我们现在要做的就是 根据这个id 查出整条数据的信息
显然 我们之前也写了 根据id查询整条数据

我们在 src下的api下的bookApi.js中添加这样一个函数
export function getById(id){


    return request({


        url:`/books/${

      id}`,
        method:'get'
    })
}
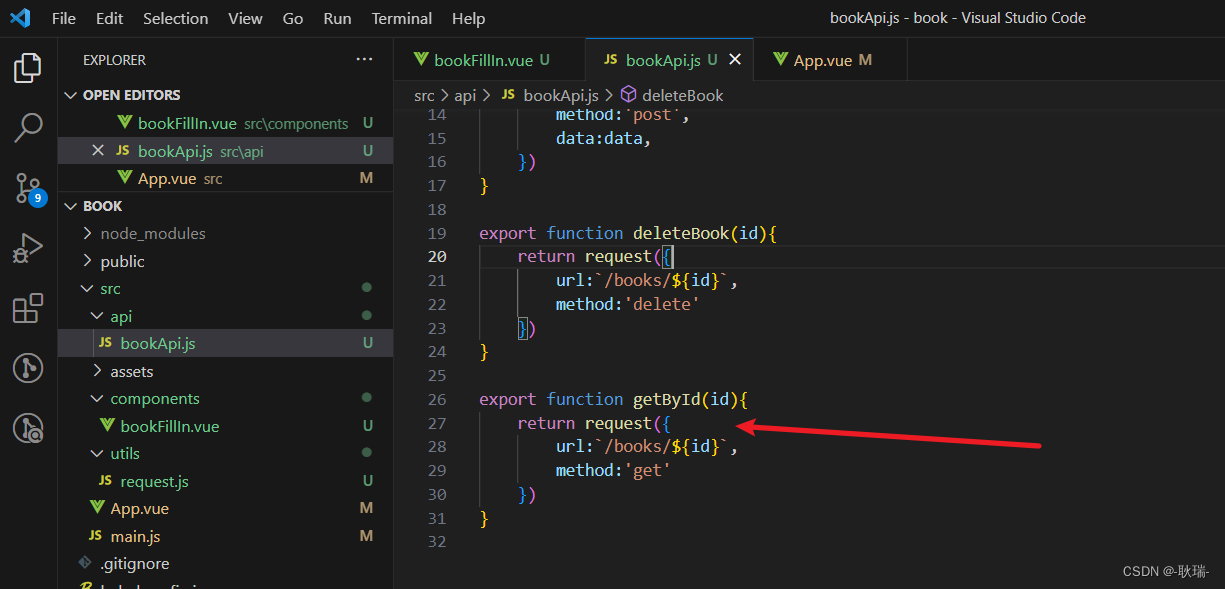
接受一个参数id 用来拼接到路径上 做请求参数
然后 我们在bookFillIn.vue组件中引入这个方法
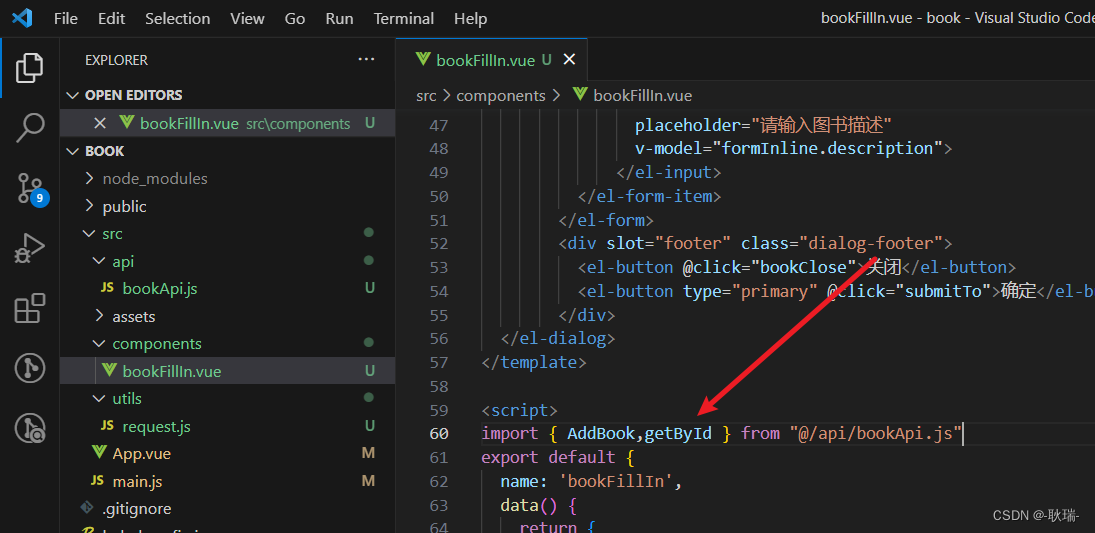
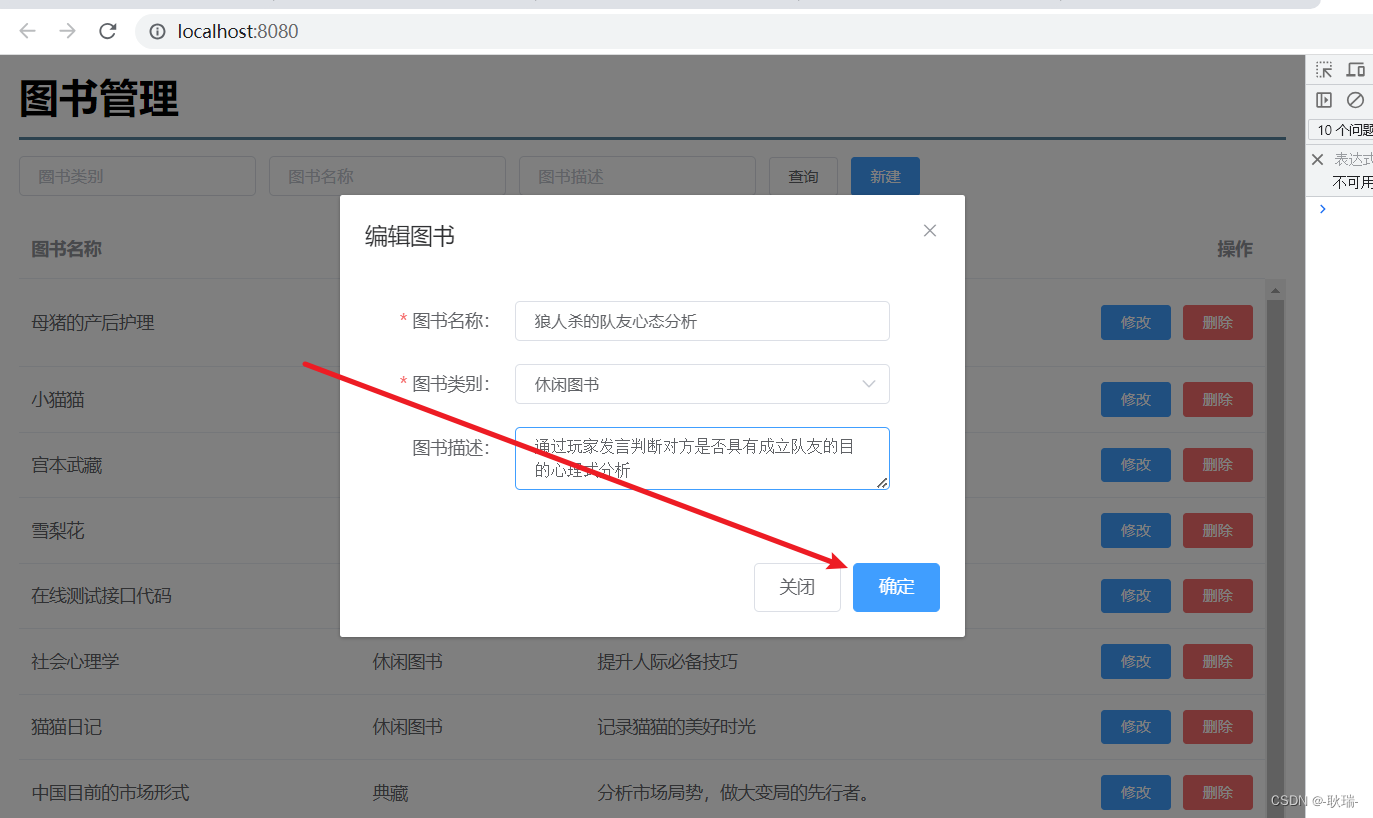
然后 我们将 bookFillIn.vue 刚才定义的 editBook 方法改写如下
editBook(id) {


 getById(id).then(res => {


      if(res.state == 200) {


        for(let key in this.formInline) {


          this.formInline[key] = res.data[key]
        }
      }else{


        this.$message.error(res.message);
      }
    })
},
我们在这里 通过接到的id 调用getById
然后 用返回的数据 给formInline复制 这里 我们循环 formInline 将他的每个键循环出来
然后 将 res.data对应键的值 赋值给formInline
然后 我们运行项目
随便点一个修改 可以看到 我们的数据就回显到表单上去了
然后 我们在 src 下的 api下的 bookApi.js 下 添加一个这样的函数
export function editBook(data){


    return request({


        url:`/books`,
        method:'put',
        data:data,
    })
}
和添加的函数基本一样 只是类型是put
然后 我们还是在 bookFillIn.vue 中引入一下刚刚定义的editBook
然后 将这个组件的 submitTo 提交方法更改如下
submitTo(){


this.$refs.formInline.validate((valid) => {


      if (valid) {


        if(this.id !== null){


          let data = {


            id: this.id,
            name: this.formInline.name,
            type: this.formInline.type,
            description: this.formInline.description
          }
          editBook(data).then(res => {


            if(res.state == 200) {


              this.$message({


                message: res.message,
                type: 'success'
              });
              this.bookClose();
              this.$emit('getAll');
            }else{


              this.$message.error(res.message);
            }
          })
        }else{


          AddBook(this.formInline).then(res => {


            if(res.state == 200) {


              this.$message({


                message: res.message,
                type: 'success'
              });
              this.bookClose();
              this.$emit('getAll');
            }else{


              this.$message.error(res.message);
            }
          })
        }
      }
    });
},
因为按我们之前的逻辑 如果是添加 调用sensor 没有传id 那么 id应该就是undefined
所以 this.id就会被赋值为null
所以 简单说 我们就判断 this.id 是不是null 如果不是 调用编辑 如果是 调用添加
然后 我们现在点击第一条数据的修改
记号这条数据的信息 然后我们将他的内容都改一改
改完之后 我们点击确定
可以看到 我们这样 操作就成功了
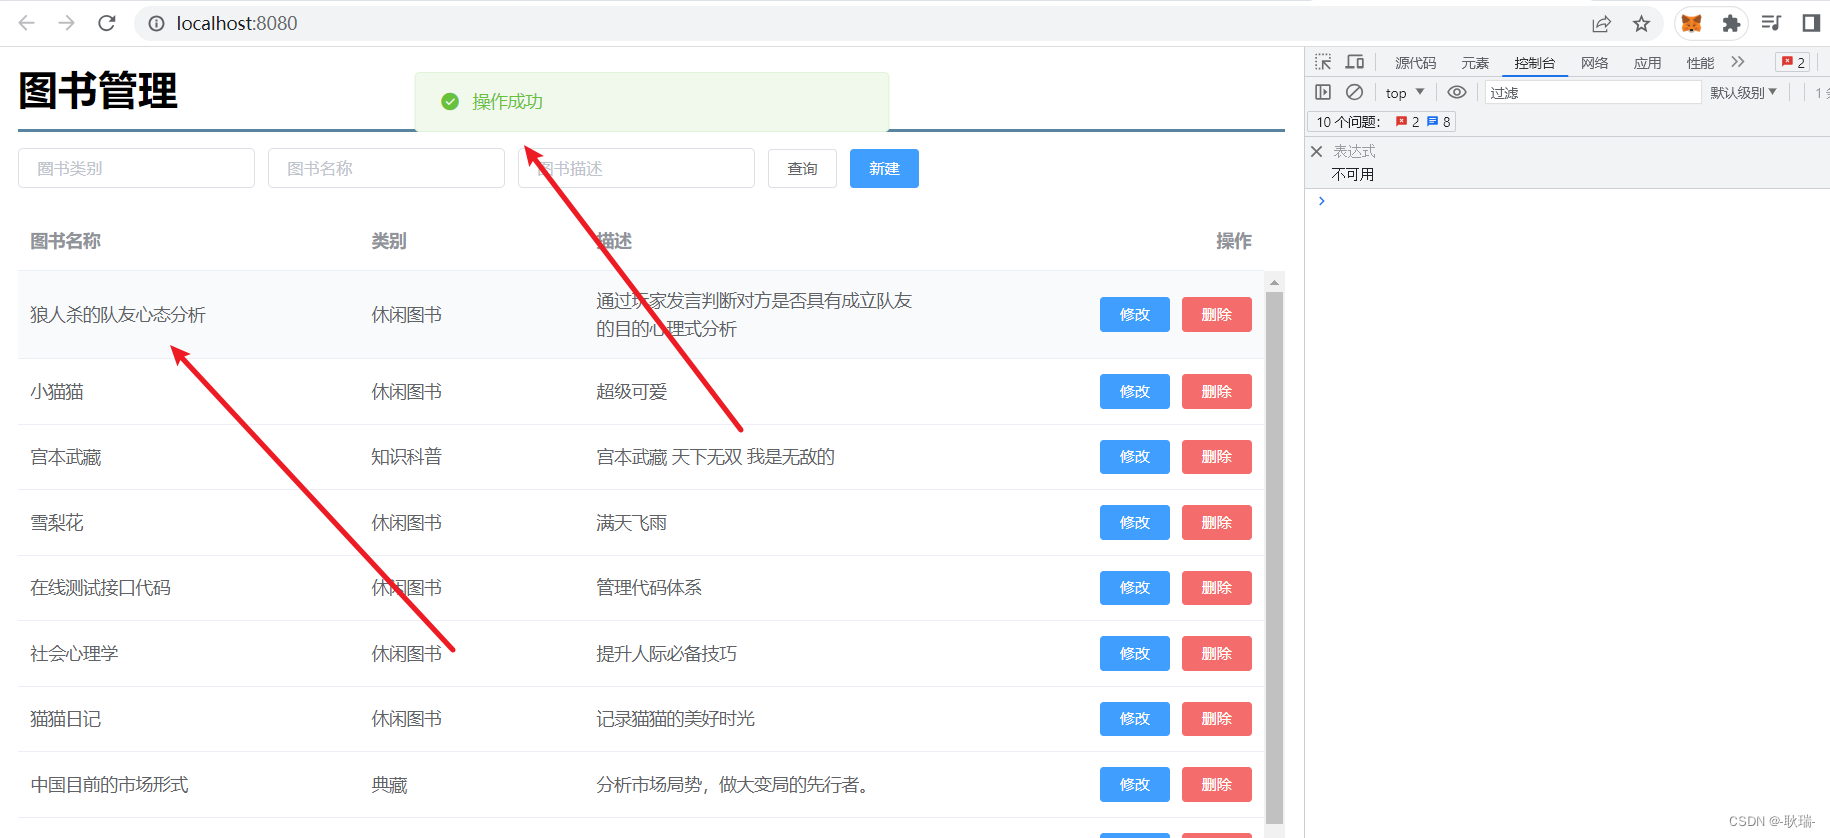
但是 也还是不要 捡了芝麻,丢了西瓜
我们来试一下添加

也是没有任何问题