目录
前言
本文将介绍如何使用makefile编写项目并将其上传到git远程仓库。Makefile是一种用于自动化构建、编译和测试软件项目的工具,它可以帮助我们管理项目中的多个文件和依赖关系,并通过一些简单的命令来完成一些繁琐的任务。
在使用Makefile之前,我们需要先创建一个Git仓库,并将本地代码推送到远程仓库。然后我们可以使用Makefile来编译和构建项目,并将生成的文件推送到远程仓库记录。
在本文中,我们将介绍如何使用Makefile来编译C++项目,并将生成的文件推送到Git远程仓库
我们拿一个简单的模拟倒计时程序举例
运行代码:
#include <stdio.h>
#include <unistd.h>

int main(void) {
  int cnt = 9;
  while (cnt) {
    printf("%d\r", cnt--);
    fflush(stdout);
    sleep(1);
  }

  return 0;
}
此时就会在一个地方开始进行计数,从9到0

- \r 表示回到当前行的首位置。
- 在屏幕上这一行每打印出一个字符后,屏幕上的光标就会又回到首位置。
- 利用fflush立刻刷新缓冲区数据输出数字,原本首位置的字符就会被新的字符覆盖,在等待1s以后,就会进入下个循环
利用回车符号和缓冲区的原理,我们就可以写出一个进度条的项目。
一个"进度条"项目
程序完整代码
#include <stdio.h>
#include <string.h>
#include <unistd.h>

#define NUM 101
#define STYLE '#'

void process()
{
    char bar[NUM];
    memset(bar, '\0', sizeof(bar));

    const char *lable = "|/-\\";

    int cnt = 0;
    while(cnt <= 100)
    {
        printf("[%-100s] [%d%%] ... %c\r", bar, cnt, lable[cnt % 4]);  // 改成\r
        fflush(stdout);
        bar[cnt++] = STYLE;
        //bar[cnt] = '>';
        usleep(20000);
    }
    printf("\n");
}

int main()
{
    process();

    return 0;
}
注意:运行时必须全屏,否则会有显示bug
分为三段式项目格式
下面是test.cpp文件和进度条的头文件的代码。
#include "process.h"   //test.cpp
int main()
{
	Process0n();
	return 0;
}
#include <stdio.h>  //process.h
#include <string.h>
#include <unistd.h>
#define TIMES 100
#define NUM TIMES+1


extern void Process0n();
最重要的是如下process.cpp中的代码。
#include "process.h"   //process.cpp
void process() {
  char bar[NUM];
  memset(bar, '\0', sizeof(bar));  // 将所有缓冲区空间设置为\0
/* 不断旋转的光标:   | / - \   */
  const char* lable = "|/-\\";

  int cnt = 0;
  while (cnt <= NUM-1) {
    printf("[%-100s] [%d%%] ... %c\r", bar, cnt, lable[cnt % 4]);
    fflush(stdout);         // 将数据立马显示出来

    bar[cnt++] = '#';   // 填充#作为进度图例

    usleep(20000);      // 休眠0.02s
  }

  printf("\n");    // 跑完再让他换个行
}

int main(void) {
  process();
  return 0;
}
- 在循环中,将数组中的元素打印出来,并且每次打印后都在数组中增加一个元素。
- 因为打印的时候使用了回车\r,所以每次数组中的内容都会覆盖屏幕上原来的内容。
- 通过fflush立刻刷新缓冲区中的数据到屏幕上
- 使用usleep延时0.02s,这样整个进度条就可以在2s内打印完。
再看makefile文件中的内容:
Process0n:test.cpp
        g++  test.cpp process.cpp -o Process0n
.PHONY:clean
clean:
        rm -rf Process0n
make制作Process0n可执行程序,运行大功告成!

git上传代码
首次上传代码
安装git
我们的Linux系统中可能没有预装git,需要安装
yum install -y git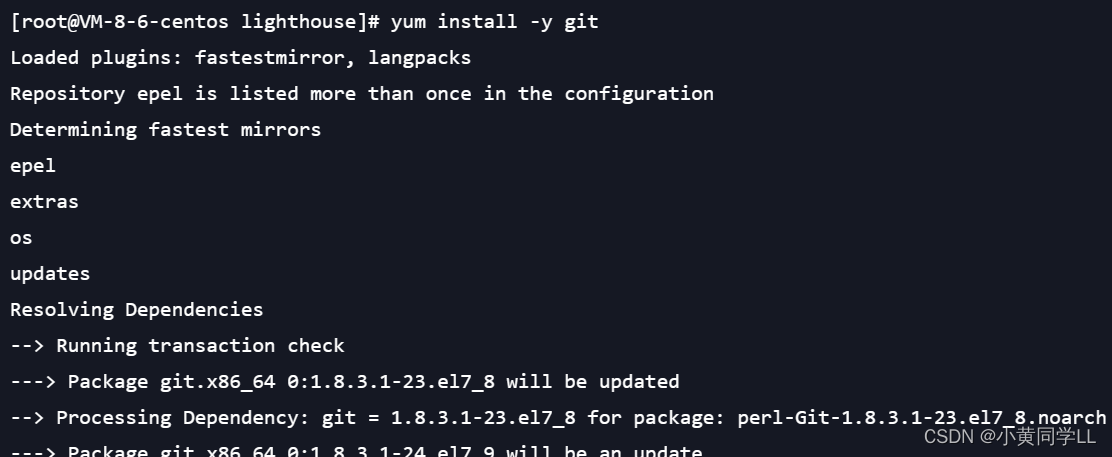
克隆仓库连接
将云端的数据拷贝到当前机器上
格式:git clone+仓库的https链接
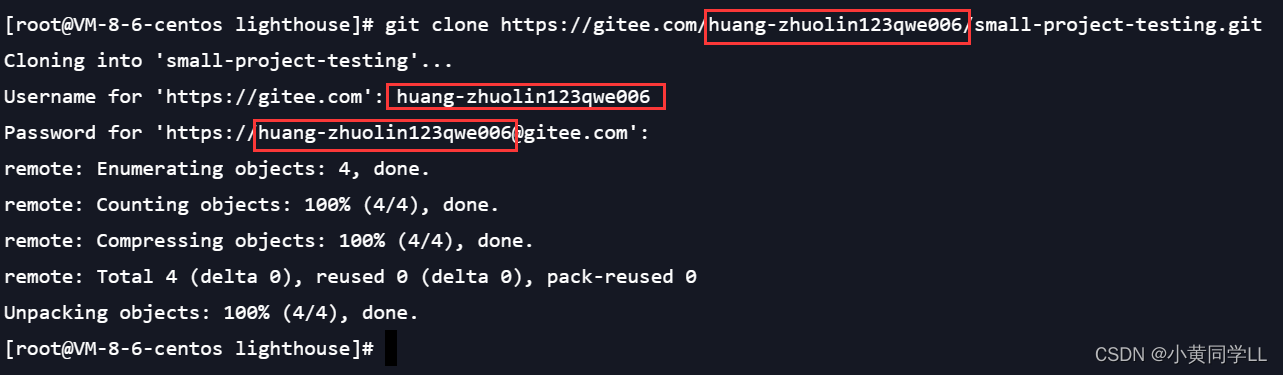
注意:名字是这个仓库的所属用户的名字
完成克隆后,生成了该仓库的 路径目录small-project-testing

进入该路径目录,用 pwd 查看该目录绝对路径

将文件传入路径目录
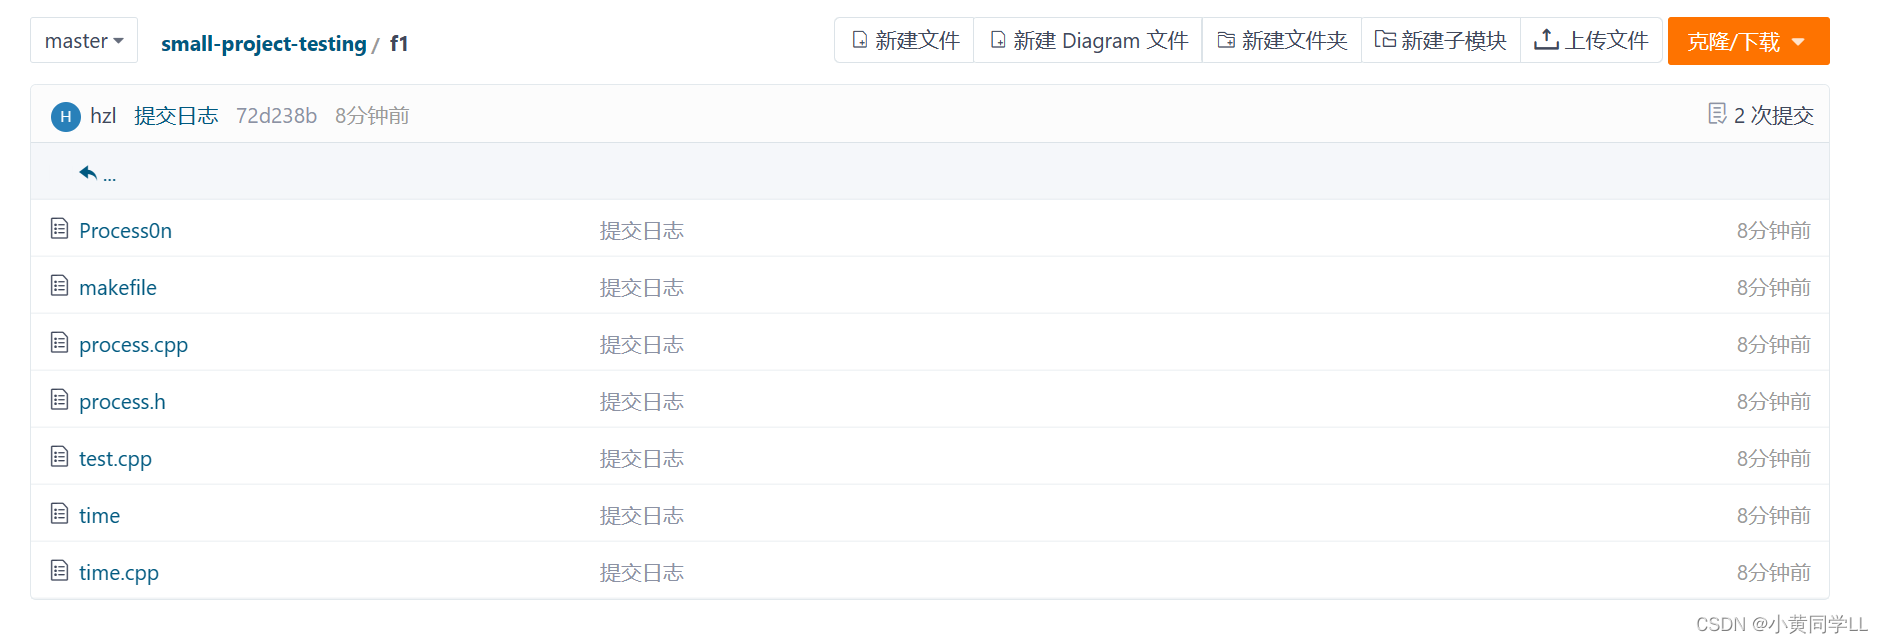
将我们需要上传的文件都放入同一个目录中,我把准备上传的文件放在f1目录中
拷贝文件到指定目录 cp 文件 指定目录路径
拷贝目录到指定目录 cp -r 目录 指定目录路径

在路径目录里面开始上传
文件上传三板斧
三板斧第一招:git add .
- 用法:git add [文件名]
- 将文件放在创建好的本地仓库中
这里使用的文件名是一个点,git会自动判断,将当前目录下,并且在本地仓库中没有的文件放进本地仓库中。
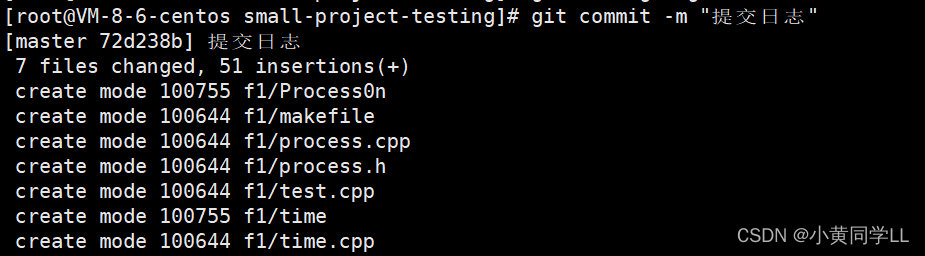
三板斧第二招:git commit -m ''
- 用法:git commit -m ‘提交日志’
- 功能:将文件中的改动提交到本地仓库,会自动更新已经放在本地仓库中的内容。
- 注意:-m后的单引号中的提交日志一定不要乱写。
当git第一次上传提交时出现了一个问题,如下:
Commit failed - exit code 128 received, with output: '*** Please tell me who you are.


Run


  git config --global user.email "[email protected]"
  git config --global user.name "Your Name"


to set your account's default identity.
Omit --global to set the identity only in this repository.


fatal: empty ident name (for <>) not allowed'
翻译过来就是:请告诉我你是谁。
就是说这里git无法识别你是谁,你需要告诉 git 你的身份。
输入如下两条指令,即可完成
git config --global user.email "(邮箱)"git config --global user.name "(名称)"注意:git config命令的–global参数,用了这个参数,表示你这台机器上所有的Git仓库都会使用这个配置,当然也可以对某个仓库指定不同的用户名和Email地址。pei
配置完成后,输入指令完成文件提交
三板斧第三招:git push
- 用法:git push
- 功能:将本地仓库中的内容和gitee上远端仓库的内容保持一致。
第一次push会有如下警告,但是只是警告,忽略并不影响上传远程仓库
warning: push.default is unset; its implicit value is changing in
Git 2.0 from 'matching' to 'simple'. To squelch this message
and maintain the current behavior after the default changes, use:

  git config --global push.default matching

To squelch this message and adopt the new behavior now, use:

  git config --global push.default simple

See 'git help config' and search for 'push.default' for further information.
(the 'simple' mode was introduced in Git 1.7.11. Use the similar mode
'current' instead of 'simple' if you sometimes use older versions of Git)
警告: push.default 未设置; 它的隐式值在 Git 2.0中从“匹配”改为“简单”。要压制这条消息并在默认更改后保持当前行为,请使用: git config —— global push.default match 要压制这条消息并立即采用新行为,请使用: git config —— global push.default simple 查看“ git help config”并搜索“ push.default”以获得更多信息。(‘ simple’模式是在 Git1.7.11中引入的。如果你有时使用旧版本的 Git,可以使用类似的“ current”模式而不是“ simple”模式)
警告解决方案:(根据提示,修改git push的行为)
git config --global push.default matching
成功提交!!

后续提交更新
三板斧之一:add
格式:git add+文件
三板斧之二:commit
格式:git commit -m "内容"
三板斧之三:push
格式:git push

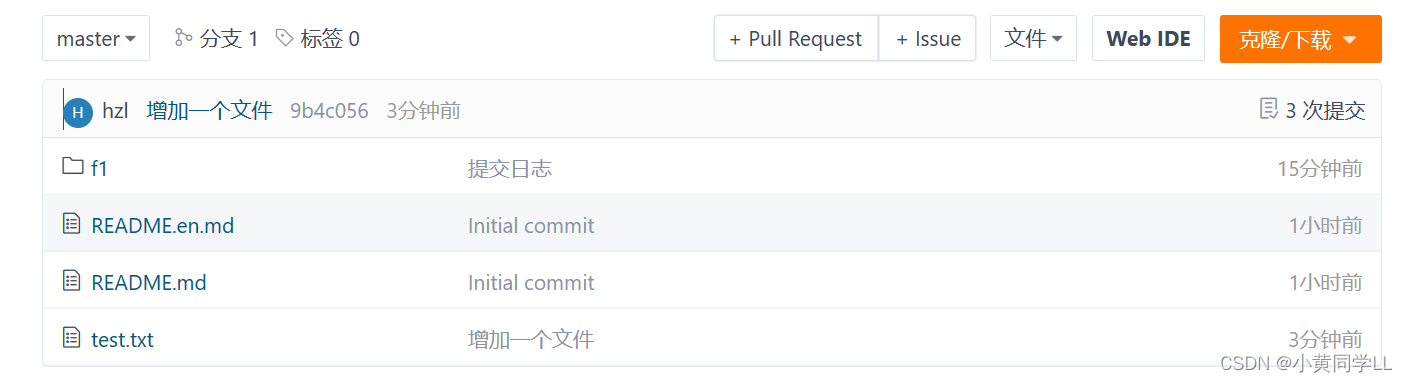
添加成功!!
git实用用法补充
查看提交记录:git log:
- 用法:git log
- 功能:显示向远端仓库的提交记录,并且是按照时间顺序倒着显示。
将远端仓库内容拉到本地仓库:git pull
- 用法:git pull
- 功能:将远端仓库中的内容拉到本地仓库,并且将不同的内容自动更新。
删除,重命名:git rm/mv 文件名:
- 用法:git rm 文件名
- 功能:删除仓库中的文件