本篇博客随着作者学习,持续更新。
TeX studio使用过程问题汇总
I can’t write on file `generic-color.pdf’.
报错:I can’t write on file ‘.pdf’
产生原因:在其他阅读器中打开了latex所编辑和修改的此pdf文件,导致无法写入新内容,无法对该文件进行编译。
解决方法:关闭其他阅读器中的该pdf文件即可。
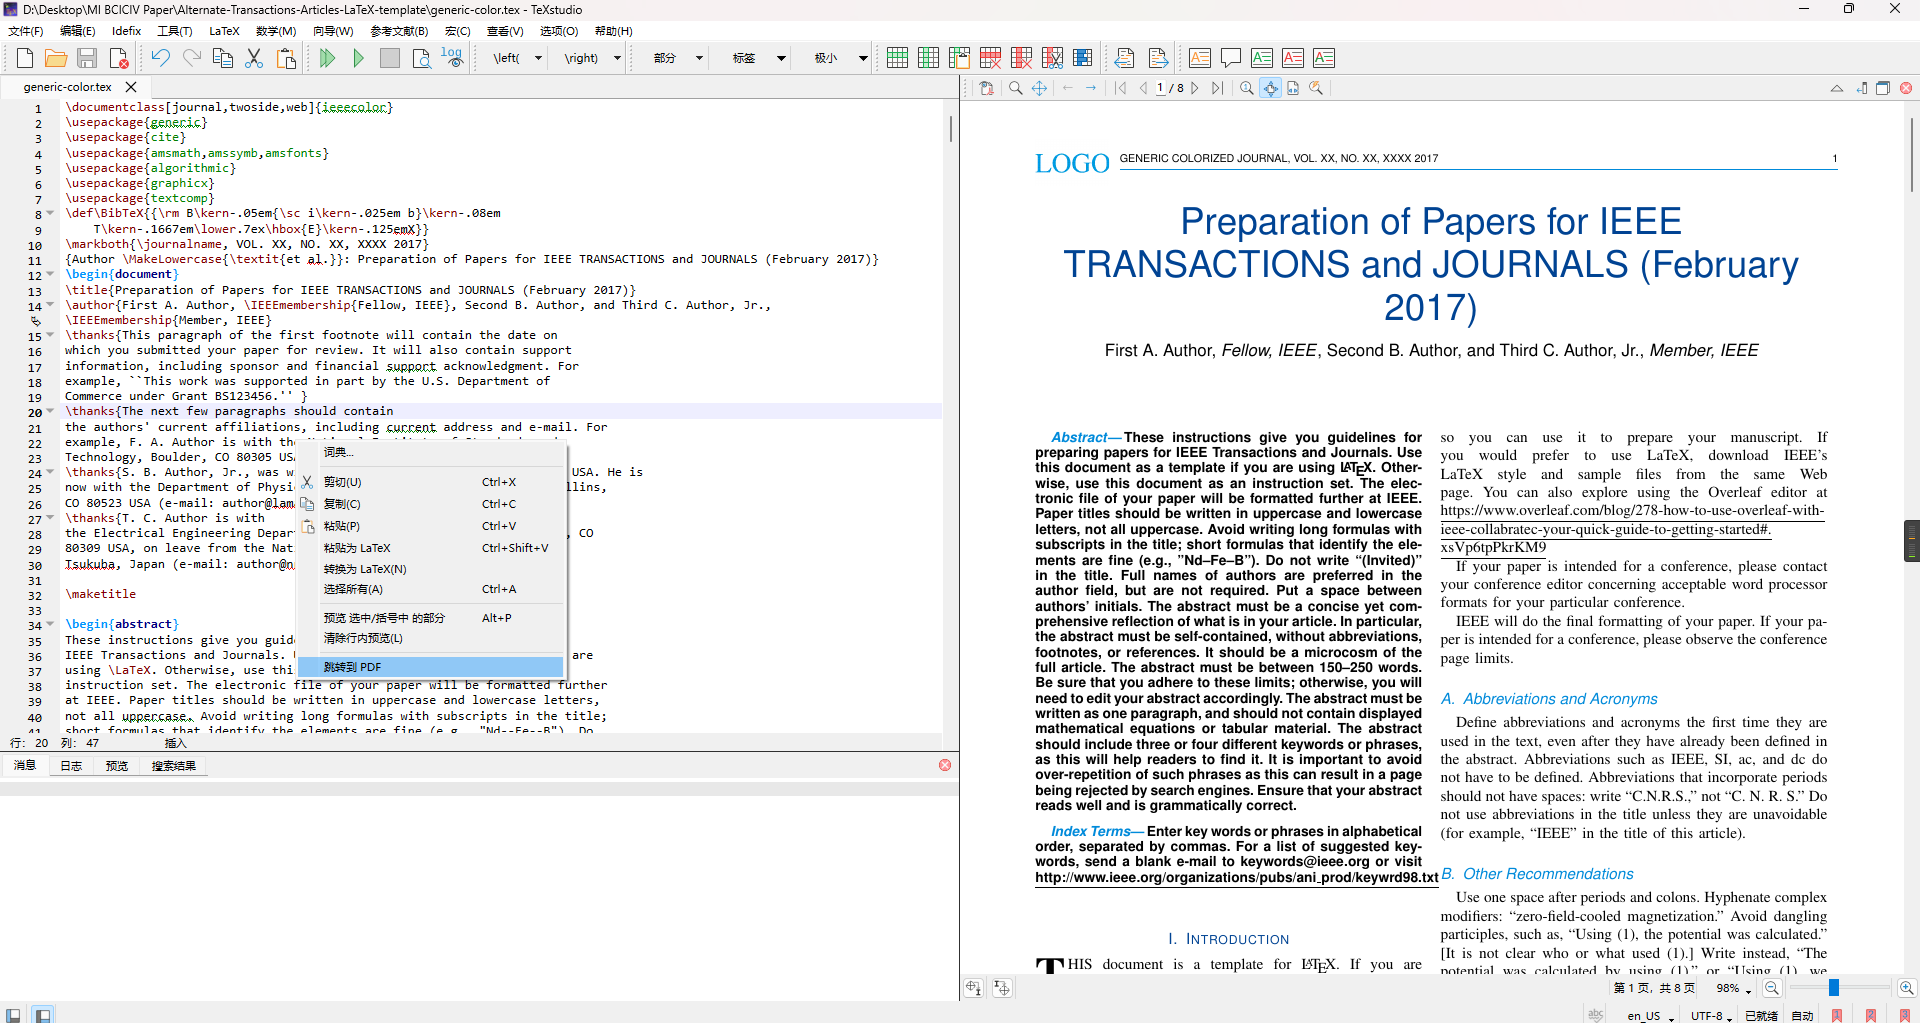
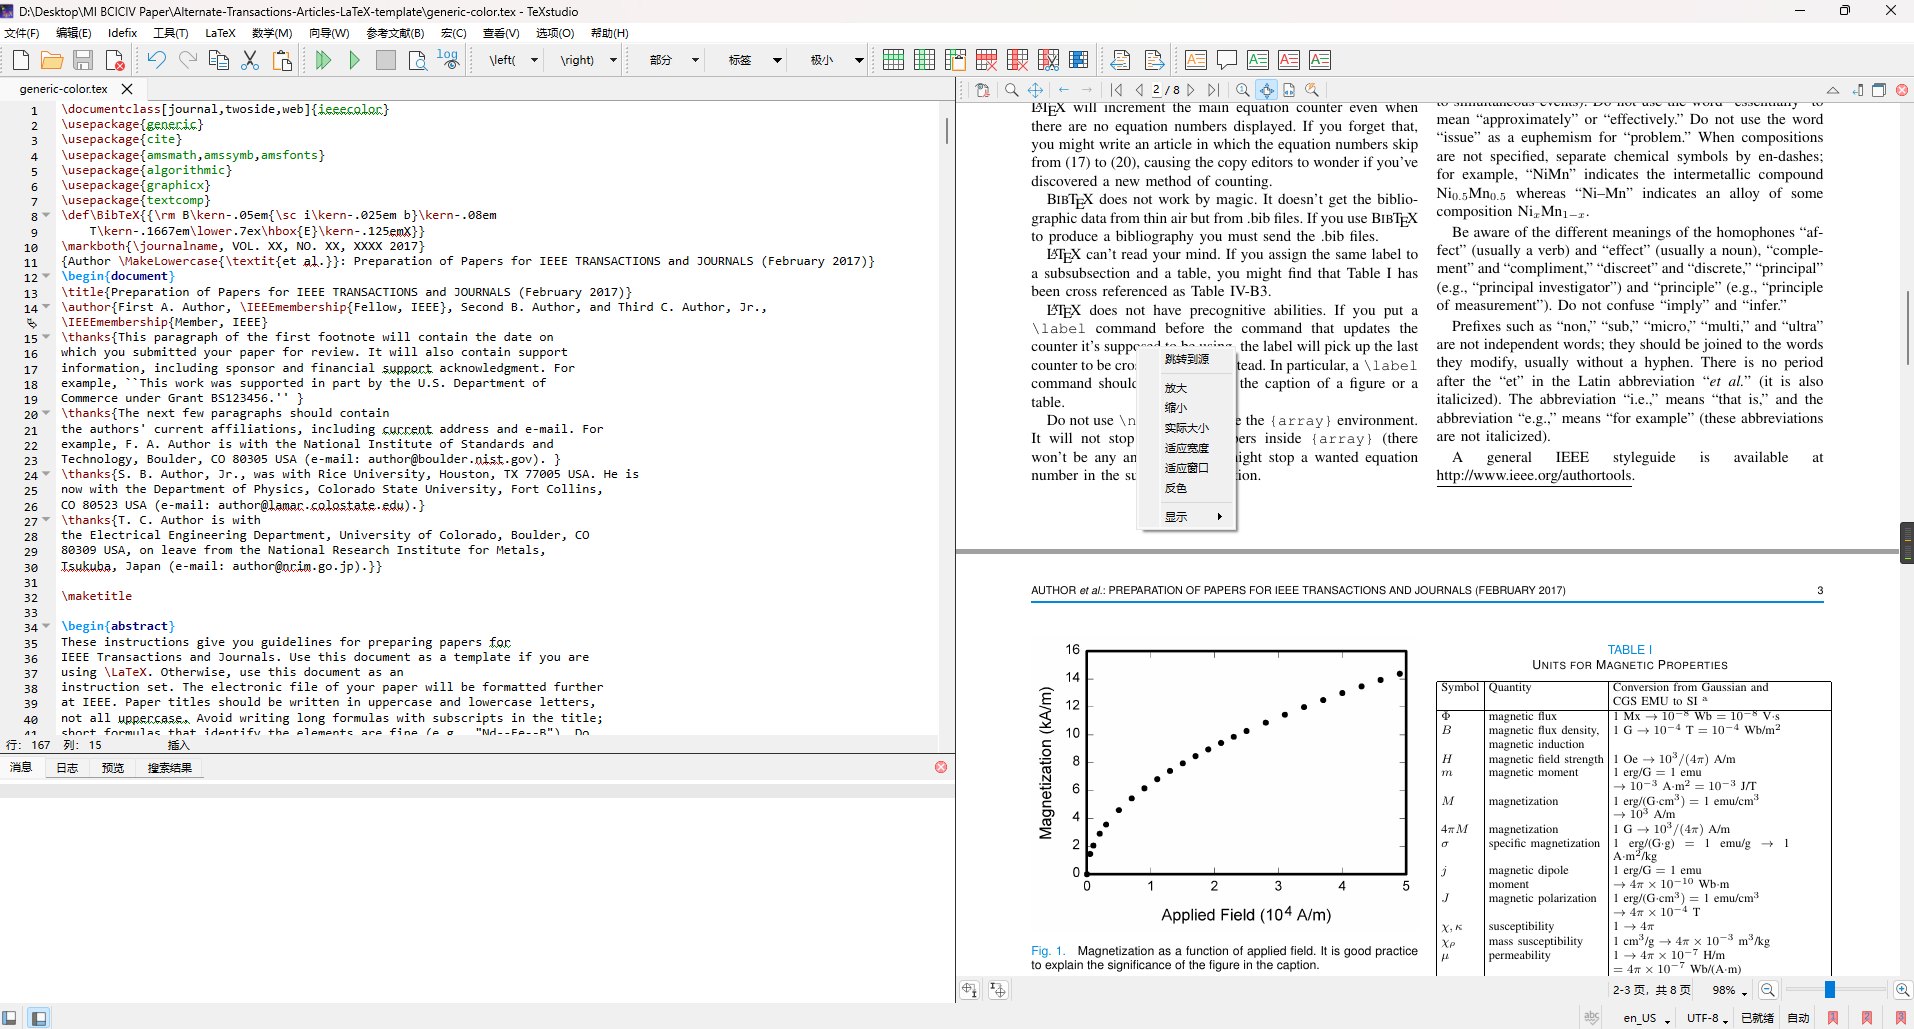
跳转到PDF & 跳转到源
右键跳转


Ctrl+左键
多行注释快捷键
注释
Ctrl + T
去除注释
Ctrl + T
Ctrl + U
LaTeX 单位和长度
| 缩写 | 定义 |
|---|---|
| pt | 一个点,默认的长度单位。大约相当于0.3515mm |
| mm | 毫米 |
| cm | 厘米 |
| in | 英寸 |
| ex | 在当前字体大小的情况下字母x的高度 |
| em | 在当前字体大小的情况下字母m的宽度 |
| \columnsep | 列之间的距离 |
| \columnwidth | 列的宽度,如果文章分栏的话,这个宽度就是每一栏的宽度 |
| \linewidth | 当前环境下行的宽度 |
| \paperwidth | 页面的宽度 |
| \paperheight | 页面的高 |
| \textwidth | 文本的宽度 |
| \textheight | 文本的高度 |
| \unitlength | 在picture环境下units的长度 |
\label{},\ref{}
\label{}的作用就是为这个图片,表、数学公式等设立一个独有的标记信息,如同为一个变量设置了一个指针。
\ref{}的作用是引用先前所标记的图片、表、数学公式等,就i相当与这个使用这个指针。
设置图片或表格为单栏 / 双栏
单栏
\begin{

    figure}
...
\end{

    figure}
\begin{

    table}
...
\end{

    table}
双栏
\begin{

    figure*}
...
\end{

    figure*}
\begin{

    table*}
...
\end{

    table*}
绘制三线表格
\usepackage{

    booktabs}
…
\begin{

    table}[htbp]
\caption{

    Draw three delicacies table.}
\begin{

    tabular}{

    lcl}
\toprule
。。 & 。。 & 。。 \\
\midrule
。。 & 。。 & 。。 \\
。。 & 。。 & 。。 \\
 。。 & 。。 & 。。 \\
\bottomrule
\end{

    tabular}
\end{

    table}
表格太宽——内容换行
手动换行—适用于较短的语句

设置表格的整体宽度—适用于较长的语句

合并单元格
\begin{

    table}[htbp]\centering
	\caption{

    aaa.}
	\label{

    table}
	\begin{

    tabular}{

    lccccc}
		\toprule
			aaa & \multicolumn{

    3}{

    c}{

    aaa} & \multicolumn{

    2}{

    c}{

    aaa}  \\
			\cline{

    2-6}
			aaa & aaa & aaa & aaa & aaa & aaa  \\
		\midrule

		\bottomrule
	\end{

    tabular}
\end{

    table}

\begin{

    table*}[htbp]\centering
	\caption{

    aaa.}
	\label{

    table}
	\begin{

    tabular}{

    llccc}
		\toprule
		& & aaa & aaa & aaa   \\
		\midrule
		\multicolumn{

    2}{

    c}{

    aaa} & aaa &	aaa &	aaa \\
		\multicolumn{

    2}{

    c}{

    aaa} & aaa &	aaa &	aaa \\
		\midrule
		\multirow{

    5}*{

    \makecell{

    aaa \\ aaa}} & aaa & aaa &	aaa &	aaa  \\
		~ & aaa & aaa &	aaa &	aaa \\
		~ & aaa & aaa &	aaa &	aaa \\
		~ & aaa & aaa &	aaa &	aaa \\
		~ & aaa & aaa &	aaa &	aaa \\
		\bottomrule
	\end{

    tabular}
\end{

    table*}

设置表格的行高
在 \begin{table} 环境中加入如下命令以设置行高:
\renewcommand\arraystretch{

    1.5}
\begin{

    table}[htbp]
	\centering
	\renewcommand\arraystretch{

    1.5}
	\begin{

    tabular}{

    cccc}
		\toprule
		* & *  & *  & * \\
		\midrule
		* & * & * & * \\
		* & * & * & * \\
		* & * & * & * \\
		* & * & * & * \\
		\bottomrule
	\end{

    tabular}
\end{

    table}

设置表格某行的行高
改变某行的行高,只需要在该行Latex代码之前加上一句:
\rule{

    0pt}{

    16pt}
其中16pt表示行高,可以自由设置,0pt不用管
\begin{

    table}[htbp]
	\centering
	\begin{

    tabular}{

    cccc}
		\toprule
			* & *  & *  & * \\
		\midrule
			* & * & * & * \\
			* & * & * & * \\
			\rule{

    0pt}{

    16pt} %改变行高
			* & * & * & * \\
			* & * & * & * \\
		\bottomrule
	\end{

    tabular}
\end{

    table}

改变三线表的线宽
\toprule[1.5pt]
\midrule[1.5pt]
\bottomrule[1.5pt]
\begin{

    table}[htbp]
	\centering
	\begin{

    tabular}{

    cccc}
		\toprule[1.5pt]
			* & *  & *  & * \\
		\midrule[1.5pt]
			* & * & * & * \\
			* & * & * & * \\
			* & * & * & * \\
			* & * & * & * \\
		\bottomrule[1.5pt]
	\end{

    tabular}
\end{

    table}
设置表格列宽
\begin{

    table}[htbp]
	\centering
	\begin{

    tabular}{

    c p{

    3cm}<{

    \centering} l p{

    3cm}<{

    }}
		\toprule
		* & *  & *  & * \\
		\midrule
		* & * & * & * \\
		* & * & * & * \\
		* & * & * & * \\
		* & * & * & * \\
		\bottomrule
	\end{

    tabular}
\end{

    table}

在三线表中加入一条更细的短线
booktabs宏包提供的\cmidrule可以画出比中间线 更细的表线
\usepackage{

    multirow}
…
\begin{

    table}[htbp]
	\centering
	\begin{

    tabular}{

    c p{

    3cm}<{

    \centering} l p{

    3cm}<{

    }}
		\toprule
		* & *  & *  & * \\
		\cmidrule(lr){

    2-4}
		* & *  & *  & * \\
		\midrule
		* & * & * & * \\
		* & * & * & * \\
		* & * & * & * \\
		* & * & * & * \\
		\bottomrule
	\end{

    tabular}
\end{

    table}

figure环境图片位置参数的设置
| 参数 | 位置 |
|---|---|
| h | 将浮动元素的位置设定为 here(这里),也就是说,大约位于其在文档中出现位置(是大约,而不是完全精确) |
| t | 将浮动元素的位置设定为页面的上方(top) |
| b | 将浮动元素的位置设定为页面的底部(bottom) |
| p | 将浮动元素仅放置在一个特殊的页面 |
| ! | 重新设置LaTeX的一个内部参数,这个参数决定了LaTeX如何判断一个浮动元素的位置够不够“好” |
| H | 将浮动元素精确地放置在它在文本中所出现的位置。这个参数需要引入float包,它有可能会造成一些错误。这个参数有时候等价于h! |
你可以给环境传递多个参数,例如,如果你的参数是[ht],那么LaTeX会首先尝试把图片放置在here,如果不行的话(空间可能不够),那么LaTeX会尝试把图片放置在页面的top。我们推荐你使用多个位置参数,来避免不合适的图片位置。
Latex 希腊字母对应表
| 小写 | Latex表示 | 大写 | Latex表示 |
|---|---|---|---|
| α \alpha α | \alpha | A \Alpha A | \Alpha |
| β \beta β | \beta | B \Beta B | \Beta |
| γ \gamma γ | \gamma | Γ \Gamma Γ | \Gamma |
| δ \delta δ | \delta | Δ \Delta Δ | \Delta |
| ϵ \epsilon ϵ | \epsilon | E \Epsilon E | \Epsilon |
| ζ \zeta ζ | \zeta | Z \Zeta Z | \Zeta |
| ν \nu ν | \nu | N \Nu N | \Nu |
| μ \mu μ | \mu | M \Mu M | \Mu |
| ξ \xi ξ | \xi | Ξ \Xi Ξ | \Xi |
| ο \omicron ο | \omicron | O \Omicron O | \Omicron |
| π \pi π | \pi | Π \Pi Π | \Pi |
| ρ \rho ρ | \rho | P \Rho P | \Rho |
| σ \sigma σ | \sigma | Σ \Sigma Σ | \Sigma |
| τ \tau τ | \tau | T \Tau T | \Tau |
| υ \upsilon υ | \upsilon | Υ \Upsilon Υ | \Upsilon |
| ϕ \phi ϕ | \phi (φ对应\varphi) | Φ \Phi Φ | \Phi |
| χ \chi χ | \chi | X \Chi X | \Chi |
| ψ \psi ψ | \psi | Ψ \Psi Ψ | \Psi |
| η \eta η | \eta | H \Eta H | \Eta |
| θ \theta θ | \theta | Θ \Theta Θ | \Theta |
| ι \iota ι | \iota | I \Iota I | \Iota |
| κ \kappa κ | \kappa | K \Kappa K | \Kappa |
| λ \lambda λ | \lambda | Λ \Lambda Λ | \Lambda |
| τ \tau τ | \tau | T \Tau T | \Tau |