1.类型介绍
Halcon中的图形变量主要有Image类型、Region类型、XLD类型。
1.1 Image类型:
read_image (Image, 'printer_chip/printer_chip_01')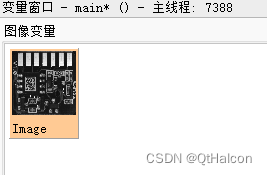
1.2 Region类型:
draw_region (Region, 3600)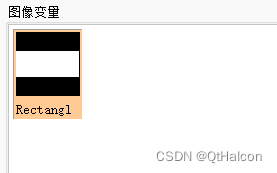
1.3 XLD类型
XLD分为两种:边缘轮廓(xld contour)和多边形(xld polygon)
XLD Contour
dev_open_window (0, 0, 512, 512, 'black', WindowHandle)
draw_xld (ContOut, WindowHandle, 'true', 'true', 'true', 'true')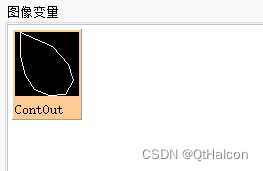
XLD Polygon
dev_open_window (0, 0, 512, 512, 'black', WindowHandle)
draw_xld (ContOut, WindowHandle, 'true', 'true', 'true', 'true')
gen_polygons_xld (ContOut, Polygons, 'ramer', 2)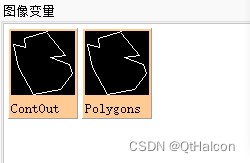
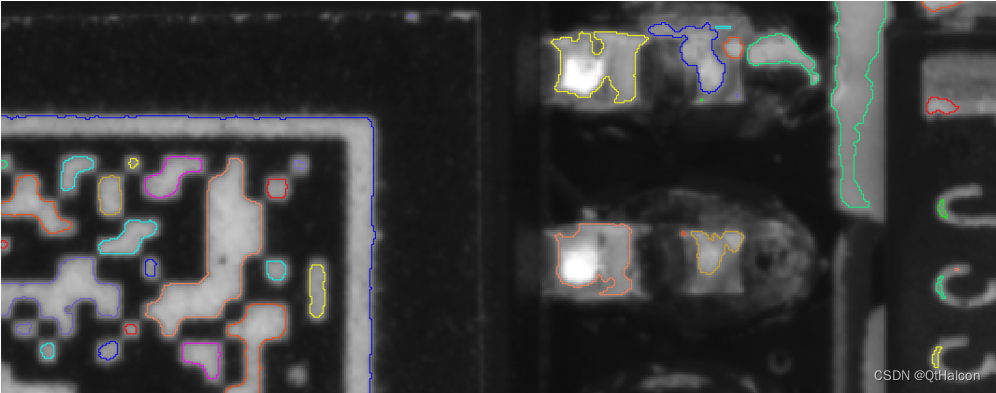
Contour的轮廓更贴近实际的图像边缘
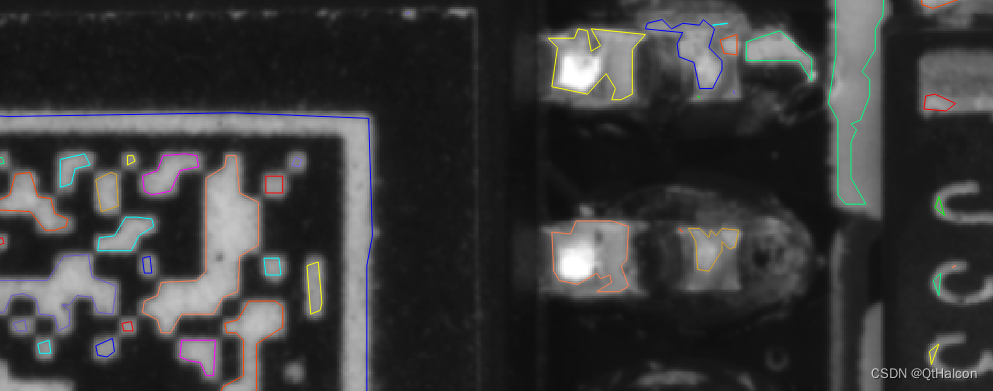
Polygon的轮廓是用多边形组合而成的轮廓
下面举个例子:
read_image (Image, 'printer_chip/printer_chip_01')
gen_rectangle1 (Rectangle, 0, 0, 900, 900)
reduce_domain (Image, Rectangle, ImageReduced)
threshold (ImageReduced, RegionTh, 128, 255)
gen_contour_region_xld (RegionTh, RegionCo, 'border')
gen_polygons_xld (RegionCo, RegionPo, 'ramer', 2)
Contour轮廓如下
Polygon轮廓如下:
2.转换规律
Halcon对象之间的相互转换,一般可以转化为"gen_目标对象_原对象"形式,如gen_region_contour_xld(根据xld创建一个区域region);再如gen_contour_region_xld(根据region创建一个xld轮廓)
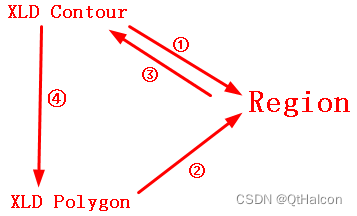
2.1 gen_region_contour_xld(Contour : Region : Mode : )
根据轮廓xld创建一个区域region
read_image(Image,'lena')
draw_xld (XLD1, 3600, 'true', 'true', 'true', 'true')
gen_region_contour_xld (XLD1, Region, 'filled')
2、gen_region_polygon_xld(Polygon : Region : Mode : )
功能:根据多边形轮廓创建一个区域region
read_image(Image,'lena')
draw_xld (XLD1, 3600, 'true', 'true', 'true', 'true')
gen_polygons_xld (XLD1, Polygons, 'ramer', 2)//用多边形逼近XLD轮廓, Polygons为XLD Polygon类型
gen_region_polygon_xld (Polygons, Region, 'filled')
3、gen_contour_region_xld(Regions : Contours : Mode : )
功能:根据region创建一个xld
read_image(Image,'lena')
draw_region (Region, 3600)
gen_contour_region_xld (Region, XLD1, 'border')
4、gen_polygons_xld(Contours : Polygons : Type, Alpha : )
功能:用多边形逼近XLD轮廓
draw_xld (ContOut, 3600, 'true', 'true', 'true', 'true')
gen_polygons_xld (ContOut, Polygons, 'ramer', 2)
5、gen_contours_skeleton_xld(Skeleton : Contours : Length, Mode : )
功能:把骨架转换层xld轮廓
read_image (Bk45, 'bk45')
//bandpass_image — 使用带通滤波器的边缘提取
bandpass_image (Bk45, Lines, 'lines')
//threshold — Segment an image using global threshold.
threshold (Lines, Region, 128, 255)
//skeleton — Compute the skeleton of a region.
skeleton (Region, Skeleton)
dev_set_colored (12)
//gen_contours_skeleton_xld — 将skeleton 转换为 XLD 轮廓
gen_contours_skeleton_xld (Skeleton, Contours, 5, 'filter')
dev_display (Bk45)
dev_display (Contours)
3.xld/region转换成image
例1:将区域所包含的像素做为图像输出
*Halcon感兴趣区域填充特定颜色
read_image (Image, 'printer_chip/printer_chip_01')
gen_rectangle1 (Rectangle, 0, 0, 900, 900)
reduce_domain (Image, Rectangle, ImageReduced)
threshold (ImageReduced, RegionTh, 128, 255)
*将区域直接生成二值图像
region_to_bin(Region, Binary, 0, 255, Width, Height)
*将Image中的RegionTh区域填充255
overpaint_region (Image, RegionTh, 255, 'fill')
write_image (Image, 'bmp', 0, 'E:/Org.bmp')
例2:图像剪贴,将一个图贴在另一个之上。
*创建空白图像,将得到的区域贴到上面
get_image_size (ImageReduced, Width1, Height1)
gen_image_proto (ImageReduced, ImageCleared, 128)
paint_region (Region, ImageCleared, ImageResult1, 255, 'fill')
例3:xld->region->image
read_image (Image, 'printer_chip/printer_chip_01')
gen_rectangle1 (Rectangle, 0, 0, 900, 900)
reduce_domain (Image, Rectangle, ImageReduced)
threshold (ImageReduced, RegionTh, 128, 255)
gen_contour_region_xld (RegionTh, RegionCo, 'border')
gen_region_contour_xld (RegionCo, RegionTh2, 'filled')
*创建一个具有恒定灰度值的图像。
gen_image_const (ImageCo, 'byte', Width1, Height1)
*创建一个具有指定的恒定灰度值的图像。
gen_image_proto (ImageCo, ImagePr, 0)
*将区域绘制到图像中。
paint_region (RegionTh, ImagePr, ImageResult, 255, 'fill')
注:paint_region 和overpaint_region最终的输出结果是一样的