项目地址:https://gitee.com/iBase4J/iBase4J
搭建步骤:
1、git 代码
2、安装 Zookeeper
3、打包部署 Dubbo Admin
4、安装 Nginx
5、配置文件
6、启动Web Server 和 Service Server
7、搭建完成
扫描二维码关注公众号,回复:
1550144 查看本文章

详细步骤:
1、git代码
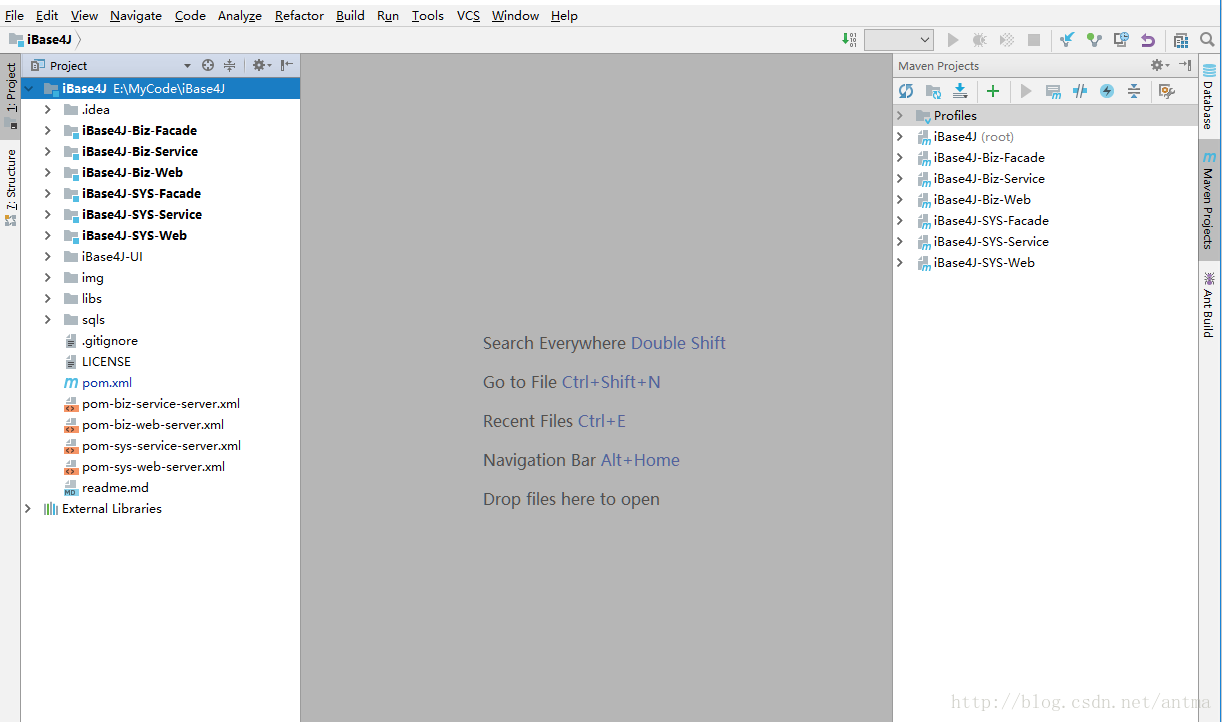
本人用的 idea -> File -> New -> Project From Version Control -> Git
输入 iBase4J 地址: https://gitee.com/iBase4J/iBase4J.git

选择本地保存地址输入名称,点击 Clone,稍等一会,代码下载完毕,如下图:
2、安装 Zookeeper
安装方法:http://blog.csdn.net/antma/article/details/79219493
3、打包部署 Dubbo Admin
本人是直接把源码下载下来,自己打包
部署方法见: http://blog.csdn.net/antma/article/details/79219739
4、安装 Nginx
下载地址:http://nginx.org/en/download.html
下载解压后,修改 conf/nginx.conf 文件为:
- worker_processes 1;
- events {
- worker_connections 1024;
- }
- http {
- include mime.types;
- default_type application/octet-stream;
- sendfile on;
- keepalive_timeout 65;
- server {
- listen 80;
- server_name localhost;
- # 静态页面目录
- root <span style="color:#ff0000;"><strong>E:\MyCode\iBase4J\iBase4J-UI\iBase4J-UI-AngularJS</strong></span>;
- # 默认首页
- index index.html;
- location / {
- # 用户浏览器端的缓存设置
- location ~* \.(css|js|jpg|jpeg|gif|png|swf|htm|html|json|xml|svg|woff|ttf|eot|map|ico)$ {
- expires 1h;
- if (-f $request_filename) {
- break;
- }
- }
- # 动态页面,交给tomcat处理
- if ( !-e $request_filename) {
- proxy_pass http://127.0.0.1:8088;
- }
- }
- error_page 500 502 503 504 /50x.html;
- location = /50x.html {
- root html;
- }
- }
- }
- # 静态页面目录
- root <span style="color:#ff0000;"><strong>E:\MyCode\iBase4J\iBase4J-UI\iBase4J-UI-AngularJS</strong></span>;
- # 动态页面,交给tomcat处理
- if ( !-e $request_filename) {
- proxy_pass <span style="color:#ff0000;"><strong>http://127.0.0.1:8088;</strong></span>
- }
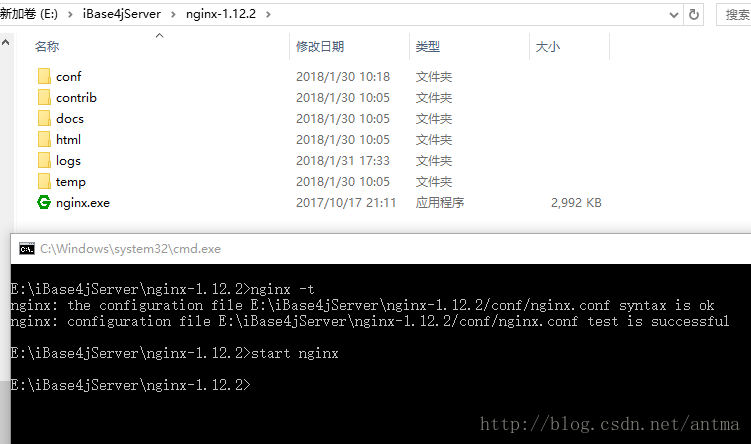
Nginx配置完毕!
命令行运行 Nginx -t 检查配置文件语法是否正确,然后运行 start nginx 启动Nginx,如下图:
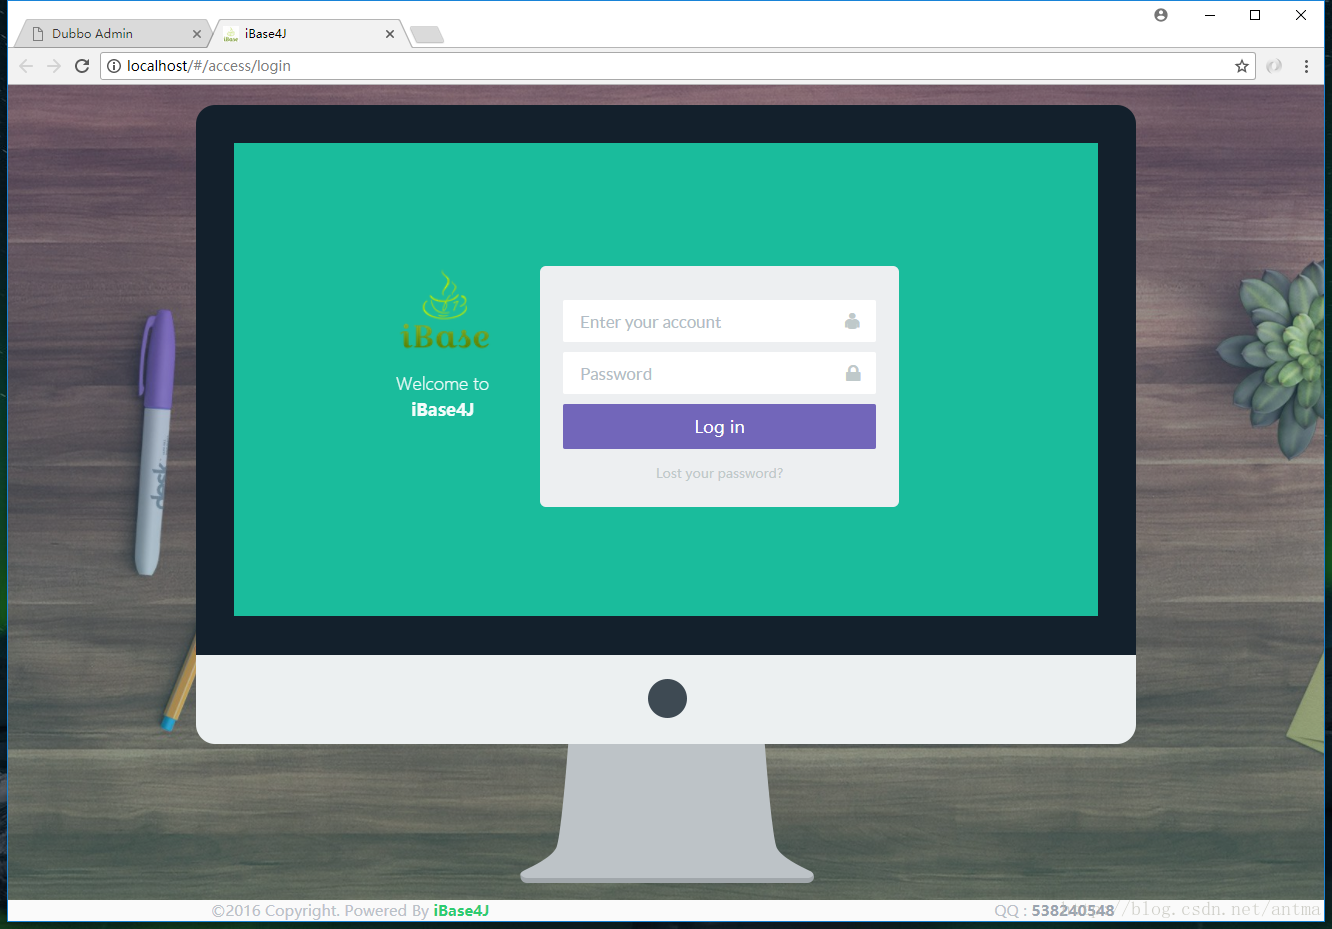
经过以上配置,直接访问 http://localhost 即可打开前端页面:
待续....