请给openlab搭建web网站 网站需求:
1.基于域名[www.openlab.com](http://www.openlab.com)可以访问网站内容为 welcome to openlab!!!
首先创建一个名为openlab的网站:
(1)在www目录下创建一个openlab文件夹:mkdir /www/openlab -p
(2)创建网页并且输入内容:echo "welcome to openlab" > /www/openlab/index.html
(3)进入配置文件目录:cd /etc/httpd/conf.d/
(4)进入文件:vim VirtualHost.conf
(5)编辑以下内容:
<Directory "/www/">
Options Indexes FollowSymLinks
AllowOverride None
Require all granted
</Directory>

<VirtualHost 192.168.159.128:80>
    DocumentRoot "/www/openlab"
    ServerName www1.example.com
    ErrorLog "/www/openlab/logs/error_log"
    CustomLog "/www/openlab/logs/access_log" combined
</VirtualHost>
(6)启动httpd服务:systemctl start httpd
(7)进入/etc/hosts文件中编辑以下内容实现域名访问网站的目的:

(8)重新加载httpd服务:systemctl restart httpd
(9)防火墙方向该端口:firewall-cmd --permanent --add-port=80/tcp
(10)让防火墙的配置立即生效: firewall-cmd --reload
(11)使用浏览器进行测试:

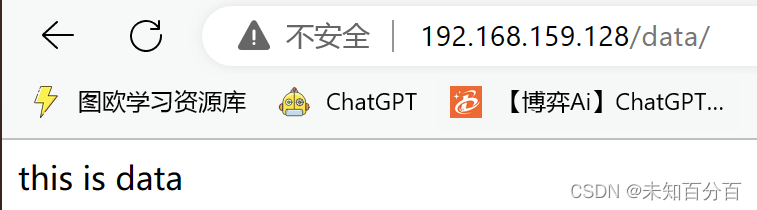
2.给该公司创建三个子界面分别显示学生信息,教学资料和缴费网站,基于[www.openlab.com/student](http://www.openlab.com/student) 网站访问学生信息,[www.openlab.com/data](http://www.openlab.com/data)网站访问教学资料 [www.openlab.com/money](http://www.openlab.com/money网站访问缴费网站)。
(1)首先创建一个主页面:openlab
创建网页文件:[root@server ~]# mkdir /www/openlab
移动到该文件下:[root@server ~]# cd /www/openlab/
创建一个文件:[root@server openlab]# touch index.html
写入内容: echo "welcome to openlab!!!" > index.html
创建/www/opnelab/logs目录文件:mkdir /www/openlab/logs
(2)然后在/www/网页目录文件下创建对应的三个子页面:
mkdir data/logs -p
touch /data index.html
mkdir student/logs -p
touch /student index.html
mkdir money/logs -p
touch /money index.html
写入内容:
vim student /index.html(this is tudent)
vim data/index.html(this is data)
vim money/index.html(this is money)
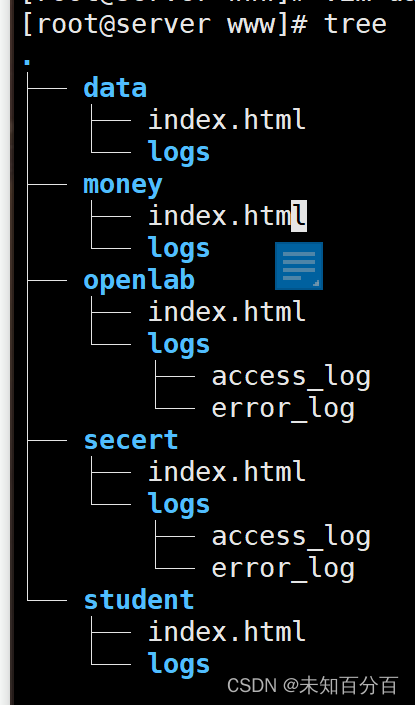
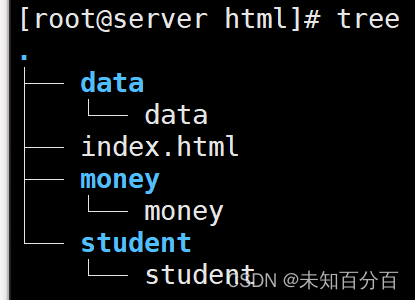
tree /var/www/html:
(3)最后使用浏览器进行查看:


(1)首先创建song和tina两个用户:
htpasswd -c /etc/httpd/conf.d/.htpswd song
htpasswd /etc/httpd/conf.d/.htpswd tian
这里为了区分再创建一个other用户:
etc/httpd/conf.d/.htpswd other
(2)查看:
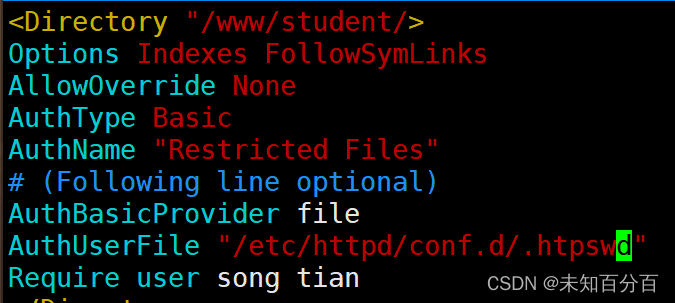
(3)进入cd /etc/httpd/conf.d/中:重新创建一个虚拟主机:vim vhost.conf 将以下内容写入:
<Directory "/www/">
Options Indexes FollowSymLinks
AllowOverride None
AuthType Basic
AuthName "Restricted Files"
# (Following line optional)
AuthBasicProvider file
AuthUserFile "/etc/httpd/conf.d/"
Require user song tian
</Directory>
<VirtualHost 192.168.159.128:80>
    DocumentRoot "/www/"
    ServerName www.openlab.com
    ErrorLog "/www/openlab/logs/error_log"
    CustomLog "/www/openlab/logs/access_log" combined
</VirtualHost>
(4)重启http:systemctl restart httpd
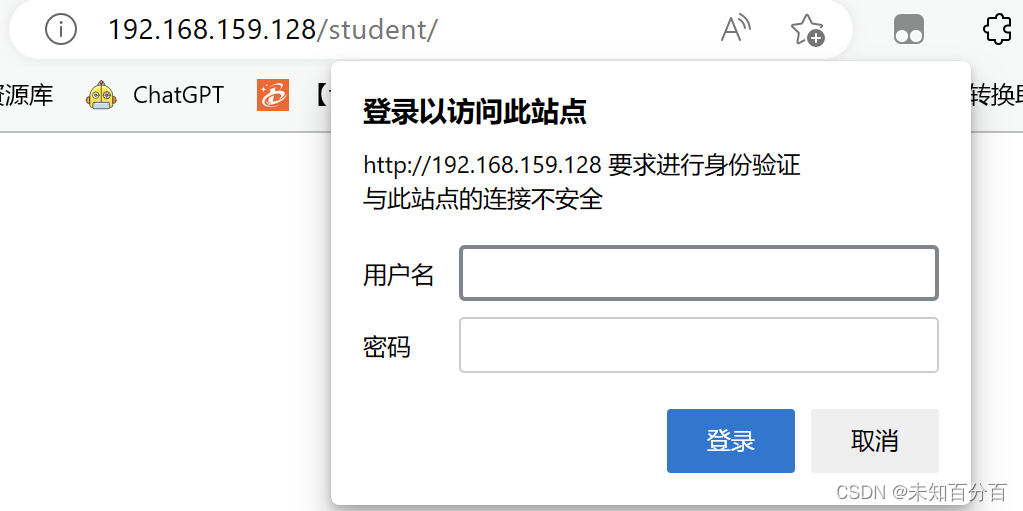
(5)尝试访问192.168.159.128/student/子网页:
也可以在命令行进行测试:
3.要求学生信息网站只有song和tian两人可以访问,其他用户不能访问。 访问缴费网站实现数据加密基于https访问。
学生信息网站只有song和tian两个人可以访问在前面已经设置:
下面完成访问缴费网站实现数据加密https访问:
(1)首先安装软件:yum -y install mod_ssl
(2)进入cd /etc/pki/tls/certs/目录中
(3)创建私钥文件:openssl genrsa -aes128 2048 >server.key
(4)将私钥文件移动到上级的private文件下:mv server.key ../private/
(5)创建公钥文件: openssl req -utf8 -key server.key -x509 -days 365 -out server.key
Enter pass phrase for server.key:
You are about to be asked to enter information that will be incorporated
into your certificate request.
What you are about to enter is what is called a Distinguished Name or a DN.
There are quite a few fields but you can leave some blank
For some fields there will be a default value,
If you enter '.', the field will be left blank.
-----
Country Name (2 letter code) [XX]:CN
State or Province Name (full name) []:SN
Locality Name (eg, city) [Default City]:CI^H^HX^H^[[D^[[D^[[C^[[C
Organization Name (eg, company) [Default Company Ltd]:openlab
Organizational Unit Name (eg, section) []:it
Common Name (eg, your name or your server's hostname) []:www.openlab.cccc
Email Address []:
(6)进入cd /etc/httpd/conf.d/目录
(7)vim ssl.conf修改公钥和私钥的文件路径:

(8)重新加载http服务:systemctl restart httpd
(9)使用浏览器测试:

成功通过https访问到192.168.159.128/money访问缴费网站实现数据加密基于https访问。