什么是插槽
插槽是组件中用来承载内容的一种机制,可以让组件在运行时接受来自其它组件的任意内容。可以将它理解为是在Vue组件中定义的占位符,用于指定在父组件中传递给子组件的内容的位置。它可以根据需要在父组件中动态地插入不同的内容,同时也可以接受子组件中传递下来的数据。
创建插槽
在vue的组件中,使用<slot>标签来定义插槽,我们先在components文件夹新建一个Product.vue组件,在Product组件中用<slot>插槽占位,代码如下
<template>
<div>
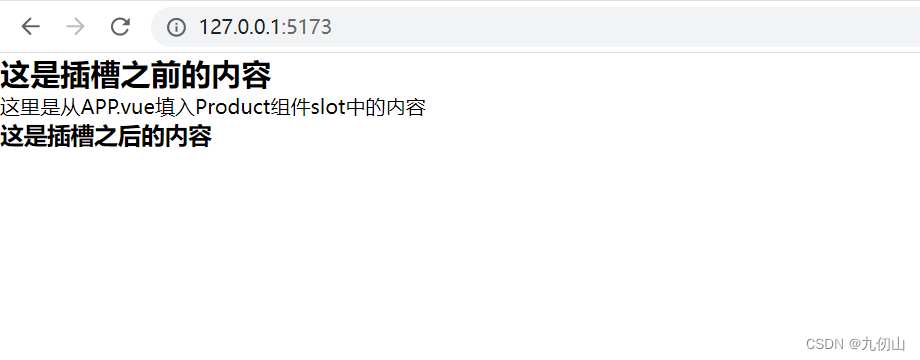
<h2>这是插槽之前的内容</h2>
<slot></slot>
<h3>这是插槽之后的内容</h3>
</div>
</template>
<script setup>
</script>
<style scoped>
</style>
然后在APP.vue中引入组件Product.vue,并在<Product></Product>标签中间用div填写要在Product.vue的插槽中显示的内容即可
<template>
  <div>
    <Product>
      <div>这里是从APP.vue填入Product组件slot中的内容</div>
    </Product>
  </div>
</template>
<script setup>
import Product from './components/Product.vue'
</script>

<style scoped>
</style>
运行,刷新浏览器,效果如下
插槽的类型
vue中提供的插槽有三种类型:默认插槽、具名插槽和作用域插槽。
默认插槽
默认插槽是最简单和常见的一种插槽。它允许组件接收任何未命名的内容,并将其作为组件的子元素插入。默认插槽通常在组件标签内部添加一个 slot 标签来声明,比如我们定义一个MyComponent.vue组件,其代码如下:
<template>
  <div>
    <slot></slot>
  </div>
</template>
当我们将组件在App.vue渲染时,任意内容都可以通过这个默认插槽插入组件中,如下所示:
<MyComponent>
  <h1>hello world</h1>
</MyComponent>
这里我们在App.vue中调用 MyComponent组件时,在 MyComponent标签内部添加了一个h1标签,里面填写了一段内容。这段内容将被注入到MyComponent.vue组件的 <slot></slot> 标签内。
具名插槽
具名插槽顾名思义就是带有名字的插槽,它允许开发者有选择地将内容插入到组件的某个具名插槽中。声明具名插槽非常简单,我们只需要在slot标签里加入一个特殊的属性:name,用来给各个插槽分配唯一的 ID,以确定每一处要渲染的内容。具名插槽像下面这样声明:
<template>
  <div>
    <slot name="header"></slot>
    <slot></slot>
  </div>
</template>
在上面的代码中,我声明了两个插槽:一个具名为 “header” 的插槽,和一个默认插槽。具名插槽可以像下面这样使用:
在父组件中使用 <MyComponent> 时,要为具名插槽传入内容,我们需要使用一个含 v-slot 指令的<template> 元素,并将目标插槽的名字传给该指令: <template v-slot:header>
v-slot 可以简写 为#,因此 <template v-slot:header> 可以简写为 <template #header>。其意思就是“将这部分模板片段传入子组件的 header 插槽中”

<MyComponent>
  <template #header>
    <h1>custom header</h1>
  </template>
  <p>main content</p>
</MyComponent>
作用域插槽
作用域插槽可以理解为"带数据的插槽",在某些场景下插槽的内容可能想要同时使用父组件域内和子组件域内的数据,这时就需要用到作用域插槽了。作用域插槽可以像下面这样声明:
<template>
  <div>
    <slot name="header" :text="headerText"></slot>
  </div>
</template>
在上面代码中,在 MyComponent 组件中声明了一个具名插槽 #header,并向它传递了一个名为 text 的属性。
我们需要在父组件中使用 v-slot 指令来将数据传递到作用域插槽中,如下所示:
<template>
  <MyComponent>
    <template #header="slotProps">
      <h1>{

    {

    slotProps.text}}</h1>
    </template>
  </MyComponent>
</template>
在父组件中,我们使用 v-slot 指令,将数据传递到了 #header 插槽中。
插槽的默认内容
在外部没有提供任何内容的情况下,可以为插槽指定默认内容。比如有这样一个 SubmitButton组件:
<button type="submit">
  <slot></slot>
</button>
如果我们想在父组件没有提供任何插槽内容时在 <button> 内渲染“提交”,只需要将“提交”写在 <slot> 标签之间来作为默认内容:
<button type="submit">
  <slot>
    提交 <!-- 默认内容 -->
  </slot>
</button>
此时,当我们在父组件中使用 且没有提供任何插槽内容时:
<SubmitButton />
“提交”将会被作为默认内容渲染:
但如果我们在父组件中提供了插槽内容:
保存
那么被显式提供的内容会取代默认内容
动态组件中使用插槽
在动态组件中,插槽所在的父组件需要使用component标签包裹,指定需要动态变化的组件,同时使用v-bind指令将组件需要的参数动态绑定到一个JS对象上传递给动态组件。
<template>
  <div>
    <component :is="currentComponent" v-bind="data">
      <slot v-bind:name="slotName"></slot>
    </component>
  </div>
</template>
插槽的组合使用
在一个组件中,可以同时使用多个插槽,我们可以使用<template>标签来将多个插槽组合起来,同时,可以使用包含v-if和v-for指令的<template>标签来进行更加复杂的插槽设计。
<template>
  <div>
    <template #header>
      <h1>这是header插槽的内容</h1>
    </template>
    <template #main>
      <h1 v-if="showMainTitle">这是main插槽的标题</h1>
      <p v-for="item in list" :key="item.id">{

    {

     item.name }}</p>
    </template>
    <template #footer>
      <button @click="onClickFooterBtn">点击这个按钮会触发footer插槽的事件</button>
    </template>
  </div>
</template>
插槽的高级用法
插槽复用
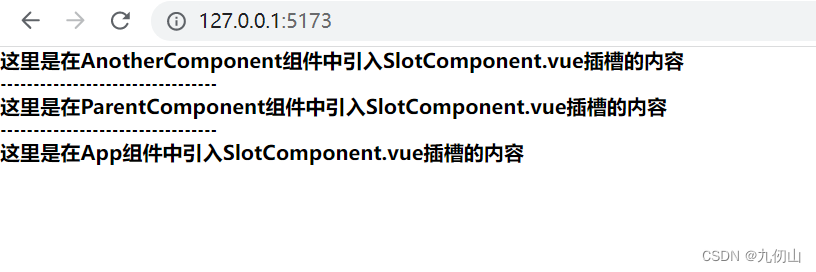
在实际开发中,可能会出现多个组件中复用同一个插槽的情况,这时,可以将插槽定义在一个独立的组件中,然后在需要使用时进行引用。下面代码演示了如何将插槽定义在一个独立的组件中,然后分别在App.vue、ParentComponent.vue和AnotherComponent.vue三个组件中进行引用的示例,通过如下步骤实现:
1、首先定义一个SlotComponent.vue组件
<template>
  <div>
    <slot></slot>
  </div>
</template>
2、然后在需要调用插槽的一个父组件ParentComponent.vue中引入并调用插槽
<template>
  <div>
    <slot-component>
      <h4>这里是在ParentComponent组件中引入SlotComponent.vue插槽的内容</h4>
    </slot-component>
  </div>
</template>
<script setup>
import SlotComponent from './SlotComponent.vue';
</script>
<style scoped>
</style>
3、在需要调用该插槽的另一个父组件AnotherComponent.vue引入并调用插槽
<template>
  <div>
    <slot-component>
      <h4>这里是在AnotherComponent组件中引入SlotComponent.vue插槽的内容</h4>
    </slot-component>
  </div>
</template>
<script setup>
import SlotComponent from './SlotComponent.vue';
</script>
<style scoped>
</style>
4、在App.vue中引入上面的ParentComponent.vue、AnotherComponent.vue和SlotComponent.vue组件,代码如下
<template>
  <div>
    <AnotherComponent></AnotherComponent>
    <h6>---------------------------------</h6>
    <ParentComponent></ParentComponent>
    <h6>---------------------------------</h6>
    <div>
      <SlotComponent>
        <h4>这里是在App组件中引入SlotComponent.vue插槽的内容</h4>
      </SlotComponent>
    </div>
  </div>
</template>
<script setup>
import AnotherComponent from './components/AnotherComponent.vue';
import ParentComponent from './components/ParentComponent.vue';
import SlotComponent from './components/SlotComponent.vue';
</script>
<style scoped>
</style>
运行程序,刷新浏览器,可以看到效果如下
将动态组件作为插槽
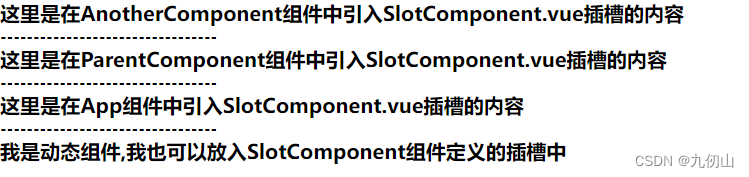
在实际开发中,我们也可以将动态组件作为插槽的内容进行渲染。示例代码如下:
定义一个需要动态显示的组件DynamicComponent.vue,
<template>
  <h4>我是动态组件,我也可以放入SlotComponent组件定义的插槽中</h4>
</template>
<script setup>
</script>
<style scoped>
</style>
在App.vue中,将动态组件传递到 上面定义的SlotComponent.vue 中进行渲染。
 <SlotComponent>
      <template #default>
        <component v-bind:is="DynamicComponent"></component>
      </template>
</SlotComponent>
运行,刷新浏览器, 可以看到内容已经渲染成功
插槽的优先级规则
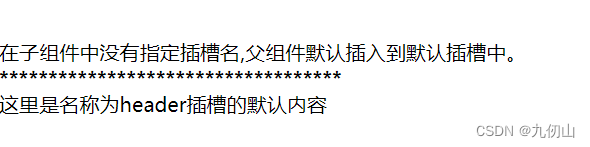
1、父组件中指定默认插槽内容,在子组件中没有指定插槽名,父组件默认插入到默认插槽中。
父组件代码
<SlotComponent>
      在子组件中没有指定插槽名,父组件默认插入到默认插槽中。
 </SlotComponent>
子组件SlotComponent中的代码
<template>
   <div>
    <slot></slot>
    <h4>***********************************</h4>
    <slot name="header">
      这里是名称为header插槽的默认内容
    </slot>
  </div>
</template>
<script setup>
</script>
<style scoped>
</style>
运行效果如下
2、如果在父组件中指定了插槽名,在子组件中有相同名称的插槽,父组件插槽内容会覆盖子组件插槽内容。
下面代码在父组件指定了名称为“header”的插槽内容,在子组件中有相同名称的插槽,父组件插槽内容会覆盖子组件插槽内容。
父组件代码
 <SlotComponent>
      如果在父组件中指定了插槽名,在子组件中有相同名称的插槽,父组件插槽内容会覆盖子组件插槽内容。
      <template v-slot:header>
        父组件指定了名称为“header”的插槽内容,在子组件中有相同名称的插槽,父组件插槽内容会覆盖子组件插槽内容。
      </template>
    </SlotComponent>
运行效果

3、在父组件中使用了 v-slot 指令,子组件中没有指定名称,父组件的未命名插槽会分配到子组件的默认插槽中。
<SlotComponent>
  <template v-slot>
   在父组件中使用了 v-slot 指令,子组件中没有指定名称,父组件的未命名插槽会分配到子组件的名为“default”的插槽中。
  </template>
 <template v-slot:header>
    这里是header插槽的内容
  </template>
</SlotComponent>
运行代码,效果如下

4、在父组件和子组件中都指定了名称,父组件中指定名称的插槽内容会覆盖子组件中相同名称的插槽内容。
ok,关于vue3中插槽的使用方法,就介绍到这里了,喜欢的小伙伴点赞关注加收藏哦!