Docker部署ssh连接工具webssh2
一、检查系统版本
检查操作系统版本
[root@server001 webssh]# cat /etc/os-release
NAME="CentOS Linux"
VERSION="7 (Core)"
ID="centos"
ID_LIKE="rhel fedora"
VERSION_ID="7"
PRETTY_NAME="CentOS Linux 7 (Core)"
ANSI_COLOR="0;31"
CPE_NAME="cpe:/o:centos:centos:7"
HOME_URL="https://www.centos.org/"
BUG_REPORT_URL="https://bugs.centos.org/"

CENTOS_MANTISBT_PROJECT="CentOS-7"
CENTOS_MANTISBT_PROJECT_VERSION="7"
REDHAT_SUPPORT_PRODUCT="centos"
REDHAT_SUPPORT_PRODUCT_VERSION="7"
二、检查docker状态
检查Docker服务运行状态,确保Docker服务正常。
[root@server001 webssh]# systemctl status docker
● docker.service - Docker Application Container Engine
   Loaded: loaded (/usr/lib/systemd/system/docker.service; enabled; vendor preset: disabled)
   Active: active (running) since Sun 2022-11-06 06:02:26 CST; 1 weeks 5 days ago
     Docs: https://docs.docker.com
 Main PID: 9869 (dockerd)
    Tasks: 55
   Memory: 3.4G
   CGroup: /system.slice/docker.service
三、下载webssh2镜像
从docker hub下载webssh2镜像
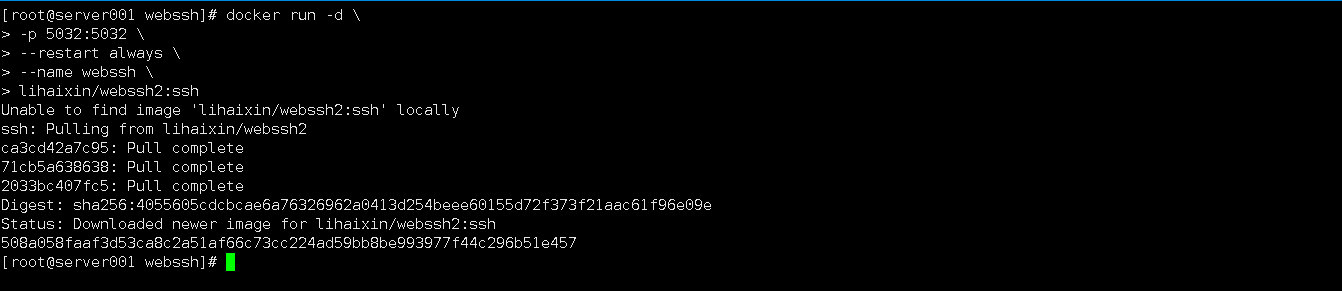
[root@server001 webssh]# docker pull lihaixin/webssh2:ssh
Unable to find image 'lihaixin/webssh2:ssh' locally
ssh: Pulling from lihaixin/webssh2
ca3cd42a7c95: Pull complete
71cb5a638638: Pull complete
2033bc407fc5: Pull complete
Digest: sha256:4055605cdcbcae6a76326962a0413d254beee60155d72f373f21aac61f96e09e
Status: Downloaded newer image for lihaixin/webssh2:ssh
四、创建webssh2容器
1.创建webssh2容器
使用以下命令快速创建webssh2容器。
docker run -d \
-p 5032:5032 \
--restart always \
--name webssh \
lihaixin/webssh2:ssh
2.查看webssh2状态
查看webssh2容器状态
[root@server001 webssh]# docker ps
CONTAINER ID   IMAGE                          COMMAND                  CREATED              STATUS              PORTS                                                     NAMES
508a058faaf3   lihaixin/webssh2:ssh           "/webssh"                About a minute ago   Up About a minute   0.0.0.0:5032->5032/tcp, :::5032->5032/tcp                 webssh
3.查看容器运行日志
检查容器运行日志,确保服务正常启动。
[root@server001 webssh]# docker logs webssh
[GIN-debug] [WARNING] Creating an Engine instance with the Logger and Recovery middleware already attached.

[GIN-debug] [WARNING] Running in "debug" mode. Switch to "release" mode in production.
 - using env:	export GIN_MODE=release
 - using code:	gin.SetMode(gin.ReleaseMode)

[GIN-debug] GET    /                         --> main.staticRouter.func2 (4 handlers)
[GIN-debug] GET    /static/*filepath         --> github.com/gin-gonic/gin.(*RouterGroup).createStaticHandler.func1 (4 handlers)
[GIN-debug] HEAD   /static/*filepath         --> github.com/gin-gonic/gin.(*RouterGroup).createStaticHandler.func1 (4 handlers)
[GIN-debug] GET    /term                     --> main.main.func1 (4 handlers)
[GIN-debug] GET    /check                    --> main.main.func2 (4 handlers)
[GIN-debug] GET    /file/list                --> main.main.func3 (4 handlers)
[GIN-debug] GET    /file/download            --> main.main.func4 (4 handlers)
[GIN-debug] POST   /file/upload              --> main.main.func5 (4 handlers)
[GIN-debug] Listening and serving HTTP on :5032
五、访问webssh2
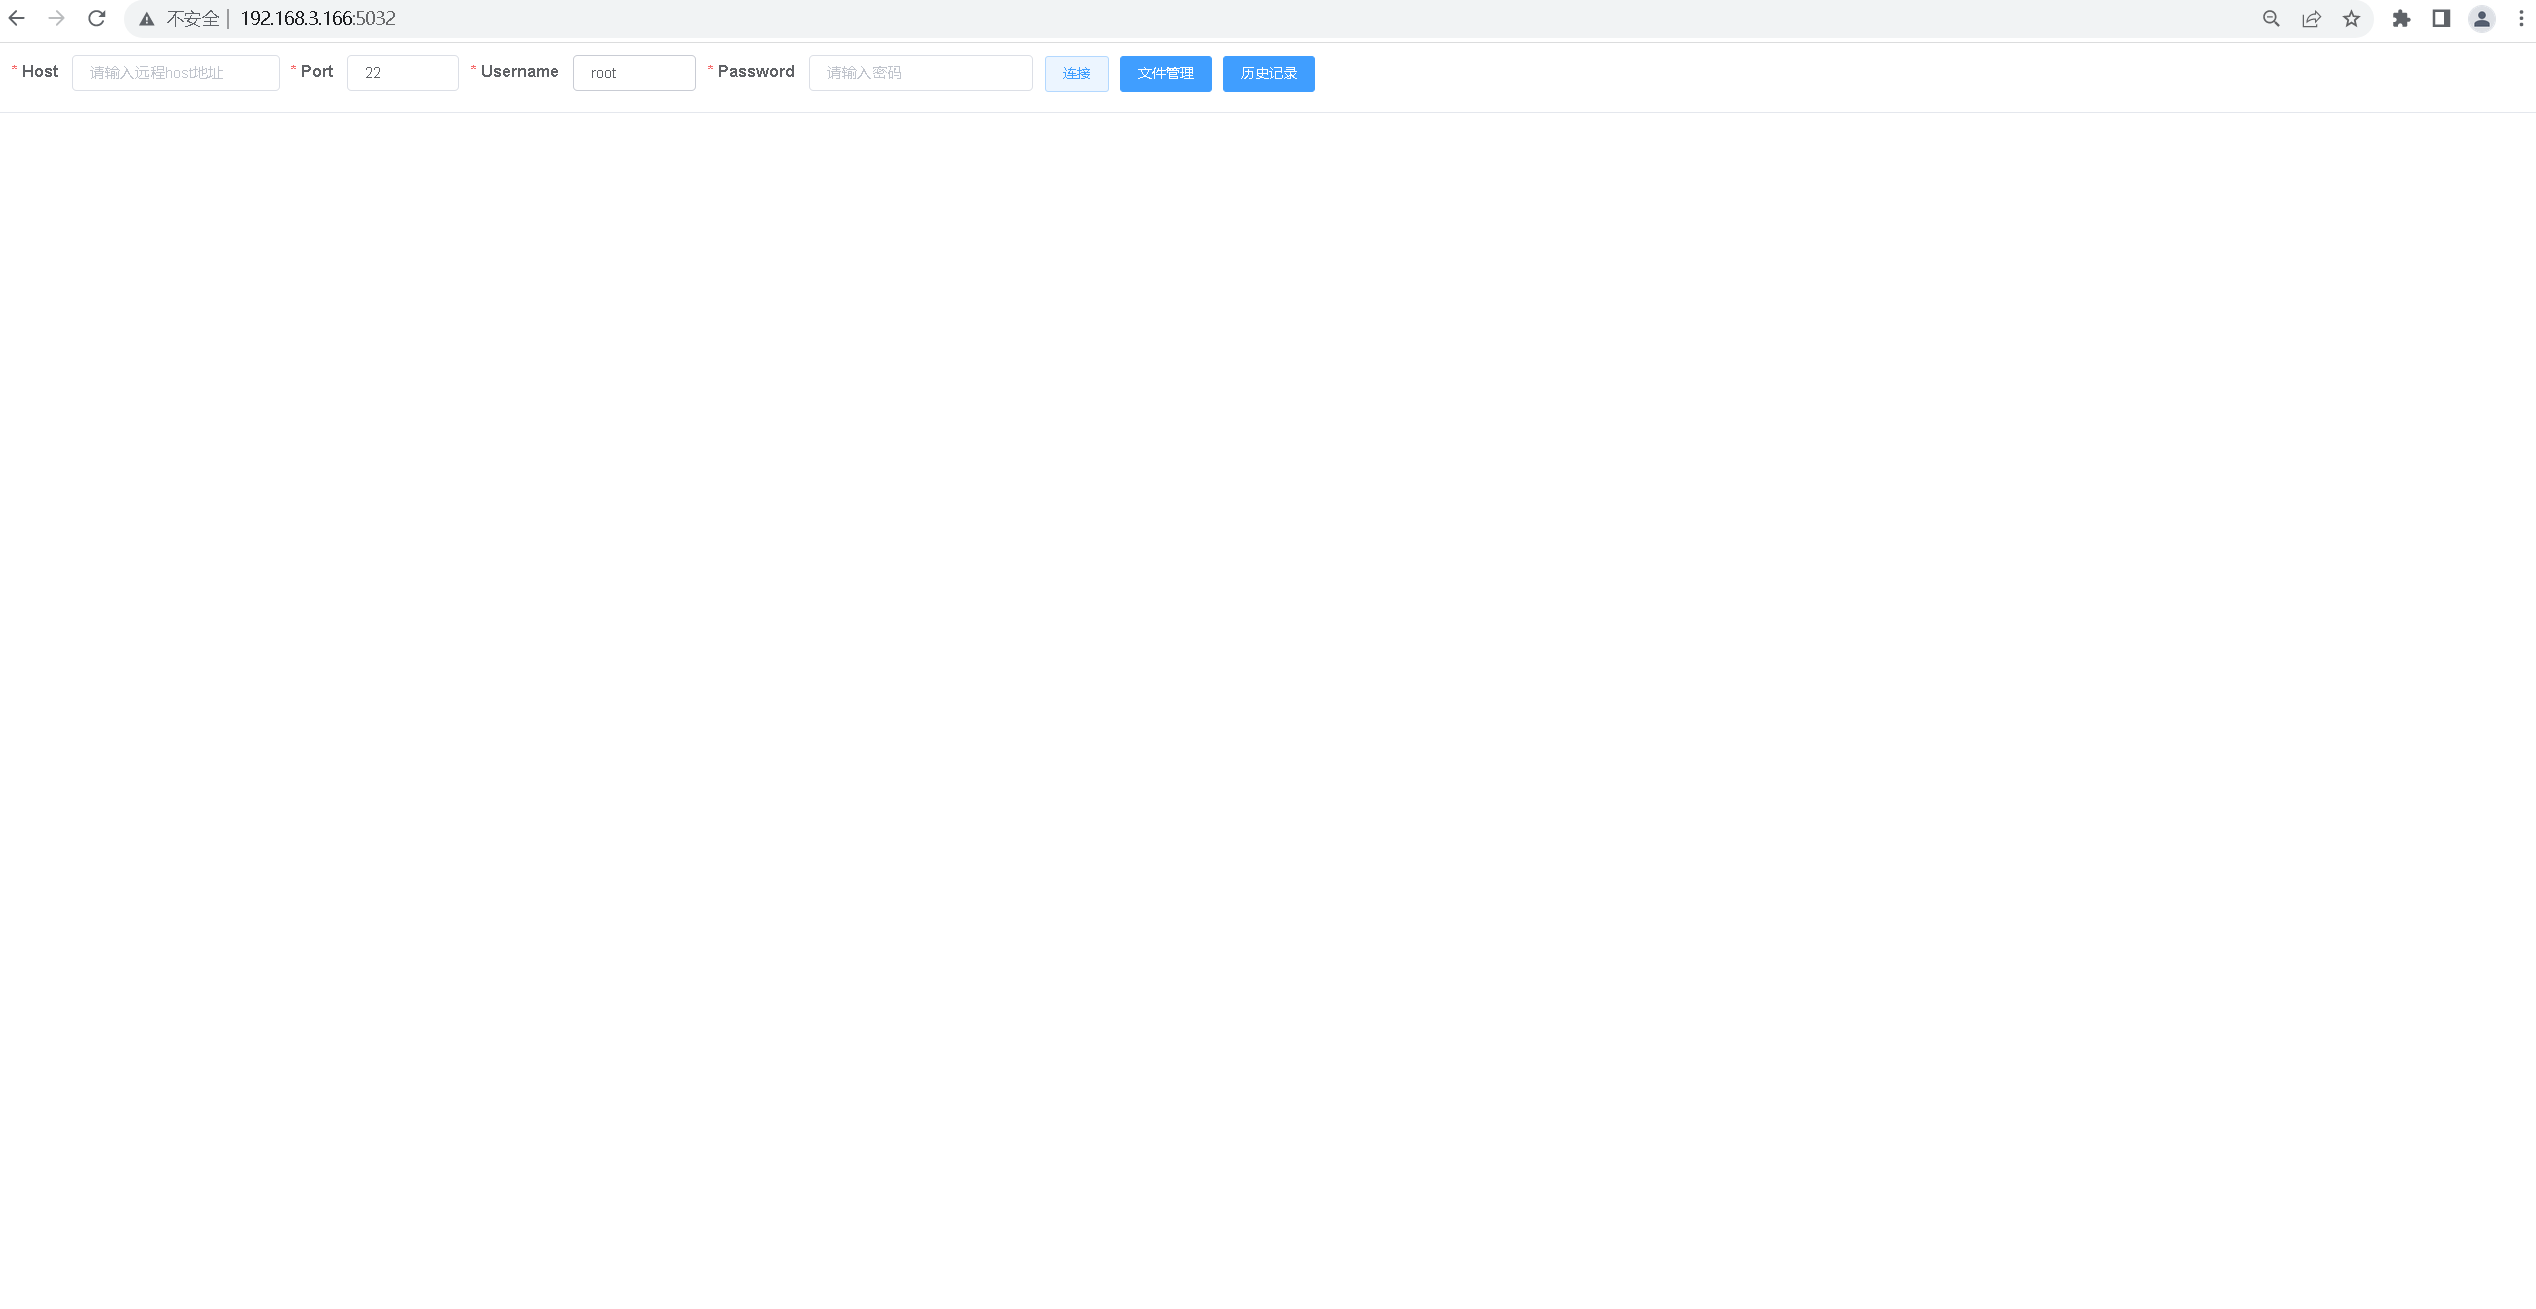
1. 访问webssh2
http://192.168.3.166:5032,进入webssh2首页。
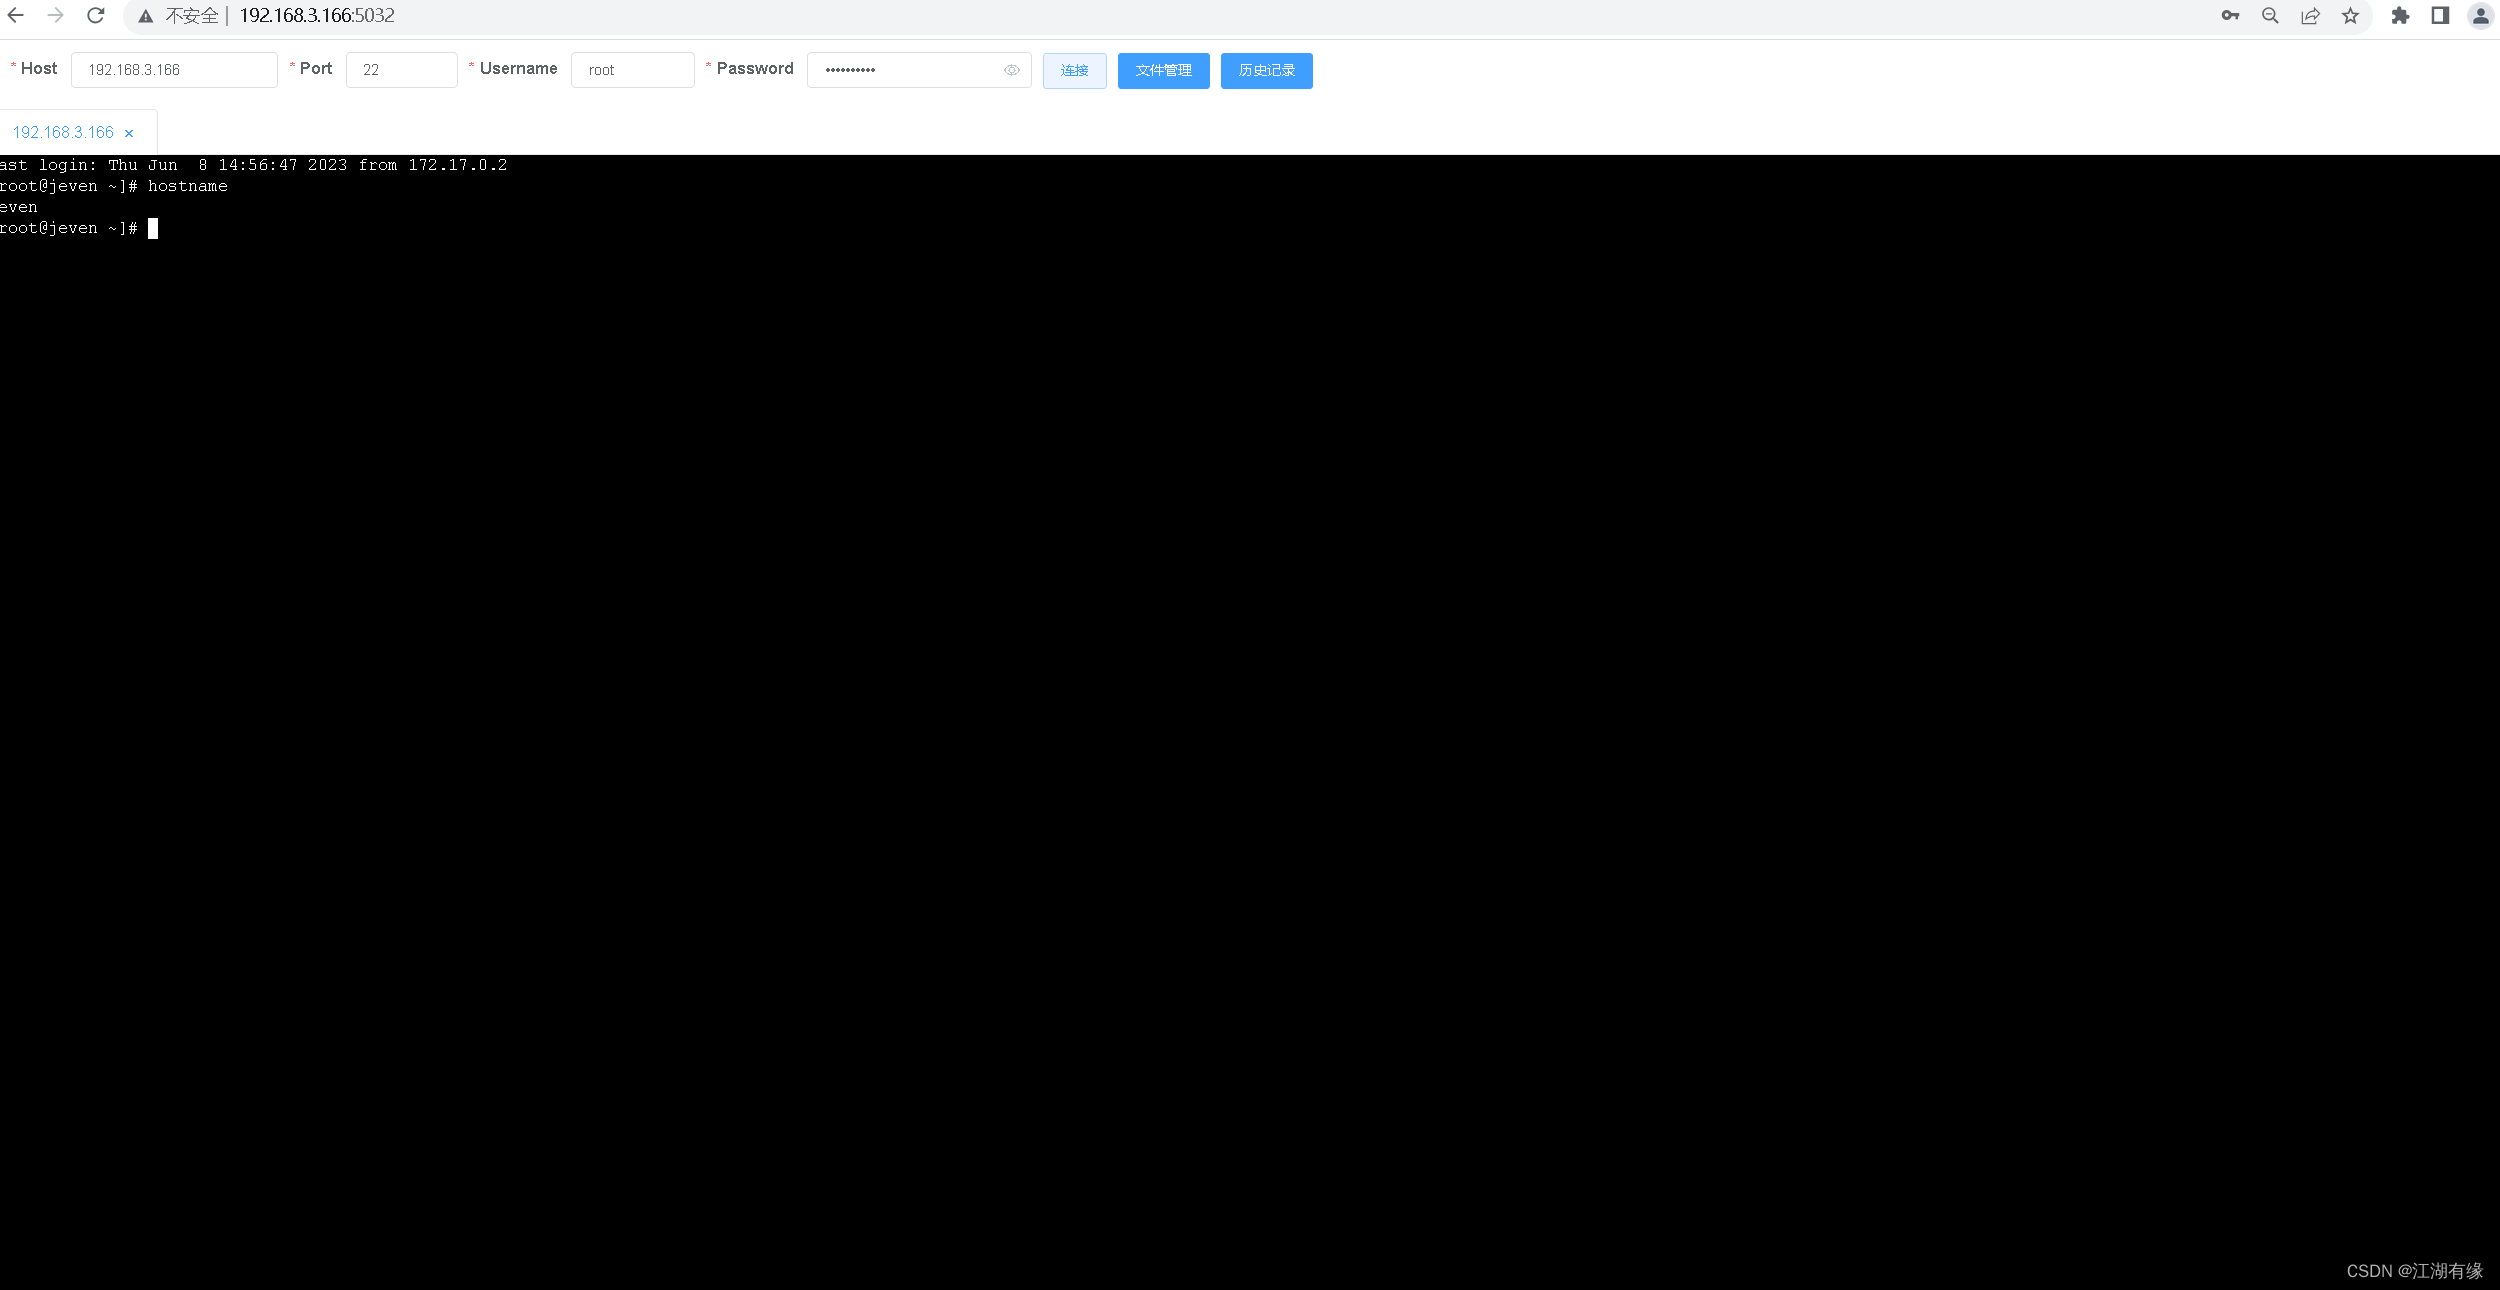
2. 远程连接服务器
在webssh2的首页上,输入连接信息,ssh连接远程Linux服务器。
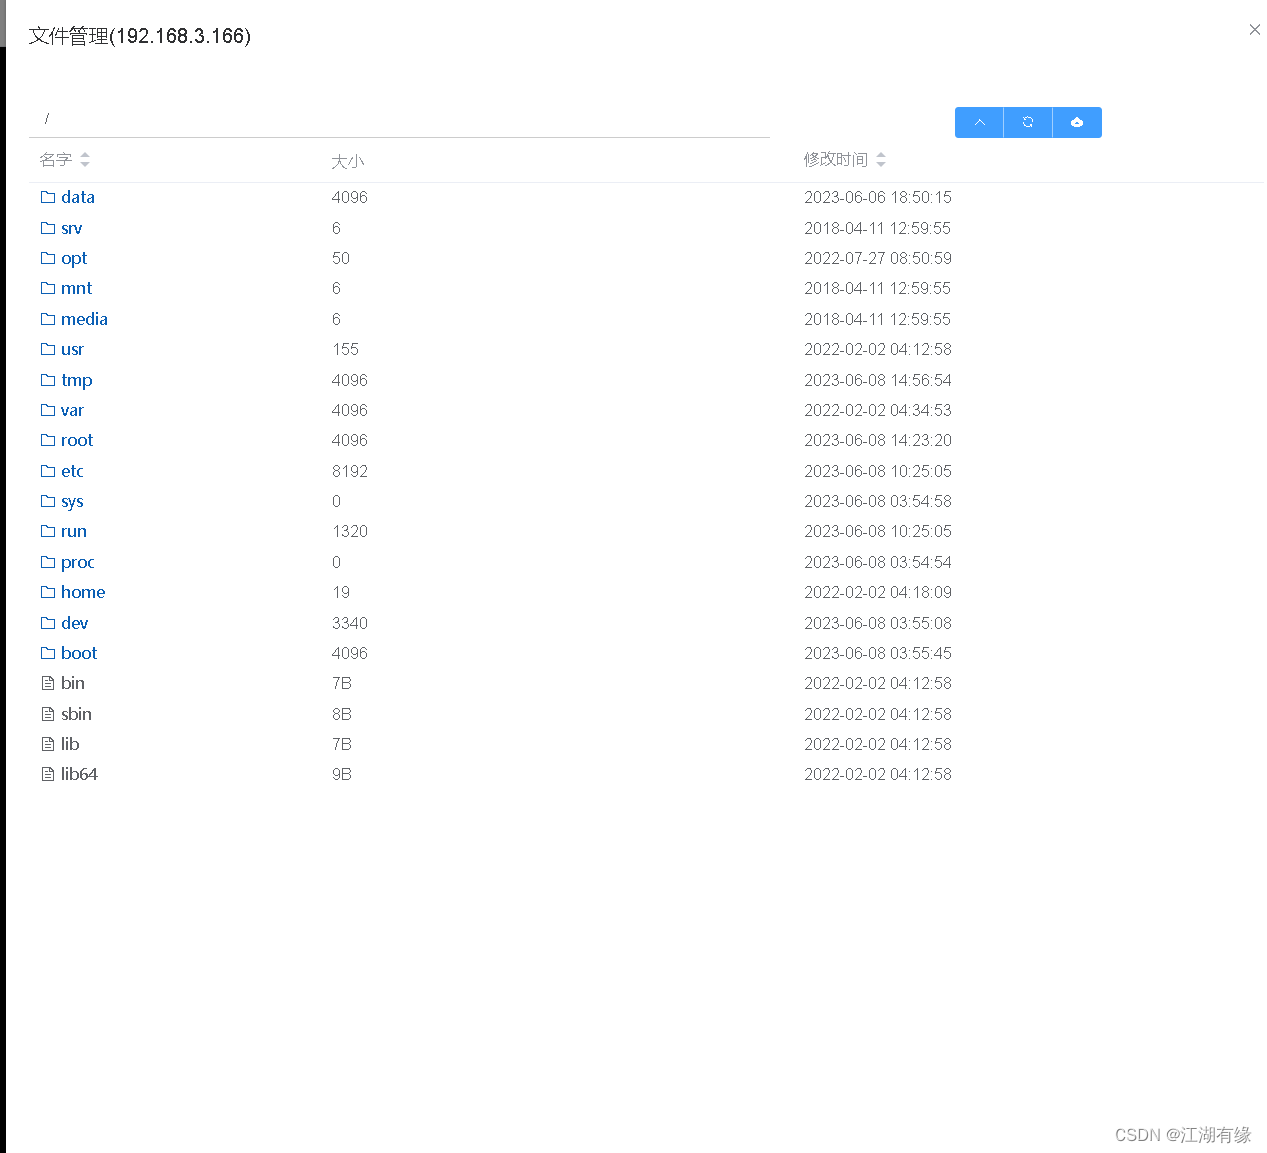
3. 文件管理
点击文件1管理,可以对Linux服务器的文件系统进行管理。