Ambari 官网 本次安装的为当前最新版本 2.7.7 文档 。
1.环境及准备
1.1 环境
# 系统
[root@tcloud ~]# cat /etc/centos-release
CentOS Linux release 7.9.2009 (Core)
# JDK
[root@tcloud ~]# java -version
java version "1.8.0_241"
Java(TM) SE Runtime Environment (build 1.8.0_241-b07)
Java HotSpot(TM) 64-Bit Server VM (build 25.241-b07, mixed mode)
# Python
[root@tcloud ~]# python -V
Python 2.7.5
1.2 准备
Note: You need to have tools such as rpm-build tool, brunch, etc. For details on prerequisites, please see Ambari Development.

- 安装
maven用于构建项目【已从国内镜像下载安装包】
# 1.解压并移动文件
tar -zxvf apache-maven-3.9.1-bin.tar.gz
mv ./apache-maven-3.9.1/ /usr/local/maven

# 2.配置环境变量
cat <<'EOF' > /etc/profile.d/maven.sh
export MAVEN_HOME=/usr/local/maven
export PATH=$PATH:$MAVEN_HOME/bin:$PATH
EOF
# 使配置生效
source /etc/profile.d/maven.sh

# 3.验证安装
mvn -v
# 验证信息
Apache Maven 3.9.1 (2e178502fcdbffc201671fb2537d0cb4b4cc58f8)
Maven home: /usr/local/maven
Java version: 1.8.0_241, vendor: Oracle Corporation, runtime: /usr/local/java/jdk1.8.0_241/jre
Default locale: en_US, platform encoding: UTF-8
OS name: "linux", version: "3.10.0-1160.71.1.el7.x86_64", arch: "amd64", family: "unix"
- 安装rpmbuild
yum install -y rpm-build
- 在线安装git
yum install -y git
- 安装nodejs
yum install -y nodejs
- 安装npm
yum install -y npm

# 修改npm的地址为国内淘宝镜像
npm config set registry https://registry.npm.taobao.org
- 安装g++
yum install -y gcc-c++
2.下载安装配置启动
安装步骤保留英文原文,部分步骤添加中文解释。
Step 1: Download and build Ambari 2.7.7 source
# 1.官网指导下载方式
wget https://www-eu.apache.org/dist/ambari/ambari-2.7.7/apache-ambari-2.7.7-src.tar.gz
# 实际在清华大学开源软件镜像站下载
https://mirrors.tuna.tsinghua.edu.cn/

# 2.解压
tar -zxvf apache-ambari-2.7.7-src.tar.gz
# 切换文件夹
cd apache-ambari-2.7.7-src

# 3.设置新的版本号并构建项目【云服务器用时10分钟多】
mvn versions:set -DnewVersion=2.7.7.0.0

# 4.切换到 ambari-metrics 目录下
pushd ambari-metrics
# 构建 ambari-metrics【云服务器用时不到2分钟】
mvn versions:set -DnewVersion=2.7.7.0.0
# 切换到原文件夹
popd


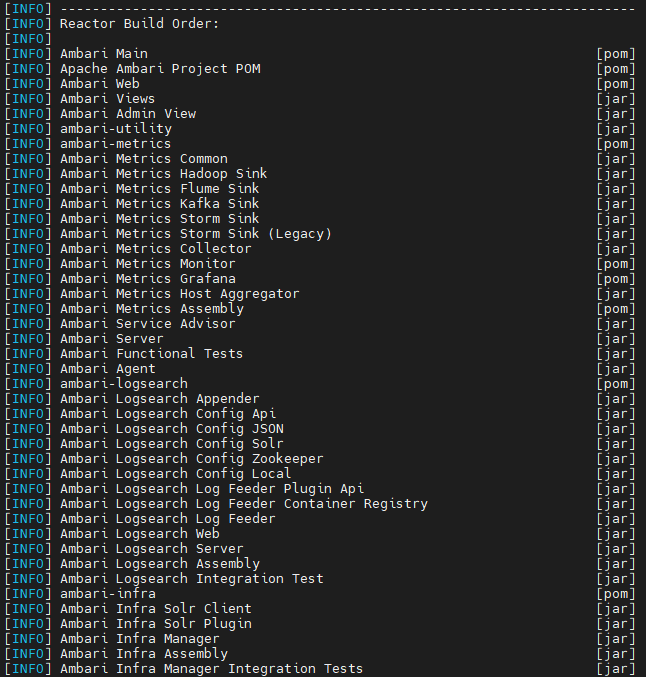
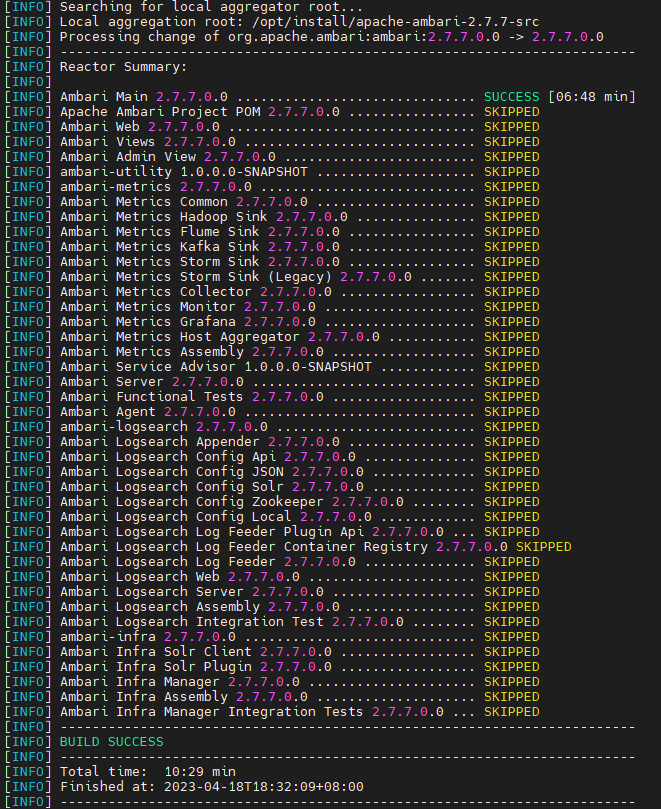
# 5.maven 打包项目【云服务器用时】一定要注意执行命令的文件夹
# Re-run Maven using the -X switch to enable full debug logging.
mvn -B clean install rpm:rpm -DnewVersion=2.7.7.0.0 -DbuildNumber=388e072381e71c7755673b7743531c03a4d61be8 -DskipTests -Dpython.ver="python >= 2.6" -X

-Drat.skip=true -Preplaceurl

打包项目时的问题
- 无法下载文件【从GIT下载失败 原因就不多说了】
# 报错详情
[INFO] Downloading https://github.com/yarnpkg/yarn/releases/download/v0.23.2/yarn-v0.23.2.tar.gz to /root/.m2/repository/com/github/eirslett/yarn/0.23.2/yarn-0.23.2./yarn-v0.23.2.tar.gz

[ERROR] Failed to execute goal com.github.eirslett:frontend-maven-plugin:1.4:install-node-and-yarn (install node and yarn) on project ambari-web: Could not download Yarn: Could not download https://github.com/yarnpkg/yarn/releases/download/v0.23.2/yarn-v0.23.2.tar.gz: Remote host closed connection during handshake: SSL peer shut down incorrectly -> [Help 1]

# 问题解决
# 1.自行下载安装包【浏览器直接输入文件地址即可】
https://github.com/yarnpkg/yarn/releases/download/v0.23.2/yarn-v0.23.2.tar.gz

# 2.放到对应 maven 目录中
/root/.m2/repository/com/github/eirslett/yarn/0.23.2/yarn-0.23.2./yarn-v0.23.2.tar.gz


- 没有许可证字段
# 报错详情
[ERROR] warning [email protected]: No license field
[INFO] [1/4] Resolving packages...
[INFO] [2/4] Fetching packages...
[ERROR] warning [email protected]: The platform "linux" is incompatible with this module.
[ERROR] warning [email protected]: The platform "linux" is incompatible with this module.
[INFO] info "[email protected]" is an optional dependency and failed compatibility check. Excluding it from installation.
[INFO] info "[email protected]" is an optional dependency and failed compatibility check. Excluding it from installation.
[INFO] [3/4] Linking dependencies...
[INFO] [4/4] Building fresh packages...

# 问题解决
# 无需处理耐心等待后续报错
- 命令执行失败【未解决】
# 报错详情
[ERROR] Failed to execute goal org.codehaus.mojo:exec-maven-plugin:1.2.1:exec (Bower install) on project ambari-admin: Command execution failed. Process exited with an error: 1 (Exit value: 1) -> [Help 1]

# 问题解决
# 编辑 .bowerrc 文件
cd ambari-admin/src/main/resources/ui/admin-web
vim .bowerrc
# 修改后
{


    # 原始
    "directory": "app/bower_components"
    # 新增
    ,"allow_root": true
}

# 删除admin-web下的node及node_modules文件夹文件
rm -rf node*
# 清除仓库最后更新文件
find ~/.m2/repository/ -name "*.lastUpdated" -exec rm -rf {

    } \;

- 无法访问
git仓库:遇到文件结束【未解决】
# 报错详情
fatal: unable to access 'https://github.com/mochajs/mocha.git/': Encountered end of file

# 关闭代理
git config --global --unset http.proxy
git config --global --unset https.proxy
- 服务器空回复【未解决】
# 报错详情
bower angular-translate#*
ECMDERR Failed to execute "git ls-remote --tags --heads https://github.com/PascalPrecht/bower-angular-translate.git", exit code of #128 fatal: unable to access 'https://github.com/PascalPrecht/bower-angular-translate.git/': Empty reply from server

# 加速
git config --global http.proxy 'socks5://127.0.0.1:7890'
git config --global https.proxy 'socks5://127.0.0.1:7890'
# 问题解决
# 1.安装bower
npm install bower
# 2.在 ambari-admin/src/main/resources/ui/admin-web/ 下执行
bower install

[root@tcloud admin-web]# npm install bower
npm WARN EBADENGINE Unsupported engine {


npm WARN EBADENGINE   package: '[email protected]',
npm WARN EBADENGINE   required: {

     node: '~0.8 || ~0.10' },
npm WARN EBADENGINE   current: {

     node: 'v16.18.1', npm: '8.19.2' }
npm WARN EBADENGINE }
Step 2: Install Ambari Server
Install the rpm package from ambari-server/target/rpm/ambari-server/RPMS/noarch/
yum install ambari-server*.rpm
Step 3: Setup and Start Ambari Server
Run the setup command to configure your Ambari Server, Database, JDK, LDAP, and other options:
ambari-server setup
Follow the on-screen instructions to proceed.
Once set up is done, start Ambari Server:
ambari-server start
Step 4: Install and Start Ambari Agent on All Hosts
Note: This step needs to be run on all hosts that will be managed by Ambari.
Copy the rpm package from ambari-agent/target/rpm/ambari-agent/RPMS/x86_64/ and run:
yum install ambari-agent*.rpm
Edit /etc/ambari-agent/ambari.ini
...
[server]
hostname=localhost

...
Make sure hostname under the [server] section points to the actual Ambari Server host, rather than “localhost”.
ambari-agent start
Step 5: Deploy Cluster using Ambari Web UI
Open up a web browser and go to http://:8080.
Log in with username admin and password admin and follow on-screen instructions. Secure your environment by ensuring your administrator details are changed from the default values as soon as possible.
Under Install Options page, enter the hosts to add to the cluster. Do not supply any SSH key, and check “Perform manual registration on hosts and do not use SSH” and hit “Next”.
3.总结
- 不同环境进行编译能够保证运行。
- 编译遇到的问题实在是不少,解决办法只能搜索,有些难以解决。
- 仅能管理收费版本的Hadoop生态组件。