1.创建项目默认选择Empty Activity
 点击Next
2.生成项目设置包名选择开发语言(这里我用的是kotlin)

在生成项目后我们要做的就是添加需要的配置打开我们的app目录下的build.gradle去添加我们所要用到的依赖库这次我们会用到一个储存库MMKV
dependencies {
    implementation 'com.tencent:mmkv-static:1.0.23'
}
别忘了我们还要在项目层build.gradle中配置阿里云镜像
apply from: "config.gradle"
buildscript {
    ext.kotlin_version = '1.4.31'

    repositories {
        mavenCentral()
        google()
        maven { url "https://jitpack.io" }
    }
    dependencies {
        classpath 'com.android.tools.build:gradle:4.0.2'
        classpath "org.jetbrains.kotlin:kotlin-gradle-plugin:$kotlin_version"
        // NOTE: Do not place your application dependencies here; they belong
        // in the individual module build.gradle files
    }
}

allprojects {
    repositories {
        mavenCentral()
        google()
        maven { url "https://jitpack.io" }
        maven { url "https://s01.oss.sonatype.org/content/groups/public" }
        maven {url 'http://maven.aliyun.com/nexus/content/groups/public/'}

    }
    /*Partial dependency libraries introduce existing dependencies, which are handled in the following way in order to unify their versions*/

    configurations.all {

        resolutionStrategy.eachDependency { details ->
            def requested = details.requested
            if (requested.group == 'org.jetbrains.kotlin') {
                if (requested.name.startsWith("kotlin-stdlib")) {
                    details.useVersion '1.4.31'
                }
            }
        }
    }
}

task clean(type: Delete) {
    delete rootProject.buildDir
}
所有配置完成后
3.项目生成后会默认进入到MainActivity中如图
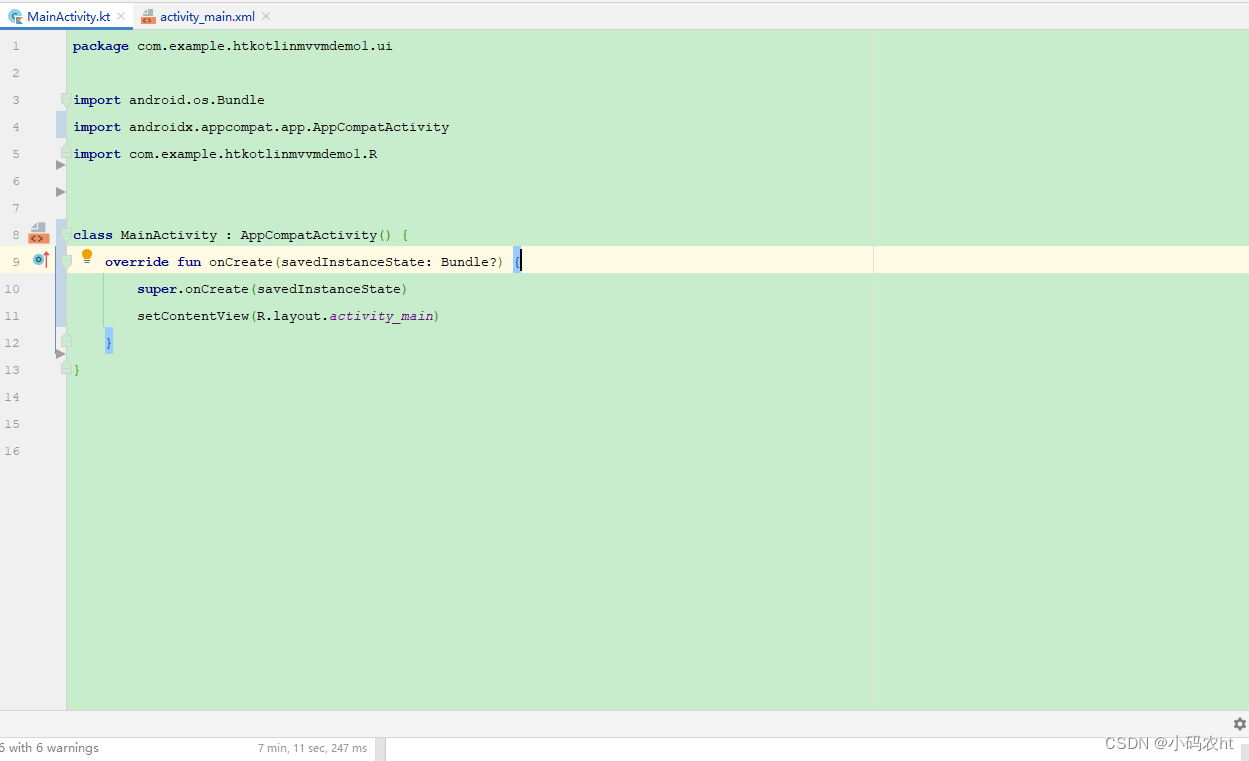
这样我们就可以开始写代码了 因为我们要写一个登录&注册一体的功能 所以这里我重新创建一个LoginActivity用来登录使用 将MainActivity用来登录成功后跳转的指向页面
4.画一个登录注册页面(activity_login.xml)
简单效果图
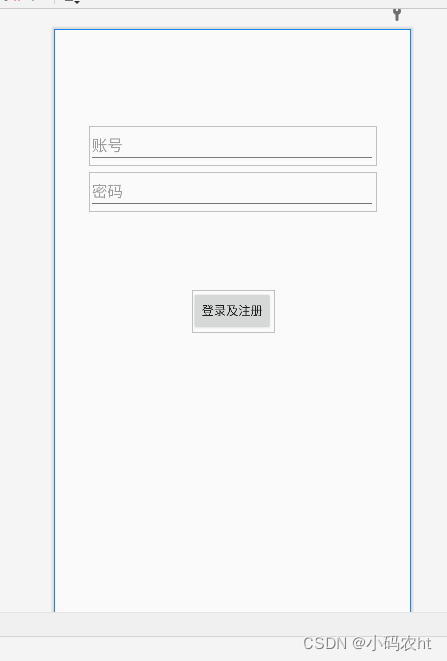
上图代码
<?xml version="1.0" encoding="utf-8"?>
<androidx.constraintlayout.widget.ConstraintLayout xmlns:android="http://schemas.android.com/apk/res/android"
    xmlns:app="http://schemas.android.com/apk/res-auto"
    xmlns:tools="http://schemas.android.com/tools"
    android:id="@+id/container"
    android:layout_width="match_parent"
    android:layout_height="match_parent"
    android:paddingLeft="@dimen/dp_16"
    android:paddingTop="@dimen/dp_16"
    android:paddingRight="@dimen/dp_16"
    android:paddingBottom="@dimen/dp_16"
    tools:context=".ui.LoginActivity">

    <EditText
        android:id="@+id/username"
        android:layout_width="@dimen/dp_0"
        android:layout_height="wrap_content"
        android:layout_marginStart="@dimen/dp_24"
        android:layout_marginTop="@dimen/dp_96"
        android:layout_marginEnd="@dimen/dp_24"
        android:hint="@string/prompt_email"
        android:inputType="textEmailAddress"
        android:selectAllOnFocus="true"
        app:layout_constraintEnd_toEndOf="parent"
        app:layout_constraintStart_toStartOf="parent"
        app:layout_constraintTop_toTopOf="parent" />

    <EditText
        android:id="@+id/password"
        android:layout_width="@dimen/dp_0"
        android:layout_height="wrap_content"
        android:layout_marginStart="@dimen/dp_24"
        android:layout_marginTop="@dimen/dp_8"
        android:layout_marginEnd="@dimen/dp_24"
        android:hint="@string/prompt_password"
        android:imeActionLabel="@string/action_sign_in_short"
        android:imeOptions="actionDone"
        android:inputType="textPassword"
        android:selectAllOnFocus="true"
        app:layout_constraintEnd_toEndOf="parent"
        app:layout_constraintStart_toStartOf="parent"
        app:layout_constraintTop_toBottomOf="@+id/username" />

    <Button
        android:id="@+id/login"
        android:layout_width="wrap_content"
        android:layout_height="wrap_content"
        android:layout_gravity="start"
        android:layout_marginStart="@dimen/dp_48"
        android:layout_marginTop="@dimen/dp_16"
        android:layout_marginEnd="@dimen/dp_48"
        android:layout_marginBottom="@dimen/dp_64"
        android:text="@string/action_sign_in"
        app:layout_constraintBottom_toBottomOf="parent"
        app:layout_constraintEnd_toEndOf="parent"
        app:layout_constraintStart_toStartOf="parent"
        app:layout_constraintTop_toBottomOf="@+id/password"
        app:layout_constraintVertical_bias="0.2" />

</androidx.constraintlayout.widget.ConstraintLayout>
5.代码实现登录注册并保存账号密码跳转MainActivity页面
package com.example.htkotlinmvvmdemo1.ui
import android.os.Bundle
import androidx.activity.viewModels
import androidx.lifecycle.lifecycleScope
import com.caspar.base.base.BaseActivity
import com.caspar.base.ext.acStart
import com.caspar.base.utils.MMKVUtil
import com.example.htkotlinmvvmdemo1.config.Constant.LOGINUSERNAME
import com.example.htkotlinmvvmdemo1.databinding.ActivityLoginBinding
import com.example.htkotlinmvvmdemo1.ui.viewmodel.LoginViewModel
import kotlinx.coroutines.delay
import kotlinx.coroutines.launch
/**
* "ht" 创建 2021/12/23
* 界面名称以及功能: 登录界面
*/
class LoginActivity : BaseActivity<ActivityLoginBinding>() {
private val loginViewModel: LoginViewModel by viewModels()
override fun initView(savedInstanceState: Bundle?) {
//判断账号不为空证明已经注册过了这是点击退出后跳回登录界面 默认将存储的账号显示出来当然也可以不写
if (MMKVUtil.decodeString(LOGINUSERNAME).isNotEmpty()) {
mBindingView.username.setText(MMKVUtil.decodeString(LOGINUSERNAME))
}
mBindingView.apply {
//这里实现点击登录后的处理
mBindingView.login.setOnClickListener {
//kotlin的语法很简洁 这里的意思是我们将输入的账号密码进行判断不为空即走下面的跳转方法
if (loginViewModel.userEmpty(
mBindingView.username.text.toString(),
mBindingView.password.text.toString()
)
) {
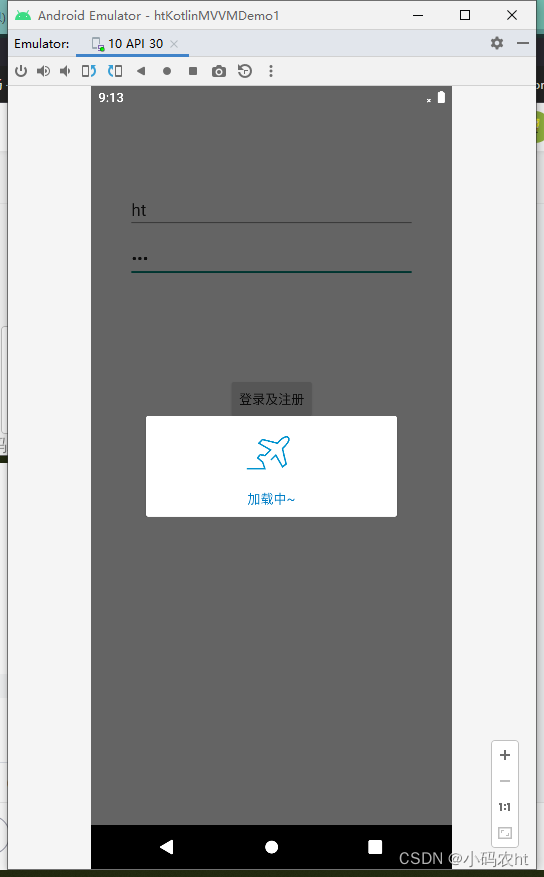
//kotlin协程实现2秒延迟跳转
lifecycleScope.launch {
showDialog()
delay(2000)
stopDialog()
acStart<MainActivity>()
finish()
}
}
}
}
}
override fun initIntent() {
}
}我这里用的是mvvm架构 所以我在贴一下这里的LoginViewModel
package com.example.htkotlinmvvmdemo1.ui.viewmodel
import android.app.Application
import com.caspar.base.base.BaseViewModel
import com.example.htkotlinmvvmdemo1.config.Constant
import com.caspar.base.utils.MMKVUtil
/**
* "ht" 创建 2021/12/23
* 界面名称以及功能: 登录界面
*/
class LoginViewModel(application: Application) : BaseViewModel(application) {
fun userEmpty(userName: String, userPassword: String): Boolean {
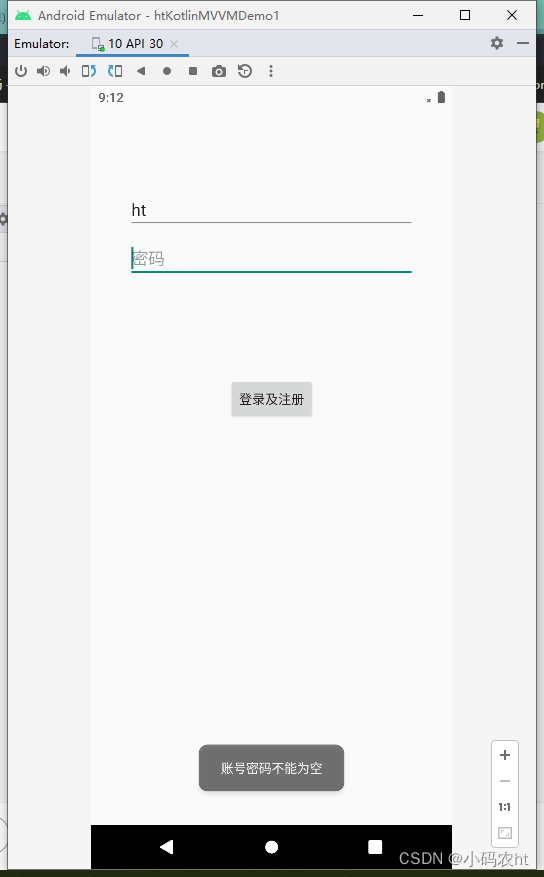
//这里的意思是用户名或者密码如果有一个为空就返回false并提示(当然我们也可以添加其他判断比如只能输入数字等等我们这里就不多判断了懂就行)
return if (userName.isEmpty() || userPassword.isEmpty()) {
toast("账号密码不能为空")
false
} else {
//这里的意思是用户名和密码都不为空就保存下来并返回true后执行延迟跳转(这里我将 MMKV封装了我会贴在下面的)
MMKVUtil.encode(Constant.LOGINUSERNAME, userName)
MMKVUtil.encode(Constant.LOGINPASSWORD, userPassword)
true
}
}
}
这样我们就已经实现了简单的登录注册了 当然我们app一般会有启动页 然后配合启动页去判断有没有注册过 如果注册过我们可以通过MMKV获取储存的账号密码直接登录不需要在跳到登录界面,如果你会问那怎么退出呢 当然我们可以储存那也可以删除 只要在app里添加退出登录 将账号密码清空跳到登录界面重新注册登录,还可以在下次在登录时我们判断账号密码为空了 就跳到登录界面重新注册登录
我里面用到ViewBinding并且封装了BaseActivity大家可以去看我第二个文章直接复制至于协程用法后面我在梳理一下
上面只是很简单的一个登录逻辑 相信大家都看得懂 主要是最基础东西 可能更适合新手吧!
最后看看效果:
1.登录验证失败
2.验证通过延迟跳转
3.登录成功跳转MainActivity
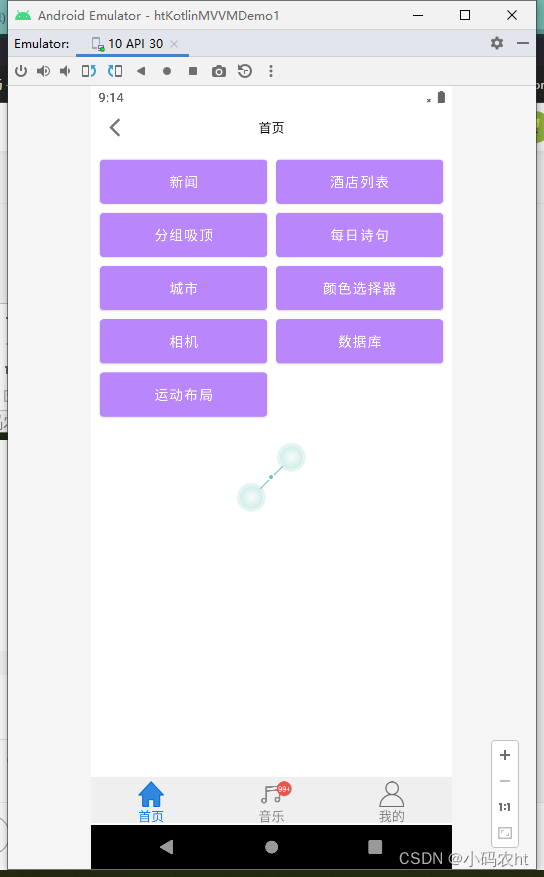
至于最后一个截图里能看到已经做了很多demo里实现了 以下功能:
(1) room数据增删改
(2)模糊搜索
(3)Motionlayout动画布局
(4)相机相册权限申请选择并设置圆角等样式
(5)骨架屏加载
(6)图片中提取选中颜色
(7)RecyclerView多级显示+吸顶
(8)CoordinatorLayout+AppBarLayout+CollapsingToolbarLayout基本使用
(9)Retrofit2+Coroutine(协程)+Flow实现网路请求加数据回调发送等等
(10)实现多语言切换
(10)集成高德地图实现中英文切换 3D地图等显示以及基本配置
(11)一些好用得第三方库如Player音乐播放器,BaseRecyclerViewAdapterHelper万能适配, AgentWeb轻量级而且功能强大的 Web 库
反正是很杂就是想到什么就试着写写玩也方便自己用得时候直接拿来用。
最后想说各位码友可以q我大家多多交流!!!!!!!end~