目标
尝试最简单的代码创建一个服务器并在客户端收发信息。
主要参考的是官方文档的首页:https://websockets.readthedocs.io/
(还需要 asyncio 库的一些知识,可见之前的博客 翻译《使用asyncio的一个指南》作者:Andrew Crozier)
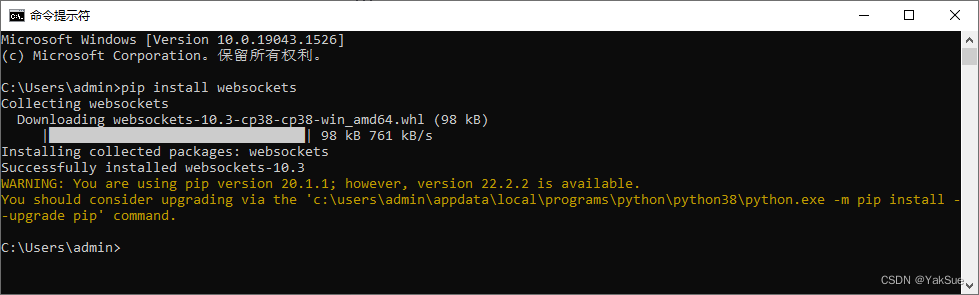
注意,如果还未安装的话,需要使用pip install websockets来安装
代码
作为测试,代码将对服务器发送1~19数字,而服务器接收到后会返回它是否能被3整除。
服务器 MyTestServer.py 代码如下:
import asyncio
import websockets

#接收到信息时:
async def echo(websocket):
    async for message in websocket:
        #显示收到的信息
        print("server recieve: " + message)
        #返回这个数字是否能被3除尽
        await websocket.send(str(int(message)%3==0))

async def main():
    #建立服务器:
    async with websockets.serve(echo, "localhost", 8765):
        await asyncio.Future()  # run forever

asyncio.run(main())
- 首先用
websockets.serve以localhost为主机的8765 端口创建服务器,并且指定当收到信息时会调用名为 echo 的函数。 - echo 函数接收 WebSocketServerProtocol为参数,其中包含有收到的信息。之后,使用
websocket.send发送信息。
客户端 MyTestClient.py 的代码如下:
import asyncio
import websockets

async def main():
    #连接上服务器:
    async with websockets.connect("ws://localhost:8765") as websocket:
        #发送0~19数字,并显示收到的信息:
        for i in range(20):
            await websocket.send(str(i))
            message = await websocket.recv()
            print(message)

asyncio.run(main())
- 首先用
websockets.connect连接服务器。 websocket.send发送信息websocket.recv接收信息
运行
