一、流程(需要注意):
1、读取文件IMG、GPEG的方式
2、读取文件的时候,拿到图片,用二进制的格式读取进来,向客户端发送的时候也要用二进制的格式,浏览器才能够根据这种方式来生成一张图片,那么在发送的过程中,response不能发送其它任何的字符串或者其它的信息,如果发送了,将会破坏二进制数据流的完整性,导致图片显示不出来。
二、代码 -- 读取图片并输出
1、optfile
var  fs=  require('fs');
module.exports={
	//读文件
	readfileSync:function(path){      //同步读取
		//读路径
        var  data  =  fs.readFileSync(path,'utf-8');
        console.log(data);
        console.log("同步方法执行完毕");
    },
    readfile:function(path,recall){          //异步执行
        fs.readFile(path,  function  (err,  data)  {
			//如果错误err
            if  (err)  {
              console.log(err);
            }else{
              console.log(data.toString());
			  recall(data);
            }
        });
        console.log("异步方法执行完毕");
    },

	//读取二进制图片(传入路径)
	readImg:function(path,res){
        fs.readFile(path,'binary',function(err,filedata)  { //异步执行  'binary' 二进制流的文件
            if  (err)  {
                console.log(err);
                return;
            }else{
		res.write(filedata,'binary');
		res.end();
            }
        });
    },

	//写文件
    writefile:function(path,data,recall){    //异步方式
        fs.writeFile(path,  data,  function  (err)  {
            if  (err)  {
                throw  err;
            }
            console.log('It\'s  saved!');  //文件被保存
			recall('写文件成功!');
          });
    },
    writeFileSync:function(path,data){  //同步方式
        fs.writeFileSync(path,  data);
        console.log("同步写文件完成");
    },
}
2、n7
var  http  =  require('http');
//操作文件
var  optfile  =  require('./models/optfile');
http.createServer(function  (request,  response)  {
    response.writeHead(200,  {'Content-Type':'image/jpeg'});
        if(request.url!=="/favicon.ico"){  //清除第2此访问

        optfile.readImg('./imgs/pig.png',response);

    }
}).listen(8000);
console.log('Server  running  at  http://127.0.0.1:8000/');
3、/imgs/pig.png
4、运行
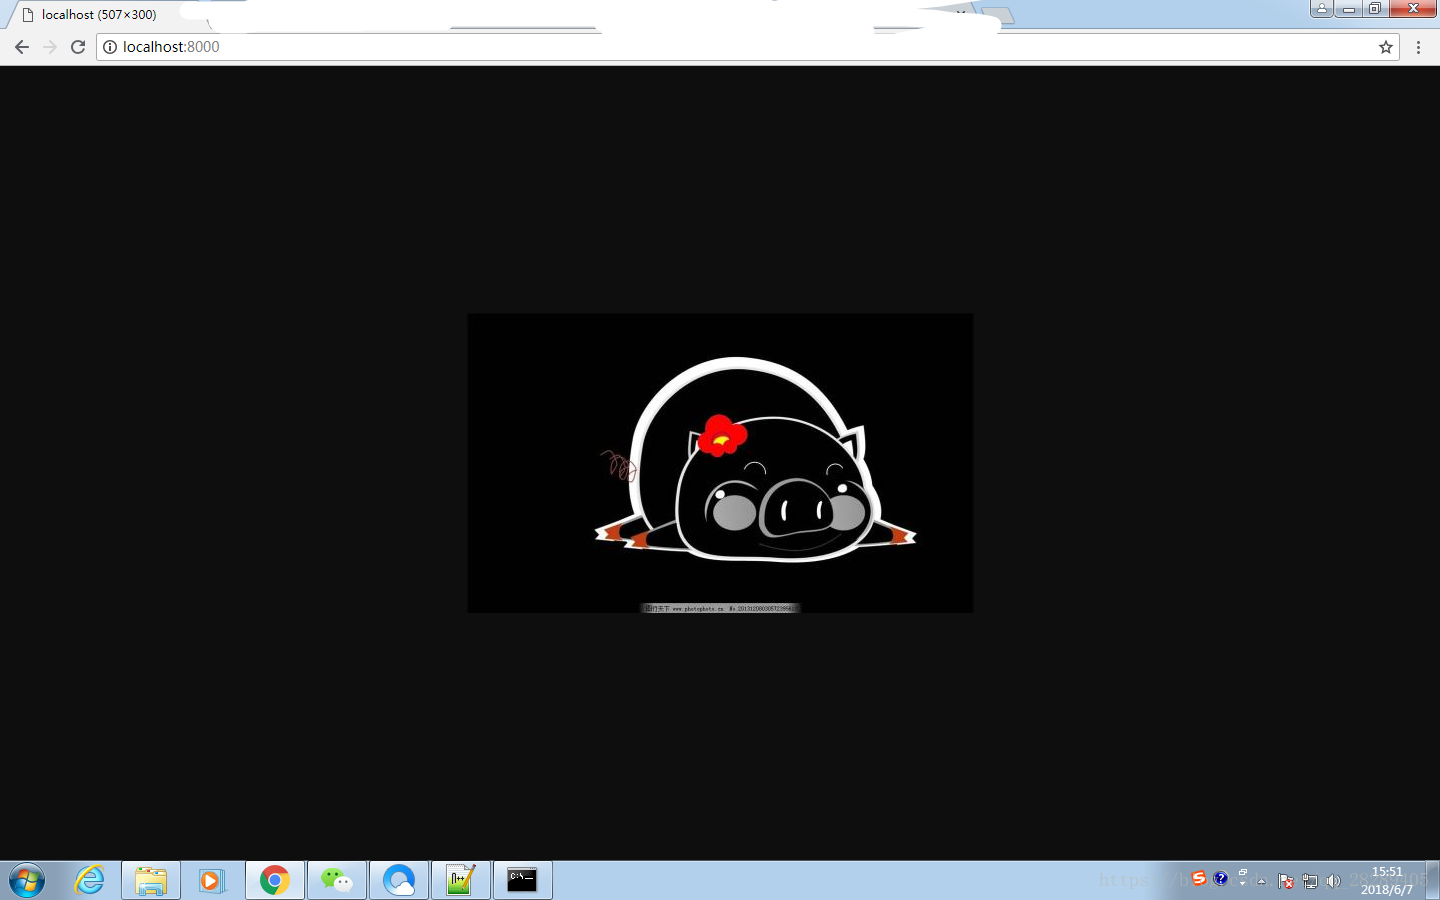

运行成功!!读取图片
============================================================================
三、路由改造 (既能显示文字又能显示图片)
1、login文件修改
<html>
<head>
</head>
<body>
登录界面
<img src="./showimg">
</body>
</html>
2、新建n8

var    http    =    require('http');
var    url      =  require('url');
var    luyou  =    require('./luyou');
http.createServer(function    (request,    response)    {
		if(request.url!=="/favicon.ico"){    //清除第2此访问
			pathname=url.parse(request.url).pathname;
			pathname  =  pathname.replace(/\//,'');//替换掉前面的/
			luyou[pathname](request,response);
	}
}).listen(8000);
console.log('Server    running    at    http://127.0.0.1:8000/');
3、luyou 做一下修改,写个封装
var optfile = require('./models/optfile');
//封装
function getRecall(req ,res ){
	res.writeHead(200,  {'Content-Type':  'text/html;  charset=utf-8'});
	function recall(data){
			res.write(data);
			res.end('');//不写则没有http协议尾
	}
	return recall;
}

module.exports={
	//进入
    login:function(req,res){
    recall =getRecall(req ,res);
    optfile.readfile('./views/login.html',recall);
    },
	//注册
    setin:function(req,res){
		recall =getRecall(req ,res);
		optfile.readfile('./views/setin.html',recall);
    },
	//写入
	writefile:function(req ,res){
		recall =greRecall(req ,res);
		optfile.writefile('./views/one.text','天气好好!!!',recall);
	},
	//读图片
	showimg:function(req ,res){
		res.writeHead(200,  {'Content-Type':'image/jpeg'});
		optfile.readImg('./imgs/pig.png',res);
	}

}
4、运行


以上就是文字和图片混搭显示!!