开发一个go版本的kong 插件,通常需要以下3个步:
基于kong提供的go语言版本的PDK编写并且编译kong插件 --》 在kong的kong.conf文件中配置插件位置 --> 通过kong的admin api来启用插件
一、使用go语言编写kong插件
1、定义Config对象
type Config struct {


	Message string
}
2、定义New()来实例化Config对象
func New() interface{

    } {


	return &Config{

    }
}
3、定义access阶段对请求进行处理
func (conf Config) Access(kong *pdk.PDK) {


	host, err := kong.Request.GetHeader("host")
	if err != nil {


		log.Printf("Error reading 'host' header: %s", err.Error())
	}

	message := conf.Message
	if message == "" {


		message = "hello"
	}
	kong.Response.SetHeader("x-hello-from-go", fmt.Sprintf("Go says %s to %s", message, host))
}
4、将go-pdk/server包导入到项目中
import (
	"fmt"
	"log"

	"github.com/Kong/go-pdk"
	"github.com/Kong/go-pdk/server"
)
5、创建一个main函数,使用server.startServer来启动
func main() {


	server.StartServer(New, Version, Priority)
}
Add a main() function that calls server.StartServer(New, Version, Priority).
6、将上面所写的代码执行编译成一个可执行文件
上面的代码都是来源于kong的go-plugins中example代码,地址为https://github.com/Kong/go-plugins/tree/master
这里我们直接在linux服务器上通过git下载该代码即可
6.1、下载plugins对应的源码
[root@min ~]# git clone https://github.com/Kong/go-plugins.git
Cloning into 'go-plugins'...
remote: Enumerating objects: 76, done.
remote: Counting objects: 100% (51/51), done.
remote: Compressing objects: 100% (32/32), done.
remote: Total 76 (delta 27), reused 22 (delta 17), pack-reused 25
Unpacking objects: 100% (76/76), done.
6.2、进行到下载好的代码包中,并进行编译
[root@min ~]# cd go-plugins/
[root@min go-plugins]# ls
go-hello.go  go-hello-lm.go  go-log.go  go-log-lm.go  go.mod  go.sum  LICENSE  Makefile  README.md
[root@min go-plugins]# go build go-hello.go
[root@min go-plugins]# ls
go-hello  go-hello.go  go-hello-lm.go  go-log.go  go-log-lm.go  go.mod  go.sum  LICENSE  Makefile  README.md
6.3、 创建一个存放编译好的go-hello文件
[root@min go-plugins]# mkdir -p /etc/kong/plugins
6.4、 将go-hello移入到/etc/kong/plugins目录中
[root@min go-plugins]# mv go-hello /etc/kong/plugins/
[root@min go-plugins]# ls
go-hello.go  go-hello-lm.go  go-log.go  go-log-lm.go  go.mod  go.sum  LICENSE  Makefile  README.md
[root@min go-plugins]# ls /etc/kong/plugins/
go-hello
二、在kong的配置文件kong.conf中添加对插件的引用
2.1、kong.conf配置kong插件位置
在kong的配置文件中写入如下内容,后面通过-v /etc/kong/:/etc/kong/ 把宿主机的配置文件挂在到docker中去
[root@min kong]# vi kong.conf
[root@min kong]# cat kong.conf
plugins = bundled,go-hello
pluginserver_names = go-hello
pluginserver_go_hello_socket = /usr/local/kong/go-hello.socket
pluginserver_go_hello_start_cmd = /etc/kong/plugins/go-hello
pluginserver_go_hello_query_cmd = /etc/kong/plugins/go-hello -dump

[root@min kong]#
# 2.2、使用docker启动kong容器
如果还不知道怎么安装kong的,请参考本人之前写kong安装指导,地址:https://blog.csdn.net/zhangshenglu1/article/details/130934300
[root@min kong]# docker run -d --name kong-gateway \
>  --network=kong-net \
>  -e "KONG_DATABASE=postgres" \
>  -e "KONG_PG_HOST=kong-database" \
>  -e "KONG_PG_USER=kong" \
>  -e "KONG_PG_PASSWORD=kongpass" \
>  -e "KONG_PROXY_ACCESS_LOG=/dev/stdout" \
>  -e "KONG_ADMIN_ACCESS_LOG=/dev/stdout" \
>  -e "KONG_PROXY_ERROR_LOG=/dev/stderr" \
>  -e "KONG_ADMIN_ERROR_LOG=/dev/stderr" \
>  -e "KONG_ADMIN_LISTEN=0.0.0.0:8001" \
>  -e "KONG_ADMIN_GUI_URL=http://localhost:8002" \
>  -e KONG_LICENSE_DATA \
>  -p 8000:8000 \
>  -p 8443:8443 \
>  -p 8001:8001 \
>  -p 8444:8444 \
>  -p 8002:8002 \
>  -p 8445:8445 \
>  -p 8003:8003 \
>  -p 8004:8004 \
>  -v /etc/kong:/etc/kong \
>  kong/kong-gateway:3.3.0.0
1a1768bddb94fee9a23249d14ba2e6f45c54950c0d35d1bb76fce72cce964e15
安装完成后,查看对应的kong-gateway容器是否已经起来

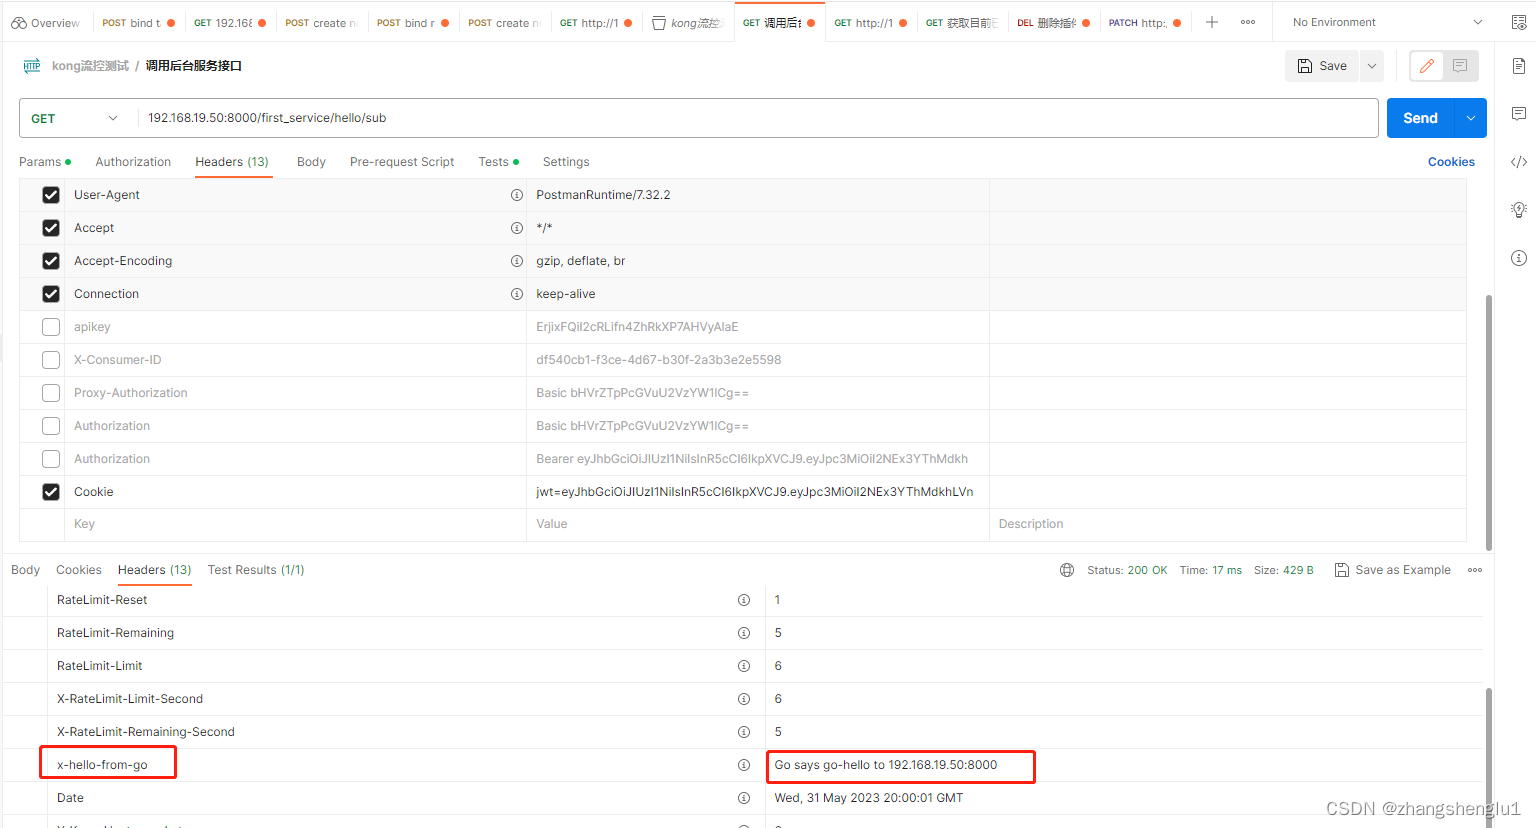
这个插件的左右的就是获取发送的请求host,然后添加一个x-hello-from-go响应头。
三、启用go-hello插件
[root@min kong]# curl -X POST http://localhost:8001/plugins/ \
      --data "name=go-hello" \
      --data "config.message=go-hello"
{

    "protocols":["grpc","grpcs","http","https"],"id":"d5336e66-1ff3-47ea-9b2a-31f8b52c9b05","consumer":null,"instance_name":null,"config":{

    "message":"go-hello"},"tags":null,"updated_at":1685563005,"name":"go-hello","ordering":null,"service":null,"enabled":true,"route":null,"created_at":1685563005}
请求中name是必传参数,代表要开启是哪个插件,我们这里配置的插件名称是go-hello,所以name的值需要给go-hello。
config.message的值可以随意指定,这里由于没有指定servicename,serviceid
/route等信息,所以是全局生效的。
如果是想针对服务生效可以使用如下命令:
curl -X POST
http://localhost:8001/services/SERVICE_NAME|SERVICE_ID/plugins
–data “name=go-hello”
–data “config.message=go-hello”
如果只想针对某个route生效,那么可以使用如下命令
curl -X POST http://localhost:8001/routes/ROUTE_NAME|ROUTE_ID/plugins
–data “name=go-hello”
–data “config.message=go-hello”
检查插件是否已经运行成功,这里我们可以在konga上观看,或者通过admin api接口调用查看。
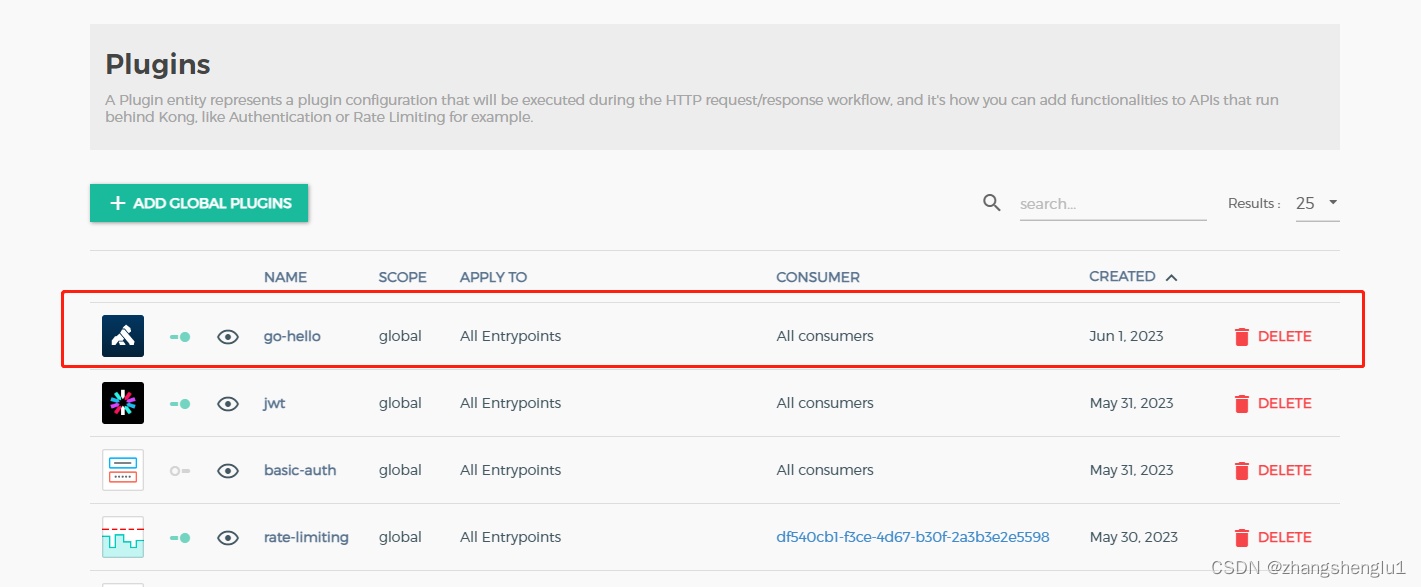
从这里可以可以看到,我们go-hello已经安装好了
四、测试go-hello插件的功能是否正常
我们从postman上发起请求调用,然后观察响应头中是否有x-hello-from-go响应头,从测试结果可以看到符合我们的预期。至此,我们完成一个简单的kong的插件开发,并进行配置!