线程池的创建
线程池的创建方法总共有 7 种,但总体来说可分为 2 类:
- 一类是通过 ThreadPoolExecutor 创建的线程池;
- 另一个类是通过 Executors 创建的线程池。
线程池的创建方式
Executors.newFixedThreadPool:
创建一个固定大小的线程池,可控制并发的线程数,超出的线程会在队列中等待
;
//      创建一个固定大小的线程池,可控制并发的线程数,超出的线程会在队列中等待
        ExecutorService executorService = Executors.newFixedThreadPool(3);
        // 创建任务
        Runnable runnable = new Runnable() {


            @Override
            public void run() {


                System.out.println("任务被执行,线程:" + Thread.currentThread().getName());
            }
        };
            executorService.submit(runnable);  // 执行方式 1:submit
            executorService.execute(runnable); // 执行方式 2:execute
            executorService.execute(runnable);
            executorService.execute(runnable);
            //结束线程池
            executorService.shutdown();
执行结果如下:
超出线程数量的任务会在队列中等待,其他任务执行完毕之后再获取线程执行任务。
任务被执行,线程:pool-1-thread-1
任务被执行,线程:pool-1-thread-3
任务被执行,线程:pool-1-thread-2
任务被执行,线程:pool-1-thread-3
Executors.newCachedThreadPool:
创建一个可缓存的线程池,若线程数超过处理所需,缓存一段时间后会回收,若线程数不够,则新建线程;
        ExecutorService executorService = Executors.newCachedThreadPool(Executors.defaultThreadFactory());
        // 创建任务
        Runnable runnable = new Runnable() {


            @Override
            public void run() {


                System.out.println("任务被执行,线程:" + Thread.currentThread().getName());
            }
        };
        // 线程池执行任务(一次添加 4 个任务)
        // 执行任务的方法有两种:submit 和 execute
        for (int i = 0; i < 10 ; i++) {


            executorService.submit(runnable);  // 执行方式 1:submit
            executorService.execute(runnable); // 执行方式 2:execute
            executorService.execute(runnable);
            executorService.execute(runnable);
        }
        executorService.shutdown();
运行结果如下:
任务被执行,线程:pool-1-thread-1
任务被执行,线程:pool-1-thread-1
任务被执行,线程:pool-1-thread-3
任务被执行,线程:pool-1-thread-4
任务被执行,线程:pool-1-thread-2
任务被执行,线程:pool-1-thread-5
任务被执行,线程:pool-1-thread-6
任务被执行,线程:pool-1-thread-7
任务被执行,线程:pool-1-thread-9
任务被执行,线程:pool-1-thread-10
任务被执行,线程:pool-1-thread-14
任务被执行,线程:pool-1-thread-13
任务被执行,线程:pool-1-thread-15
任务被执行,线程:pool-1-thread-16
任务被执行,线程:pool-1-thread-18
任务被执行,线程:pool-1-thread-20
任务被执行,线程:pool-1-thread-17
任务被执行,线程:pool-1-thread-22
任务被执行,线程:pool-1-thread-23
任务被执行,线程:pool-1-thread-25
任务被执行,线程:pool-1-thread-27
任务被执行,线程:pool-1-thread-28
任务被执行,线程:pool-1-thread-30
任务被执行,线程:pool-1-thread-29
任务被执行,线程:pool-1-thread-32
任务被执行,线程:pool-1-thread-31
任务被执行,线程:pool-1-thread-33
任务被执行,线程:pool-1-thread-35
任务被执行,线程:pool-1-thread-39
任务被执行,线程:pool-1-thread-36
任务被执行,线程:pool-1-thread-8
任务被执行,线程:pool-1-thread-19
任务被执行,线程:pool-1-thread-21
任务被执行,线程:pool-1-thread-24
任务被执行,线程:pool-1-thread-34
任务被执行,线程:pool-1-thread-38
任务被执行,线程:pool-1-thread-11
任务被执行,线程:pool-1-thread-12
任务被执行,线程:pool-1-thread-26
任务被执行,线程:pool-1-thread-37
Executors.newSingleThreadExecutor:
创建单个线程数的线程池,它可以保证先进先出的执行顺序;
  ExecutorService executorService = Executors.newSingleThreadExecutor(Executors.defaultThreadFactory());
        // 创建任务
        Runnable runnable = new Runnable() {


            @Override
            public void run() {


                System.out.println("任务被执行,线程:" + Thread.currentThread().getName());
            }
        };
        // 线程池执行任务(一次添加 4 个任务)
        // 执行任务的方法有两种:submit 和 execute
        for (int i = 0; i < 10 ; i++) {


            executorService.submit(runnable);  // 执行方式 1:submit
            executorService.execute(runnable); // 执行方式 2:execute
            executorService.execute(runnable);
            executorService.execute(runnable);
        }
        executorService.shutdown();
执行结果如下
任务被执行,线程:pool-1-thread-1
任务被执行,线程:pool-1-thread-1
任务被执行,线程:pool-1-thread-1
任务被执行,线程:pool-1-thread-1
任务被执行,线程:pool-1-thread-1
任务被执行,线程:pool-1-thread-1
...
Executors.newScheduledThreadPool:
创建一个可以执行延迟任务的线程池;
      ScheduledExecutorService scheduledExecutorService = Executors.newScheduledThreadPool(3);
       System.out.println("任务添加时间"+ new Date());
        ScheduledFuture<Date> schedul = scheduledExecutorService.schedule(()->{


            return new Date();
        }, 3, TimeUnit.SECONDS);
        System.out.println("任务执行完毕" + schedul.get());
运行结果如下:
在2秒钟后执行一次任务,线程阻塞等待结果返回。执行完成并返回结果后就结束。
任务添加时间Thu Mar 02 20:50:12 CST 2023
任务执行完毕Thu Mar 02 20:50:15 CST 2023
Executors.newSingleThreadScheduledExecutor:
创建一个单线程的可以执行延迟任务的线程池;
public static void SingleThreadScheduledExecutor() {


    // 创建线程池
    ScheduledExecutorService threadPool = Executors.newSingleThreadScheduledExecutor();
    // 添加定时执行任务(2s 后执行)
    System.out.println("添加任务,时间:" + new Date());
    threadPool.schedule(() -> {


        System.out.println("任务被执行,时间:" + new Date());
        try {


            TimeUnit.SECONDS.sleep(1);
        } catch (InterruptedException e) {


        }
    }, 2, TimeUnit.SECONDS);
}
执行结果如下:

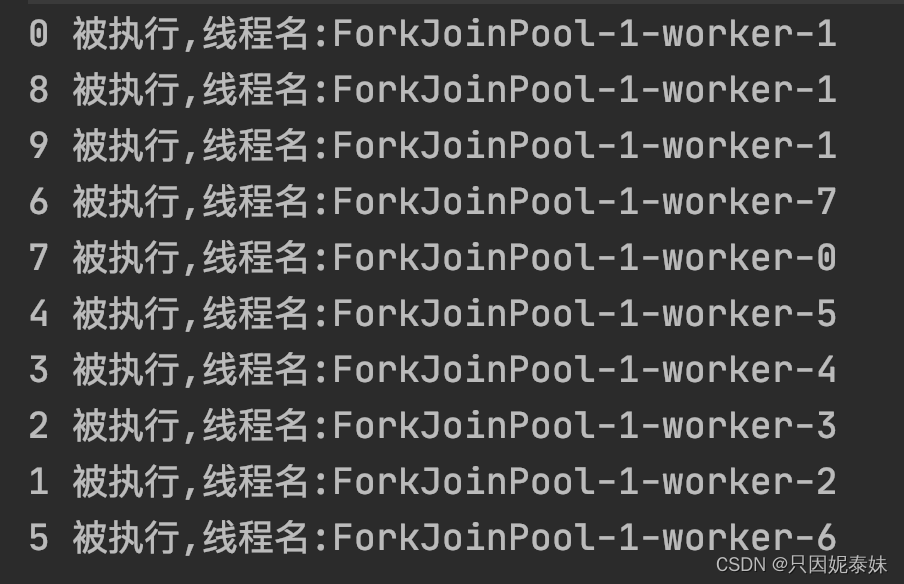
Executors.newWorkStealingPool:
创建一个抢占式执行的线程池(任务执行顺序不确定)【JDK 1.8 添加】。
public static void workStealingPool() {


    // 创建线程池
    ExecutorService threadPool = Executors.newWorkStealingPool();
    // 执行任务
    for (int i = 0; i < 10; i++) {


        final int index = i;
        threadPool.execute(() -> {


            System.out.println(index + " 被执行,线程名:" + Thread.currentThread().getName());
        });
    }
    // 确保任务执行完成
    while (!threadPool.isTerminated()) {


    }
}
运行结果如下:
从上述结果可以看出,任务的执行顺序是不确定的,因为它是抢占式执行的。
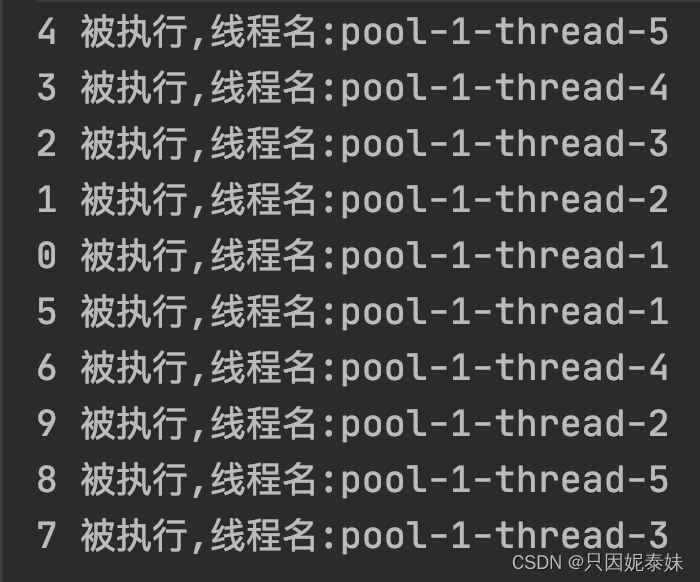
ThreadPoolExecutor:
最原始的创建线程池的方式,它包含了 7 个参数可供设置。
public static void myThreadPoolExecutor() {


    // 创建线程池
    ThreadPoolExecutor threadPool = new ThreadPoolExecutor(5, 10, 100, TimeUnit.SECONDS, new LinkedBlockingQueue<>(10));
    // 执行任务
    for (int i = 0; i < 10; i++) {


        final int index = i;
        threadPool.execute(() -> {


            System.out.println(index + " 被执行,线程名:" + Thread.currentThread().getName());
            try {


                Thread.sleep(1000);
            } catch (InterruptedException e) {


                e.printStackTrace();
            }
        });
    }
}
执行结果如下:
线程池的拒绝策略
当线程池的任务缓存队列已满并且线程池中的线程数目达到maximumPoolSize时,如果还有任务到来就会采取任务拒绝策略,通常有以下四种策略:
ThreadPoolExecutor.AbortPolicy:
丢弃任务并抛出RejectedExecutionException异常。
ThreadPoolExecutor.DiscardPolicy:
丢弃任务,但是不抛出异常。
ThreadPoolExecutor.DiscardOldestPolicy:
丢弃队列最前面的任务,然后重新提交被拒绝的任务
ThreadPoolExecutor.CallerRunsPolicy:
由调用线程(提交任务的线程)处理该任务