基础:
一、通过普通的I/O流读取配置文件(BufferedReader)
1、properties文件

2、测试类
public class TestReadProperties {
@Test
public void IOReadProperties() throws IOException {
// 把配置文件的内容封装进map
Map<String, Object> map = new HashMap<>();
// 我这里使用 UTF-8 的编码格式输出properties文件
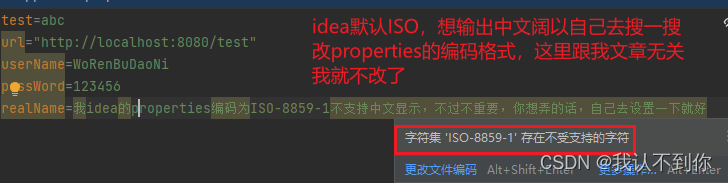
// 但是我idea的properties编码为ISO-8859-1不支持中文显示,不过不重要,你想弄的话,自己去设置一下就好
BufferedReader reader = new BufferedReader(
new InputStreamReader( Files.newInputStream(Paths.get("src\\main\\resources\\application.properties")),
StandardCharsets.UTF_8));
while (reader.ready()){
String s = reader.readLine();
String[] split = s.split("=");
String prefix = split[0];
String suffix = split[1];
map.put(prefix,suffix);
}
// 用完关流
reader.close();
/*
使用 stream 流 输出map的key和value
由于Map是根据 哈希算法来排key的 顺序,所以这里输出的顺序 和properties不一样
但上述的 字符串 s 的输出顺序是一致的,可以去试一下
* */
map.forEach((key,value)->{
System.out.print("key = " + key);
System.out.println(" value = " + value);
});
}
}
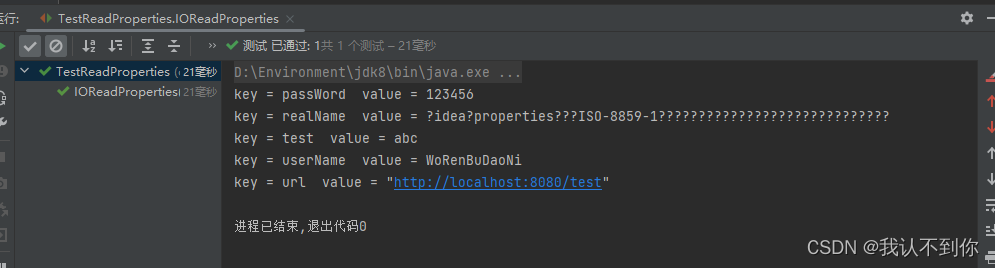
3、结果(编码格式不一样,所以中文不显示,而idea默认properties为ISO的编码,而ISO编码是不支持中文的,所以就算我在字符读入流,规定编码为ISO,也是乱码)
二、通过Peoperties类读取文件(还是I/O读取)
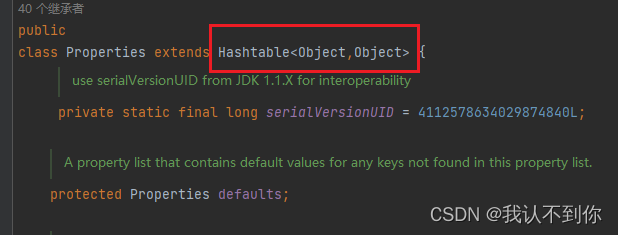
先看一下这个类的源码,他是继承于HashTable,所以也是一个key-value形式存在的类
1、properties文件
2、测试类
public class TestReadProperties {


    @Test
    public void IOReadProperties2() throws IOException, InterruptedException {


        Properties properties = new Properties();
        properties.load(new InputStreamReader(
                Files.newInputStream(Paths.get("src\\main\\resources\\application.properties")),
                StandardCharsets.ISO_8859_1));
        // 利用Map中的Entry内部类进行遍历
        for (Map.Entry<Object, Object> objectObjectEntry : properties.entrySet()) {


            System.out.print("key = " + objectObjectEntry.getKey());
            System.out.println("  value = " + objectObjectEntry.getValue());
        }
        System.out.println("=============================================");
        System.out.println(properties.getProperty("url"));
        // 这里没有url2这个值,所以会返回"???"
        System.out.println(properties.getProperty("url2","???"));
        // 用完关闭流
        properties.clone();
    }
}
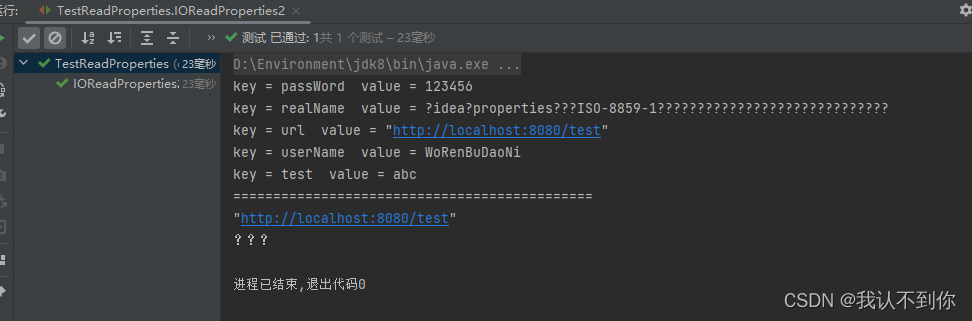
3、结果
使用Spring注解获取properties文件内容:
零、properties文件内容
test=abc
url="http://localhost:8080/test"
userName=WoRenBuDaoNi
passWord=123456
realName=我idea的properties编码为ISO-8859-1不支持中文显示,不过不重要,你想弄的话,自己去设置一下就好

animal.age=${random.int}
animal.name=cat${random.uuid}
animal.list[0]=a
animal.list[1]=b
animal.list[2]=c
animal.map[hello]=hello1
animal.map[world]=world1
animal.flag=true
animal.birth=2023/04/25
三、使用@Value注解
普通版:
1、测试类
@SpringBootTest
public class SpringReadProerties {
@Value("${url}")
private String url;
/*
* properties中是没有url2的配置,所以冒号后面是设置的默认值
* 如果url2为空,则输出sadasdas
* */
@Value("${url2:sadasdas}")
private String url2;
@Test
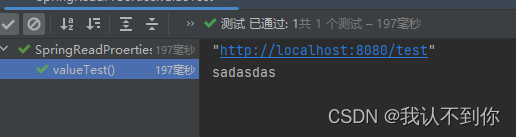
public void valueTest(){
System.out.println(url);
System.out.println(url2);
}
}
2、结果
静态版:
下面给大家介绍 spring 不能注入 static 变量的原因,具体详情如下所示:
Spring 依赖注入 是依赖 set 方法
set 方法是 是普通的对象方法
static 变量是类的属性
1、创建一个StaticTest.java类
@Component
public class StaticTest {


    public static String url;

    @Value("${url}")
    public void setUrl(String url) {


        StaticTest.url = url;
    }
}
2、测试类
@SpringBootTest
public class SpringReadProerties {
private static String url;
@Value("${url}")
public void setUrl(String url) {
SpringReadProerties.url = url;
}
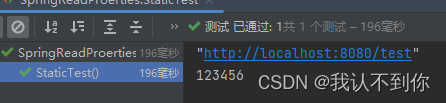
@Test
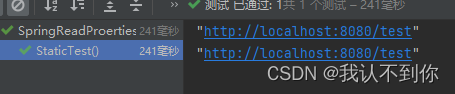
public void StaticTest(){
// 静态类的url
System.out.println(StaticTest.url);
// 该类的静态url
System.out.println(SpringReadProerties.url);
}
}
3、结果:
四、使用@ConfigurationProperties注解
1、Animal类
@Component
@ConfigurationProperties(prefix = "animal")
public class Animal {


    private String name;
    private Integer age;
    private List<String> list;
    private Map<String,Object> map;
    private Boolean flag;
    private Date birth;

    public String getName() {


        return name;
    }

    public void setName(String name) {


        this.name = name;
    }

    public Integer getAge() {


        return age;
    }

    public void setAge(Integer age) {


        this.age = age;
    }

    public List<String> getList() {


        return list;
    }

    public void setList(List<String> list) {


        this.list = list;
    }

    public Map<String, Object> getMap() {


        return map;
    }

    public void setMap(Map<String, Object> map) {


        this.map = map;
    }

    public Boolean getFlag() {


        return flag;
    }

    public void setFlag(Boolean flag) {


        this.flag = flag;
    }

    public Date getBirth() {


        return birth;
    }

    public void setBirth(Date birth) {


        this.birth = birth;
    }
}
2、测试类
@SpringBootTest
public class SpringReadProerties {
@Autowired
Animal animal2;
@Test
public void ConfigurationPropertiesTest(){
// 因为我们取的对象需要Spring容器代理,
// 所以我们new的对象是没有值得
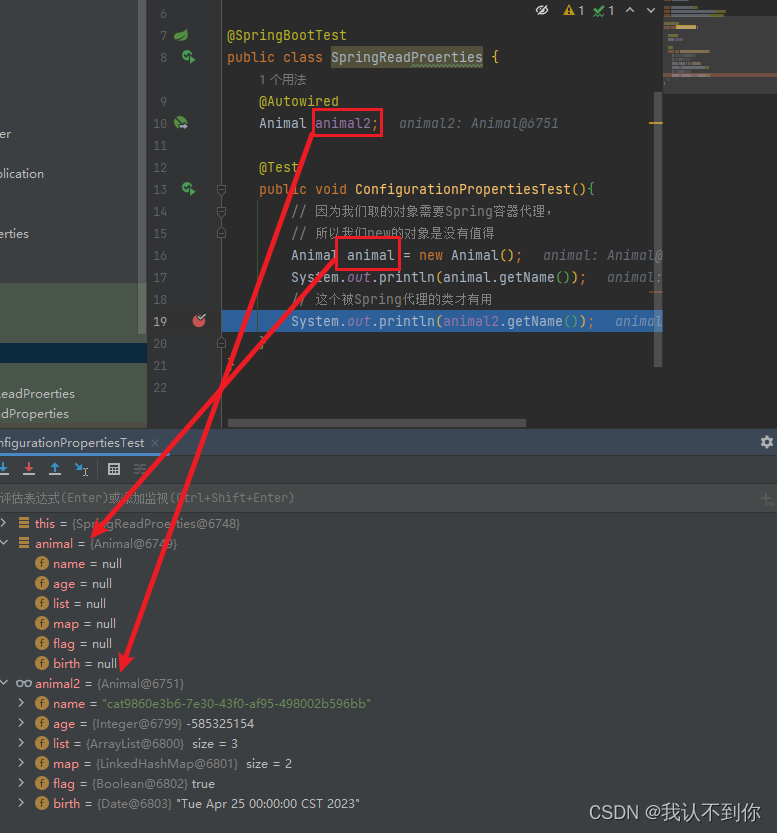
Animal animal = new Animal();
System.out.println(animal.getName());
// 这个被Spring代理的类才有用
System.out.println(animal2.getName());
}
}
3、结果
我们在这里打个断点看一下,果然只有Spring代理的对象才有值
五、使用Spring代理的Environment对象
1、测试类
@SpringBootTest
public class SpringReadProerties {
@Autowired
private Environment environment;
@Test
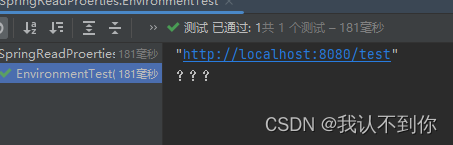
public void EnvironmentTest(){
String url = environment
.getProperty("url");
System.out.println(url);
String url2 = environment
.getProperty("url2","???");
System.out.println(url2);
}
}
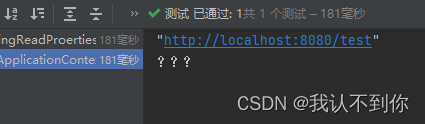
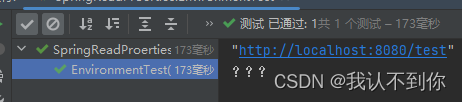
2、结果
六、使用Spring代理的ApplicationContext对象
1、测试类
@SpringBootTest
public class SpringReadProerties {


    @Autowired
    private ApplicationContext applicationContext;

    @Test
    public void ApplicationContextTest(){


        Environment environment = applicationContext.getEnvironment();
        String url = environment
                .getProperty("url");
        System.out.println(url);
        String url2 = environment
                .getProperty("url2","???");
        System.out.println(url2);
    }
}
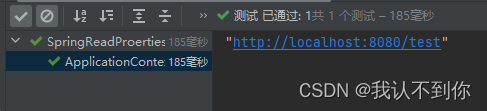
2、结果
不使用注解,实现Spring接口获取properties文件内容:
零、properties文件内容
test=abc
url="http://localhost:8080/test"
userName=WoRenBuDaoNi
passWord=123456
realName=我idea的properties编码为ISO-8859-1不支持中文显示,不过不重要,你想弄的话,自己去设置一下就好

animal.age=${random.int}
animal.name=cat${random.uuid}
animal.list[0]=a
animal.list[1]=b
animal.list[2]=c
animal.map[hello]=hello1
animal.map[world]=world1
animal.flag=true
animal.birth=2023/04/25
七、实现EnvironmentAware接口
普通版:
1、测试类
@SpringBootTest
public class SpringReadProerties implements EnvironmentAware {


    private Environment environment;

    @Test
    public void EnvironmentTest(){


        String url = environment
                .getProperty("url");
        System.out.println(url);
        String url2 = environment
                .getProperty("url2","???");
        System.out.println(url2);
    }

    @Override
    public void setEnvironment(Environment environment) {


        this.environment = environment;
    }
}
2、结果
静态版:
1、新建一个StaticTest.java类
@Component
public class StaticTest implements EnvironmentAware {


    private static Environment environment;

    public static Environment getEnvironment(){


        return environment;
    }

    @Override
    public void setEnvironment(Environment environment) {


        StaticTest.environment = environment;
    }
}
2、测试类
@SpringBootTest
public class SpringReadProerties implements EnvironmentAware {


    private static Environment environment;

    @Test
    public void StaticTest(){


        // StaticTest的静态方法
        Environment environment = StaticTest.getEnvironment();
        String url = environment.getProperty("url");
        System.out.println(url);
        // 本地的静态属性
        System.out.println(SpringReadProerties
                .environment
                .getProperty("url"));
    }

    @Override
    public void setEnvironment(Environment environment) {


        SpringReadProerties.environment = environment;
    }
}
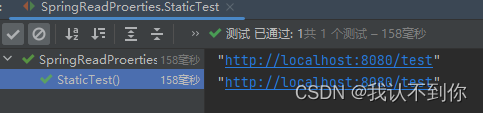
3、结果
八、实现ApplicationContextAware接口
普通版:
1、测试类
@SpringBootTest
public class SpringReadProerties implements ApplicationContextAware {


    private ApplicationContext applicationContext;

    @Test
    public void ApplicationContextTest(){


        System.out.println(applicationContext
                .getEnvironment()
                .getProperty("url"));
    }

    @Override
    public void setApplicationContext(ApplicationContext applicationContext) throws BeansException {


        this.applicationContext = applicationContext;
    }
}
2、结果
静态版:
1、静态类StaticTest.java
@Component
public class StaticTest implements ApplicationContextAware {


    private static ApplicationContext applicationContext;

    public static ApplicationContext getApplicationContext() {


        return applicationContext;
    }

    @Override
    public void setApplicationContext(ApplicationContext applicationContext) throws BeansException {


        StaticTest.applicationContext = applicationContext;
    }
}
2、测试类
@SpringBootTest
public class SpringReadProerties implements ApplicationContextAware {


    private static ApplicationContext applicationContext;

    @Test
    public void StaticTest(){


        // 静态类的
        System.out.println(StaticTest
                .getApplicationContext()
                .getEnvironment()
                .getProperty("url"));
        // 本地的
        System.out.println(SpringReadProerties.applicationContext
                .getEnvironment()
                .getProperty("passWord"));
    }

    @Override
    public void setApplicationContext(ApplicationContext applicationContext) throws BeansException {


        SpringReadProerties.applicationContext = applicationContext;
    }
}
3、结果
yaml的配置和properties差不多,也可以用注解和Environment类进行获取,对应格式我给大家放在下面对比一下
properties文件:
test=abc
url="http://localhost:8080/test"
userName=WoRenBuDaoNi
passWord=123456
realName=我idea的properties编码为ISO-8859-1不支持中文显示,不过不重要,你想弄的话,自己去设置一下就好

animal.age=${random.int}
animal.name=cat${random.uuid}
animal.list[0]=a
animal.list[1]=b
animal.list[2]=c
animal.map[hello]=hello1
animal.map[world]=world1
animal.flag=true
animal.birth=2023/04/25
yaml文件:
test: abc
url: "http://localhost:8080/test"
userName: WoRenBuDaoNi
passWord: 123456
realName: 我idea的properties编码为ISO-8859-1不支持中文显示,不过不重要,你想弄的话,自己去设置一下就好
animal:
  age: ${

    random.int}
  name: cat${

    random.uuid}
  list:
    - a
    - b
    - c
  map: {

    hello: hello1,world: world1}
  flag: true
  birth: 2023/04/25
下就好

animal.age=${

    random.int}
animal.name=cat${

    random.uuid}
animal.list[0]=a
animal.list[1]=b
animal.list[2]=c
animal.map[hello]=hello1
animal.map[world]=world1
animal.flag=true
animal.birth=2023/04/25