生产者端
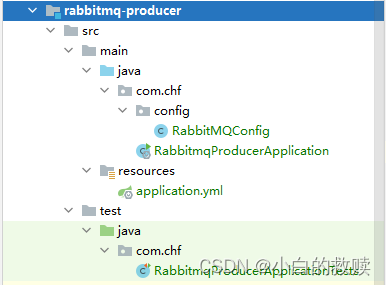
目录结构
引入依赖
修改yml
业务逻辑
测试结果
消费者端
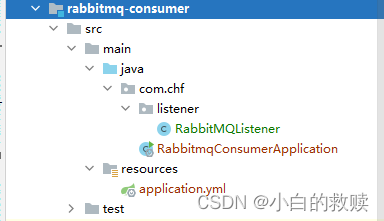
目录结构
导入依赖
修改yml
业务逻辑
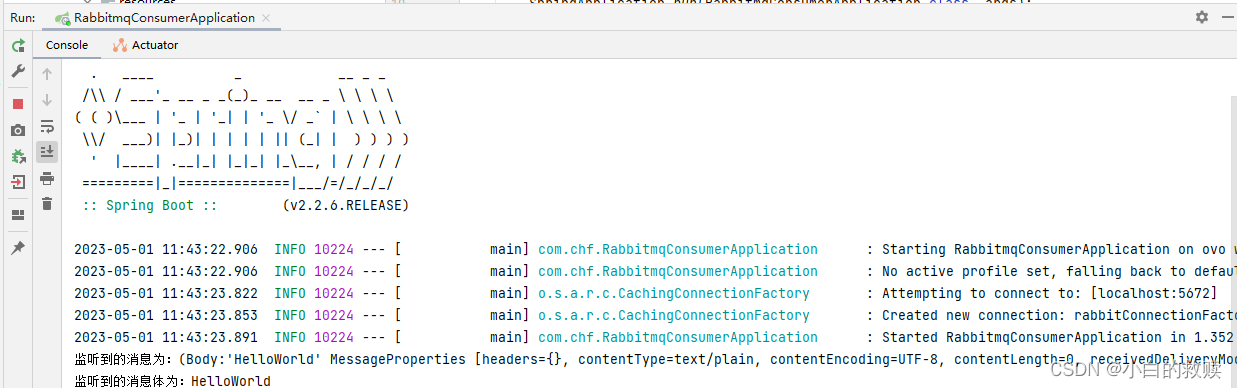
测试结果
生产者端
目录结构
引入依赖
<dependency>
    <groupId>org.springframework.boot</groupId>
    <artifactId>spring-boot-starter</artifactId>
</dependency>

<dependency>
    <groupId>org.springframework.boot</groupId>
    <artifactId>spring-boot-starter-test</artifactId>
    <scope>test</scope>
</dependency>

<!--整合RabbitMQ-->
<dependency>
    <groupId>org.springframework.boot</groupId>
    <artifactId>spring-boot-starter-amqp</artifactId>
    <version>2.5.0</version>
</dependency>

<!--测试-->
<dependency>
    <groupId>junit</groupId>
    <artifactId>junit</artifactId>
    <version>4.12</version>
    <scope>test</scope>
</dependency>
修改yml
spring:
  rabbitmq:
    host: localhost
    port: 5672
    username: guest
    password: guest
业务逻辑
/**
 * 定义交换机与队列的Bean 并且使之绑定
 */
@Component
public class RabbitMQConfig {

    public static final String EXCHANGE_NAME = "test_exchange_name";
    public static final String QUEUE_NAME = "test_queue_name";

    @Bean("testExchange")
    public Exchange testExchange(){
        //定义一个支持通配符交换机并且是持久化
        return ExchangeBuilder.topicExchange(EXCHANGE_NAME).durable(true).build();
    }

    @Bean("testQueue")
    public Queue testQueue(){
        return QueueBuilder.durable(QUEUE_NAME).build();
    }

    @Bean
    public Binding link(@Qualifier("testExchange") Exchange exchange,
                        @Qualifier("testQueue") Queue queue){
        //绑定交换机与队列关系并且定义路由通配符
        return BindingBuilder.bind(queue).to(exchange).with("test.#").noargs();
    }
}
@SpringBootTest
@RunWith(SpringRunner.class)
class RabbitmqProducerApplicationTests {

    @Autowired
    private RabbitTemplate rabbitTemplate;

    /*
     * 测试生产消息
     * 传入交换机名称、路由键、消息内容
     */
    @Test
    void testProducer() {
        rabbitTemplate.convertAndSend(RabbitMQConfig.EXCHANGE_NAME,"test.heHe","HelloWorld");
    }
}
测试结果

消费者端
目录结构
导入依赖
<dependency>
    <groupId>org.springframework.boot</groupId>
    <artifactId>spring-boot-starter</artifactId>
</dependency>

<dependency>
    <groupId>org.springframework.boot</groupId>
    <artifactId>spring-boot-starter-test</artifactId>
    <scope>test</scope>
</dependency>

<!--整合RabbitMQ-->
<dependency>
    <groupId>org.springframework.boot</groupId>
    <artifactId>spring-boot-starter-amqp</artifactId>
    <version>2.5.0</version>
</dependency>
修改yml
spring:
  rabbitmq:
    host: localhost
    port: 5672
    username: guest
    password: guest
业务逻辑
/**
 * 消费者的监听队列
 */
@Component
public class RabbitMQListener {

    @RabbitListener(queues = "test_queue_name")
    public void jT(Message message){
        System.out.println("监听到的消息为:" + message);
        System.out.println("监听到的消息体为:" + new String(message.getBody()));
    }
}
测试结果