1 创建虚拟环境并激活
conda create -n open-mmlab python=3.7 -y
conda activate open-mmlab
2 安装cudatoolkit和cudnn
2.1 查看cudnn版本
conda search cudnn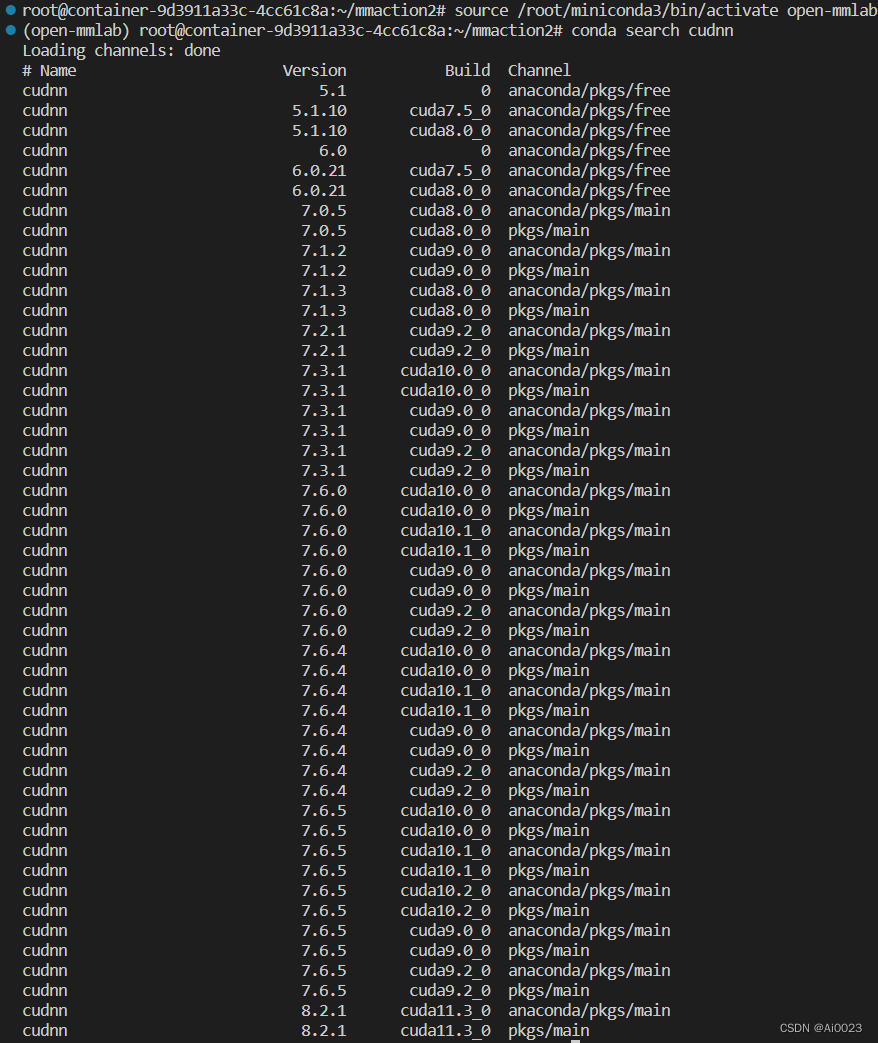 2.2 安装cuda和cudnn(我这里选择的是最后一个,你可以根据上图所示选择合适的)
conda install cudatoolkit=11.3
conda install cudnn=8.2.1
3 安装torch和torchvision
https://pytorch.org/get-started/previous-versions/ (pytorch 官网)
# ROCM 5.1.1 (Linux only)
pip install torch==1.12.1+rocm5.1.1 torchvision==0.13.1+rocm5.1.1 torchaudio==0.12.1 --extra-index-url  https://download.pytorch.org/whl/rocm5.1.1
# CUDA 11.6
pip install torch==1.12.1+cu116 torchvision==0.13.1+cu116 torchaudio==0.12.1 --extra-index-url https://download.pytorch.org/whl/cu116
# CUDA 11.3
pip install torch==1.12.1+cu113 torchvision==0.13.1+cu113 torchaudio==0.12.1 --extra-index-url https://download.pytorch.org/whl/cu113
# CUDA 10.2
pip install torch==1.12.1+cu102 torchvision==0.13.1+cu102 torchaudio==0.12.1 --extra-index-url https://download.pytorch.org/whl/cu102
# CPU only
pip install torch==1.12.1+cpu torchvision==0.13.1+cpu torchaudio==0.12.1 --extra-index-url https://download.pytorch.org/whl/cpu
3.1 从官网中选择合适的版本并安装
注意:torch和torchvison要对应一致且是GPU版本
pip install torch==1.12.1+cu113 torchvision==0.13.1+cu113 torchaudio==0.12.1 --extra-index-url https://download.pytorch.org/whl/cu1134 手动安装MMCV(很多人可能就这里安装不成功)
4.1 查找MMCV 和Cuda,torch对应的版本
https://mmcv.readthedocs.io/en/latest/get_started/installation.html#install-mmcv

4.2 安装MMCV
pip install mmcv-full==1.6.2 -f https://download.openmmlab.com/mmcv/dist/cu113/torch1.12/index.html5 克隆 MMAction2 库
git clone https://github.com/open-mmlab/mmaction2.git
cd mmaction2
6 安装依赖包和 MMAction2
6.1 mmaction 给的版本
pip install -r requirements/build.txt
pip install -v -e .
6.2 作者的版本(打开requirements.txt去看一下就知道它包括requirements/build.txt)
pip install -r requirements.txt
pip install -v -e .
7 测试
7.1 测试cuda
import torch
flag = torch.cuda.is_available()
if flag:
    print("CUDA可使用")
else:
    print("CUDA不可用")
7.2 测试mmaction(以运行configs/recognition/tsn/tsn_r50_1x1x3_75e_ucf101_rgb.py 为例),看到打印出日志说明你环境代建成功。
python tools/train.py configs/recognition/tsn/tsn_r50_1x1x3_75e_ucf101_rgb.py --validate --seed 0 --deterministic --gpu-ids 0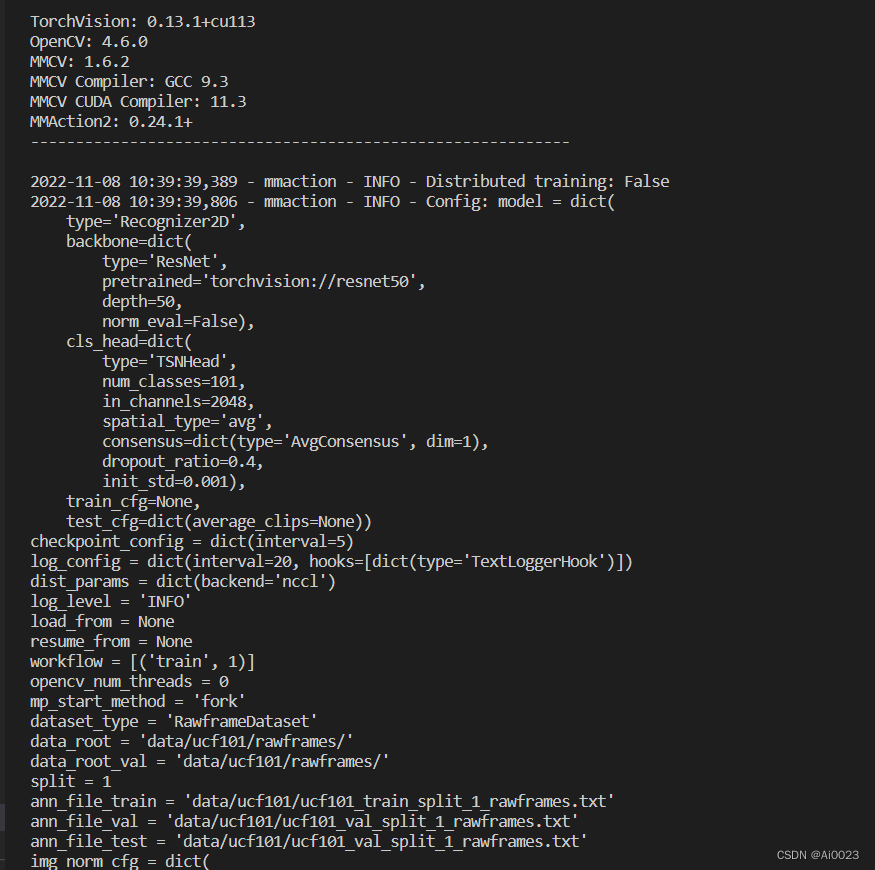
8 下一步
下一步,你将可以根据官方文档去了解里面代码。祝你成功。
https://mmaction2.readthedocs.io/zh_CN/latest/install.html#mmaction2