文章目录
本着生产ES基本上都部署在Linux系统上,本文主要介绍如何在Linux上部署ES集群,分两个部分:非docker版与docker版
本地集群Windiows
创建 elasticsearch-cluster 文件夹,在内部复制三个 elasticsearch 服务

修改集群文件目录中每个节点的 config/elasticsearch.yml 配置文件
-
node-1001节点
#节点 1 的配置信息: #集群名称,节点之间要保持一致 cluster.name: my-elasticsearch #节点名称,集群内要唯一 node.name: node-1001 node.master: true node.data: true #ip 地址 network.host: localhost #http 端口 http.port: 1001 #tcp 监听端口 transport.tcp.port: 9301 #discovery.seed_hosts: ["localhost:9301", "localhost:9302","localhost:9303"] #discovery.zen.fd.ping_timeout: 1m #discovery.zen.fd.ping_retries: 5 #集群内的可以被选为主节点的节点列表 #cluster.initial_master_nodes: ["node-1", "node-2","node-3"] #跨域配置 #action.destructive_requires_name: true http.cors.enabled: true http.cors.allow-origin: "*" -
node-1002 节点
#节点 2 的配置信息: #集群名称,节点之间要保持一致 cluster.name: my-elasticsearch #节点名称,集群内要唯一 node.name: node-1002 node.master: true node.data: true #ip 地址 network.host: localhost #http 端口 http.port: 1002 #tcp 监听端口 transport.tcp.port: 9302 discovery.seed_hosts: ["localhost:9301"] discovery.zen.fd.ping_timeout: 1m discovery.zen.fd.ping_retries: 5 #集群内的可以被选为主节点的节点列表 #cluster.initial_master_nodes: ["node-1", "node-2","node-3"] #跨域配置 #action.destructive_requires_name: true http.cors.enabled: true http.cors.allow-origin: "*" -
node-1003 节点
#节点 3 的配置信息:
#集群名称,节点之间要保持一致
cluster.name: my-elasticsearch
#节点名称,集群内要唯一
node.name: node-1003
node.master: true
node.data: true
#ip 地址
network.host: localhost
#http 端口
http.port: 1003
#tcp 监听端口
transport.tcp.port: 9303
#候选主节点的地址,在开启服务后可以被选为主节点
discovery.seed_hosts: ["localhost:9301", "localhost:9302"]
discovery.zen.fd.ping_timeout: 1m
discovery.zen.fd.ping_retries: 5
#集群内的可以被选为主节点的节点列表
#cluster.initial_master_nodes: ["node-1", "node-2","node-3"]
#跨域配置
#action.destructive_requires_name: true
http.cors.enabled: true
http.cors.allow-origin: "*"
启动集群
-
启动前先删除每个节点中的 data 目录中所有内容(如果存在)

-
分别双击执行 bin/elasticsearch.bat, 启动节点服务器,启动后,会自动加入指定名称的集群

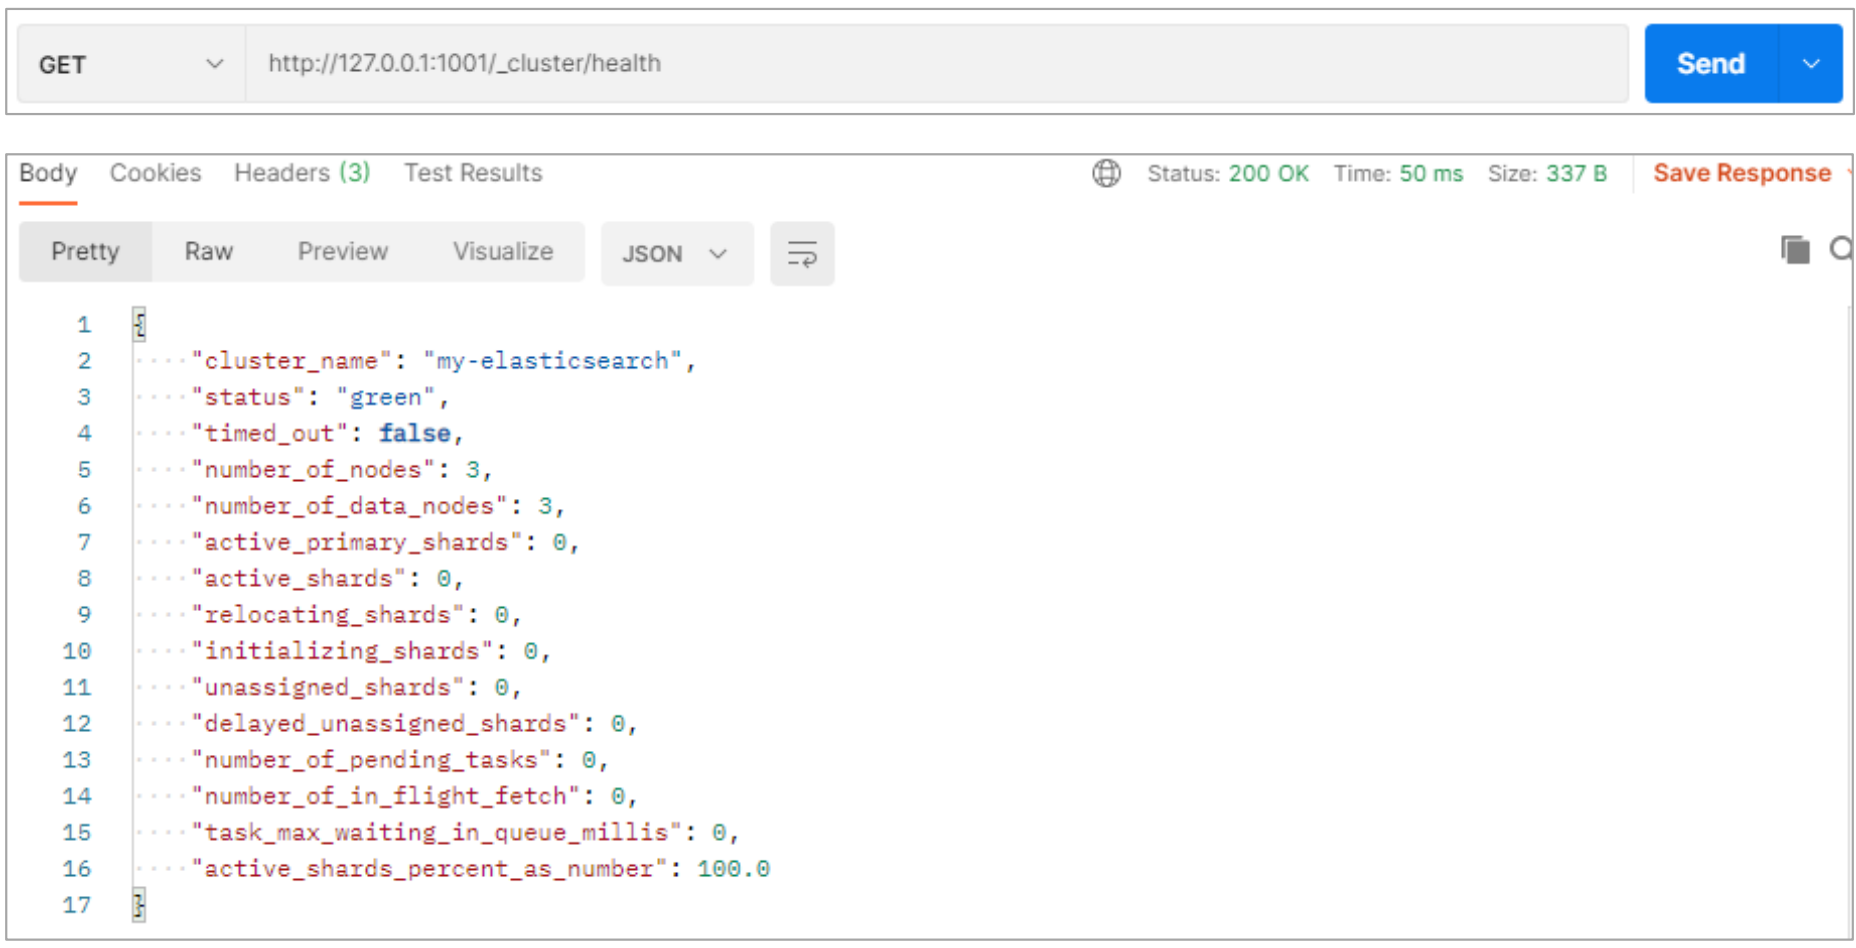
测试集群-查看集群状态
-
node-1001 节点
本地开启集群Linux
软件下载
Elasticsearch最新版本也终于开始拥抱号称史上最快的JDK17版本了
JDK下载地址(通常不用下载,es内置的有):https://www.oracle.com/java/technologies/downloads/#java17
ES官网下载地址:https://www.elastic.co/cn/downloads/past-releases#elasticsearch
wget https://download.oracle.com/java/17/latest/jdk-17_linux-x64_bin.tar.gz
wget https://artifacts.elastic.co/downloads/elasticsearch/elasticsearch-8.6.2-linux-x86_64.tar.gz

# 解压缩
tar -zxvf elasticsearch-8.6.2-linux-x86_64.tar.gz -C /opt/module
# 改名-不用操作了
# mv elasticsearch-8.6.2 es-cluster

# 通常安装ES的时候会自带jdk,也就无需配置java环境了
/opt/module/es-cluster/jdk -> 内置jdk目录
集群规划
集群中-节点名称依次为 node-1,node-2,node-3
| 主机名 | linux1 | linux2 | linux3 |
|---|---|---|---|
| 进程名 | Elasticsearch(node-1) | Elasticsearch(node-2) | Elasticsearch(node-3) |
创建data目录、证书目录
# 创建数据文件目录
mkdir /opt/module/elasticsearch-8.6.2/data
# 创建证书目录
mkdir /opt/module/elasticsearch-8.6.2/config/certs
签发ca证书
# 签发 ca 证书,过程中需按两次回车键
bin/elasticsearch-certutil ca

# 用 ca 证书签发节点证书,过程中需按三次回车键
bin/elasticsearch-certutil cert --ca elastic-stack-ca.p12

# 将生成的证书文件移动到 config/certs 目录中
mv elastic-stack-ca.p12 elastic-certificates.p12 config/certs
设置集群多节点 HTTP 证书
# 签发 Https 证书
bin/elasticsearch-certutil http
-
Generate a CSR? -> n
-
使用已有ca证书[Use an existing CA?] -> y
-
指定证书路径[CA Path] -> certs/elastic-stack-ca.p12
-
设置密码[Password for elastic-stack-ca.p12:] -> 【回车】
-
设置证书失效时间[For how long should your certificate be valid?] -> 默认5年【5y】
-
无需每个节点配置证书[Generate a certificate per node?] -> n
-
输出连接到第一个节点的所有主机名称 -> 主机名
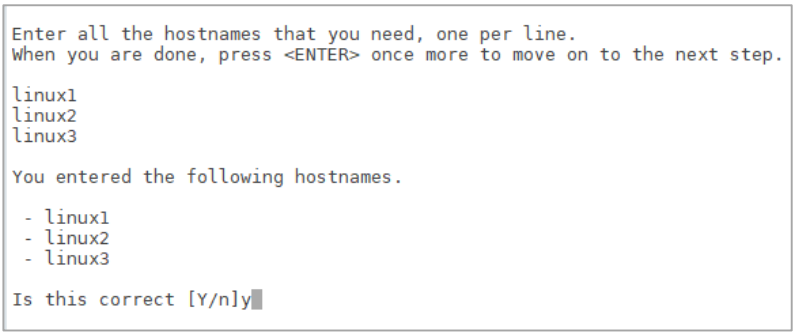
-
输出连接到第一个节点的所有主机 IP 地址
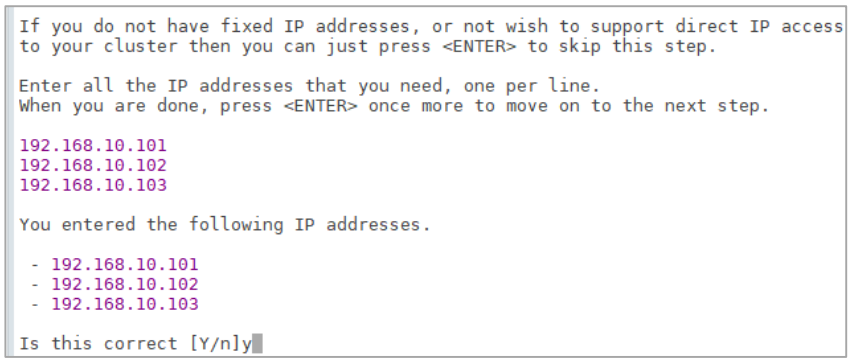
-
不改变证书选项配置[do you wish to change any of these options?] -> n
-
不给证书加密,按键输入两次回车
-
解压刚刚生成的zip包
# 解压文件 unzip elasticsearch-ssl-http.zip -
将解压后的证书文件移动到 config/certs 目录中
# 移动文件
mv elasticsearch/http.p12 kibana/elasticsearch-ca.pem config/certs
创建用户、授权
ES不允许root用户直接运行,所以每一个节点中要创建新用户
useradd es #新增 es 用户
passwd es #为 es 用户设置密码
userdel -r es #如果错了,可以删除再加
chown -R es:es /opt/module/elasticsearch-8.6.2 #文件夹所有者
修改配置文件
-
修改/opt/module/elasticsearch-8.6.2/config/elasticsearch.yml 文件
# 加入如下配置 #设置 ES 集群名称 cluster.name: cluster-es #节点名称,每个节点的名称不能重复 node.name: node-1 # 设置数据,日志文件路径 path.data: /opt/module/elasticsearch-8.6.2/data path.logs: /opt/module/elasticsearch-8.6.2/log #设置网络访问节点-ip 地址,每个节点的地址不能重复 network.host: linux1 # 设置网络访问端口;9200 端口为浏览器访问的http协议RESTful端口。 http.port: 9200 # 初始节点 discovery.seed_hosts: ["linux1"] ## es7.x 之后新增的配置,节点发现, 9300 端口为 Elasticsearch 集群间组件的通信端口, # discovery.seed_hosts: ["linux1:9300","linux2:9300","linux3:9300"] # 安全认证 xpack.security.enabled: true xpack.security.enrollment.enabled: true xpack.security.http.ssl: enabled: true keystore.path: /opt/module/elasticsearch-8.6.2/config/certs/http.p12 truststore.path: /opt/module/elasticsearch-8.6.2/config/certs/http.p12 xpack.security.transport.ssl: enabled: true verification_mode: certificate keystore.path: /opt/module/elasticsearch-8.6.2/config/certs/elastic-certificates.p12 truststore.path: /opt/module/elasticsearch-8.6.2/config/certs/elastic-certificates.p12 # 此处需注意,node-1 为上面配置的节点名称 cluster.initial_master_nodes: ["node-1"] http.host: [_local_, _site_] ingest.geoip.downloader.enabled: false xpack.security.http.ssl.client_authentication: none --- 下面是es7的多余配置 # head 插件需要这打开这两个配置 http.cors.allow-origin: "*" http.cors.enabled: true http.max_content_length: 200mb #es7.x 之后新增的配置,初始化一个新的集群时需要此配置来选举 master cluster.initial_master_nodes: ["node-1"] gateway.recover_after_nodes: 2 network.tcp.keep_alive: true network.tcp.no_delay: true transport.tcp.compress: true #集群内同时启动的数据任务个数,默认是 2 个 cluster.routing.allocation.cluster_concurrent_rebalance: 16 #添加或删除节点及负载均衡时并发恢复的线程个数,默认 4 个 cluster.routing.allocation.node_concurrent_recoveries: 16 #初始化数据恢复时,并发恢复线程的个数,默认 4 个 cluster.routing.allocation.node_initial_primaries_recoveries: 16 #是不是有资格主节点 node.master: true node.data: true -
修改/etc/security/limits.conf[选做]
# 在文件末尾中增加下面内容 es soft nofile 65536 es hard nofile 65536 -
修改/etc/security/limits.d/20-nproc.conf[选做]
# 在文件末尾中增加下面内容 es soft nofile 65536 es hard nofile 65536 * hard nproc 4096 # 注:* 代表 Linux 所有用户名称 -
修改/etc/sysctl.conf[选做]
# 在文件中增加下面内容 vm.max_map_count=655360 -
重新加载[选做]
sysctl -p
启动软件
分别在不同节点上启动 ES 软件
cd /opt/module/elasticsearch-8.6.2
#启动
bin/elasticsearch
#后台启动
bin/elasticsearch -d
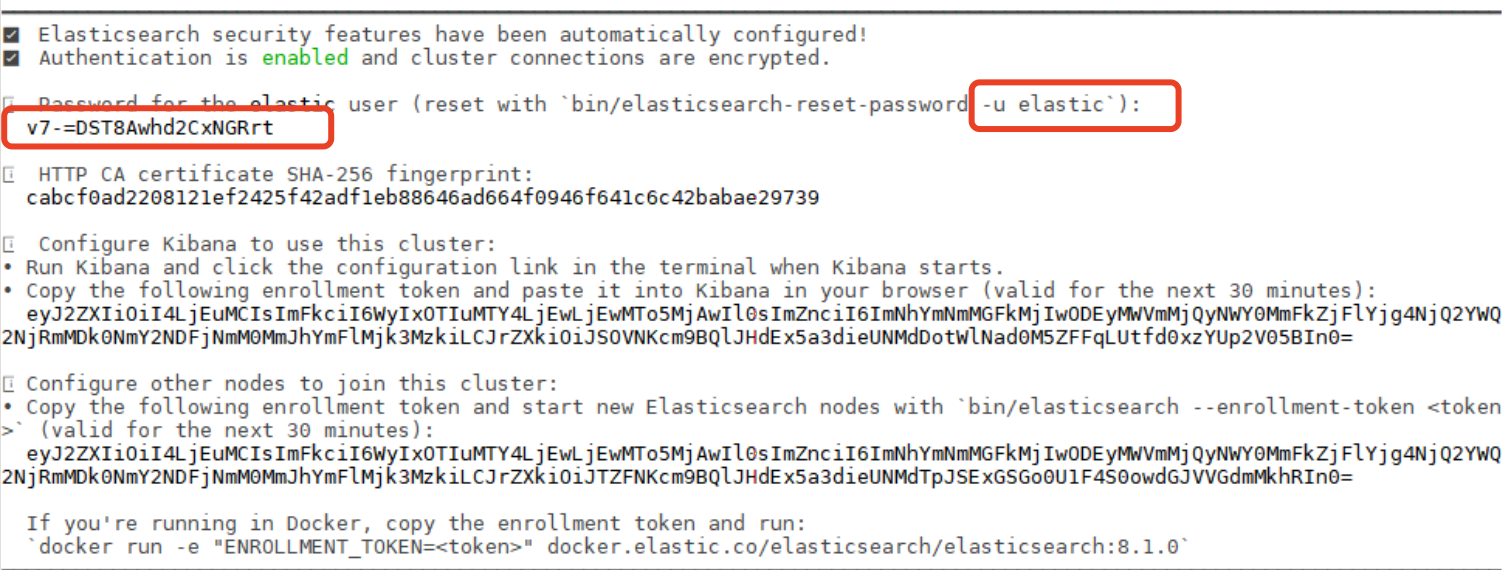
第一次成功启动后,会显示密码,请记住,访问时需要。只有第一次才有哟!
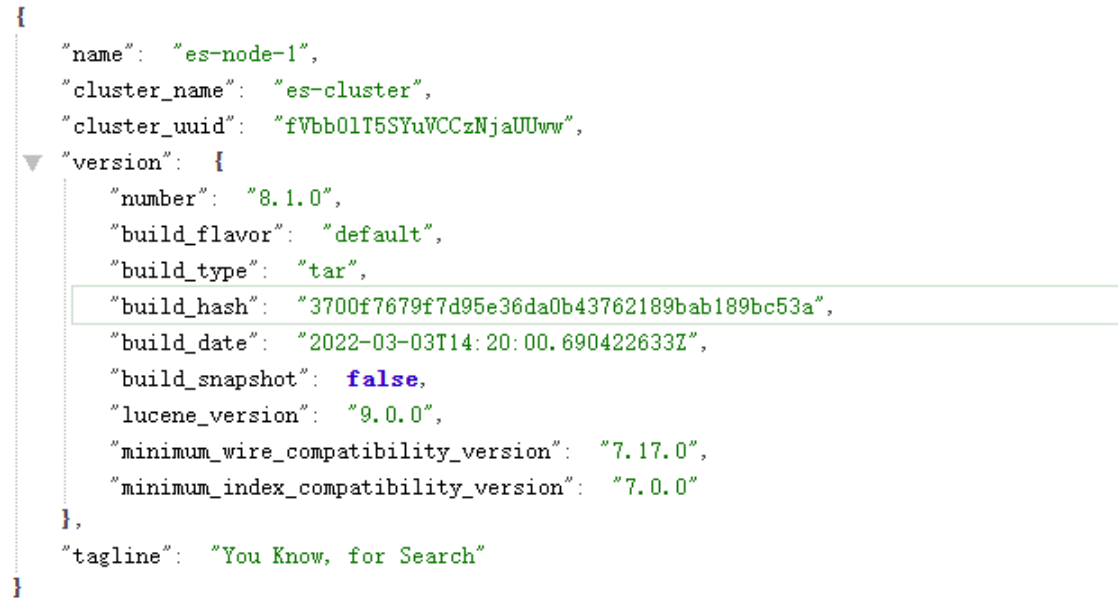
测试集群[https://虚拟机地址:9200]

Docker开启集群
docker-compose.yml文件编写
version: '3'
services:
  es01:
    image: elasticsearch:8.6.2        # 使用elasticsearch:7.9.3镜像
    container_name: es01              # 容器名称
    environment:
      - node.name=es01                # 设置节点名称
      - cluster.name=mycluster        # 设置集群名称
      - discovery.seed_hosts=es02,es03 # 设置发现种子主机列表
      - cluster.initial_master_nodes=es01,es02,es03 # 设置初始主节点列表
    networks:
      esnet:                          # 将服务放置在esnet网络中
        ipv4_address: 172.20.0.2      # 分配静态IP地址
    volumes:
      - /path/to/data1:/usr/share/elasticsearch/data # 将数据目录映射到主机上的/path/to/data1
    ports:
      - "9200:9200"                   # 将Elasticsearch的9200端口映射到主机的9200端口
      - "9300:9300"                   # 将Elasticsearch的9300端口映射到主机的9300端口
  es02:
    image: elasticsearch:8.6.2        # 使用elasticsearch:7.9.3镜像
    container_name: es02              # 容器名称
    environment:
      - node.name=es02                # 设置节点名称
      - cluster.name=mycluster        # 设置集群名称
      - discovery.seed_hosts=es01,es03 # 设置发现种子主机列表
      - cluster.initial_master_nodes=es01,es02,es03 # 设置初始主节点列表
    networks:
      esnet:                          # 将服务放置在esnet网络中
        ipv4_address: 172.20.0.3      # 分配静态IP地址
    volumes:
      - /path/to/data2:/usr/share/elasticsearch/data # 将数据目录映射到主机上的/path/to/data2
  es03:
    image: elasticsearch:8.6.2       # 使用elasticsearch:7.9.3镜像
    container_name: es03              # 容器名称
    environment:
      - node.name=es03                # 设置节点名称
      - cluster.name=mycluster        # 设置集群名称
      - discovery.seed_hosts=es01,es02 # 设置发现种子主机列表
      - cluster.initial_master_nodes=es01,es02,es03 # 设置初始主节点列表
    networks:
      esnet:                          # 将服务放置在esnet网络中
        ipv4_address: 172.20.0.4      # 分配静态IP地址
    volumes:
      - /path/to/data3:/usr/share/elasticsearch/data # 将数据目录映射到主机上的/path/to/data3
  kibana:
    image: kibana:8.6.2             # 使用kibana:7.9.3镜像
    container_name: kibana            # 容器名称
    environment:
      - ELASTICSEARCH_HOSTS=http://es01:9200 # 设置Kibana使用的Elasticsearch URL
    ports:
      - "5601:5601"                   # 将Kibana的5601端口映射到主机的5601端口
  es-head:
    image: mobz/elasticsearch-head:5 # 使用mobz/elasticsearch-head:5镜像
    container_name: es-head           # 容器名称
    ports:
      - "9100:9100"                   # 将ES-head的9100端口映射到主机的9100端口
    environment:
      - "ES_CONNECT=http://es01:9200" # 设置ES-head使用的Elasticsearch URL
    networks:
      esnet:                          # 将服务放置在esnet网络中
        ipv4_address: 172.20.0.5      # 分配静态IP地址
networks:
  esnet:                              # 创建名为esnet的网络
    driver: bridge
    ipam:
      driver: default
      config:
        - subnet: 172.20.0.0/16       # 指定子网
          gateway: 172.20.0.1         # 指定网关
启动集群
docker-compose up
Mac上docker安装单机版+kibana
-
docker-compose.yml文件的配置
version: '3' services: elasticsearch: image: docker.elastic.co/elasticsearch/elasticsearch:8.6.2 container_name: elasticsearch environment: - discovery.type=single-node - ELASTIC_PASSWORD=<your_password> ports: - 9200:9200 volumes: - es_data:/usr/share/elasticsearch/data kibana: image: docker.elastic.co/kibana/kibana:8.6.2 container_name: kibana depends_on: - elasticsearch environment: - ELASTICSEARCH_USERNAME=<your_username> - ELASTICSEARCH_PASSWORD=<your_password> ports: - 5601:5601 volumes: es_data: -
启动容器
docker-compose up -
登录
http://localhost:5601就可以访问kibana了-
账号默认是"elastic"
-
密码就是上面你设置的密码
-
注意:如何忘记了密码,可以进入elasticsearch容器执行:
# 使用 es 用户,执行指令,重置 elastic 用户密码
bin/elasticsearch-reset-password -u elastic
>> o5_dkluMEJ48BfZwkz5g
-
-
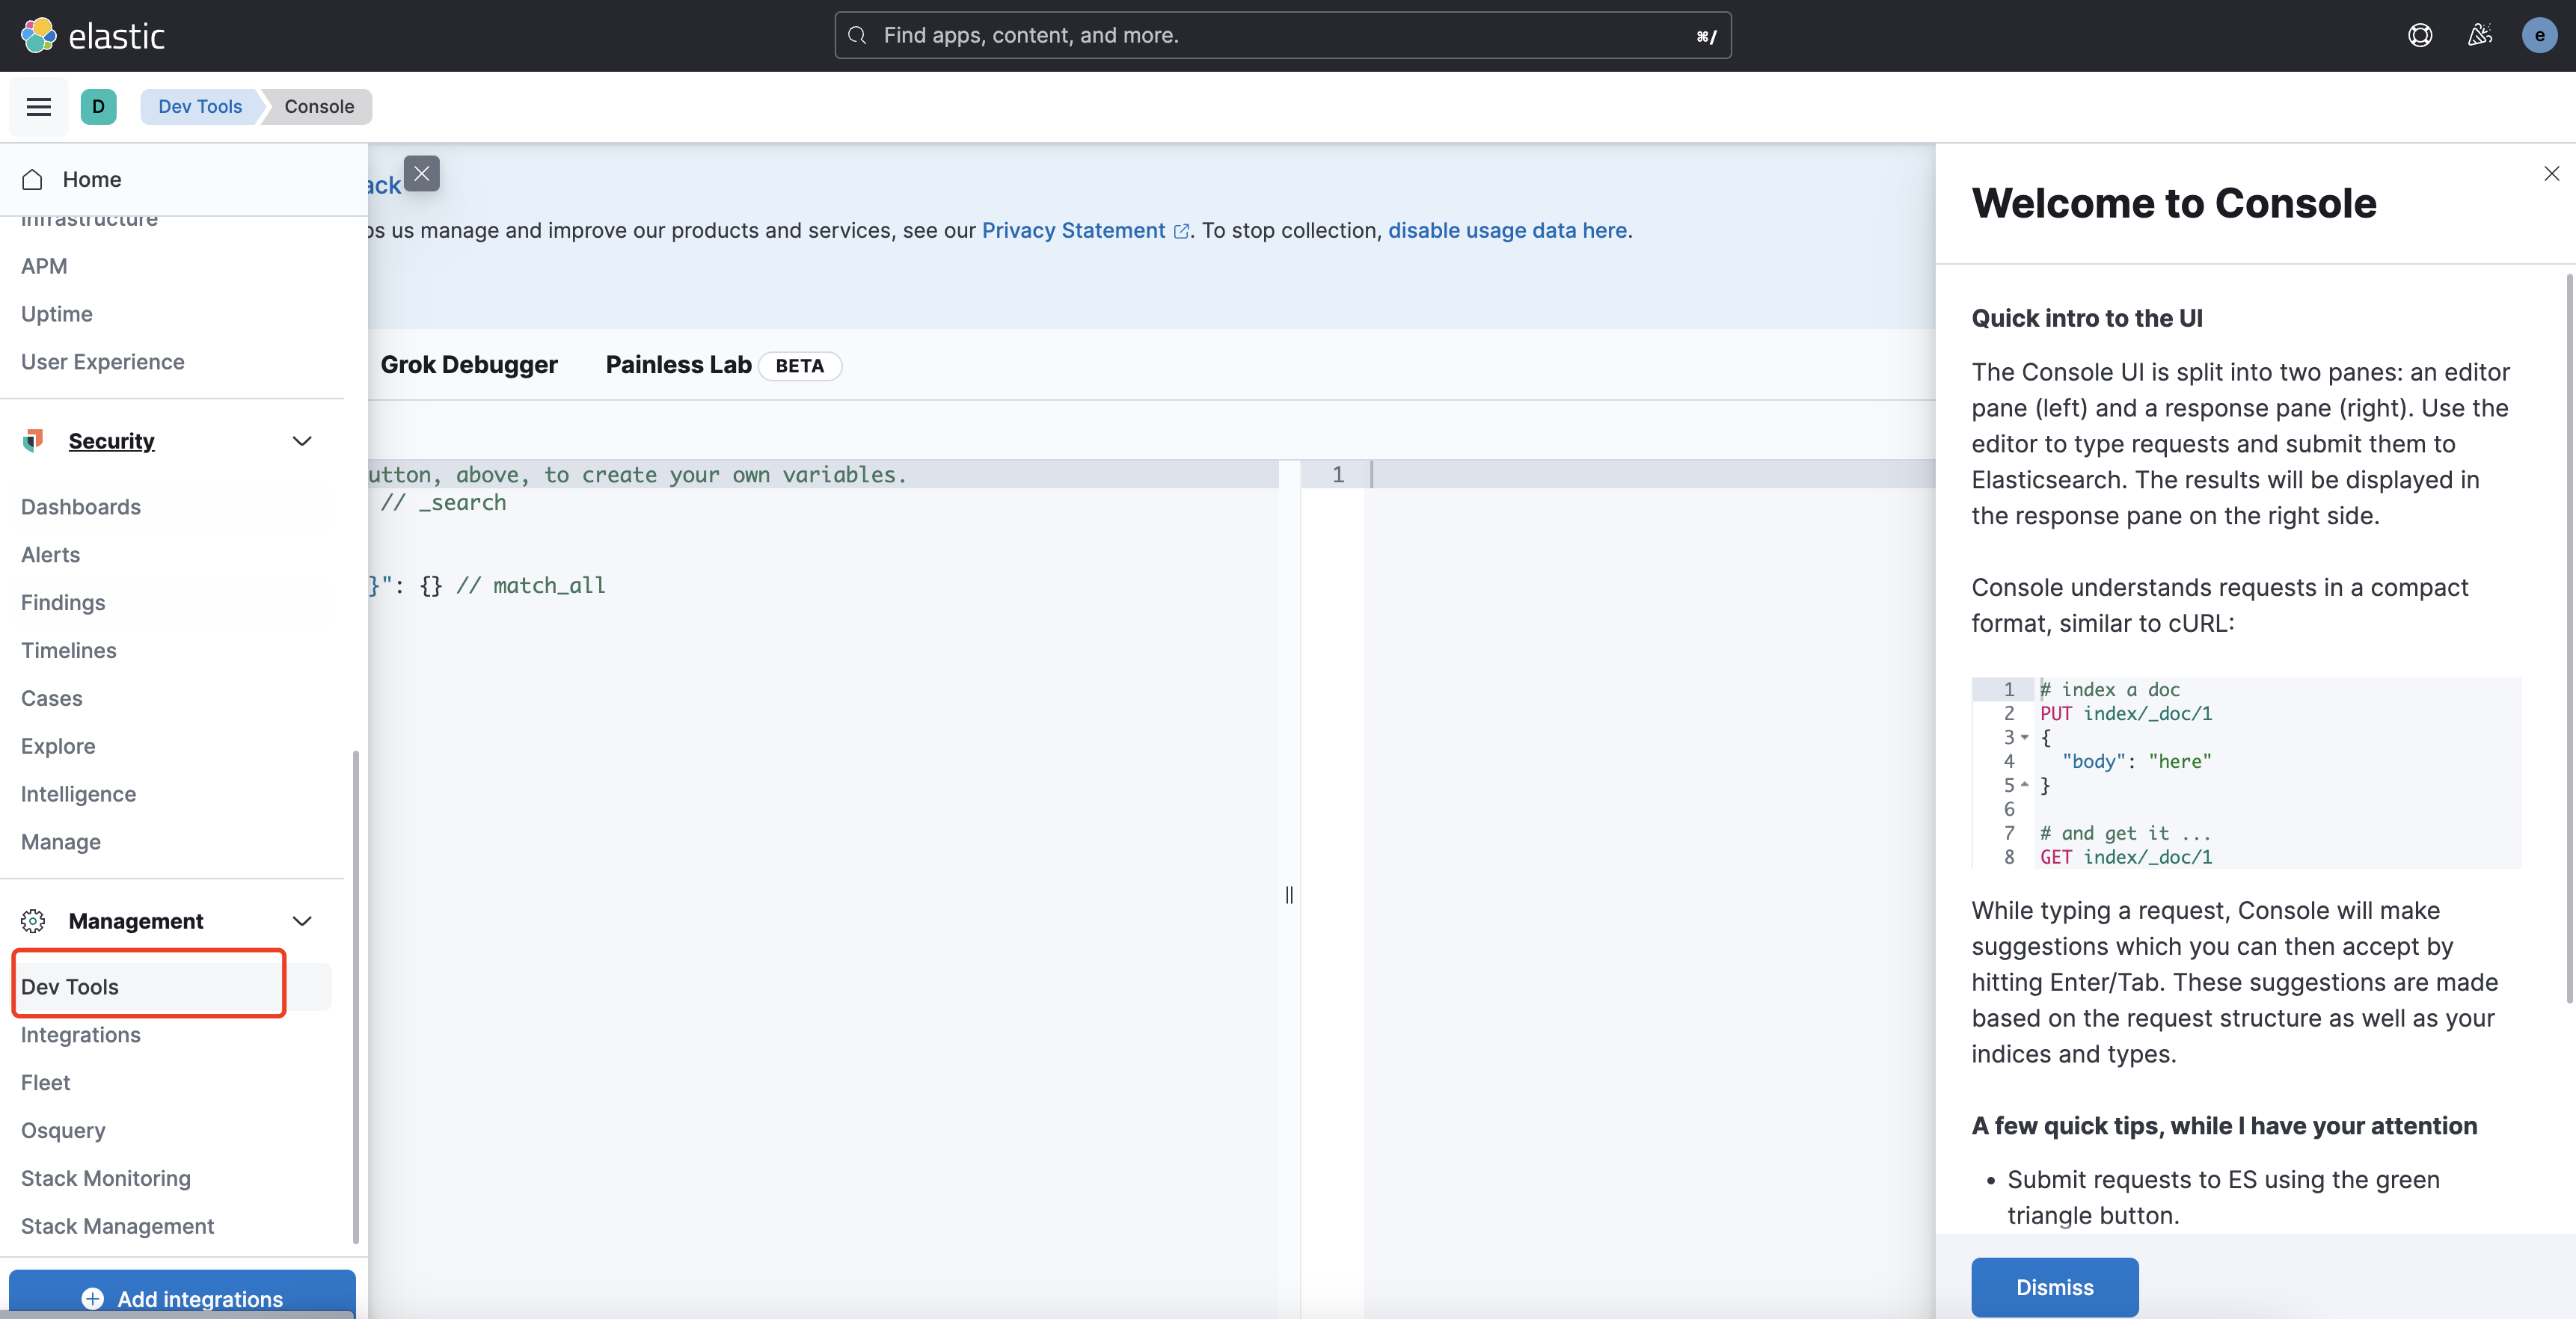
进入kibana的开发者模式