UE读写ini文件
前言
UE已经封装好了ini的读写功能,我们只需要简单几步就可以读写ini文件
1、新建C++文件
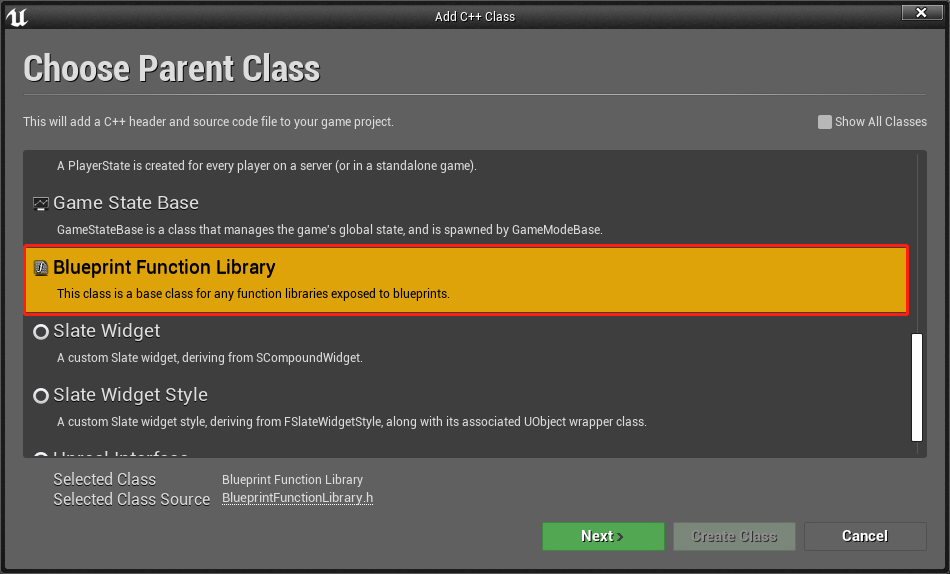
这里我们选择Blueprint Function Library类型
2、编写代码
2.1 头文件h文件
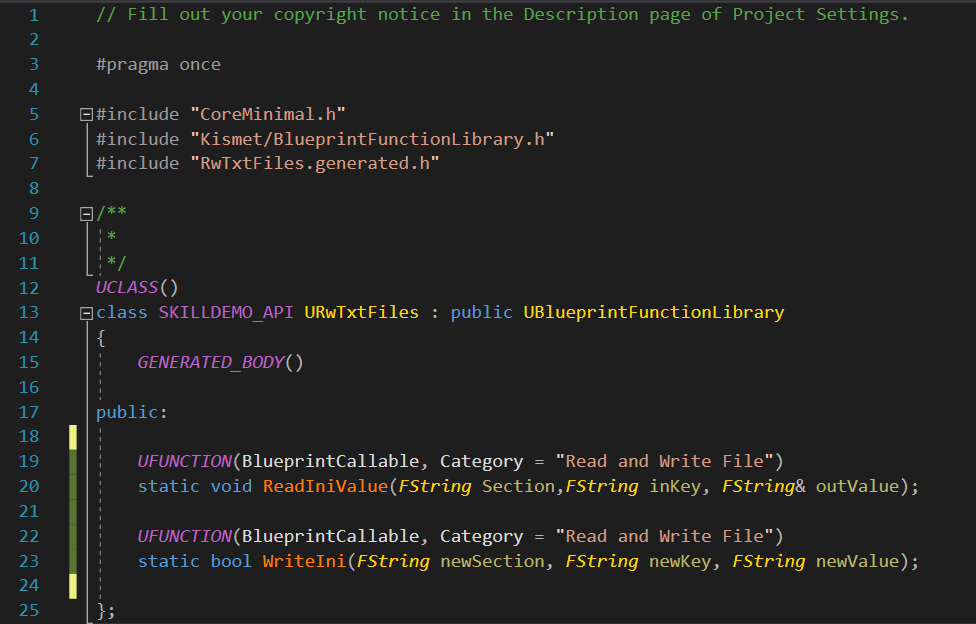
// Fill out your copyright notice in the Description page of Project Settings.

#pragma once

#include "CoreMinimal.h"
#include "Kismet/BlueprintFunctionLibrary.h"
#include "RwTxtFiles.generated.h"

/**
 *
 */
UCLASS()
class SKILLDEMO_API URwTxtFiles : public UBlueprintFunctionLibrary
{


	GENERATED_BODY()

public:


	UFUNCTION(BlueprintCallable, Category = "Read and Write File")
	static void ReadIniValue(FString Section,FString inKey, FString& outValue);

	UFUNCTION(BlueprintCallable, Category = "Read and Write File")
	static bool WriteIni(FString newSection, FString newKey, FString newValue);


};
2.2 cpp文件
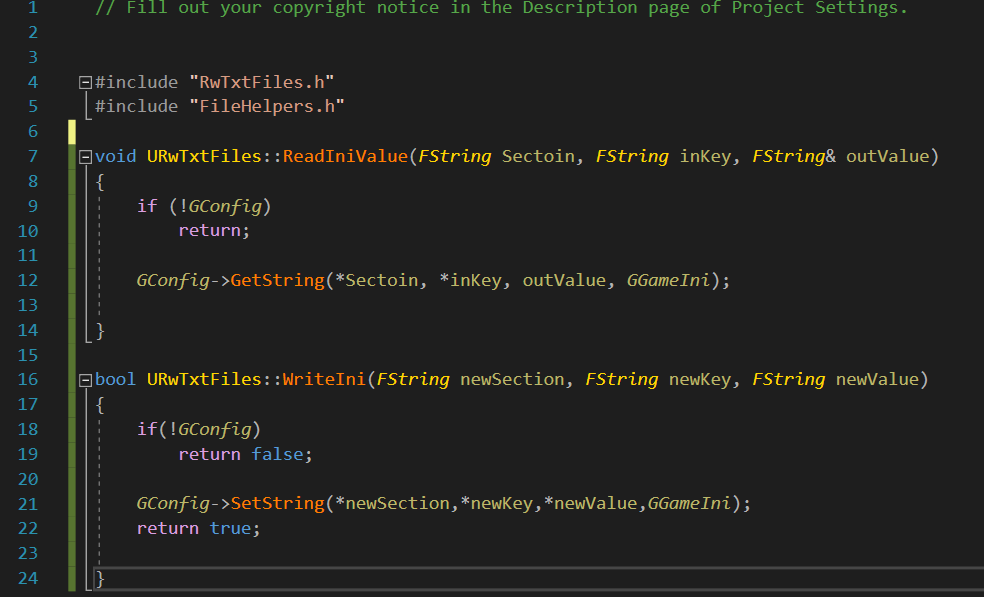
// Fill out your copyright notice in the Description page of Project Settings.


#include "RwTxtFiles.h"
#include "FileHelpers.h"


void URwTxtFiles::ReadIniValue(FString Sectoin, FString inKey, FString& outValue)
{


	if (!GConfig)
		return;

	GConfig->GetString(*Sectoin, *inKey, outValue, GGameIni);

}

bool URwTxtFiles::WriteIni(FString newSection, FString newKey, FString newValue)
{


	if(!GConfig)
		return false;

	GConfig->SetString(*newSection,*newKey,*newValue,GGameIni);
	return true

}
3、函数说明
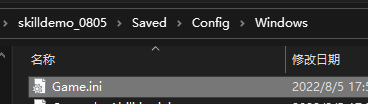
在GConfig便是UE封装好的,而最后一个参数GGameIni便是UE已经为我们创建好的文件,具体路径在如下:
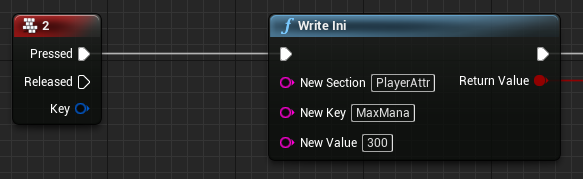
3.1 写入ini
运行后的结果:

3.2 读取ini

4、打包后读取ini数据
4.1 打开Editor时的Game.ini

4.2 打包后的Game.ini

4.3 访问Game.ini
只要将4.1的文件,拷贝到4.2并覆盖,即可在发布文件中访问我们的ini值。