目录:导读
前言
参数化fixture
fixture有个params参数,允许我们传递数据。
语法格式:
Pytest自动化测试框架:https://www.bilibili.com/video/BV18K411m7FH/
# conftest.py文件

# fixture的params参数
# 取value1时,会把依赖此fixture的用例执行一遍。
# 取value2时,会把依赖此fixture的用例执行一遍。
# 取value3时,会把依赖此fixture的用例执行一遍。
# params有几个参数,就会将依赖此fixture的用例执行几遍。
@pytest.fixture(params=[value1, value2, value3..])
def fix_name():
	# do something
当我们需要多次调用fixture时,则可以用到fixture的参数化功能。
但它并不是并发的,是串行执行的。
比如,测试对象有多种配置方式,那么参数化可以帮我们在多种配置方式下执行用例。
接下来,以网页自动化为案例。
需求:要在google、firefox浏览器下执行测试用例,用例为打开百度搜索pytest。
先在conftest.py当中,定义fixture,并设置params=[“google”, “firefox”]
# conftest.py

# params设置为google和firefox
@pytest.fixture(params=["google", "firefox"])
def browser_fix(request):
    if request.param == "google":
        driver = webdriver.Chrome()
    elif request.param == "firefox":
        driver = webdriver.Firefox()
    else:
        driver = None
    yield driver
    if driver:
        driver.quit()
在测试用例文件test_baidu_action.py中,编写测试用例,并调用browser_fix
# test_baidu_action.py

@pytest.mark.usefixtures("browser_fix")
def test_baidu(browser_fix):
    driver = browser_fix
    driver.get("https://www.baidu.com/")
    driver.find_element(By.ID, "kw").send_keys("pytest", Keys.ENTER)
    loc = (By.XPATH, '//h3')
    WebDriverWait(driver,10).until(EC.visibility_of_element_located(loc))
    driver.find_element(*loc).click()
运行上面的用例,会依次在google浏览器中执行完成,然后在firefox浏览器中执行完成。一共是2条测试用例。

fixture工厂
当我们在一个用例当中,需要多次调用fixture时,就可以使用fixture工厂
利用的是装饰器的方式
在fixture内部,定义一个函数。fixture返回的是函数。
@pytest.fixture
def make_customer_record():
    def _make_customer_record(name):
        return {

    "name": name, "orders": []}

    return _make_customer_record

# 用例内部,多次调用了fixture.
def test_customer_records(make_customer_record):
    customer_1 = make_customer_record("Lisa")  # 第1次调用
    customer_2 = make_customer_record("Mike")  # 第2次调用
    customer_3 = make_customer_record("Meredith")  # 第3次调用
如果工厂创建的数据需要管理,那么fixtue可以如下处理:
@pytest.fixture
def make_customer_record():

    # 管理工厂的数据。在前置中创建。在后置中销毁
    created_records = []

    def _make_customer_record(name):
        record = models.Customer(name=name, orders=[])
        # 前置中添加数据
        created_records.append(record)
        return record

    yield _make_customer_record  # 返回内部函数

    # 销毁数据
    for record in created_records:
        record.destroy()

# 测试用例
def test_customer_records(make_customer_record):
    customer_1 = make_customer_record("Lisa")
    customer_2 = make_customer_record("Mike")
    customer_3 = make_customer_record("Meredith")
request这个fixture
pytest内置的名为requests的fixture,主要功能: 提供请求fixture的测试用例/测试类的信息的。
我们定义fixture之后,通常都是测试用例/测试类,来请求fixture。
而request fixture就会记录 测试用例/测试类 相关信息。
request fixture是通过FixtureRequest来实现的,有以下属性(列举部分)可以使用:
request.param:获取fixture的params参数值
request.scope:获取fixture的作用域
request.function:获取调用fixture的用例函数名称。如果fixture是函数级别的作用域。
request.cls:获取测试用例是从哪个测试类里收集的。
request.module:获取测试用例/测试类从哪个python模块里收集的。
request.config:从pytest的config文件当中,获取与当前请求有关的配置信息
既然requests是fixture,那么我们定义的fixture,就可以直接把requests作为函数参数来用。
下面,以简单案例来演示。
定义一个fixture,将requests作为参数。
import pytest

@pytest.fixture(params=[1,2])
def init(request):
    print("用例名称:", request.function)
    print("fix参数 ", request.param)
    print("fix的作用域 ", request.scope)
    print("用例所在的类 ", request.cls)
定义一个测试类,直接请求名为init的fixture:
@pytest.mark.usefixtures("init")
class TestABC:

    def test_hello(self):
        print("-------------------------")
执行结果如下:

| 下面是我整理的2023年最全的软件测试工程师学习知识架构体系图 |
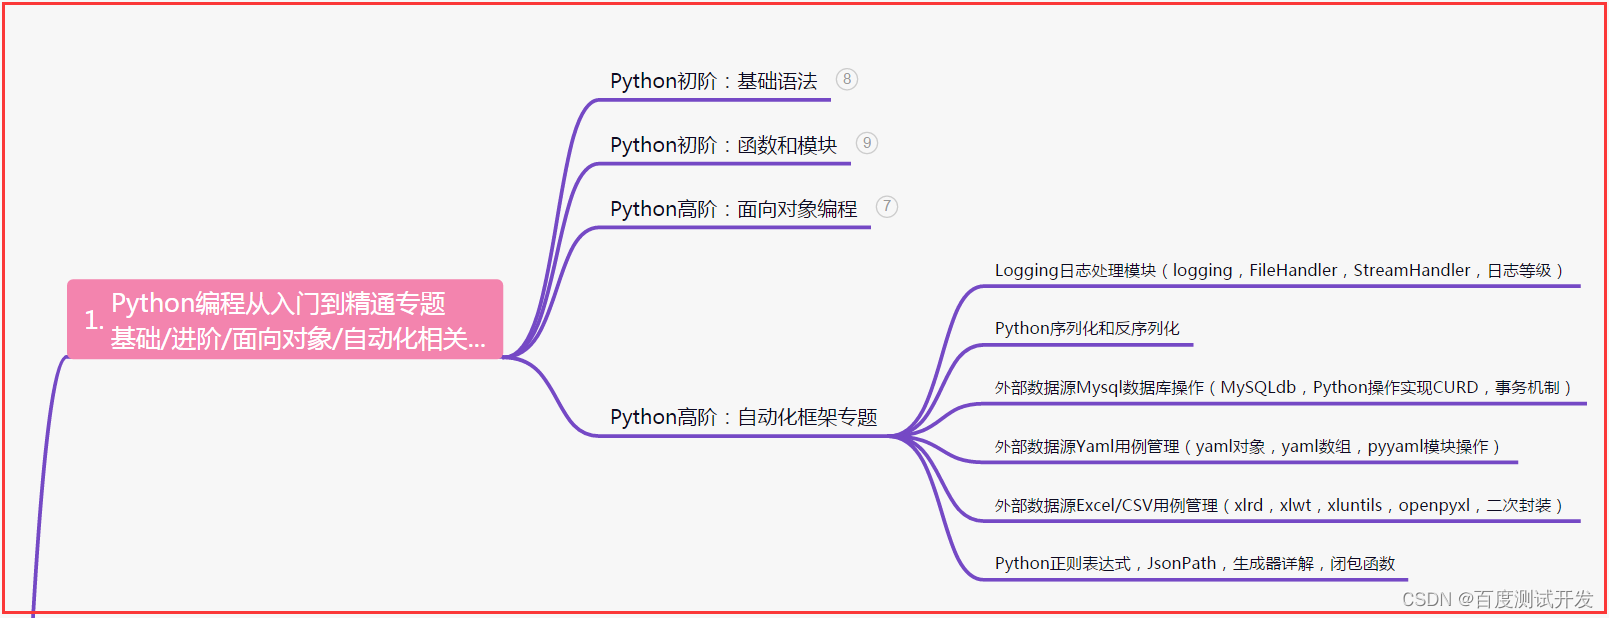
一、Python编程入门到精通
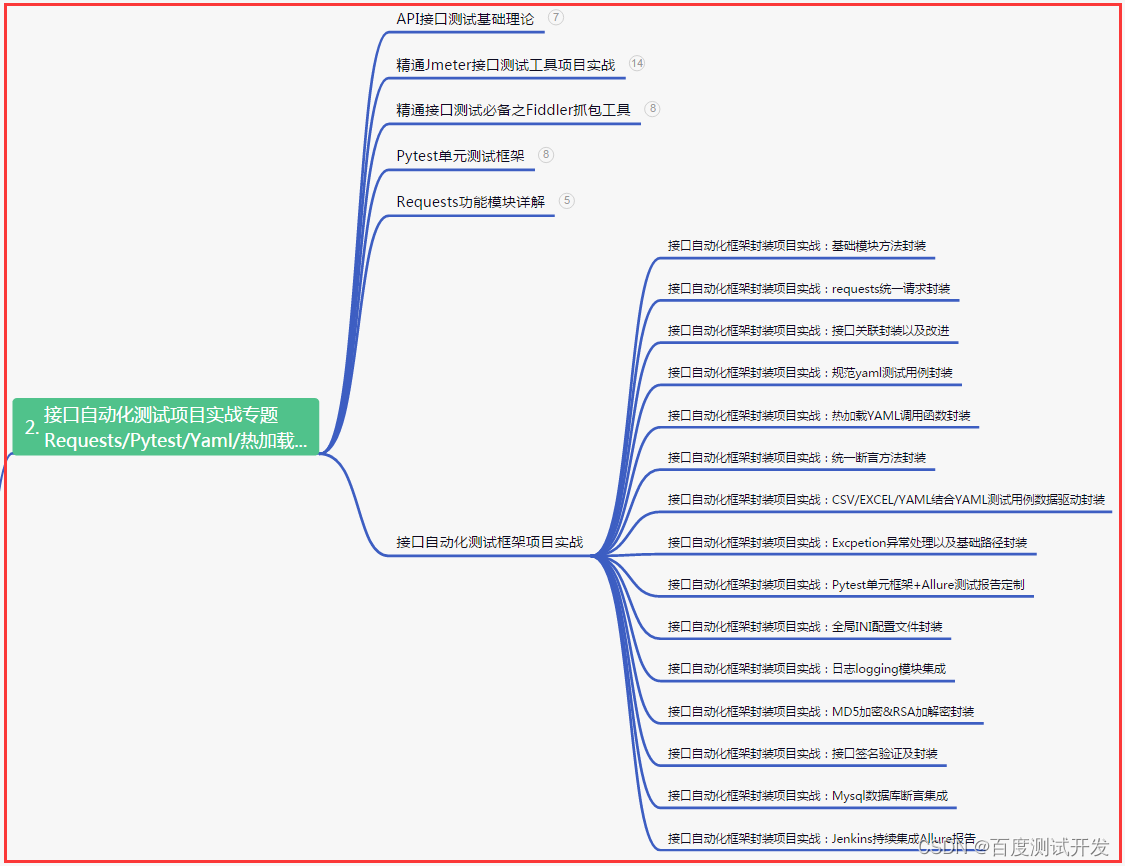
二、接口自动化项目实战
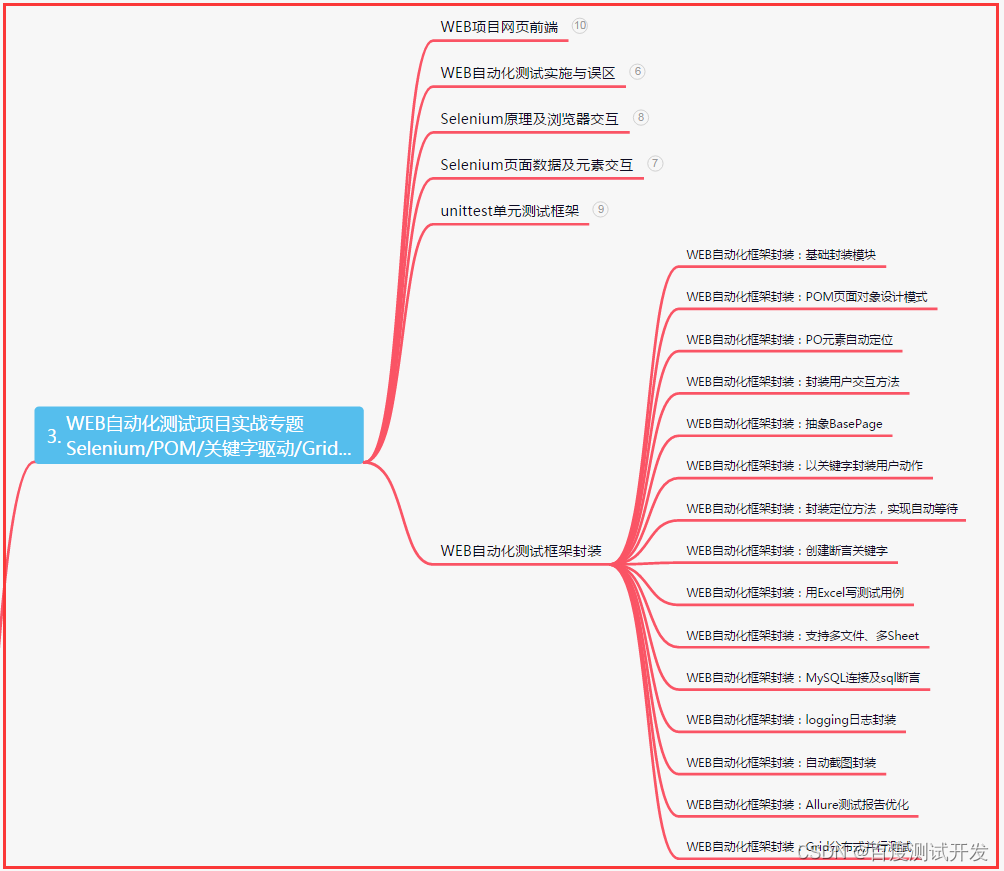
三、Web自动化项目实战
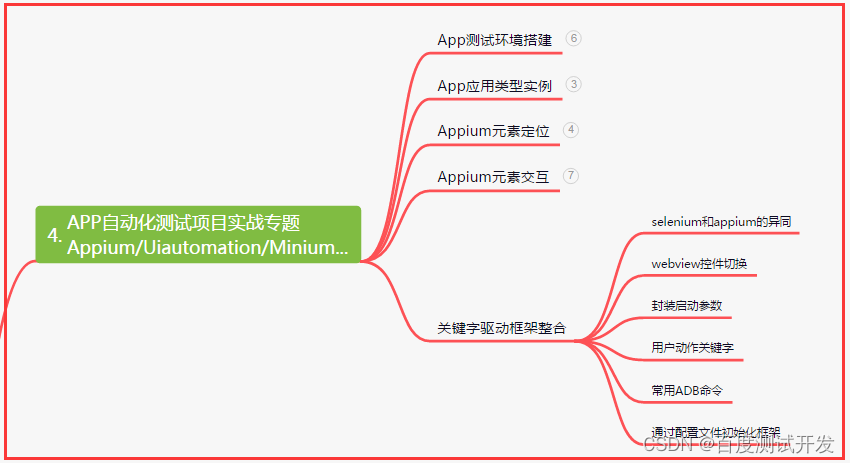
四、App自动化项目实战
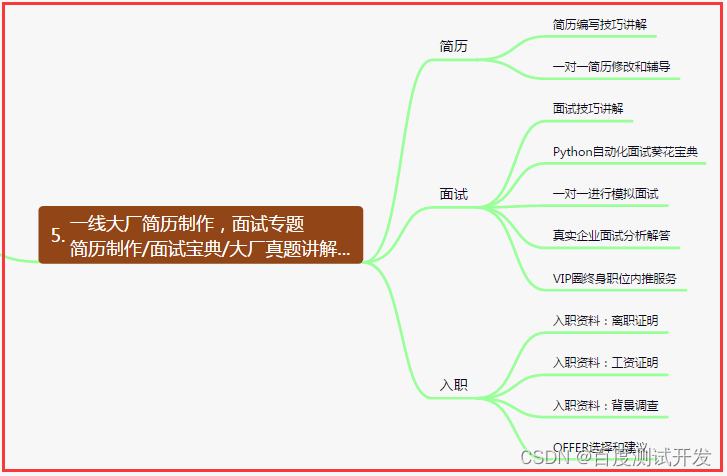
五、一线大厂简历
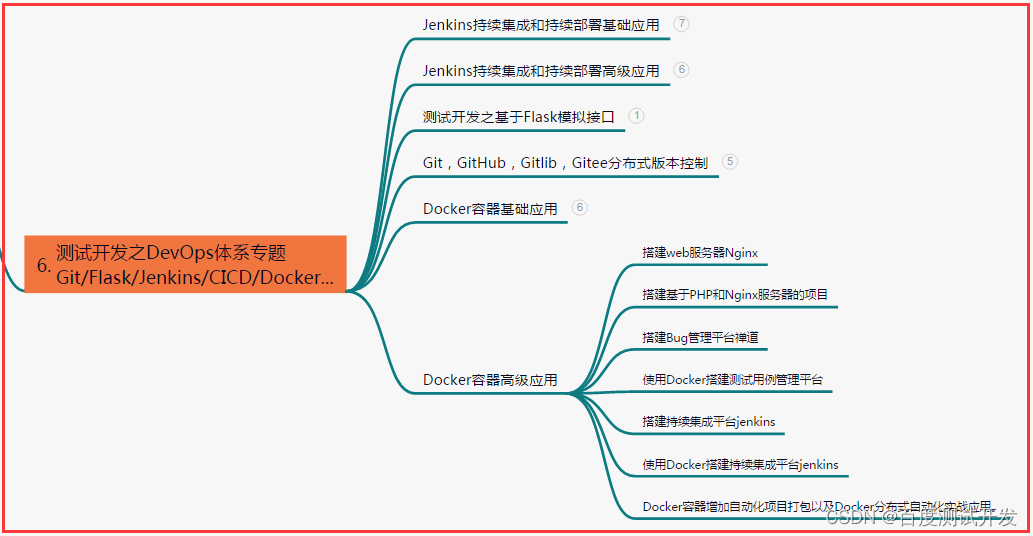
六、测试开发DevOps体系
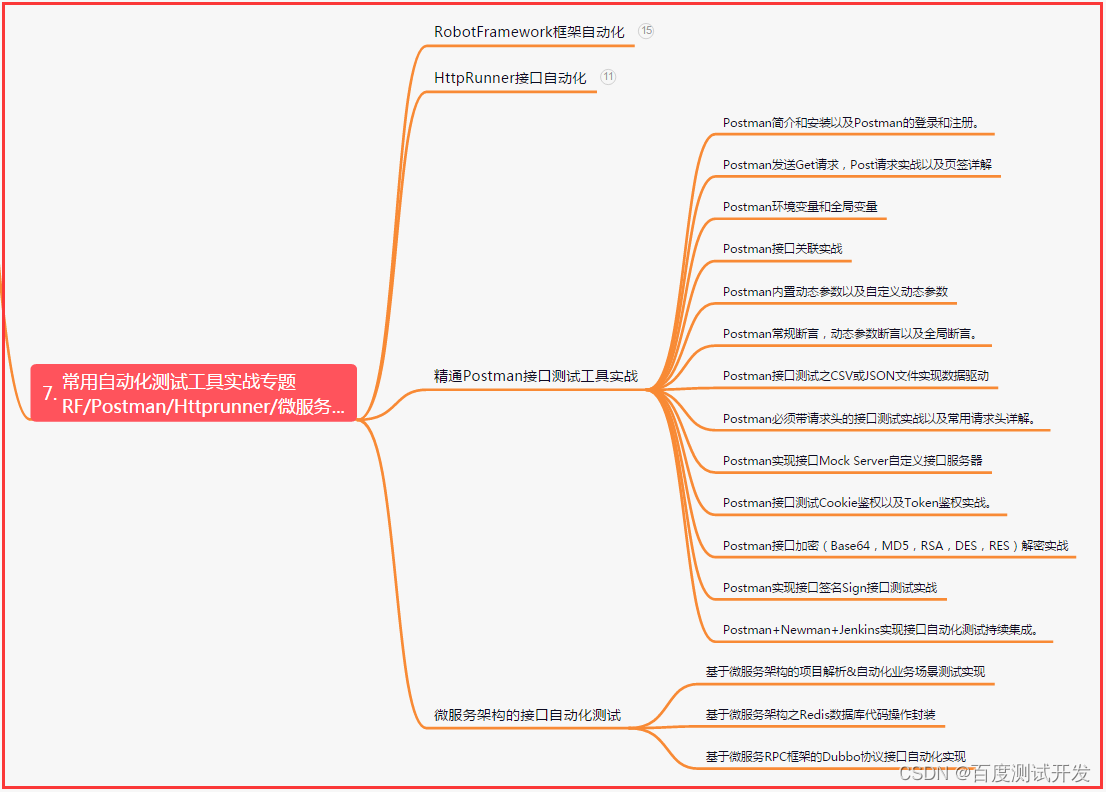
七、常用自动化测试工具
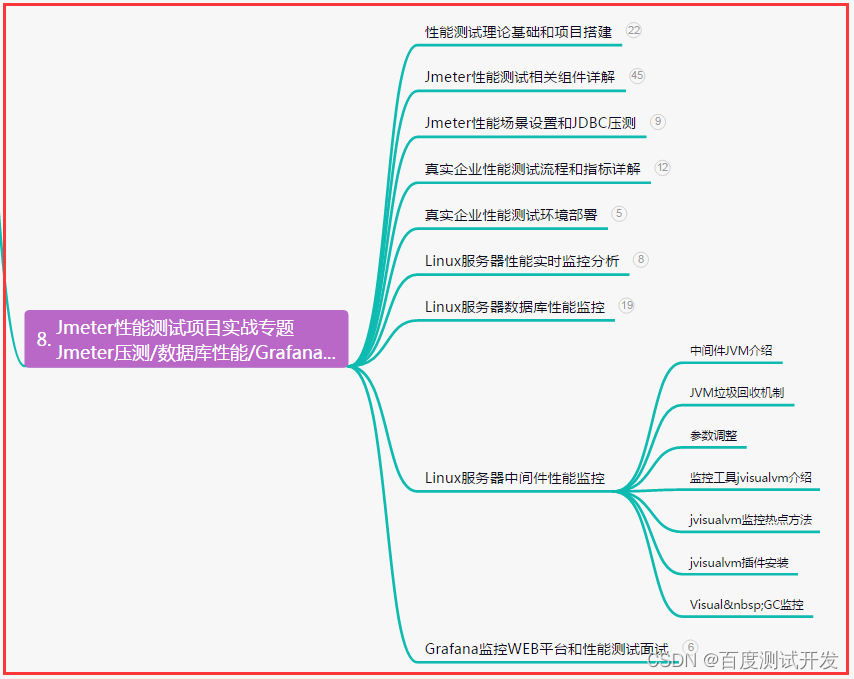
八、JMeter性能测试
九、总结(尾部小惊喜)
只要你心中有梦想,就不要停下前进的步伐。即使路途坎坷,也要勇敢前行。因为只有不断奋斗,才能让梦想变成现实,而这正是人生最精彩的部分。
每一次的努力,都是向自己未来的礼物。让我们勇敢面对挑战,拥抱变化,不断学习和进步,成为更好的自己,创造属于自己的精彩人生!
不要被眼前的挫折所迷惑,不要停滞于舒适的现状。只有勇敢地面对挑战、敢于拼搏,才能在未来的道路上创造属于自己的辉煌。