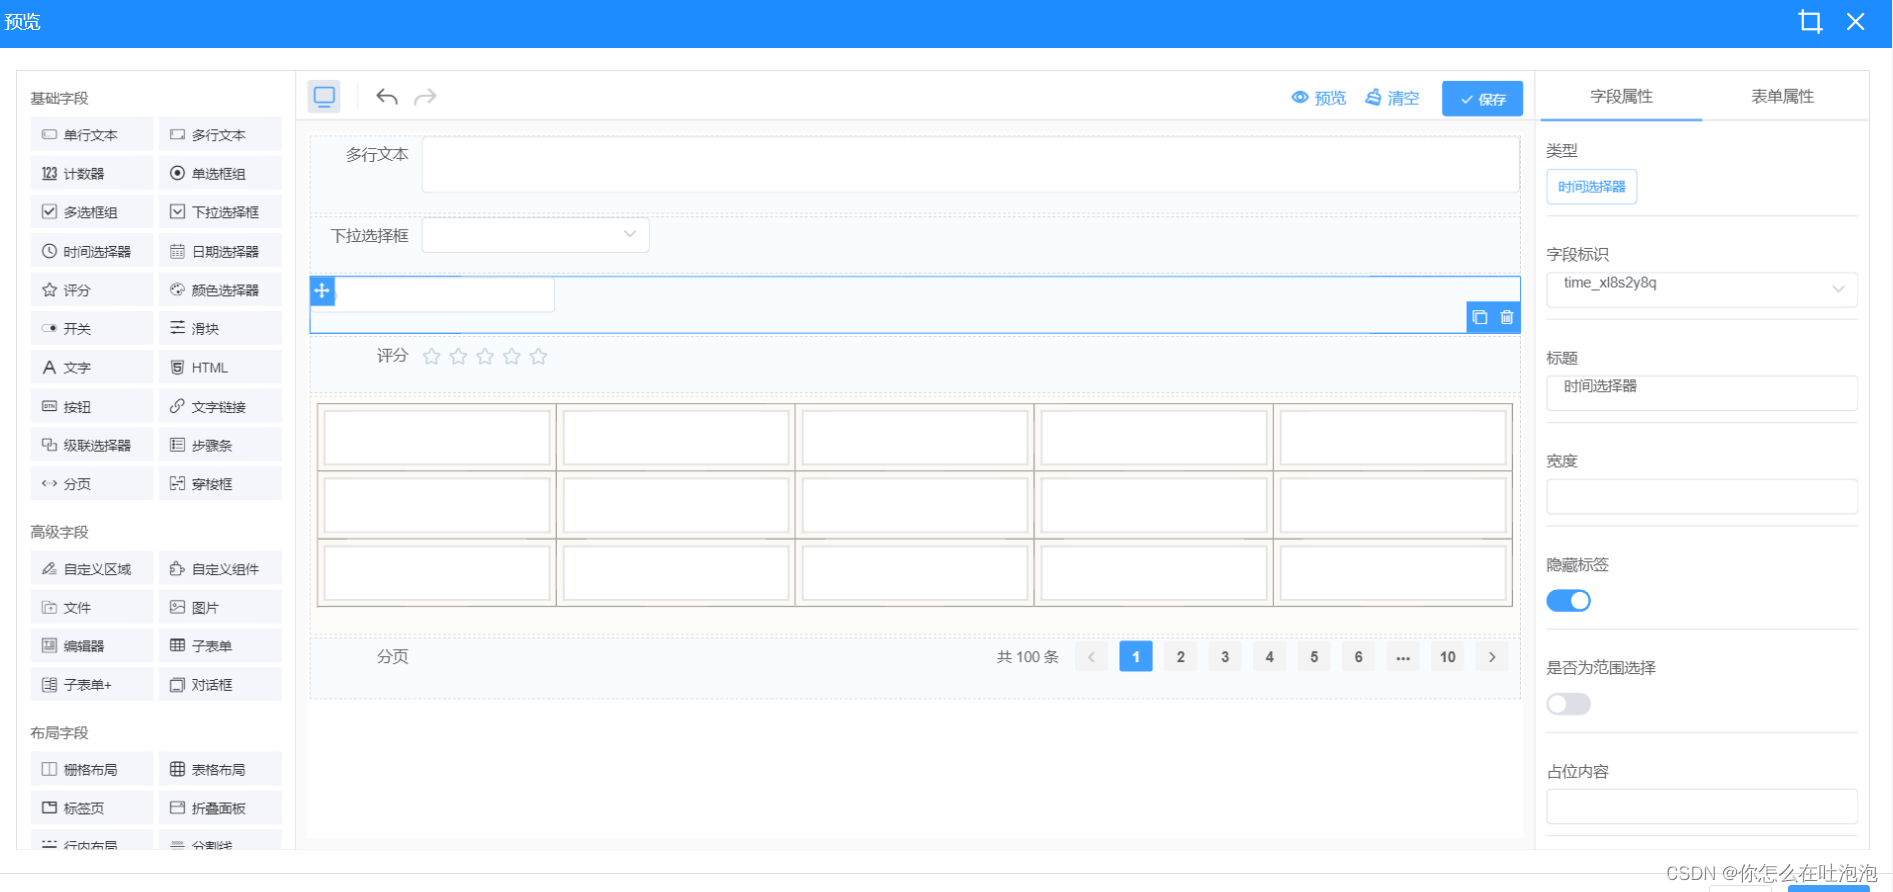
记录一下vue项目使用html2canvas库实现网页截屏的功能,减少以后引用少走弯路。旨在记录,不足之处请多多指教。
1、安装html2canvas库
npm install html2canvas --save
2、在需要截图的Vue组件中引入html2canvas库:
import html2canvas from 'html2canvas'
3、实现截图功能
在需要截图的HTML结构部分添加一个 canvas 元素,给它一个class/ref/id都可,待会要能获取到DOM节点:
<template>
  <div>
    <button @click="capture">截图</button>
    <canvas class="canvas">
    <!-- 需要截图的部分 -->
    ...
    </canvas>
  </div>
</template>
自己定义一个方法,使用html2canvas库将需要截图的元素转换为Canvas,并将生成的图片绘制到canvas元素上:
    // 使用 html2canvas 库将需要截图的元素转换为 Canvas,
    // 并将生成的图片绘制到 canvas 元素上
    capture() {


      // 获取需要截图的元素,这里选择了canvas部分
      const targetElement = document.querySelector('.canvas');
      // 使用html2canvas生成截图,并将结果保存到变量screenshot中
      html2canvas(targetElement, {


        useCORS: true, // 使用跨域资源共享(CORS)
	    scrollX: 0, // 截图时x轴滚动条的位置
	    scrollY: -window.scrollY // 截图时y轴滚动条的位置
      }).then(canvas => {


      // 将截图转为png格式的base64编码,并保存到screenshot变量中
        this.screenshot = canvas.toDataURL('image/png');
        // 将截图转为blob对象,并保存到screenshotBlob变量中
        this.screenshotBlob = canvas.toBlob((blob)=>{


            this.screenshotBlob=blob;
            this.upload()//这里将截图转为blob对象,并保存到screenshotBlob变量中,并通过回调函数在控制台输出blob对象并上传至服务器
        });
      })
    },
**注意:**需要把截图上传至服务器需要将截图转为blob对象,并把请求头以下类型加上
headers: {

     'Content-Type': 'multipart/form-data;'}
4、 效果图:
