今天在写Springboot整合Druid的时候,以为自己已经将其完美的整合,但是运行项目发现报了下面的错误

我们可以看到上图中的核心话语:Reason: java.lang.ClassNotFoundException: org.apache.log4j.Logger
翻译过来的大概意思就是不能找到log4j的日志记录器,于是我就去百度,发现Springboot默认的日志记录器是采用了 slf4j+logback 的组合形式,于是我便将自己的yml配置文件改为了slf4j或者改为log4j2效果是一样的。
还有人出错的原因是因为没有导入相关的依赖,比如你使用log4j2,那你肯定需要导入相关的依赖。
最后整合:
pom.xml
<!--Druid-->
        <dependency>
            <groupId>com.alibaba</groupId>
            <artifactId>druid</artifactId>
            <version>1.2.8</version>
        </dependency>
        <!--Log4j-->
        <dependency>
            <groupId>log4j</groupId>
            <artifactId>log4j</artifactId>
            <version>1.2.17</version>
        </dependency>
application.yml
spring:
  datasource:
    username: root
    password: 123456
    url: jdbc:mysql://localhost:3306/blog?useUnicode=true&characterEncoding=utf-8
    driver-class-name: com.mysql.cj.jdbc.Driver
    #指定使用Druid数据源(alibaba的)
    type: com.alibaba.druid.pool.DruidDataSource
    # 下面为连接池的补充设置,应用到上面所有数据源中  Springboot 默认是不注入这些属性值德,需要自己绑定
    initialsize: 5
    minidle: 5
    maxactive: 20
    # 配置获取连接等待超时的时间
    maxwait: 60000
    # 配置间隔多久才进行一次检测,检测需要关闭的空闲连接,单位是毫秒
    timebetweenevictionrunsmillis: 60000
    # 配置一个连接在池中最小生存的时间,单位是毫秒
    minevictableidletimemillis: 300000
    validationquery: select 1 from dual
    testwhileidle: true
    testonborrow: false
    testonreturn: false
    # 打开pscache,并且指定每个连接上pscache的大小
    poolpreparedstatements: true
    maxpoolpreparedstatementperconnectionsize: 20
    #配置监控统计拦截的filters,stat:监控统计、log4j:日志记录、wall:防御sql注入
    filters: stat,wall,slf4j
    # 通过connectproperties属性来打开mergesql功能;慢sql记录
    connectionproperties: druid.stat.mergesql=true;druid.stat.slowsqlmillis=5000
    # 合并多个druiddatasource的监控数据
    useglobaldatasourcestat: true
    maxPoolPreparedStatememtPerConnectionSize: 20
config.java
@Configuration
public class DruidConfig {


    //绑定yaml配置文件
    @ConfigurationProperties(prefix = "spring.datasource")
    @Bean
    public DataSource druidDateSource(){


        return new DruidDataSource();
    }

    //后台监控功能  :相当于web.xml
    @Bean
    public ServletRegistrationBean statViewServlet(){


        ServletRegistrationBean<StatViewServlet> bean = new ServletRegistrationBean<>(new StatViewServlet(), "/druid/*");
        //后台需要有人登入  账号密码配置
        HashMap<String, String> initParameters = new HashMap<>();
        //增加配置
        initParameters.put("loginUsername","admin");  //登录的key是固定的 loginUsername  loginPassword
        initParameters.put("loginPassword","123456");
        //允许谁可以访问
        initParameters.put("allow","");
        //禁止谁访问   initParameters.put("xiaocai","192.168.11.123");
        bean.setInitParameters(initParameters);//设置初始化参数
        return bean;
    }
}
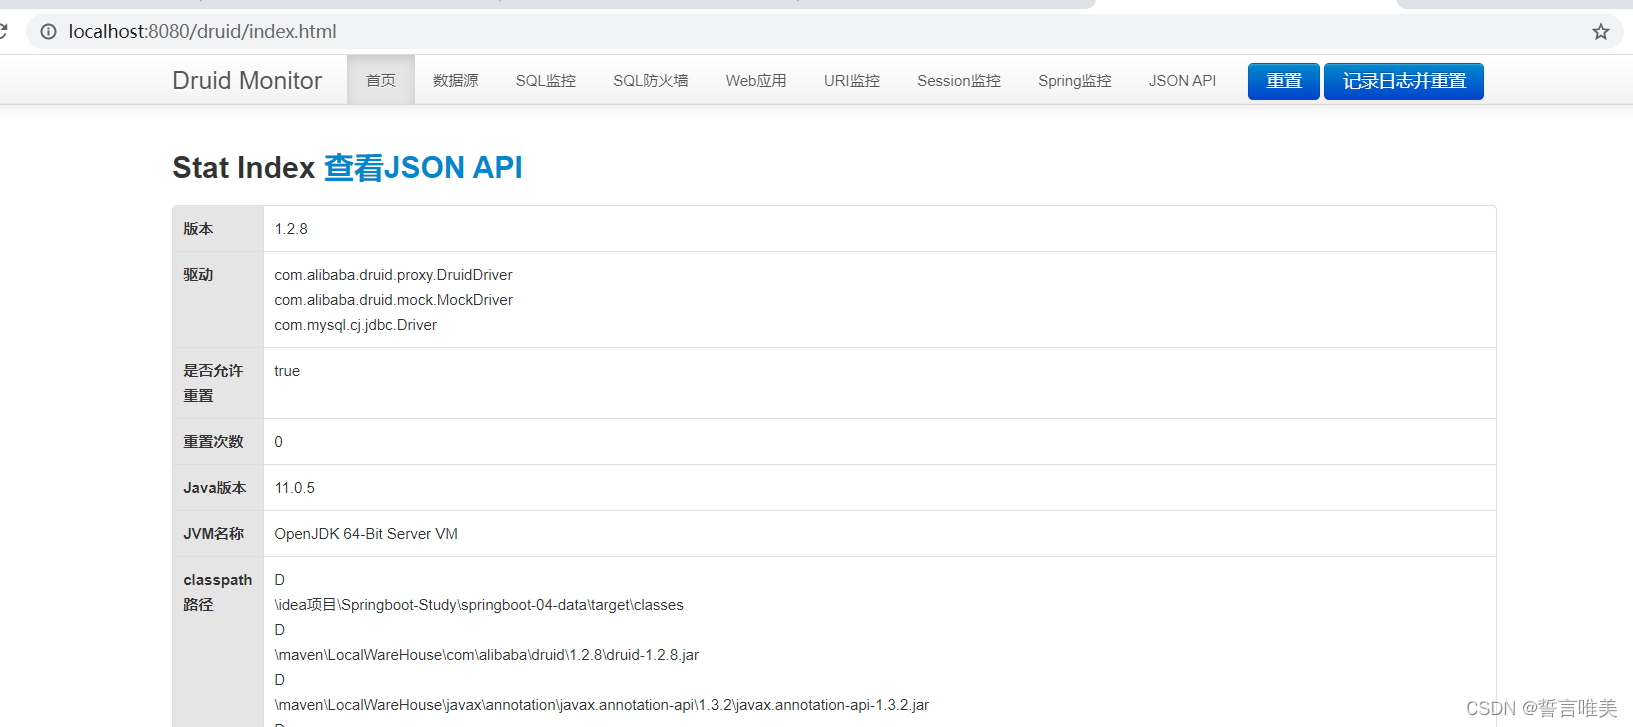
成功运行效果图
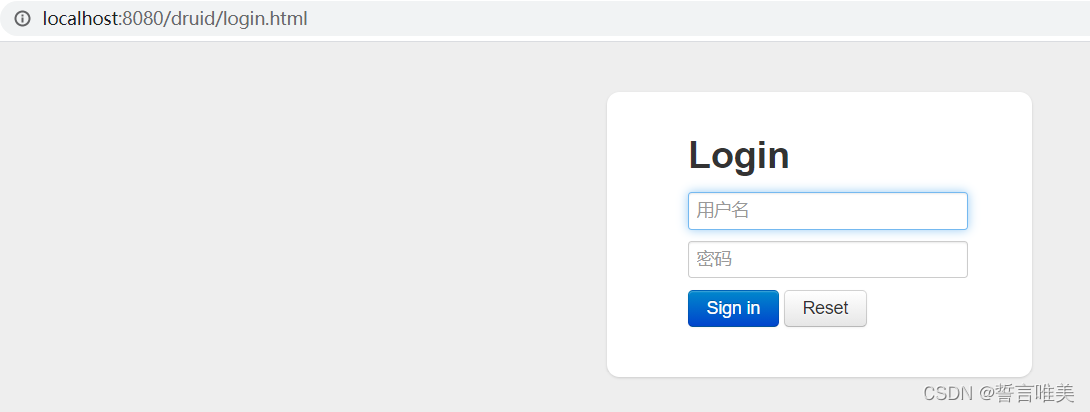
然后根据自己在config.设置的用户名与密码,就可以登入Druid后台了