购买和下载证书
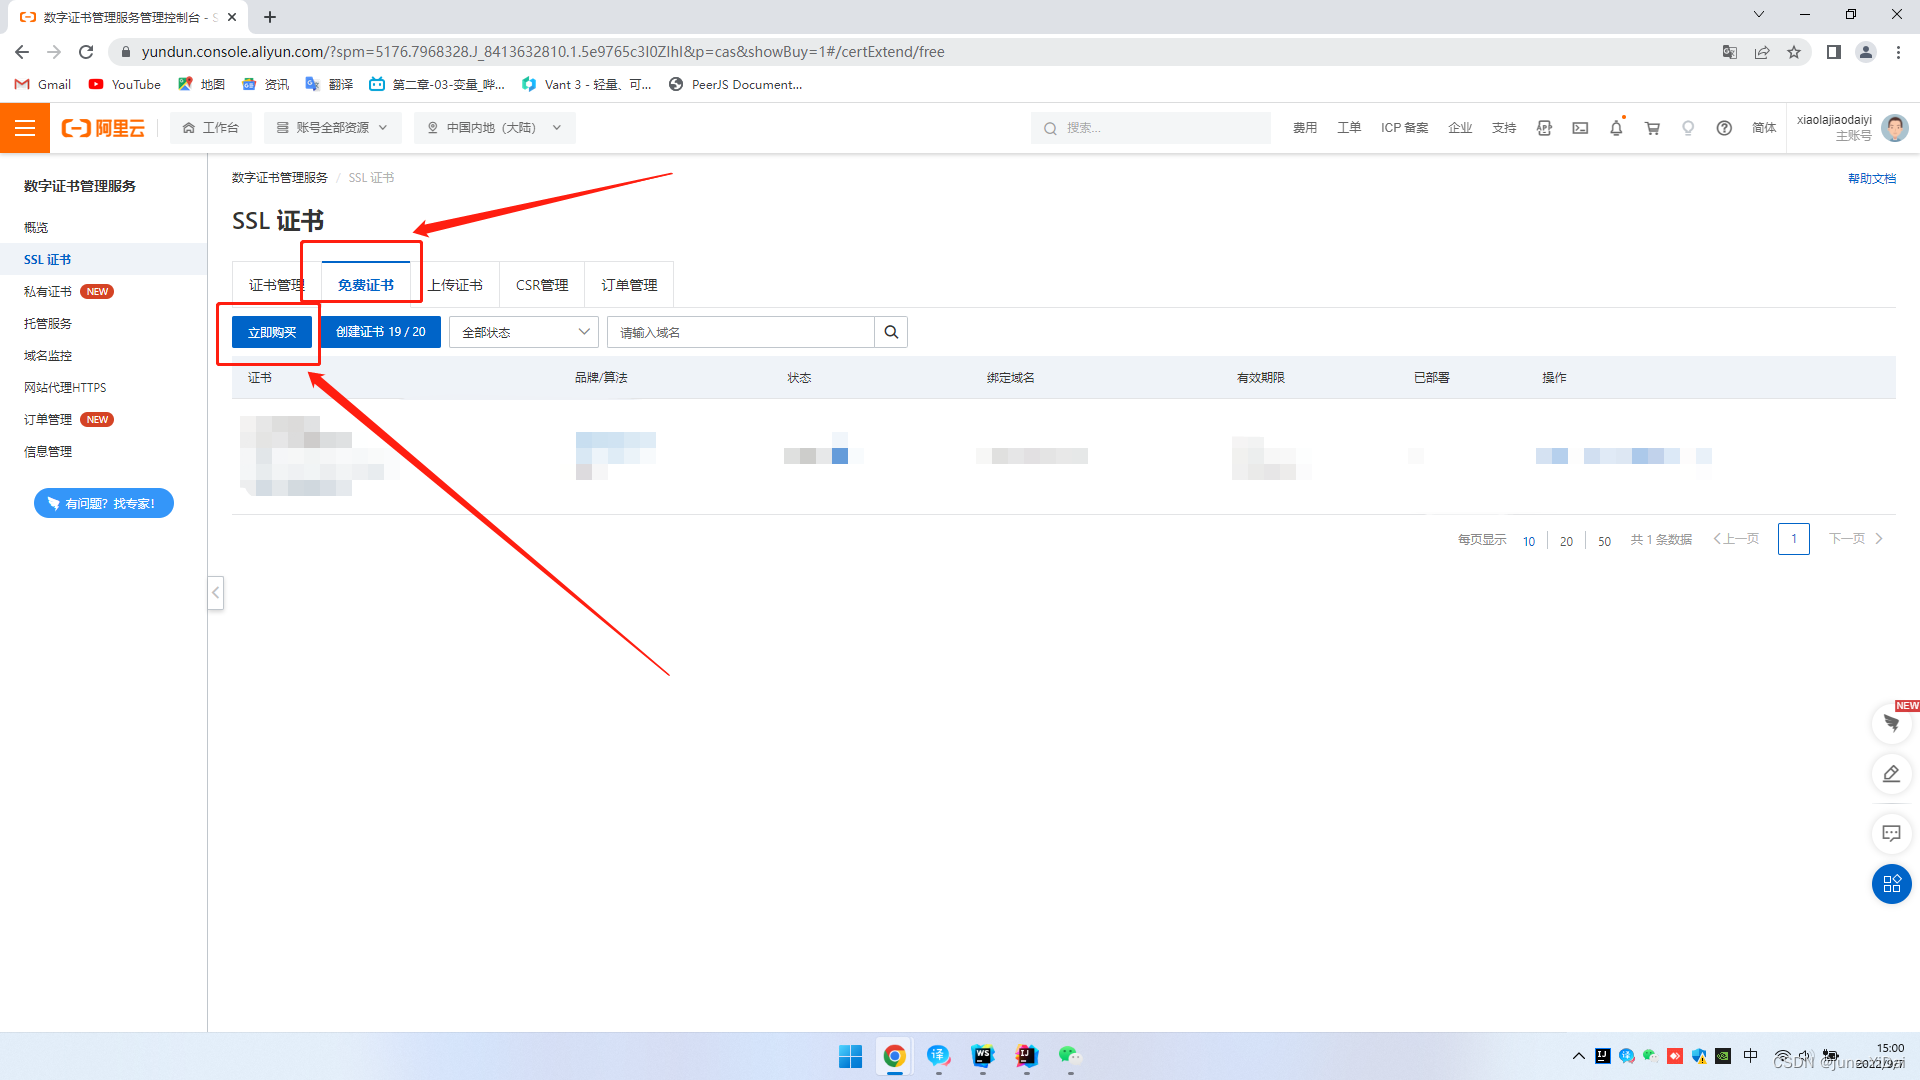
以阿里云为例,找到SSL证书,点击免费证书,然后购买之后绑定一下域名,很简单,不再赘述
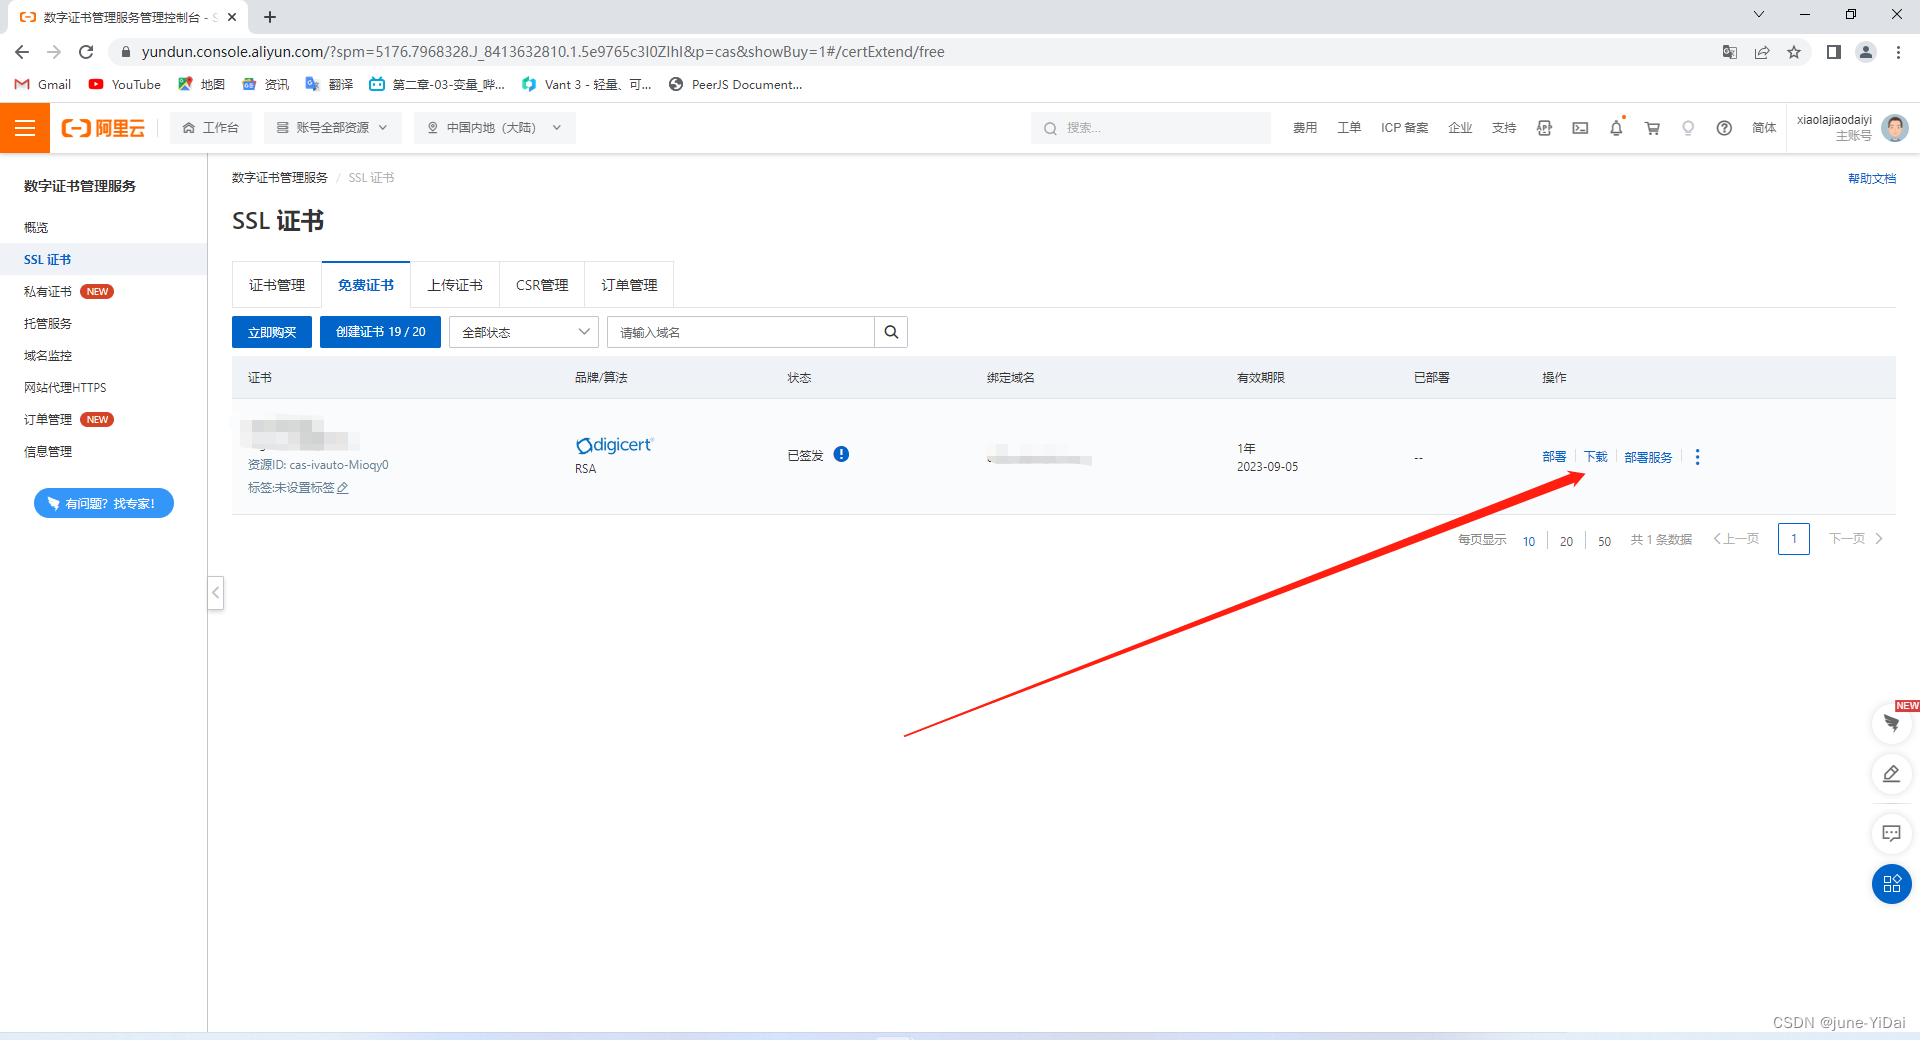
点击下载
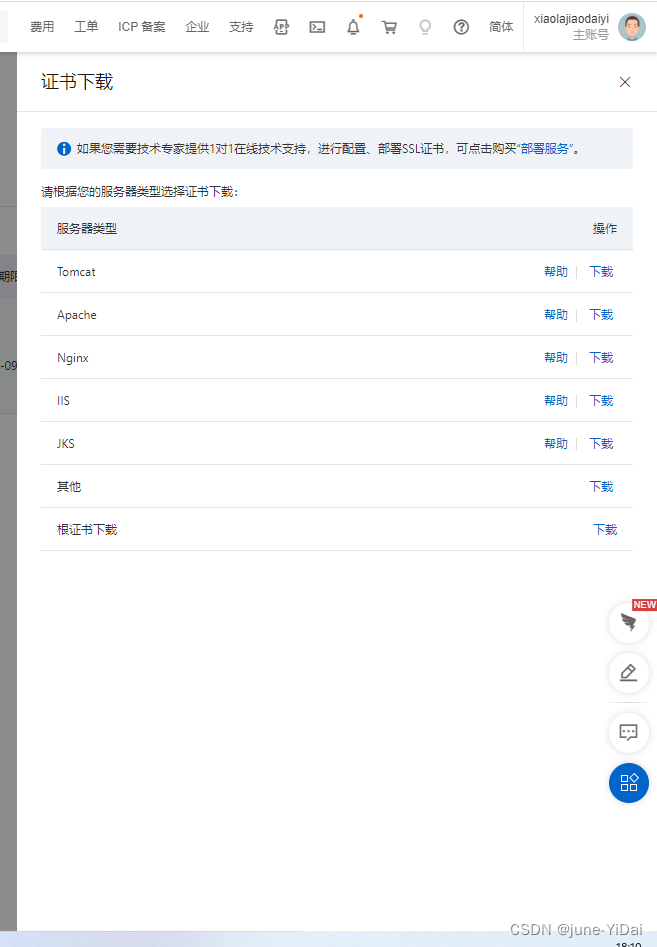
选择证书类型,这里以tomcat为例

下载后得到一个.pfx的文件和一个带有密钥的txt文本文档
Tomcat安装证书
以为tomcat10.0.20为例,打开tomcat的目录,找到conf/server.xml文件,修改几个地方,找到Service标签下面的Connector标签,修改为:
<Connector port="80" protocol="HTTP/1.1" connectionTimeout="20000" redirectPort="443" />
把端口号改为80号的好处是访问的时候不用加上端口号,因为80号端口是http协议的默认端口;
接下载在Service标签中添加以下内容
    <Connector port="443"
              protocol="org.apache.coyote.http11.Http11NioProtocol"
              maxThreads="150"
              SSLEnabled="true">
            <SSLHostConfig>
                <Certificate  certificateKeystoreFile="C:\software\ApacheTomcat\apache-tomcat-10.0.20\8419639_xxx.xxx.com.pfx"
                 certificateKeystorePassword="password"
                 certificateKeystoreType="PKCS12" />
        </SSLHostConfig>
    </Connector>
certificateKeystoreFile是pfx文件的存储路径
certificateKeystorePassword是ssl证书密钥
pfx类型的certificateKeystoreType值为PKCS12
修改完了之后重启tomcat
Spring Boot中使用https
在spring boot的application配置文件中配置如下内容
server:
  ssl:
    key-store: C:\software\ApacheTomcat\apache-tomcat-10.0.20\8419639_xxx.xxx.com.pfx
    key-store-password: password
    key-store-type: PKCS12