目录
Ubuntu22的安装请参考如下文章
CSDN![]() https://mp.csdn.net/mp_blog/creation/editor/125628334
https://mp.csdn.net/mp_blog/creation/editor/125628334
1.下载AOSP源码
1.1.安装repo
sudo apt-get install repo
1.2.配置git
git config --global user.email "[email protected]"
git config --global user.name "your_name"
1.3.因为国内repo源有问题,所以要更换源
export REPO_URL='https://mirrors.tuna.tsinghua.edu.cn/git/git-repo/'
1.4.初始化仓库,并指定版本
repo init -u https://aosp.tuna.tsinghua.edu.cn/platform/manifest -b android-12.0.0_r3
1.5.同步代码,这个过程需要一个小时的样子,具体根据你的网络不同有所差异
repo sync
2.编译环境搭建
2.1. 安装一些编译需要的库
sudo apt install git-core gnupg flex bison build-essential zip curl zlib1g-dev gcc-multilib g++-multilib libc6-dev-i386 libncurses5 lib32ncurses5-dev x11proto-core-dev libx11-dev lib32z1-dev libgl1-mesa-dev libxml2-utils xsltproc unzip fontconfig
2.2.开始源码编译
source build/envsetup.sh
lunch sdk_phone_x86_64-eng
make -j16
3.增大交换内存
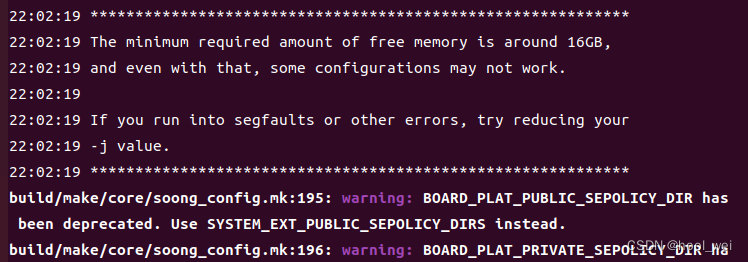
因为我的电脑是16G的,开始编译之后提示以下内容,人后就内存爆表了,直接编译终端就闪退了。
解决办法是增大交换内存,ubuntu默认的交换内存是2G,我们需要将内存扩大到16G
3.1.首先查看那交换内存大小
free -m
3.2.关闭交换内存
sudo swapoff /swapfile
3.3.删除原有的swapfile文件,swapfile文件在系统根目录
rm -rf /swapfile
3.4.重新创建swapfile文件扩大到16G
sudo fallocate -l 16G /swapfile
3.5.查看交换内存文件大小
ls -lh /swapfile
3.6.赋予权限
sudo chmod 600 /swapfile
3.7.挂载交换内存
sudo mkswap /swapfile
3.8.启用交换内存
sudo swapon /swapfile
3.9将 swapfile 路径内容写入到 /etc/fstab 文件当中
sudo gedit /etc/fstab
在文件中最后一行写入如下内容
/swapfile none swap sw 0 0
3.10.再次查看交换内存大小
free -m
至此交换内存就配置好了,可以愉快的开始编译了。
重新开始2.2的步骤,不出意外的话经过几个小时的编译你就可以看到下面的惊喜
