作者简介
作者名:编程界小明哥
简介:CSDN博客专家,从事软件开发多年,精通Java、JavaScript,博主也是从零开始一步步把学习成长、深知学习和积累的重要性,喜欢跟广大ADC一起打野升级,欢迎您关注,期待与您一起学习、成长、起飞!明哥QQ:283582761
测试工具 IDEA
什么是跨域
当一台服务器资源从另一台服务器(不同 的域名或者端口)请求一个资源或者接口,就会发起一个跨域 HTTP 请求。
浏览器出于安全考虑,会限制跨域访问,就是不允许跨域请求资源,要求协议,IP和端口必须都相同,其中有一个不同就会产生跨域问题,这就是同源策略。
跨域举例
| 请求方 | 响应方 | 是否跨域 | 原因 |
|---|---|---|---|
| http://www.ming.com | http://www.ming.com/test.html | 否 | 协议、域名、端口相同 |
| http://www.ming.com | https://www.ming.com/test.html | 是 | 协议不同 |
| http://www.ming.com | http://www.minggod.com/test.html | 是 | 主域名不同 |
| http://www.ming.com | http://haha.ming.com/test.html | 是 | 主域名相同、子域名不同 |
| http://www.ming.com:8080 | http://www.ming.com:8090/test.html | 是 | 端口不同 |
跨域访问实例
后端测试代码
import org.springframework.web.bind.annotation.GetMapping;
import org.springframework.web.bind.annotation.RestController;
@RestController
public class CorsController {


    @GetMapping("/cors")
    public  String hello(){


        return "hello cors";
    }
}
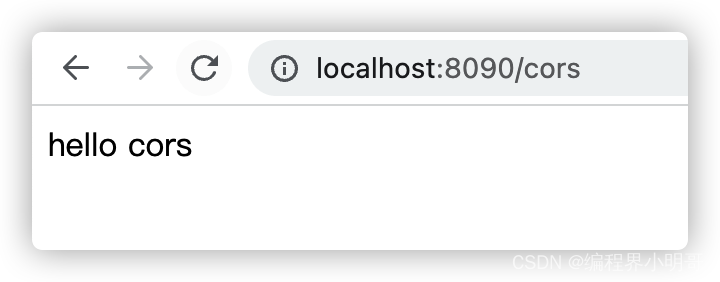
用浏览器打开,我这里配置的端口是8090
在前端项目中用axios访问时
<template>
    <span>跨域请求:{

    {

    result}}</span>
</template>

<script>
    import axios from 'axios';
    export default {


        name: "Cors",
        data(){


          return {


              result:""
          }
        },
        methods:{


            getTest(){


                axios.get("http://localhost:8090/cors").then(res=>{


                    console.log(res.data)
                    this.result=res.data
                })
            }
        },
        created() {


            this.getTest();
        }
    }
</script>

<style scoped>

</style>
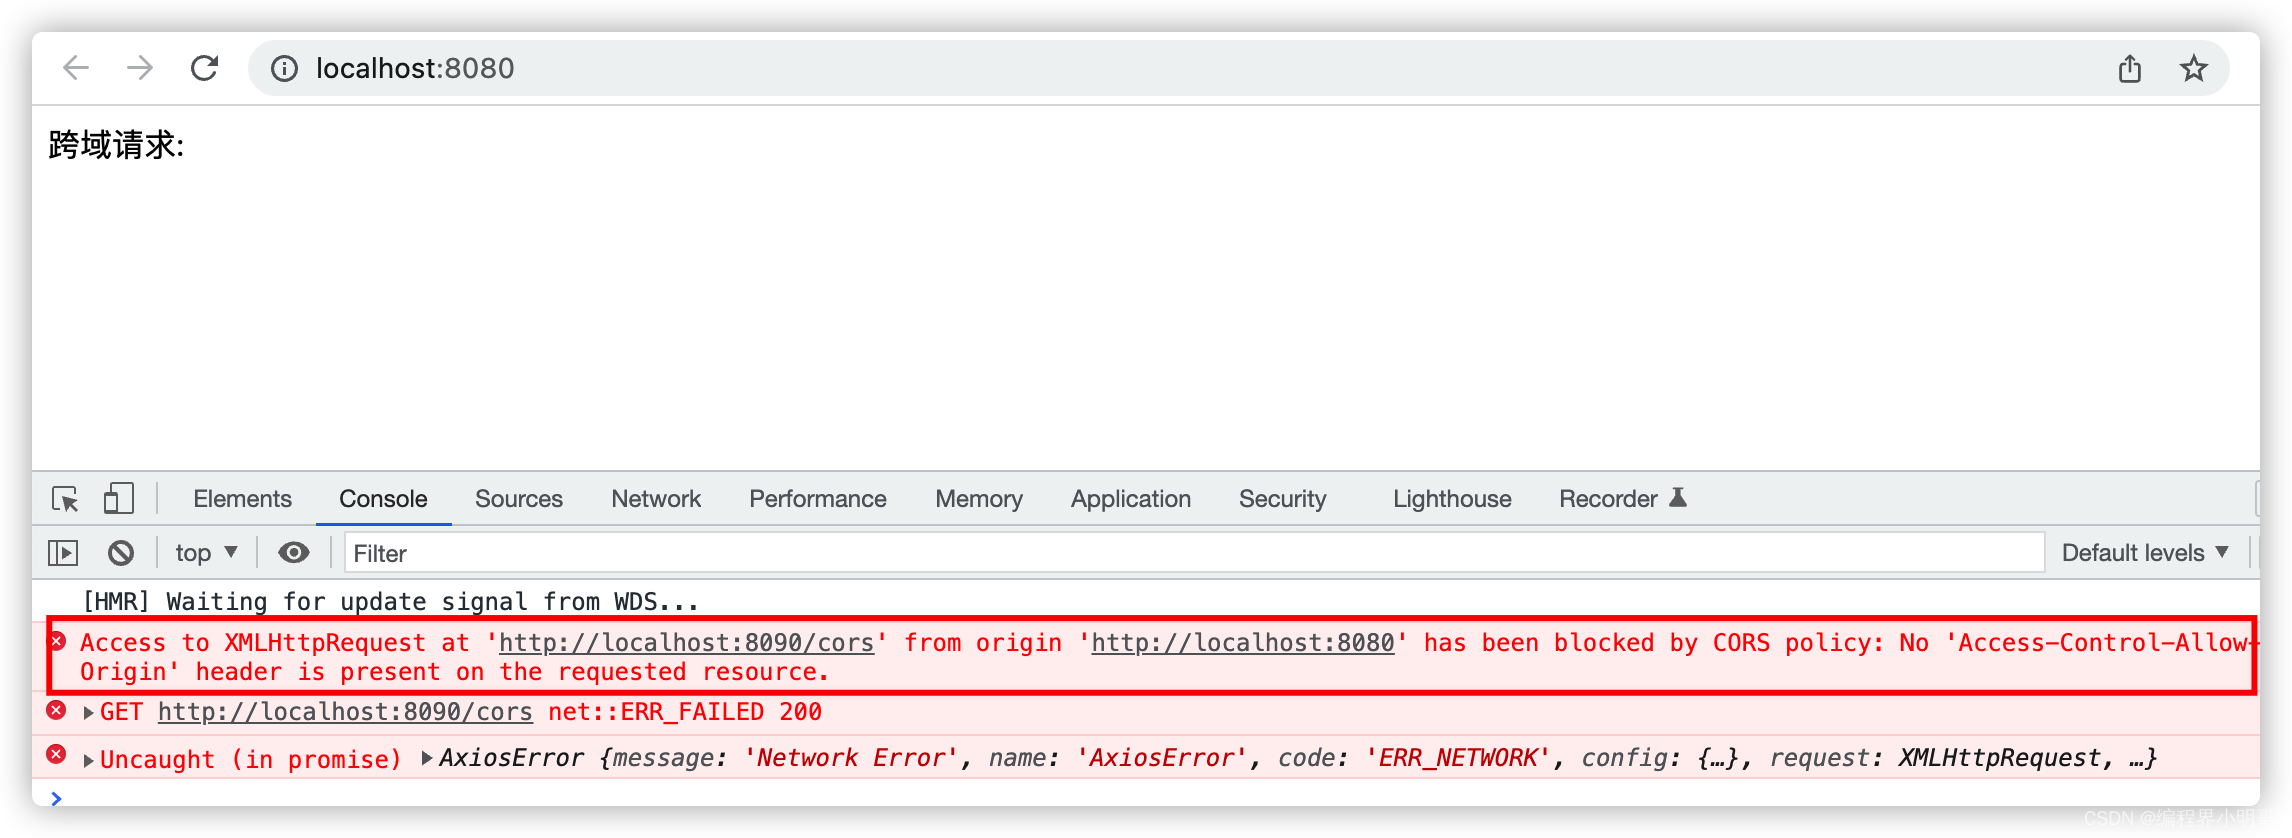
报错中的关键词
Access-Control-Allow-Origin
跨域处理(后端)
说明:
这里是针对Springboot 2.4.0以后的写法,之前的版本写法是.allowedOrigins(*)
2.4.0之后会报错替换成.allowedOriginPatterns即可
代码中会有注释说明
- 添加跨域配置类
import org.springframework.context.annotation.Bean;
import org.springframework.context.annotation.Configuration;
import org.springframework.web.cors.CorsConfiguration;
import org.springframework.web.cors.UrlBasedCorsConfigurationSource;
import org.springframework.web.filter.CorsFilter;

@Configuration
public class GlobalCorsConfig {


    @Bean
    public CorsFilter corsFilter() {


        //1. 添加 CORS配置信息
        CorsConfiguration config = new CorsConfiguration();
        //放行哪些原始域
        config.addAllowedOriginPattern("*");//2.4.0后的写法
       // config.addAllowedOrigin("*");
        //是否发送 Cookie
        config.setAllowCredentials(true);
        //放行哪些请求方式
        config.addAllowedMethod("*");
        //放行哪些原始请求头部信息
        config.addAllowedHeader("*");
        //暴露哪些头部信息
        config.addExposedHeader("*");
        //2. 添加映射路径
        UrlBasedCorsConfigurationSource corsConfigurationSource = new UrlBasedCorsConfigurationSource();
        corsConfigurationSource.registerCorsConfiguration("/**",config);
        //3. 返回新的CorsFilter
        return new CorsFilter(corsConfigurationSource);
    }
}
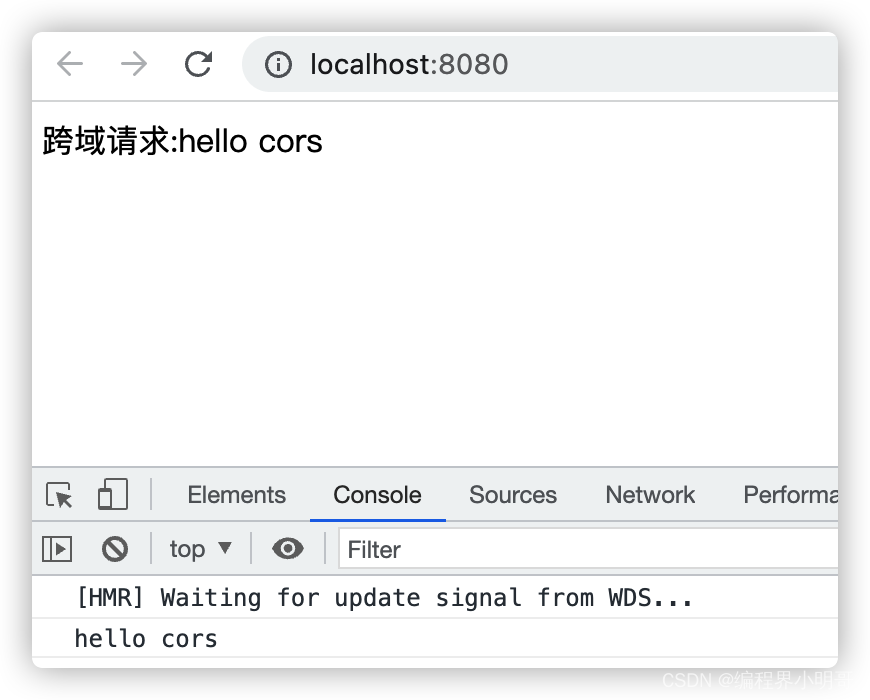
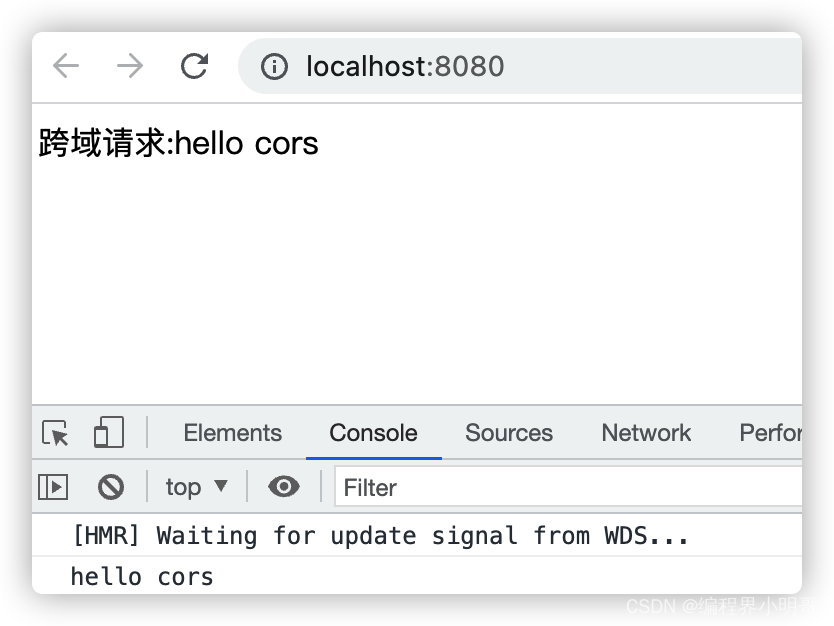
重启后端服务后,刷新前端页面正常访问,效果如下
2. 重写WebMvcConfigurer
import org.springframework.context.annotation.Configuration;
import org.springframework.web.servlet.config.annotation.CorsRegistry;
import org.springframework.web.servlet.config.annotation.WebMvcConfigurer;

@Configuration
public class CorsConfig implements WebMvcConfigurer {


    @Override
    public void addCorsMappings(CorsRegistry registry) {


        registry.addMapping("/**")
                //是否发送Cookie
                .allowCredentials(true)
                //放行哪些原始域
                //.allowedOrigins("*")
                .allowedOriginPatterns("*")//2.4.0后的写法
                .allowedMethods(new String[]{

    "GET", "POST", "PUT", "DELETE"})
                .allowedHeaders("*")
                .exposedHeaders("*");
    }
}
3. 注解 @CrossOrigin
类上注解
@RestController
@CrossOrigin("*")
public class CorsController {


    @GetMapping("/cors")
    public  String hello(){


        return "hello cors";
    }
}
方法上注解
方法可以单独跨域,没有 @CrossOrigin(“*”) 注解的方法则不行
import org.springframework.web.bind.annotation.CrossOrigin;
import org.springframework.web.bind.annotation.GetMapping;
import org.springframework.web.bind.annotation.RestController;
@RestController
public class CorsController {


    @GetMapping("/cors")
    @CrossOrigin("*")
    public  String hello(){


        return "hello cors";
    }
    @GetMapping("/cors1")
    public  String hello1(){


        return "hello cors1";
    }
}
- 自定义过滤器
可以正常跨域
import java.io.IOException;
import javax.servlet.Filter;
import javax.servlet.FilterChain;
import javax.servlet.FilterConfig;
import javax.servlet.ServletException;
import javax.servlet.ServletRequest;
import javax.servlet.ServletResponse;
import javax.servlet.http.HttpServletRequest;
import javax.servlet.http.HttpServletResponse;
import org.springframework.stereotype.Component;

@Component
public class MyCorsFilter implements Filter {


    public void doFilter(ServletRequest req, ServletResponse res,
                         FilterChain chain) throws IOException, ServletException {


        HttpServletResponse response = (HttpServletResponse) res;
        HttpServletRequest httpServletRequest = (HttpServletRequest) req;
        response.setHeader("Access-Control-Allow-Origin", httpServletRequest.getHeader("origin"));
        response.setHeader("Access-Control-Allow-Methods", "POST, GET, OPTIONS, DELETE, HEAD");
        response.setHeader("Access-Control-Max-Age", "3600");
        response.setHeader("Access-Control-Allow-Headers", "access-control-allow-origin, authority, content-type, version-info, X-Requested-With");
        response.setHeader("Access-Control-Allow-Credentials", "true");
        chain.doFilter(req, res);

    }

    public void init(FilterConfig filterConfig) {

    }
    public void destroy() {

    }
}
- 手动设置响应头(局部跨域)
此方案听说可以用,但明哥自己测试了,不能用,依然有问题,不建议!
@GetMapping("/cors1")
public  String hello1(HttpServletResponse response){


    response.addHeader("Access-Allow-Control-Origin","*");
    return "hello cors1";
}
小结
这节总结了“ Springboot跨域处理 ”,希望能对大家有所帮助,请各位小伙伴帮忙 【点赞】+【收藏】, 如果有兴趣跟小明哥一起学习Java和前端的,【关注一波】不迷路哦。
请到文章下方帮忙【一键三连】谢谢哈!
