视频资源
- 视频地址:黑马-新版Linux快速入门到精通
- 资源下载:https://pan.baidu.com/s/1zExrsk09QVm3mpqaPTqe_g?pwd=6666,提取码:6666
课程笔记
- 黑马Linux笔记01【Linux初识,安装VMware Workstation、安装CentOS7、远程连接Linux系统、Win10配置WSL(Ubuntu)环境】
- 黑马Linux笔记02【Linux基础命令,ls、cd、pwd、mkdir、touch、cat、more、cp、mv、rm、which、find、grep、wc、echo、tail、vim】
- 黑马Linux笔记03【Linux用户和权限,su、sudo、groupadd、useradd、usermod、userdel、getent、chmod、chown】
- 黑马Linux笔记04【Linux实用操作,软件安装、systemctl、软链接、日期和时区、IP地址和主机名、网络请求和下载、端口、进程管理、环境变量】
- 黑马Linux笔记05【Linux系统软件安装,MySQL、Tomcat、Nginx、RabbitMQ、Redis、ElasticSearch、Zookeeper】
- 黑马Linux笔记06【未完待续...】
目录
P044【第五章-02-MySQL5.7在CentOS安装[单机软件]】18:23
P045【第五章-03-MySQL8.0在CentOS安装[单机软件]】08:28
P046【第五章-04-MySQL5.7在Ubuntu安装[单机软件]】13:40
P047【第五章-05-MySQL8.0在Ubuntu安装[单机软件]】06:58
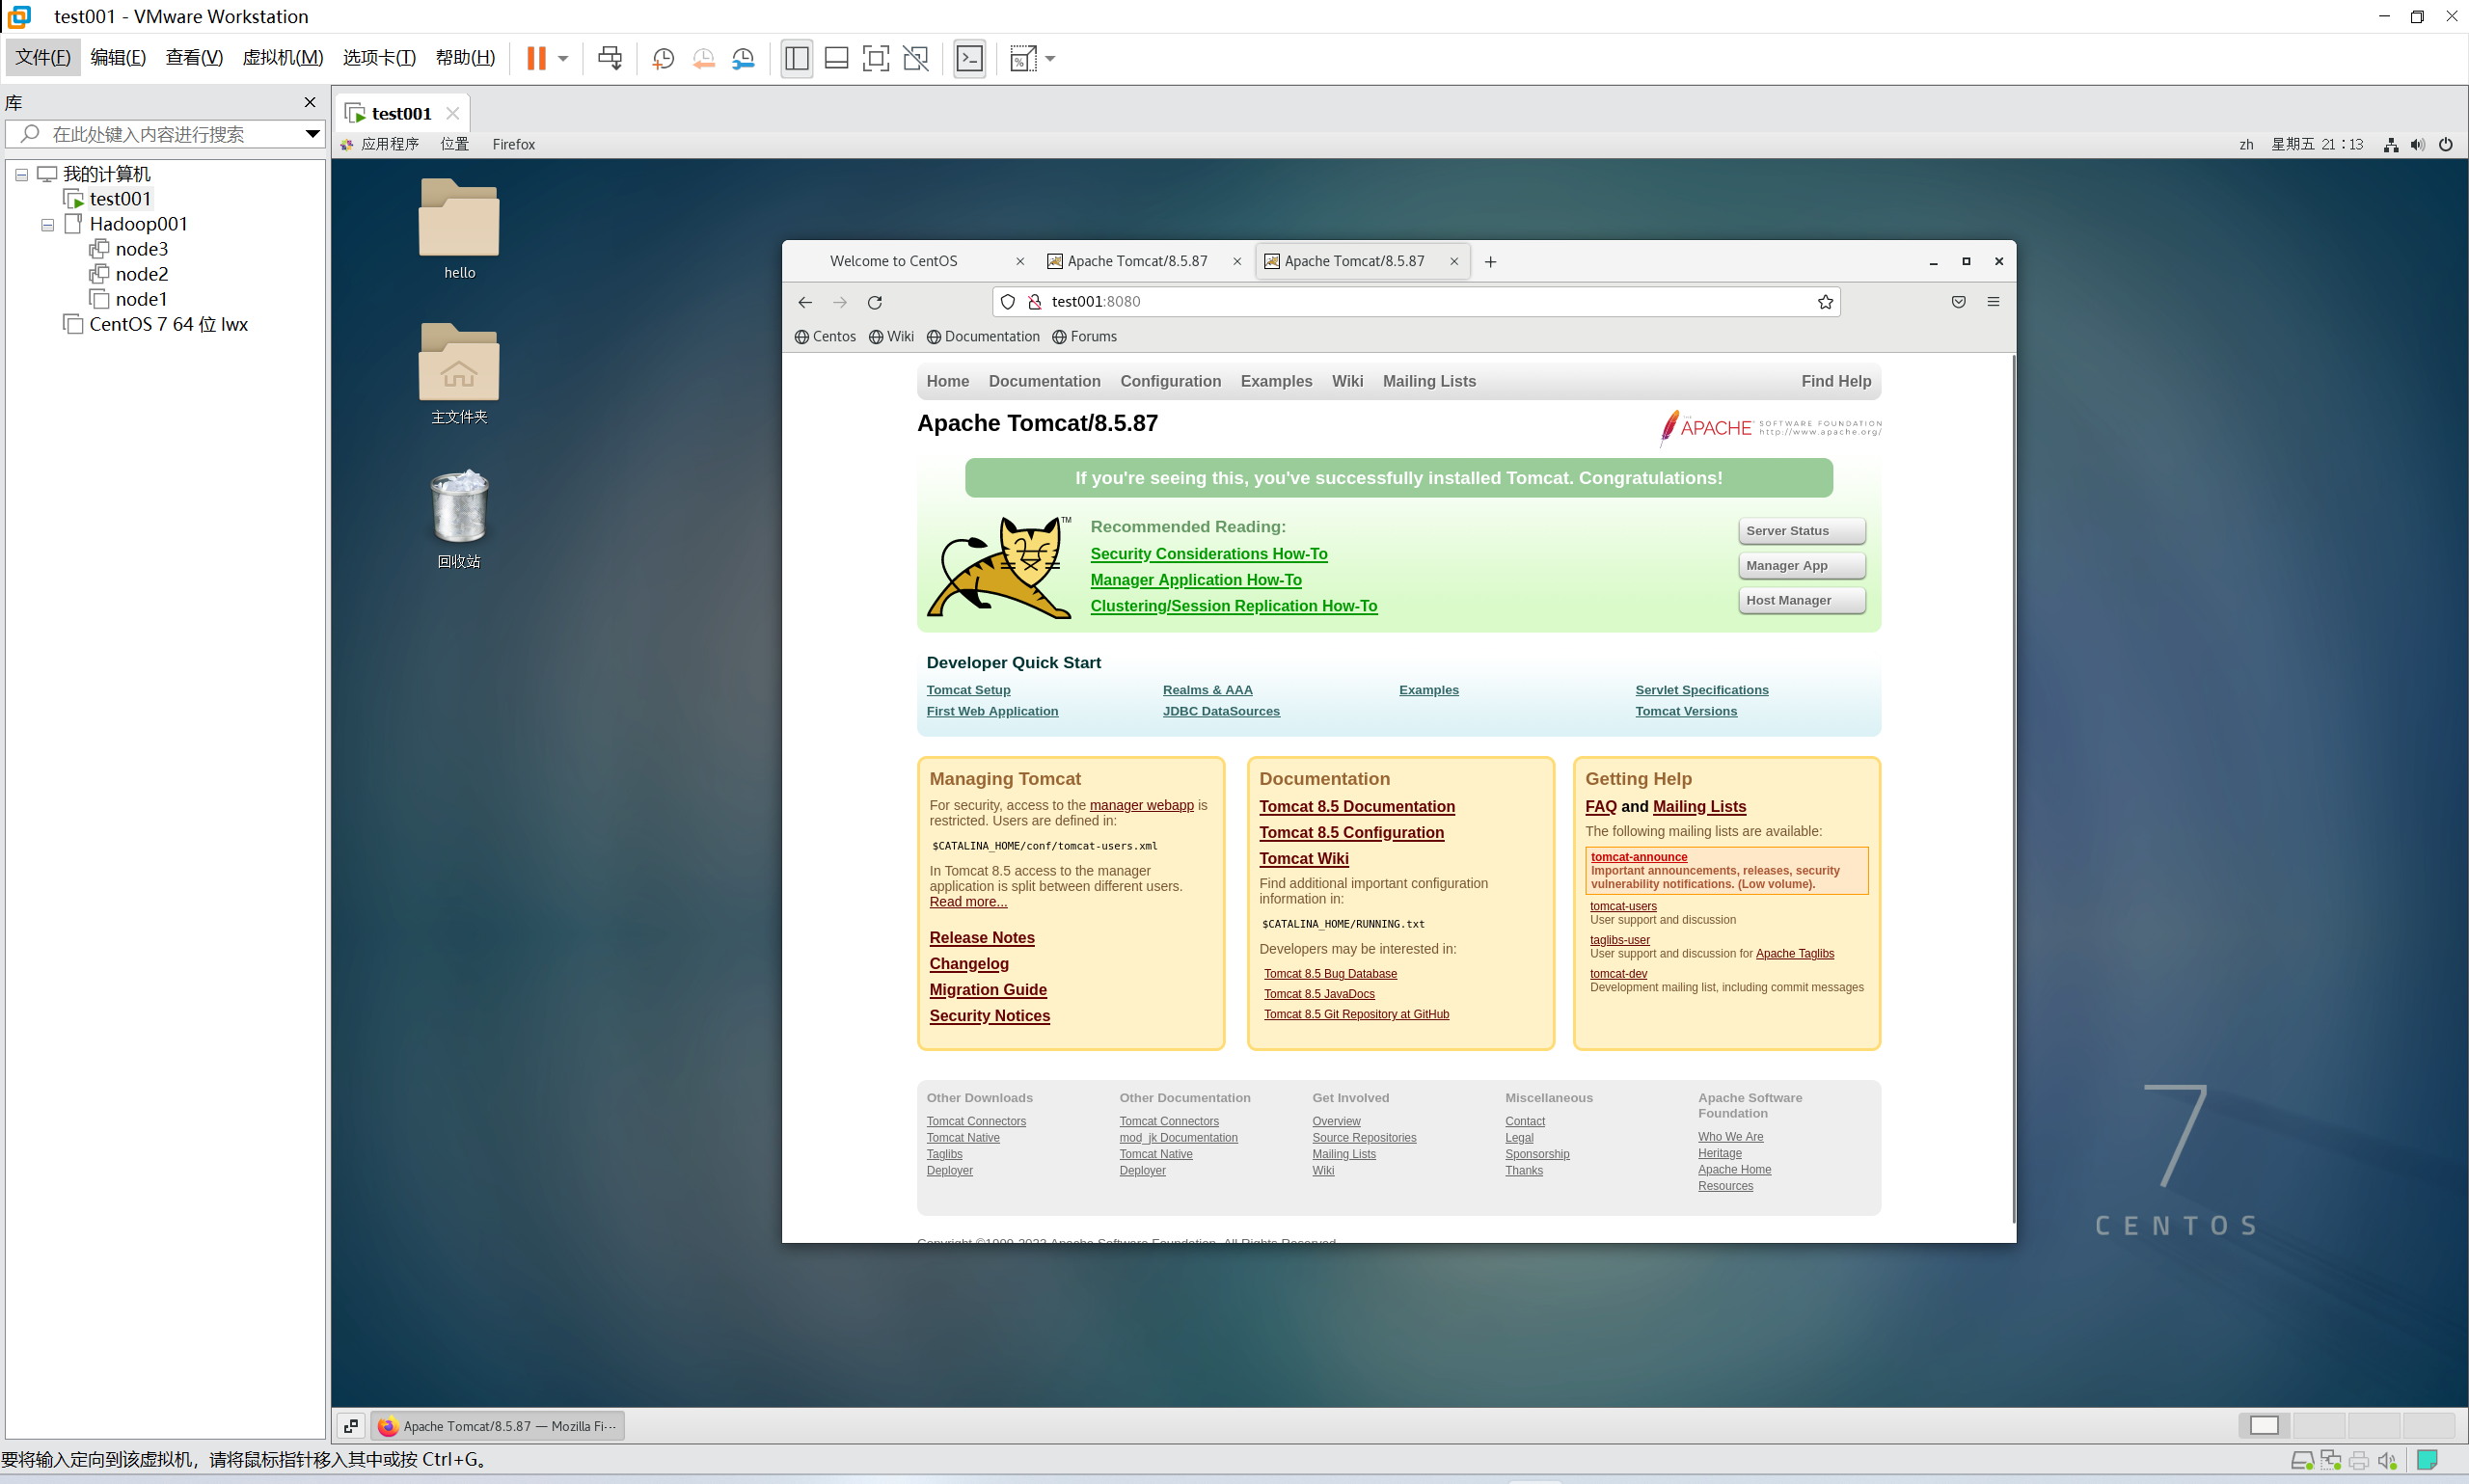
P048【第五章-06-Tomcat安装部署[单机软件]】22:50
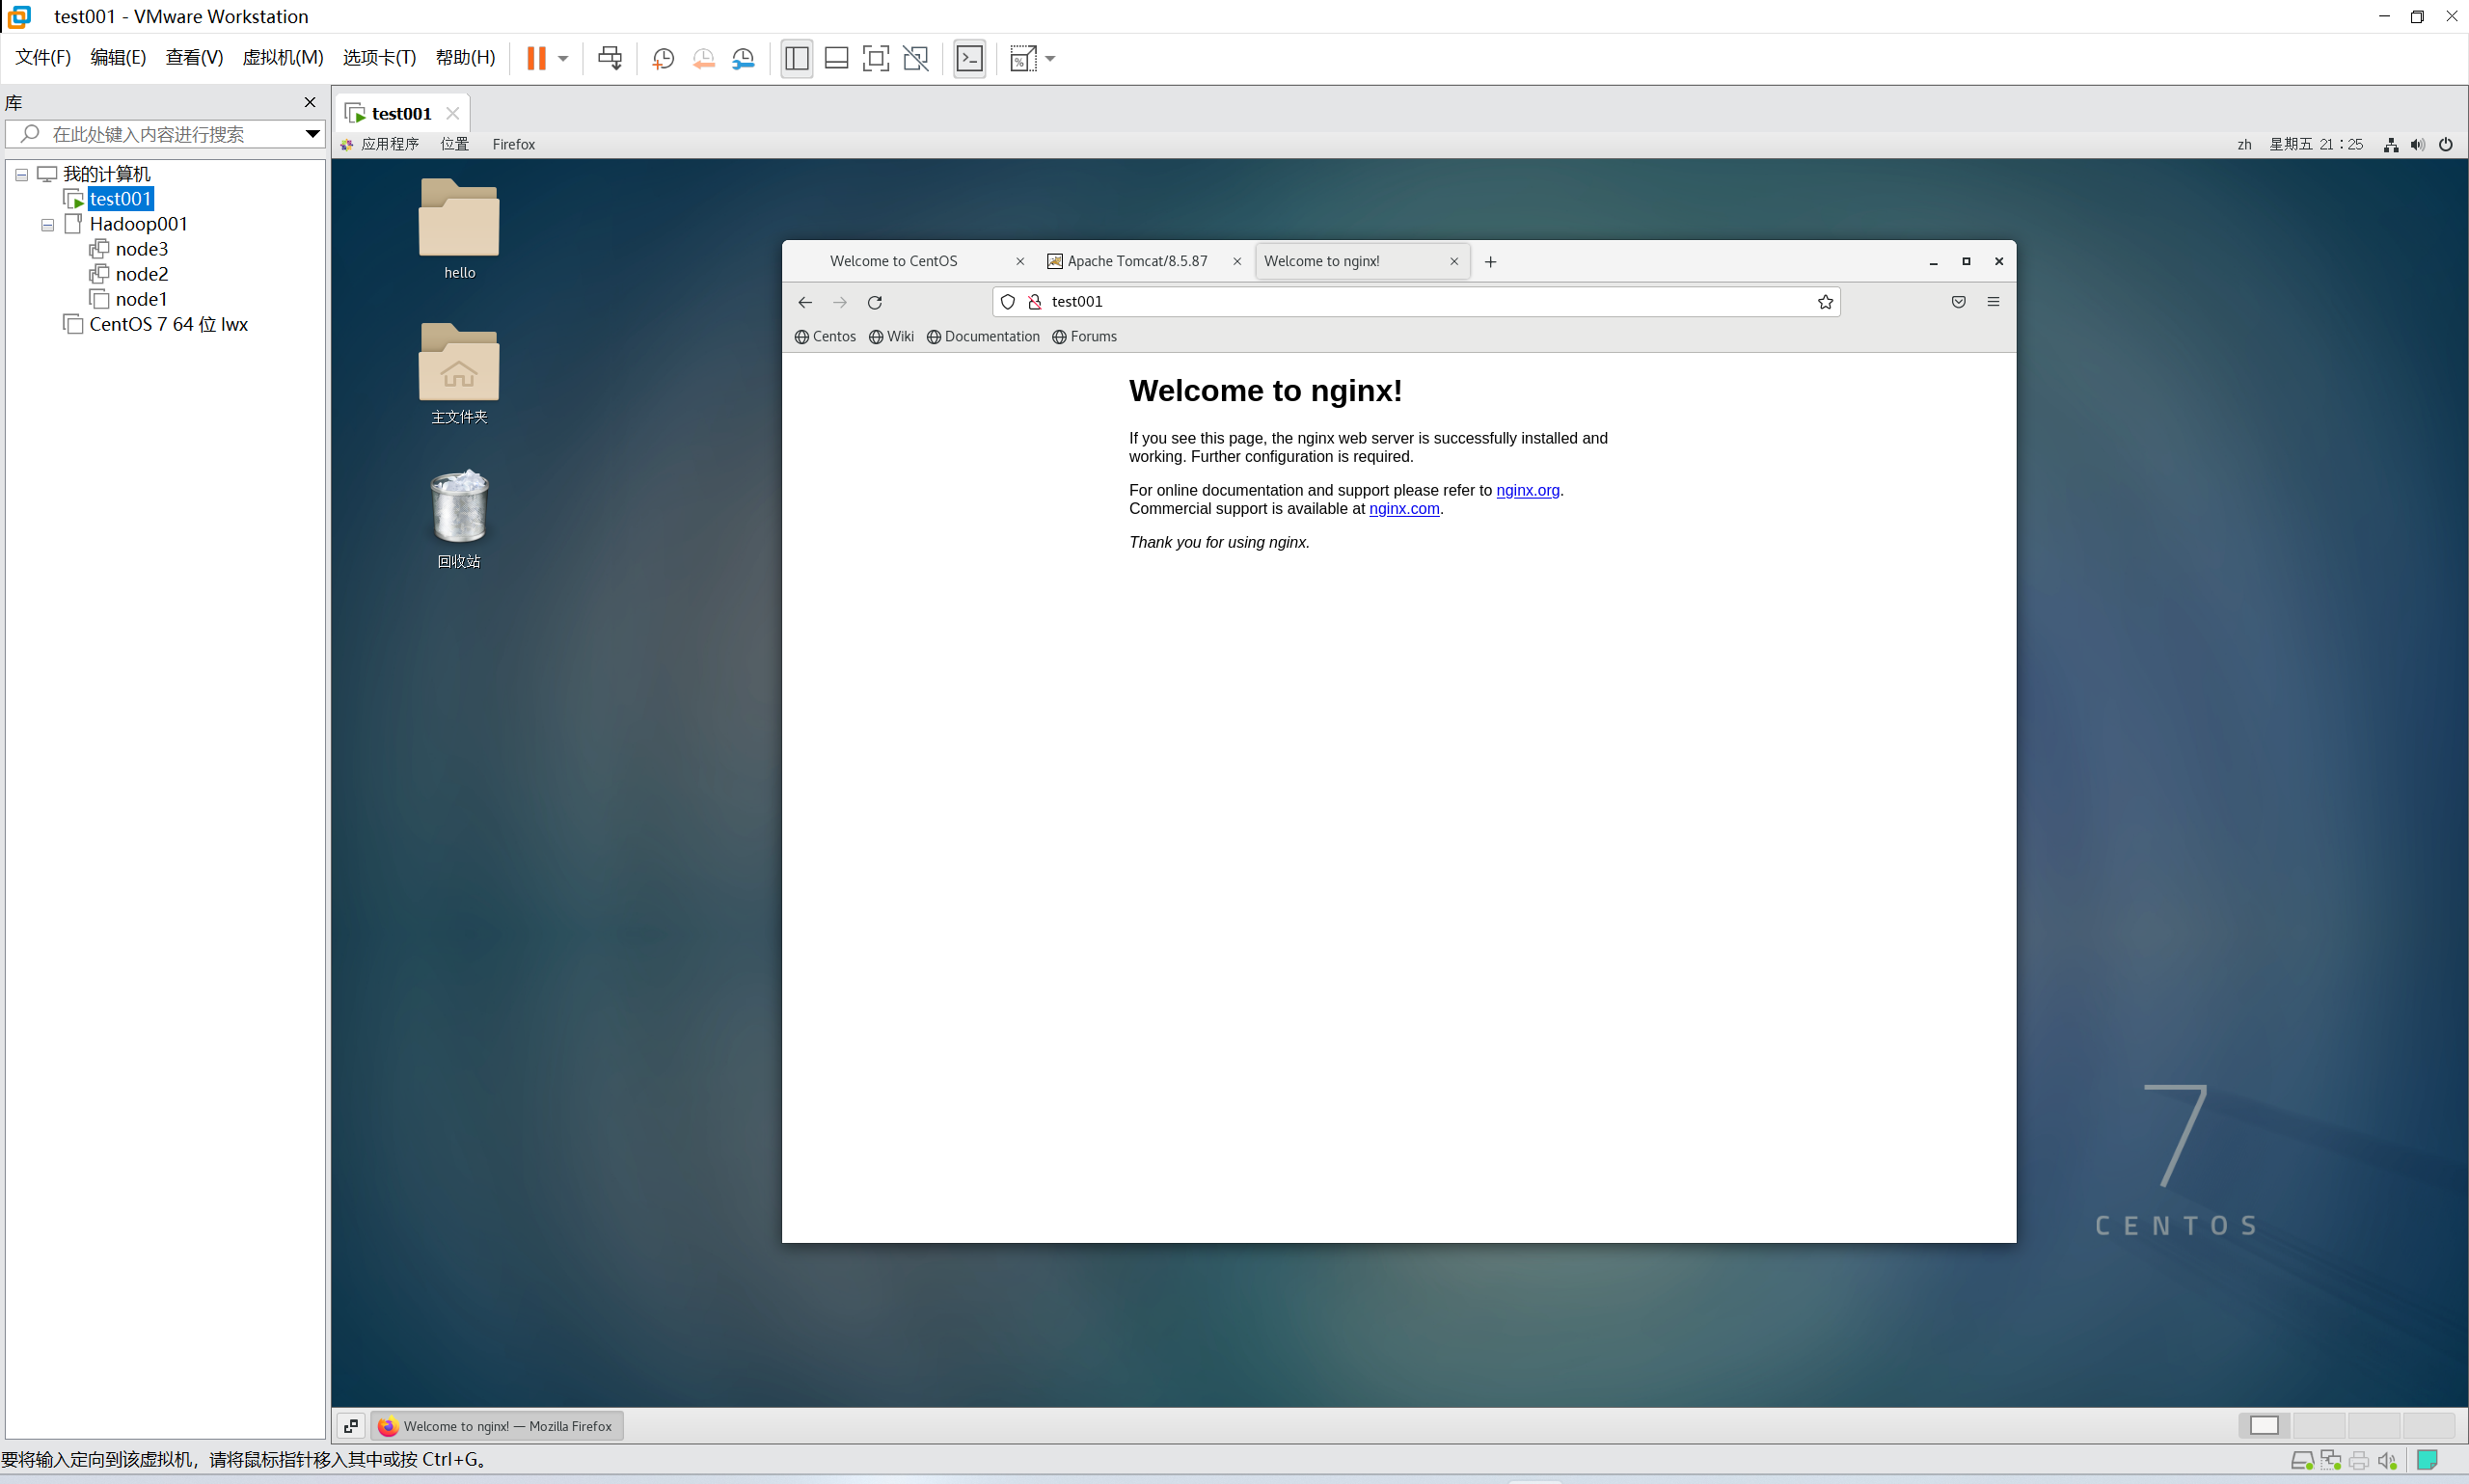
P049【第五章-07-Nginx安装部署[单机软件]】06:25

P050【第五章-08-RabbitMQ安装部署[单机软件]】07:16
P051【第五章-09-Redis安装部署[单机软件]】05:07
P052【第五章-10-Elasticsearch安装部署[单机软件]】06:34
P055【第五章-13-Zookeeper安装部署[集群化软件]】12:51
P056【第五章-14-Kafka集群部署[集群化软件]】17:36
P057【第五章-15-Hadoop集群部署[集群化软件]】23:46
P058【第五章-16-HBase集群部署[集群化软件]】11:37
P059【第五章-17-Spark分布式内存计算集群部署[集群化软件]】08:44
P060【第五章-18-Flink分布式内存计算集群部署[集群化软件]】07:27
P043【第五章-01-实战章节-前言】08:05
P044【第五章-02-MySQL5.7在CentOS安装[单机软件]】18:23
安装成功,mysql5.7.29
P045【第五章-03-MySQL8.0在CentOS安装[单机软件]】08:28
安装成功,mysql8.0.32
P046【第五章-04-MySQL5.7在Ubuntu安装[单机软件]】13:40
课程中配置的WSL环境是最新的Ubuntu22.04版本,这个版本的软件商店内置的MySQL是8.0版本,所以我们需要额外的步骤才可以安装5.7版本的MySQL。
P047【第五章-05-MySQL8.0在Ubuntu安装[单机软件]】06:58
Server version: 8.0.32-0ubuntu0.22.04.2 (Ubuntu)
适用于 Linux 的 Windows 子系统现已在 Microsoft Store!
你可以通过运行 "wsl.exe --update" 进行升级 或通过访问 https://aka.ms/wslstorepage
从Microsoft Store安装 WSL 将提供最新的 WSL 更新, faster.
有关详细信息,请访问 https://aka.ms/wslstoreinfo<
>

vlu@upward:~$ sudo su -
[sudo] password for vlu:
Welcome to Ubuntu 22.04.1 LTS (GNU/Linux 5.10.16.3-microsoft-standard-WSL2 x86_64)

 * Documentation:  https://help.ubuntu.com
 * Management:     https://landscape.canonical.com
 * Support:        https://ubuntu.com/advantage


This message is shown once a day. To disable it please create the
/root/.hushlogin file.
root@upward:~# apt update
Get:1 http://security.ubuntu.com/ubuntu jammy-security InRelease [110 kB]
Hit:2 http://archive.ubuntu.com/ubuntu jammy InRelease
Get:3 http://archive.ubuntu.com/ubuntu jammy-updates InRelease [119 kB]
Get:4 http://security.ubuntu.com/ubuntu jammy-security/main amd64 Packages [687 kB]
Get:5 http://archive.ubuntu.com/ubuntu jammy-backports InRelease [107 kB]
Get:6 http://archive.ubuntu.com/ubuntu jammy/universe amd64 Packages [14.1 MB]
Get:7 http://security.ubuntu.com/ubuntu jammy-security/main Translation-en [141 kB]
Get:8 http://security.ubuntu.com/ubuntu jammy-security/main amd64 c-n-f Metadata [8832 B]
Get:9 http://security.ubuntu.com/ubuntu jammy-security/restricted amd64 Packages [637 kB]
Get:10 http://security.ubuntu.com/ubuntu jammy-security/restricted Translation-en [99.7 kB]
Get:11 http://security.ubuntu.com/ubuntu jammy-security/restricted amd64 c-n-f Metadata [556 B]
Get:12 http://security.ubuntu.com/ubuntu jammy-security/universe amd64 Packages [702 kB]
Get:13 http://security.ubuntu.com/ubuntu jammy-security/universe Translation-en [112 kB]
Get:14 http://security.ubuntu.com/ubuntu jammy-security/universe amd64 c-n-f Metadata [13.6 kB]
Get:15 http://security.ubuntu.com/ubuntu jammy-security/multiverse amd64 Packages [4960 B]
Get:16 http://security.ubuntu.com/ubuntu jammy-security/multiverse Translation-en [996 B]
Get:17 http://security.ubuntu.com/ubuntu jammy-security/multiverse amd64 c-n-f Metadata [240 B]
Get:18 http://archive.ubuntu.com/ubuntu jammy/universe Translation-en [5652 kB]
Get:19 http://archive.ubuntu.com/ubuntu jammy/universe amd64 c-n-f Metadata [286 kB]
Get:20 http://archive.ubuntu.com/ubuntu jammy/multiverse amd64 Packages [217 kB]
Get:21 http://archive.ubuntu.com/ubuntu jammy/multiverse Translation-en [112 kB]
Get:22 http://archive.ubuntu.com/ubuntu jammy/multiverse amd64 c-n-f Metadata [8372 B]
Get:23 http://archive.ubuntu.com/ubuntu jammy-updates/main amd64 Packages [943 kB]
Get:24 http://archive.ubuntu.com/ubuntu jammy-updates/main Translation-en [204 kB]
Get:25 http://archive.ubuntu.com/ubuntu jammy-updates/main amd64 c-n-f Metadata [13.6 kB]
Get:26 http://archive.ubuntu.com/ubuntu jammy-updates/restricted amd64 Packages [679 kB]
Get:27 http://archive.ubuntu.com/ubuntu jammy-updates/restricted Translation-en [106 kB]
Get:28 http://archive.ubuntu.com/ubuntu jammy-updates/restricted amd64 c-n-f Metadata [584 B]
Get:29 http://archive.ubuntu.com/ubuntu jammy-updates/universe amd64 Packages [883 kB]
Get:30 http://archive.ubuntu.com/ubuntu jammy-updates/universe Translation-en [174 kB]
Get:31 http://archive.ubuntu.com/ubuntu jammy-updates/universe amd64 c-n-f Metadata [18.0 kB]
Get:32 http://archive.ubuntu.com/ubuntu jammy-updates/multiverse amd64 Packages [9652 B]
Get:33 http://archive.ubuntu.com/ubuntu jammy-updates/multiverse Translation-en [3260 B]
Get:34 http://archive.ubuntu.com/ubuntu jammy-updates/multiverse amd64 c-n-f Metadata [444 B]
Get:35 http://archive.ubuntu.com/ubuntu jammy-backports/main amd64 Packages [40.7 kB]
Get:36 http://archive.ubuntu.com/ubuntu jammy-backports/main Translation-en [9800 B]
Get:37 http://archive.ubuntu.com/ubuntu jammy-backports/main amd64 c-n-f Metadata [392 B]
Get:38 http://archive.ubuntu.com/ubuntu jammy-backports/restricted amd64 c-n-f Metadata [116 B]
Get:39 http://archive.ubuntu.com/ubuntu jammy-backports/universe amd64 Packages [19.5 kB]
Get:40 http://archive.ubuntu.com/ubuntu jammy-backports/universe Translation-en [14.0 kB]
Get:41 http://archive.ubuntu.com/ubuntu jammy-backports/universe amd64 c-n-f Metadata [392 B]
Get:42 http://archive.ubuntu.com/ubuntu jammy-backports/multiverse amd64 c-n-f Metadata [116 B]
Fetched 26.2 MB in 30s (870 kB/s)
Reading package lists... Done
Building dependency tree... Done
Reading state information... Done
62 packages can be upgraded. Run 'apt list --upgradable' to see them.
root@upward:~# apt install -y mysql-server
Reading package lists... Done
Building dependency tree... Done
Reading state information... Done
The following additional packages will be installed:
  libaio1 libcgi-fast-perl libcgi-pm-perl libclone-perl libencode-locale-perl libevent-pthreads-2.1-7 libfcgi-bin
  libfcgi-perl libfcgi0ldbl libhtml-parser-perl libhtml-tagset-perl libhtml-template-perl libhttp-date-perl
  libhttp-message-perl libio-html-perl liblwp-mediatypes-perl libmecab2 libprotobuf-lite23 libtimedate-perl
  liburi-perl mecab-ipadic mecab-ipadic-utf8 mecab-utils mysql-client-8.0 mysql-client-core-8.0 mysql-common
  mysql-server-8.0 mysql-server-core-8.0
Suggested packages:
  libdata-dump-perl libipc-sharedcache-perl libbusiness-isbn-perl libwww-perl mailx tinyca
The following NEW packages will be installed:
  libaio1 libcgi-fast-perl libcgi-pm-perl libclone-perl libencode-locale-perl libevent-pthreads-2.1-7 libfcgi-bin
  libfcgi-perl libfcgi0ldbl libhtml-parser-perl libhtml-tagset-perl libhtml-template-perl libhttp-date-perl
  libhttp-message-perl libio-html-perl liblwp-mediatypes-perl libmecab2 libprotobuf-lite23 libtimedate-perl
  liburi-perl mecab-ipadic mecab-ipadic-utf8 mecab-utils mysql-client-8.0 mysql-client-core-8.0 mysql-common
  mysql-server mysql-server-8.0 mysql-server-core-8.0
0 upgraded, 29 newly installed, 0 to remove and 62 not upgraded.
Need to get 29.5 MB of archives.
After this operation, 242 MB of additional disk space will be used.
Ign:1 http://archive.ubuntu.com/ubuntu jammy/main amd64 mysql-common all 5.8+1.0.8
Get:2 http://archive.ubuntu.com/ubuntu jammy-updates/main amd64 mysql-client-core-8.0 amd64 8.0.32-0ubuntu0.22.04.2 [2677 kB]
Get:3 http://archive.ubuntu.com/ubuntu jammy-updates/main amd64 mysql-client-8.0 amd64 8.0.32-0ubuntu0.22.04.2 [22.7 kB]Get:4 http://archive.ubuntu.com/ubuntu jammy/main amd64 libaio1 amd64 0.3.112-13build1 [7176 B]
Get:5 http://archive.ubuntu.com/ubuntu jammy/main amd64 libevent-pthreads-2.1-7 amd64 2.1.12-stable-1build3 [7642 B]
reading /usr/share/mecab/dic/ipadic/Noun.number.csv ... 42
reading /usr/share/mecab/dic/ipadic/Auxil.csv ... 199
reading /usr/share/mecab/dic/ipadic/Noun.place.csv ... 72999
reading /usr/share/mecab/dic/ipadic/Filler.csv ... 19
reading /usr/share/mecab/dic/ipadic/Noun.proper.csv ... 27328
reading /usr/share/mecab/dic/ipadic/Others.csv ... 2
reading /usr/share/mecab/dic/ipadic/Noun.nai.csv ... 42
reading /usr/share/mecab/dic/ipadic/Prefix.csv ... 221
reading /usr/share/mecab/dic/ipadic/Noun.org.csv ... 16668
reading /usr/share/mecab/dic/ipadic/Noun.csv ... 60477
reading /usr/share/mecab/dic/ipadic/Symbol.csv ... 208
reading /usr/share/mecab/dic/ipadic/Postp.csv ... 146
reading /usr/share/mecab/dic/ipadic/Noun.adverbal.csv ... 795
reading /usr/share/mecab/dic/ipadic/Adnominal.csv ... 135
reading /usr/share/mecab/dic/ipadic/Interjection.csv ... 252
reading /usr/share/mecab/dic/ipadic/Noun.demonst.csv ... 120
reading /usr/share/mecab/dic/ipadic/Adj.csv ... 27210
reading /usr/share/mecab/dic/ipadic/Verb.csv ... 130750
reading /usr/share/mecab/dic/ipadic/Noun.verbal.csv ... 12146
reading /usr/share/mecab/dic/ipadic/Noun.adjv.csv ... 3328
emitting double-array: 100% |###########################################|
reading /usr/share/mecab/dic/ipadic/matrix.def ... 1316x1316
emitting matrix      : 100% |###########################################|

done!
update-alternatives: using /var/lib/mecab/dic/ipadic-utf8 to provide /var/lib/mecab/dic/debian (mecab-dictionary) in auto mode
Setting up libhtml-parser-perl:amd64 (3.76-1build2) ...
Setting up libhttp-message-perl (6.36-1) ...
Setting up mysql-server-8.0 (8.0.32-0ubuntu0.22.04.2) ...
invoke-rc.d: could not determine current runlevel
 * Stopping MySQL database server mysqld                                                                         [ OK ]
update-alternatives: using /etc/mysql/mysql.cnf to provide /etc/mysql/my.cnf (my.cnf) in auto mode
Renaming removed key_buffer and myisam-recover options (if present)
mysqld will log errors to /var/log/mysql/error.log
mysqld is running as pid 855
Created symlink /etc/systemd/system/multi-user.target.wants/mysql.service → /lib/systemd/system/mysql.service.
invoke-rc.d: could not determine current runlevel
Setting up libcgi-pm-perl (4.54-1) ...
Setting up libhtml-template-perl (2.97-1.1) ...
Setting up mysql-server (8.0.32-0ubuntu0.22.04.2) ...
Setting up libcgi-fast-perl (1:2.15-1) ...
Processing triggers for man-db (2.10.2-1) ...
Processing triggers for libc-bin (2.35-0ubuntu3.1) ...
/sbin/ldconfig.real: /usr/lib/wsl/lib/libcuda.so.1 is not a symbolic link

root@upward:~# /etc/init.d/mysql status
 * MySQL is stopped.
root@upward:~# /etc/init.d/mysql start
 * Starting MySQL database server mysqld                                                                                                                               su: warning: cannot change directory to /nonexistent: No such file or directory
                                                                                                                                                                [ OK ]
root@upward:~# mysql
Welcome to the MySQL monitor.  Commands end with ; or \g.
Your MySQL connection id is 10
Server version: 8.0.32-0ubuntu0.22.04.2 (Ubuntu)

Copyright (c) 2000, 2023, Oracle and/or its affiliates.

Oracle is a registered trademark of Oracle Corporation and/or its
affiliates. Other names may be trademarks of their respective
owners.

Type 'help;' or '\h' for help. Type '\c' to clear the current input statement.

mysql> ALTER USER 'root'@'localhost' IDENTIFIED WITH mysql_native_password BY '123456';
Query OK, 0 rows affected (0.01 sec)

mysql> exit
Bye
root@upward:~# which mysql_secure_installation
/usr/bin/mysql_secure_installation
root@upward:~# mysql_secure_installation

Securing the MySQL server deployment.

Enter password for user root:

VALIDATE PASSWORD COMPONENT can be used to test passwords
and improve security. It checks the strength of password
and allows the users to set only those passwords which are
secure enough. Would you like to setup VALIDATE PASSWORD component?

Press y|Y for Yes, any other key for No:
Using existing password for root.
Change the password for root ? ((Press y|Y for Yes, any other key for No) :

 ... skipping.
By default, a MySQL installation has an anonymous user,
allowing anyone to log into MySQL without having to have
a user account created for them. This is intended only for
testing, and to make the installation go a bit smoother.
You should remove them before moving into a production
environment.

Remove anonymous users? (Press y|Y for Yes, any other key for No) : y
Success.


Normally, root should only be allowed to connect from
'localhost'. This ensures that someone cannot guess at
the root password from the network.

Disallow root login remotely? (Press y|Y for Yes, any other key for No) :

 ... skipping.
By default, MySQL comes with a database named 'test' that
anyone can access. This is also intended only for testing,
and should be removed before moving into a production
environment.


Remove test database and access to it? (Press y|Y for Yes, any other key for No) :

 ... skipping.
Reloading the privilege tables will ensure that all changes
made so far will take effect immediately.

Reload privilege tables now? (Press y|Y for Yes, any other key for No) : y
Success.

All done!
root@upward:~# mysql -uroot -p
Enter password:
Welcome to the MySQL monitor.  Commands end with ; or \g.
Your MySQL connection id is 13
Server version: 8.0.32-0ubuntu0.22.04.2 (Ubuntu)

Copyright (c) 2000, 2023, Oracle and/or its affiliates.

Oracle is a registered trademark of Oracle Corporation and/or its
affiliates. Other names may be trademarks of their respective
owners.

Type 'help;' or '\h' for help. Type '\c' to clear the current input statement.

mysql> ^C
mysql> ^DBye
root@upward:~# ifconfig
eth0: flags=4163<UP,BROADCAST,RUNNING,MULTICAST>  mtu 1500
        inet 172.27.150.248  netmask 255.255.240.0  broadcast 172.27.159.255
        inet6 fe80::215:5dff:fe44:59cb  prefixlen 64  scopeid 0x20<link>
        ether 00:15:5d:44:59:cb  txqueuelen 1000  (Ethernet)
        RX packets 39837  bytes 58374566 (58.3 MB)
        RX errors 0  dropped 0  overruns 0  frame 0
        TX packets 9632  bytes 703796 (703.7 KB)
        TX errors 0  dropped 0 overruns 0  carrier 0  collisions 0

lo: flags=73<UP,LOOPBACK,RUNNING>  mtu 65536
        inet 127.0.0.1  netmask 255.0.0.0
        inet6 ::1  prefixlen 128  scopeid 0x10<host>
        loop  txqueuelen 1000  (Local Loopback)
        RX packets 0  bytes 0 (0.0 B)
        RX errors 0  dropped 0  overruns 0  frame 0
        TX packets 0  bytes 0 (0.0 B)
        TX errors 0  dropped 0 overruns 0  carrier 0  collisions 0

root@upward:~#
P048【第五章-06-Tomcat安装部署[单机软件]】22:50
Linux安装图形化界面:

P049【第五章-07-Nginx安装部署[单机软件]】06:25
Nginx (engine x) 是一个高性能的HTTP和反向代理web服务器,同时也提供了IMAP/POP3/SMTP服务。
同Tomcat一样,Nginx可以托管用户编写的WEB应用程序成为可访问的网页服务,同时也可以作为流量代理服务器,控制流量的中转。
Nginx在WEB开发领域,基本上也是必备组件之一了。
# netstat -anp | grep 80

P050【第五章-08-RabbitMQ安装部署[单机软件]】07:16


P051【第五章-09-Redis安装部署[单机软件]】05:07
redis是一个开源的、使用C语言编写的、支持网络交互的、可基于内存也可持久化的Key-Value数据库。
redis的特点就是:
快,可以基于内存存储数据并提供超低延迟、超快的检索速度一般用于在系统中提供快速缓存的能力。
[root@test001 yum.repos.d]# systemctl status redis
● redis.service - Redis persistent key-value database
   Loaded: loaded (/usr/lib/systemd/system/redis.service; disabled; vendor preset: disabled)
  Drop-In: /etc/systemd/system/redis.service.d
           └─limit.conf
   Active: inactive (dead)
[root@test001 yum.repos.d]# systemctl start redis
[root@test001 yum.repos.d]# systemctl status redis
● redis.service - Redis persistent key-value database
   Loaded: loaded (/usr/lib/systemd/system/redis.service; disabled; vendor preset: disabled)
  Drop-In: /etc/systemd/system/redis.service.d
           └─limit.conf
   Active: active (running) since 五 2023-03-10 22:00:01 CST; 1s ago
 Main PID: 108631 (redis-server)
    Tasks: 3
   CGroup: /system.slice/redis.service
           └─108631 /usr/bin/redis-server 127.0.0.1:6379

3月 10 22:00:01 test001 systemd[1]: Starting Redis persistent key-value database...
3月 10 22:00:01 test001 systemd[1]: Started Redis persistent key-value database.
[root@test001 yum.repos.d]# redis-cli
127.0.0.1:6379> set mykey hello
OK
127.0.0.1:6379> get mykey
"hello"
127.0.0.1:6379>
[root@test001 yum.repos.d]#
P052【第五章-10-Elasticsearch安装部署[单机软件]】06:34
全文搜索属于最常见的需求,开源的 Elasticsearch (以下简称 es)是目前全文搜索引擎的首选。
它可以快速地储存、搜索和分析海量数据。维基百科、Stack Overflow、Github 都采用它。
Elasticsearch简称es,在企业内同样是一款应用非常广泛的搜索引擎服务,很多服务中的搜索功能,都是基于es来实现的。
P053【第五章-11-集群化软件安装前置准备】36:03
vim /etc/sysconfig/network-scripts/ifcfg-ens33
----------------------------------------------------------
TYPE="Ethernet"
PROXY_METHOD="none"
BROWSER_ONLY="no"
BOOTPROTO="static" ###
DEFROUTE="yes"
IPV4_FAILURE_FATAL="no"
IPV6INIT="yes"
IPV6_AUTOCONF="yes"
IPV6_DEFROUTE="yes"
IPV6_FAILURE_FATAL="no"
IPV6_ADDR_GEN_MODE="stable-privacy"
NAME="ens33"
UUID="7815751b-505d-4ae2-b2d4-aa39591dc6ab" ###
DEVICE="ens33"
ONBOOT="yes"
IPADDR="192.168.88.152" ###
PREFIX="24"
GATEWAY="192.168.88.2"
DNS1="192.168.88.2"
DOMAIN="114.114.114.114"
IPV6_PRIVACY="no"

NETMASK="255.255.255.0"
vim /etc/hosts
----------------------------------------------------------
192.168.88.131 node1
192.168.88.132 node2
192.168.88.133 node3[root@node1 ~]# ls
1.txt 666.txt anaconda-ks.cfg Desktop hello.txt hivedata nohup.out 公共 喵喵拳.txt 模板 视频 图片 文档 下载 音乐 桌面
[root@node1 ~]# ssh root@node2
Last login: Mon Mar 13 19:28:07 2023 from 192.168.88.1
[root@node2 ~]# ls
111.txt 1.txt 2.txt 3.txt anaconda-ks.cfg test.txt
[root@node2 ~]# ssh root@node3
The authenticity of host 'node3 (192.168.88.153)' can't be established.
ECDSA key fingerprint is SHA256:+eLT3FrOEuEsxBxjOd89raPi/ChJz26WGAfqBpz/KEk.
ECDSA key fingerprint is MD5:18:42:ad:0f:2b:97:d8:b5:68:14:6a:98:e9:72:db:bb.
Are you sure you want to continue connecting (yes/no)? yes
Warning: Permanently added 'node3,192.168.88.153' (ECDSA) to the list of known hosts.
Last login: Mon Mar 13 19:09:06 2023 from 192.168.88.1
[root@node3 ~]# ls
anaconda-ks.cfg nohup.out
[root@node3 ~]# ifconfig
ens33: flags=4163<UP,BROADCAST,RUNNING,MULTICAST> mtu 1500
inet 192.168.88.153 netmask 255.255.255.0 broadcast 192.168.88.255
inet6 fe80::62c8:d2cc:d98c:d03 prefixlen 64 scopeid 0x20<link>
ether 00:50:56:2e:11:20 txqueuelen 1000 (Ethernet)
RX packets 35202 bytes 2879201 (2.7 MiB)
RX errors 0 dropped 0 overruns 0 frame 0
TX packets 47446 bytes 10952223 (10.4 MiB)
TX errors 0 dropped 0 overruns 0 carrier 0 collisions 0
lo: flags=73<UP,LOOPBACK,RUNNING> mtu 65536
inet 127.0.0.1 netmask 255.0.0.0
inet6 ::1 prefixlen 128 scopeid 0x10<host>
loop txqueuelen 1000 (Local Loopback)
RX packets 132 bytes 9048 (8.8 KiB)
RX errors 0 dropped 0 overruns 0 frame 0
TX packets 132 bytes 9048 (8.8 KiB)
TX errors 0 dropped 0 overruns 0 carrier 0 collisions 0
[root@node3 ~]# exit
登出
Connection to node3 closed.
您在 /var/spool/mail/root 中有新邮件
[root@node2 ~]# exit
登出
Connection to node2 closed.
[root@node1 ~]# ssh root@node3
Last login: Mon Mar 13 19:42:03 2023 from 192.168.88.152