文章目录
一、规划
| 主机 | IP地址 | 服务 |
|---|---|---|
| gitlab | 192.168.1.10 | gitlab |
| jenkins | 192.168.1.20 | jenkins+ansible |
| nginx | 192.168.1.30 | web |
二、部署gitlab服务
1、安装gitlab
[root@gitlab ~]# yum -y install curl policycoreutils openssh-server openssh-clients postfix           //安装前提软件
[root@gitlab ~]# wget https://mirrors.tuna.tsinghua.edu.cn/gitlab-ce/yum/el7/gitlab-ce-10.2.3-ce.0.el7.x86_64.rpm           //下载清华gitlab安装包
[root@gitlab ~]# yum -y install gitlab-ce-10.2.3-ce.0.el7.x86_64.rpm           //yum安装
[root@gitlab ~]# vim /etc/gitlab/gitlab.rb           //修改配置文件,指定ip地址
external_url 'http://192.168.1.10'
[root@gitlab ~]# gitlab-ctl reconfigure           //配置启动 gitlab
2、gitlab汉化
[root@gitlab ~]# cat /opt/gitlab/embedded/service/gitlab-rails/VERSION           //查看版本
10.2.3
[root@gitlab ~]# gitlab-ctl stop
[root@gitlab ~]# git clone https://gitlab.com/xhang/gitlab.git
[root@gitlab ~]# tar zxf gitlab-patch-zh.tat.gz           //本地上传操作
[root@gitlab ~]# cat /root/gitlab/VERSION           //查看该汉化补丁的版本
10.2.3
[root@gitlab ~]# cd gitlab/
[root@gitlab gitlab]# git diff v10.2.3 v10.2.3-zh > ../10.2.3-zh.diff
[root@gitlab gitlab]# patch -d /opt/gitlab/embedded/service/gitlab-rails -p1 < /root/10.2.3-zh.diff
[root@gitlab gitlab]# gitlab-ctl restart
3、创建项目
1、更改密码登录


2、取消注册功能

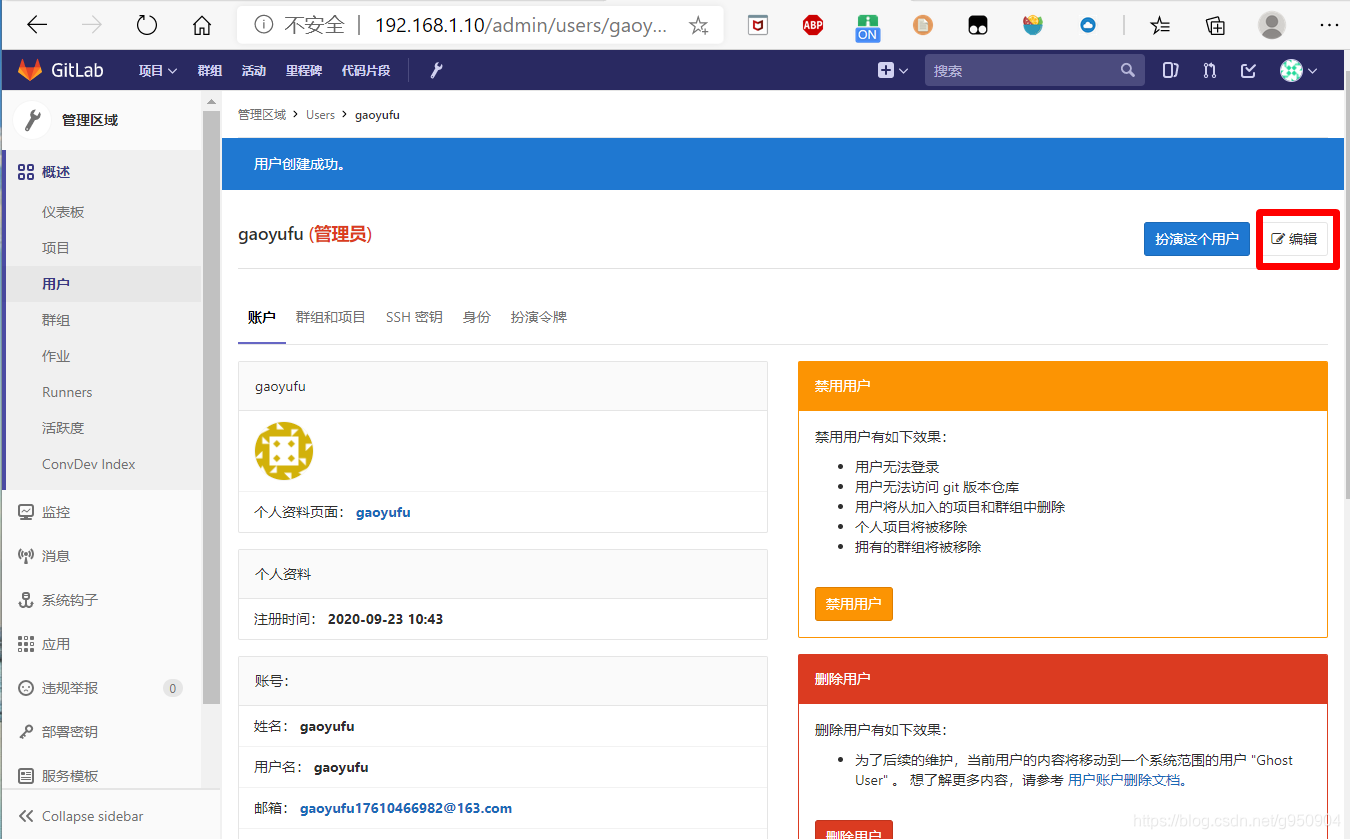
3、创建用户


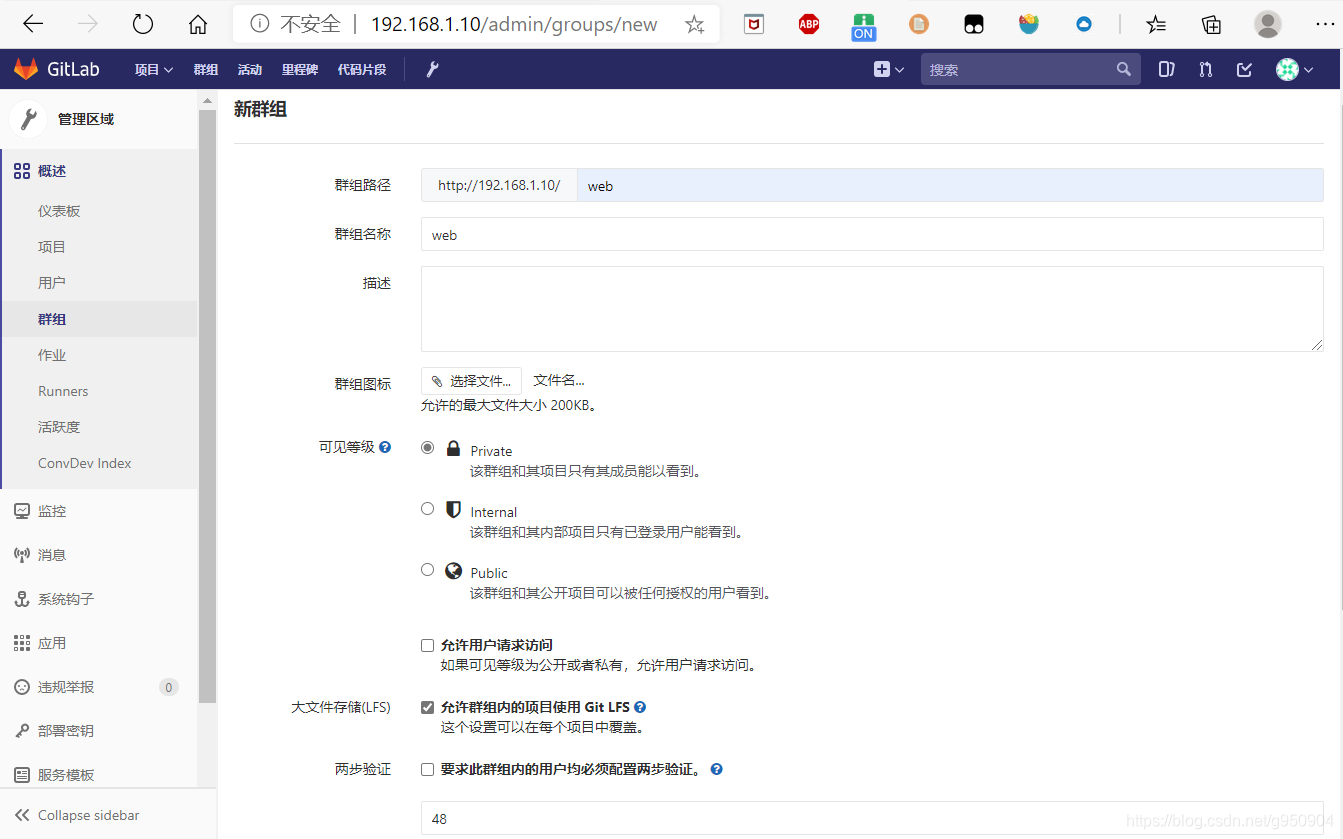
4、创建组并添加组员


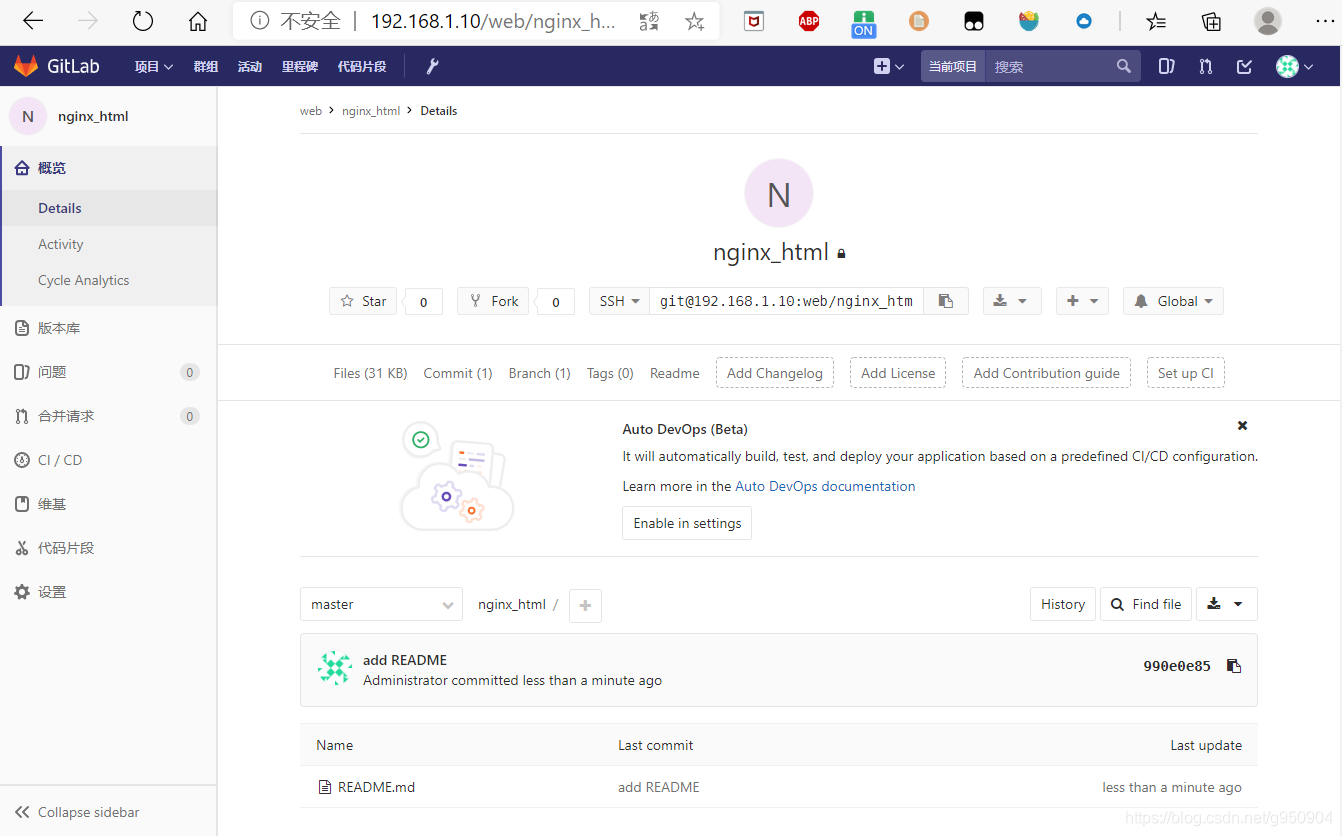
5、创建项目


6、管理员创建master分支
[root@gitlab ~]# ssh-keygen -t rsa
[root@gitlab ~]# cat /root/.ssh/id_rsa.pub


[root@gitlab ~]# git config --global user.name "Administrator"
[root@gitlab ~]# git config --global user.email "[email protected]"
[root@gitlab ~]# git clone [email protected]:web/nginx_html.git
[root@gitlab ~]# cd nginx_html
[root@gitlab nginx_html]# touch README.md
[root@gitlab nginx_html]# git add README.md
[root@gitlab nginx_html]# git commit -m "add README"
[master(根提交) 990e0e8] add README
 1 file changed, 0 insertions(+), 0 deletions(-)
 create mode 100644 README.md
[root@gitlab nginx_html]# git push -u origin master
Counting objects: 3, done.
Writing objects: 100% (3/3), 216 bytes | 0 bytes/s, done.
Total 3 (delta 0), reused 0 (delta 0)
To [email protected]:web/nginx_html.git
 * [new branch]      master -> master
分支 master 设置为跟踪来自 origin 的远程分支 master。

三、部署jenkins服务
1、安装jenkins
[root@jenkins ~]# yum -y install java
[root@jenkins ~]# cd /etc/yum.repos.d/
[root@jenkins yum.repos.d]# wget http://pkg.jenkins.io/redhat/jenkins.repo
[root@jenkins yum.repos.d]# rpm --import http://pkg.jenkins.io/redhat/jenkins.io.key
[root@jenkins yum.repos.d]# yum -y install jenkins
[root@jenkins ~]# vim /etc/sysconfig/jenkins
JENKINS_USER="root"
[root@jenkins ~]# systemctl start jenkins
[root@jenkins ~]# systemctl enable jenkins
[root@jenkins ~]# cat /var/lib/jenkins/secrets/initialAdminPassword
3713e68d1863430c886350d7cb2737d4           //把密码输入以下页面

更改密码

2、安装jenkins插件
[root@jenkins ~]# tar zxf plugins.tar.gz -C /var/lib/jenkins/
[root@jenkins ~]# systemctl restart jenkins

ansible插件

汉化插件

3、新建项目


4、关联gitlab
[root@jenkins ~]# ssh-keygen -t rsa
[root@jenkins ~]# cat /root/.ssh/id_rsa.pub


四、部署ansible服务
[root@jenkins ~]# wget -O /etc/yum.repos.d/epel.repo http://mirrors.aliyun.com/repo/epel-7.repo              //下载epel源
[root@jenkins ~]# wget -O /etc/yum.repos.d/CentOS-Base.repo http://mirrors.aliyun.com/repo/Centos-7.repo              //下载linux镜像源
[root@jenkins ~]# yum -y install ansible
[root@jenkins ~]# vim /etc/ansible/hosts
[web]
192.168.1.30
[root@jenkins ~]# ssh-copy-id [email protected]
[root@kenkins ~]# ansible -i /etc/ansible/hosts web -m ping
192.168.1.30 | SUCCESS => {


    "ansible_facts": {


        "discovered_interpreter_python": "/usr/bin/python"
    },
    "changed": false,
    "ping": "pong"
}
五、部署nginx服务
[root@nginx ~]# yum -y install epel-release
[root@nginx ~]# yum -y install nginx
[root@nginx ~]# systemctl start nginx
[root@nginx ~]# systemctl enable nginx
六、使用jenkins+ansible使代码自动同步
1、使用ansible模块
构建——Inovke Ansible Playbook

路径为:/opt/ansible_playbook/roles/nginx_config/nginx_html.yml

1、上传/更新
[root@kenkins ~]# mkdir -p /opt/ansible_playbook/roles/nginx_config/new/{files,tasks,handlers}
[root@kenkins ~]# ln -s /root/nginx_html/ /opt/ansible_playbook/roles/nginx_config/new/files/nginx_html
[root@kenkins ~]# cd /opt/ansible_playbook/roles/nginx_config/new/
[root@kenkins new]# vim handlers/main.yml
- name: reload nginx
  shell: systemctl reload nginx
[root@kenkins new]# vim tasks/main.yml
- name: auto deploy nginx_html_file
  copy: src=nginx_html/ dest=/usr/share/nginx/html
  notify: reload nginx
[root@kenkins new]# cd /opt/ansible_playbook/roles/nginx_config
[root@kenkins nginx_config]# vim nginx_html.yml
---
- hosts: web
  user: root
  roles:
  - new
2、回滚
[root@kenkins nginx_config]# mkdir -p /opt/ansible_playbook/roles/nginx_config/old/{files,tasks,handlers}
[root@kenkins nginx_config]# rsync -av new/ old/
[root@kenkins nginx_config]# rsync -avL new/files/ old/files/
[root@kenkins nginx_config]# cp nginx_html.yml nginx_html_backup.yml
[root@kenkins nginx_config]# vim nginx_html_backup.yml
---
- hosts: web
  user: root
  roles:
  - old
[root@kenkins ~]# echo "alias backup='ansible-playbook /opt/ansible_playbook/roles/nginx_config/nginx_html_backup.yml'" >> ~/.bash_aliases && source ~/.bash_aliases
2、创建本地代码库
[root@jenkins ~]# git config --global user.name "gaoyufu"
[root@jenkins ~]# git config --global user.email "[email protected]"
[root@kenkins ~]# git clone [email protected]:web/nginx_html.gi
3、下载项目代码并上传
[root@kenkins ~]# cd /root
[root@kenkins ~]# git clone https://gitee.com/kangjie1209/monitor.git
[root@kenkins ~]# cp -rp /root/monitor/*  nginx_html/
[root@kenkins ~]# cd nginx_html/
[root@kenkins nginx_html]# git init
重新初始化现存的 Git 版本库于 /root/nginx_html/.git/
[root@kenkins nginx_html]# git remote add origin [email protected]:web/nginx_html.git
[root@kenkins nginx_html]# git add .
[root@kenkins nginx_html]# git commit -m "Initial commit"
[master 015eeae] Initial commit
[root@kenkins nginx_html]# git push -u origin master

4、更改部分代码观察有无变化
[root@kenkins ~]# cd nginx_html/
[root@kenkins nginx_html]# vim index.html
<header id="header" class="media">
            <a href="" id="menu-toggle"></a>
            <a class="logo pull-left" href="index.html" style="width: 233px">移动能效管理</a>
[root@jenkins web]# vim index.html
[root@jenkins web]# git add .
[root@jenkins web]# git commit -m "modify index.html"
[root@jenkins web]# git push -u origin master

="index.html" style="width: 233px">移动能效管理</a>
[root@jenkins web]# vim index.html
[root@jenkins web]# git add .
[root@jenkins web]# git commit -m "modify index.html"
[root@jenkins web]# git push -u origin master
