前言
本文主要介绍在做深度学习时一些常用的linux命令,服务器/虚拟机中常见的bug,其他的也可以提一些需求作为补充,本文将一直更新.......
一、Conda 创建环境
conda create -n SESSD python=3.6
conda create --name spconv-1.0 python=3.6 pytorch=1.1 numpy=1.14.0 cudatoolkit=9.2
二、Sudo 命令
1.安装g++/gcc
sudo apt-get install g++-8
sudo apt-get install gcc-8
2.查找文件
sudo find / -name libtorch_cuda_cu.so
3.软连接
sudo rm -rf /usr/bin/python3
sudn ln-s /home/hzc/anaconda3/envs/spconv/bin/python3.6 /usr/bin/python3
三、pip 安装
1.安装requirements.txt
pip install -r requirements.txt
2.清华源安装
pip install numpy -i https://pypi.tuna.tsinghua.edu.cn/simple
四、git 指令
1.安装特定tags的Repos
git clone -b v1.0.0rc1 https://github.com/open-mmlab/mmrazor.git
五、Linux操作
1.复制文件
cp extra_files/conv.py  /mnt/sda/hzchzc/anaconda3/envs/SparseKD/lib/python3.8/site-packages/spconv/
sudo cp lib64/* /usr/local/cuda-10.2/lib64/
sudo cp include/* /usr/local/cuda-10.2/include/
2.移动文件
sudo mv /usr/local/cuda-11.4/targets/x86_64-linux/lib/libcudnn_ops_infer.so.8 /usr/local/cuda-11.4/targets/x86_64-linux/lib/libcudnn_ops_infer.so.8.org
3.删除命令
这里我们要特别注意grep的-v参数,-v参数表示反选,比如我们上面指定了-v 1.txt,即排除掉1.txt,选中其他全部文件。所以这样执行之后1.txt就被排除了
find * | grep -v 1.txt | xargs rm
find * | grep -v '\(checkpoint_epoch_30.pth\)' | xargs rm
删除目录下全部文件,包括文件夹
rm -rf *
删除全部文件,保留1.txt和2.txt
rm -rf !(1.txt|2.txt)
4.服务器创建账户
useradd  -d /home/wjw  -s /bin/bash  -m wjw
useradd  -d /mnt/sda/xxx  -s /bin/bash  -m xxx
修改密码
passwd test
5.修改文件夹权限
sudo chmod a+r /usr/local/cuda-10.2/lib64/*
sudo chmod a+r /usr/local/cuda-10.2/include/*
6.CSDN使用红色字体
用于复制
<font color=#900>用于复制</font>
六、一些Repos常用的命令
1.LiDAR-Distillation
sh scripts/dist_train.sh 4 --cfg_file /home/hzc/PythonProject/LiDAR-Distillation/tools/cfgs/kitti_models/pointpillar_car.yaml
python -m torch.distributed.launch train.py 2 --cfg_file /home/hzc/PythonProject/LiDAR-Distillation/tools/cfgs/kitti_models/pointpillar_car.yaml --batch_size 8 --extra_tag point_pillars --exp_name base
 CUDA_VISIBLE_DEVICES=0,1  scripts/dist_train.sh 2 --cfg_file /home/hzc/PythonProject/LiDAR-Distillation/tools/cfgs/kitti_models/pointpillar_car.yaml \
    --batch_size 32 --extra_tag 64  --exp_name 64beams
2.SparseKD
CUDA_VISIBLE_DEVICES=3,2 python train.py --cfg_file /home/hzc/PythonProject/SparseKD/tools/cfgs/kitti_models/cp-voxels/cp-voxel.yaml
3.MMrazor
python ./tools/train.py \
/home/hzc/PythonProject/mmrazor/configs/distill/mmdet3d/pkd/pkd_fpn_fcos3d_r101_fcos3d_r50_8xb2-1x_nus-mono3d.py
七、服务器的一些bug
1.虚拟机开机进入initramfs无法开机
由于虚拟机的错误关闭,加上后面对它强行关机,导致再次开机时进入了initramfs无法成功开机,这个时候根据虚拟机的界面可以看到虚拟机的哪个分区出现了问题,类似于下图,需要在界面中查看一些信息:
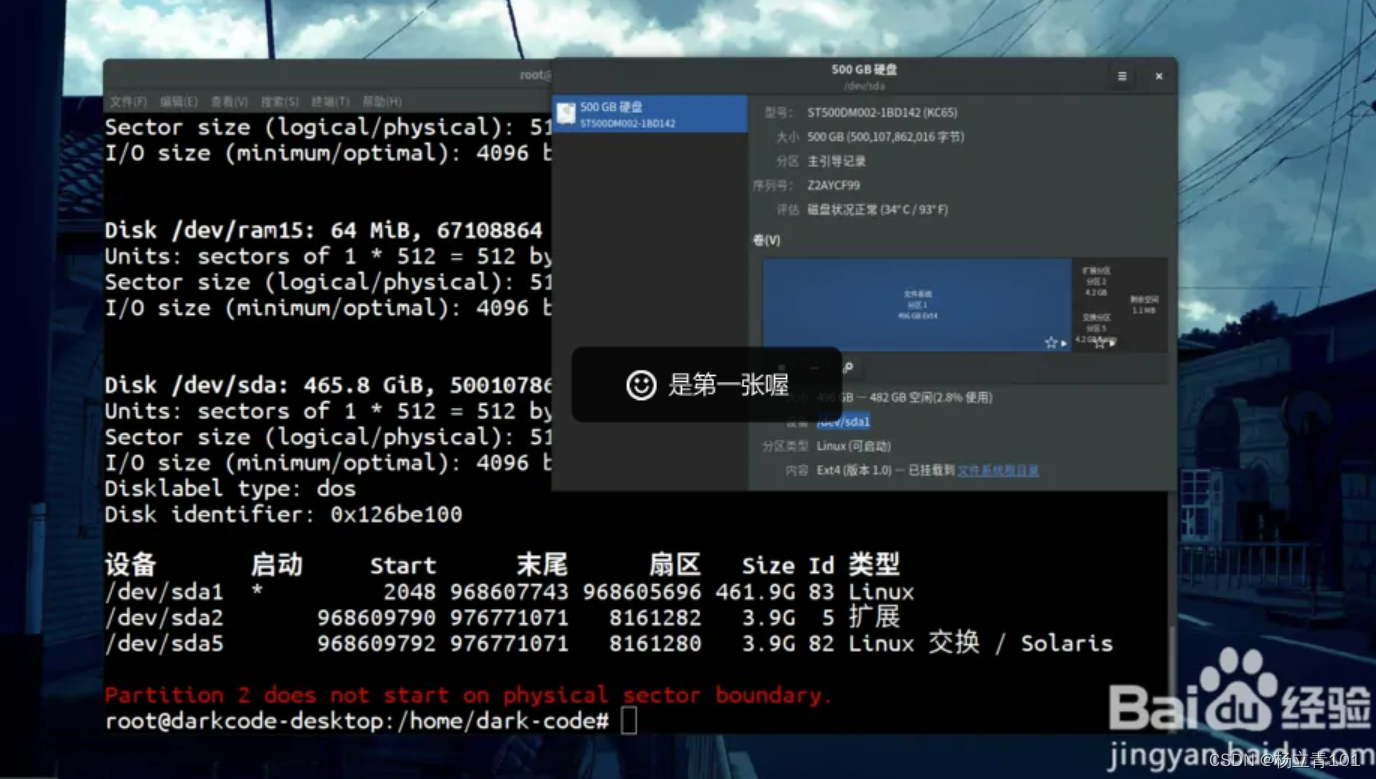
知道是哪个分区出错之后,首先卸载该分区,实际过程中发现不卸载该分区也行:
umount /dev/sda1
用fsck命令开始检查、修复(fsck是个很好用了磁盘检测修复命令)
fsck -t ext4 /dev/sda1
(-t是指定文件系统类型:现在的多半是ext3和ext4,不知道,你就一个一个试!)最后回车后它会问你是否继续,你就一路按y就行了!到最后会它完了之后:shutdown -r now(重启命令)关机开机就基本好了!

2.git提交或克隆报错
因为git在拉取或者提交项目时,中间会有git的http和https代理,但是我们本地环境本身就有SSL协议了,所以取消git的https代理即可,不行再取消http的代理。原因还有一个,当前代理网速过慢,所以偶尔会成功,偶尔失败
fatal: unable to access 'https://github.com/xxx/autowrite.git/':
Failed to connect to github.com port 443: Timed out
在项目文件夹的命令行窗口执行下面代码,取消git本身的https代理,使用自己本机的代理,如果没有的话,其实默认还是用git的,然后再git commit 或git clone。
//取消http代理
git config --global --unset http.proxy
//取消https代理
git config --global --unset https.proxy
3.远程开发VsCode无法展示图片(opencv\open3d)
远程开发VsCode终端中运行PyQt5程序报错qt.qpa.xcb: could not connect to display,原因是vscode没有办法显示远程的图,报错信息:
qt.qpa.xcb: could not connect to display
qt.qpa.plugin: Could not load the Qt platform plugin "xcb" in "" even though it was found.
This application failed to start because no Qt platform plugin could be initialized. Reinstalling the application may fix this problem.

Available platform plugins are: eglfs, linuxfb, minimal, minimalegl, offscreen, vnc, wayland-egl, wayland, wayland-xcomposite-egl, wayland-xcomposite-glx, webgl, xcb.
在连接了ssh的终端上如mobaxterm上输入:
env | grep DISPLAY # 在系统终端上查看DISPLAY
得到的输出为:
DISPLAY=localhost:10.0
然后再到vscode的终端上输入如下指令:
export DISPLAY=localhost:10.0
4. E: Unable to locate package
依次执行如下的命令:
sudo add-apt-repository "deb http://security.ubuntu.com/ubuntu xenial-security main"
sudo apt update
sudo apt install libjasper1 libjasper-dev
如果在输入了上述的命令之后还是报错E: Unable to locate package,有没有一种可能你要安装的包和你的platform或者环境并不匹配,真的没有这个package。
参考链接:如何从根本上解决E: Unable to locate package错误的方法
5. E: Unable to locate package
视觉SLAM十四讲 报错 Could not find a configuration file for package “OpenCV“ that is compatible with reques
6. ModuleNotFoundError: No module named ‘mmcv._ext‘解决方案
参考链接:ModuleNotFoundError: No module named ‘mmcv._ext‘
pip install mmcv-full==1.2.4 -f https://download.openmmlab.com/mmcv/dist/cu102/torch1.8.0/index.html