tensorflow详细安装教程
1. 准备工作
1.1 CPU版本
无需准备显卡安装内容。
1.2 GPU版本(提前下载cuda和cudnn)
1. 查看自己电脑的cuda版本,多种查看方式,这里在终端使用
nvidia-smi
查看cuda信息,命令结果如下图所示。
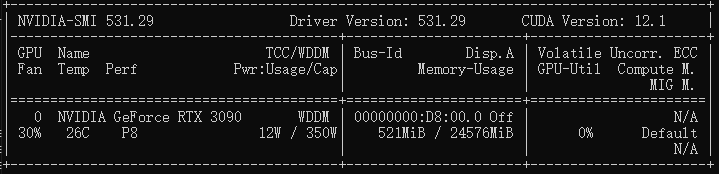
这里cuda版本为12.1。
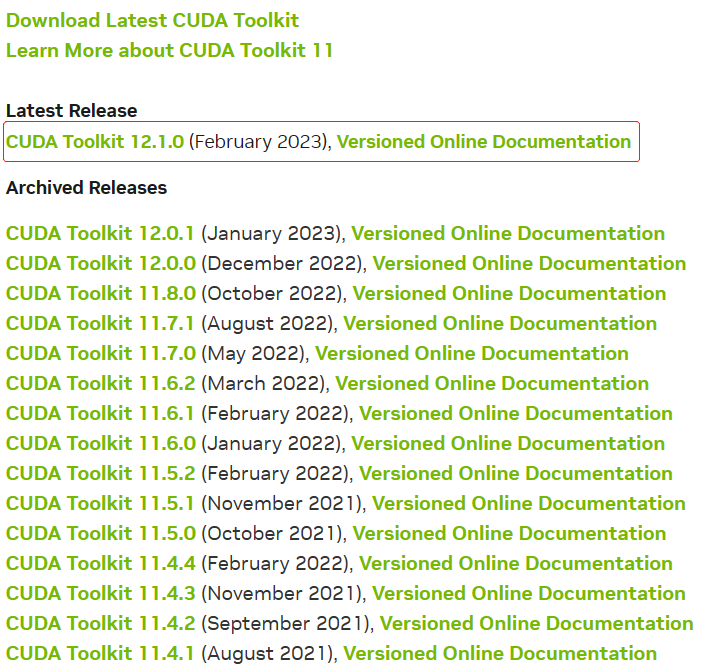
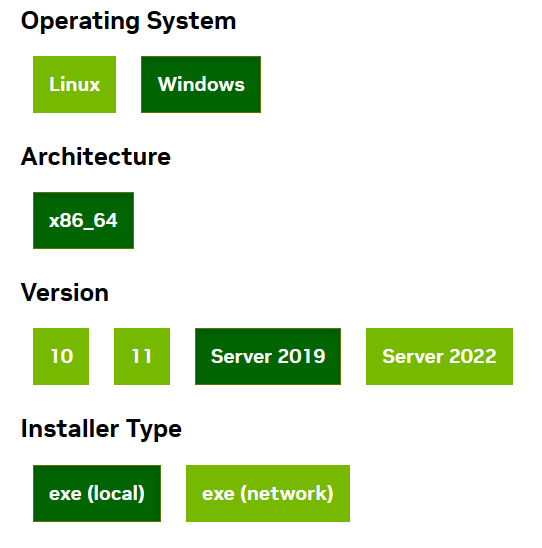
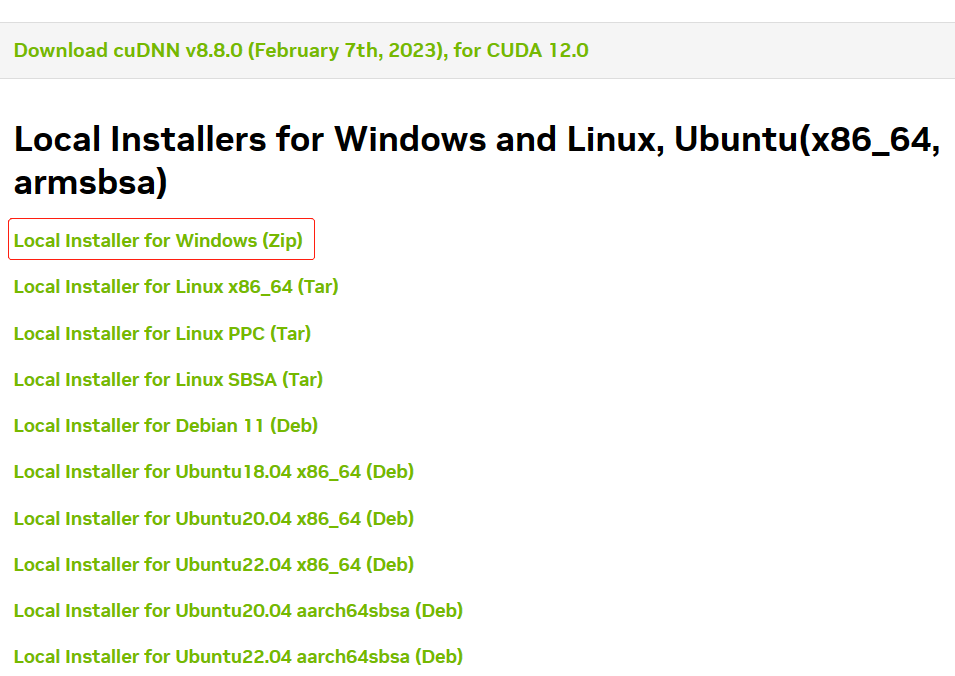
2. 下载cuda和cudnn。在官网上下载对应的cuda和cudnn,版本可以低于但不能高于电脑支持的版本。cuda下载地址:CUDA Toolkit Archive | NVIDIA Developer;cudnn下载地址:cuDNN Archive | NVIDIA Developer.这里cudnn下载需要用邮箱注册一下nvidia账号。
这里下载cuda的示例版本如下:
这里下载cudnn的示例版本如下:
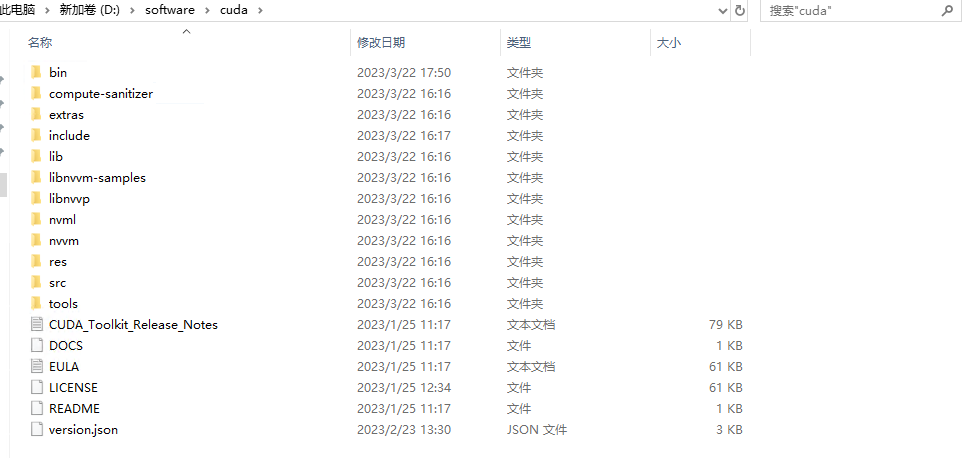
3. CUDA安装:前面默认,到选择安装位置时选择自定义安装→默认安装路径→安装结束。(这里自定义安装路径可能会缺失一些.dll文件,解决方法见3. 安装过程中遇到的问题)
安装完成后,会默认生成两个系统变量,如下图:
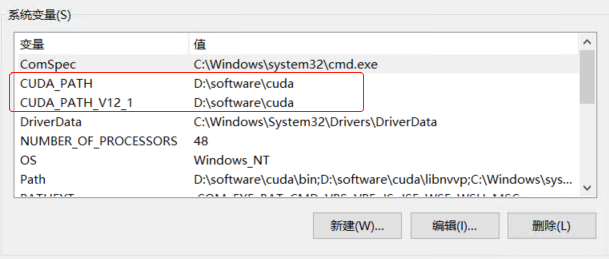
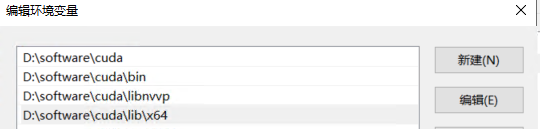
这里可以在系统变量中找到path,然后编辑,添加一些路径,最终一共有四条(这里安装cuda的路径是D:\software\cuda)。
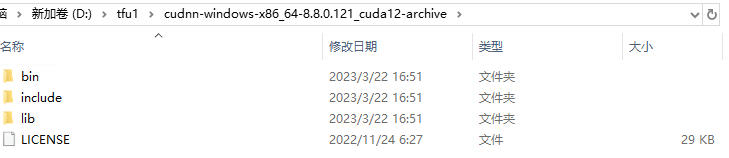
4. cuDNN安装:解压之后得到下面第一张图的三个文件夹→将三个文件夹复制到cuda的安装目录下(下面第二张图),直接选择覆盖文件就可以。
5. 安装完成,测试cuda版本。
在终端输入
nvcc -V

1.3 安装anaconda
安装anaconda网上很多教程,参考Anaconda详细安装及使用教程(带图文)进行安装。
2. tensorflow安装
1. 利用conda建立虚拟环境
conda create -n tensorflow python=3.9
2. 激活创建的tensorflow虚拟环境
conda activate tensorflow
3. 下载tensorflow_gpu的whl文件,可以在https://pypi.org/中搜索,也可以在https://pypi.doubanio.com/simple/tensorflow-gpu/中下载对应版本,这里下载的是tensorflow_gpu-2.8.0rc1-cp39-cp39-win_amd64.whl
4. 安装tensorflow
pip install tensorflow_gpu-2.8.0rc1-cp39-cp39-win_amd64.whl
5. 安装完成,可以使用以下命令在python中测试是否安装成功。
import tensorflow as tf
print(tf.__version__)
print(tf.test.gpu_device_name())
print('GPU:',tf.config.list_physical_devices(device_type='GPU'))
print('CPU:',tf.config.list_physical_devices(device_type='CPU'))
print(tf.test.is_gpu_available())

6. 可以通过下面代码(参考[1]),测试一下CPU和GPU运行代码的速度。
import tensorflow as tf
import timeit
#指定在cpu上运行
def cpu_run():
    with tf.device('/cpu:0'):
        cpu_a = tf.random.normal([10000, 1000])
        cpu_b = tf.random.normal([1000, 2000])
        cpu_c = tf.matmul(cpu_a, cpu_b)
        # print( "cpu_a: ", cpu_a.device)
        # print( "cpu_b: ", cpu_b.device)
        # print("cpu_c:", cpu_c.device)
    return cpu_c

#指定在gpu上运行

def gpu_run():
    with tf.device( '/gpu:0'):
        gpu_a = tf.random. normal([ 10000,1000])
        gpu_b = tf.random. normal([ 1000, 2000])
        gpu_c = tf.matmul(gpu_a, gpu_b)
        # print( "gpu_a: ", gpu_a.device)
        # print("gpu_b: ", gpu_b.device)
        # print("gpu_c: ", gpu_c.device)
    return gpu_c

cpu_time = timeit.timeit(cpu_run, number = 10)
gpu_time = timeit.timeit(gpu_run, number = 10)
print('cpu:',cpu_time, 'gpu:',gpu_time)

3. 安装过程中遇到的问题
问题1:如下图

解决方法:
pip uninstall protobuf
pip install protobuf==3.19.0
问题2:如下图
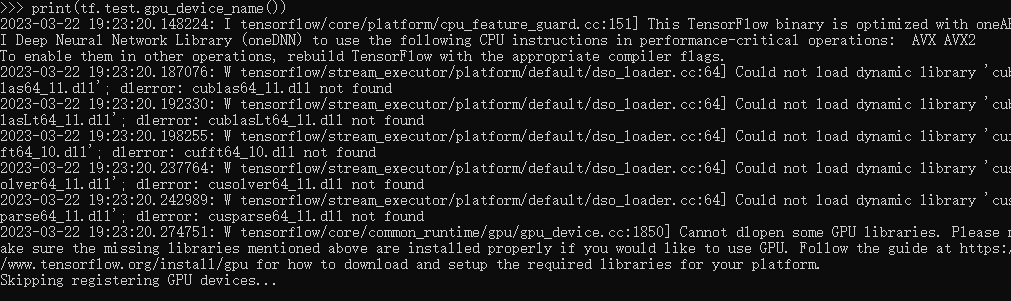
如果出现这种错误,是因为缺失.dll文件。
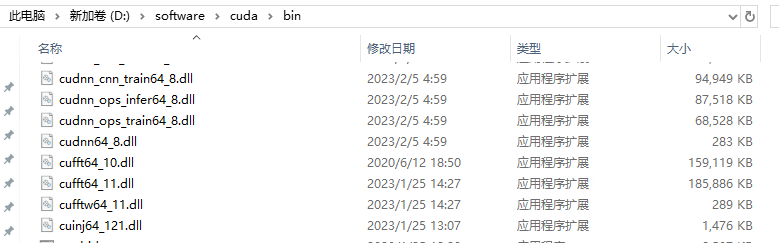
解决方法: 可以在网上下载这些文件(也可以通过在别人安装好的cuda的bin文件夹下拷对应缺失的.dll文件),然后复制到cuda安装目录下的bin文件夹中,如下图所示。