目录
数据层解决方案
现有数据层解决方案技术
Druid+Mybatis-Plus+mysql
数据源:DruidDataSource
持久化技术:MyBatis/MP
数据库:MySQL
数据源配置格式:
方式一:
#配置相关信息
spring:
  datasource:
    driver-class-name: com.mysql.cj.jdbc.Driver
    url: jdbc:mysql://localhost:3306/mybatis?serverTimezone=UTC
    username: root
    password: 123456
    type: com.alibaba.druid.pool.DruidDataSource
方式二
#配置相关信息
spring:
  datasource:
    druid:
      driver-class-name: com.mysql.cj.jdbc.Driver
      url: jdbc:mysql://localhost:3306/mybatis?serverTimezone=UTC
      username: root
      password: 123456
当我们没有指定数据源,导入了druid-web默认使用的是
    <dependency>
            <groupId>com.alibaba</groupId>
            <artifactId>druid-spring-boot-starter</artifactId>
            <version>1.2.6</version>
        </dependency>
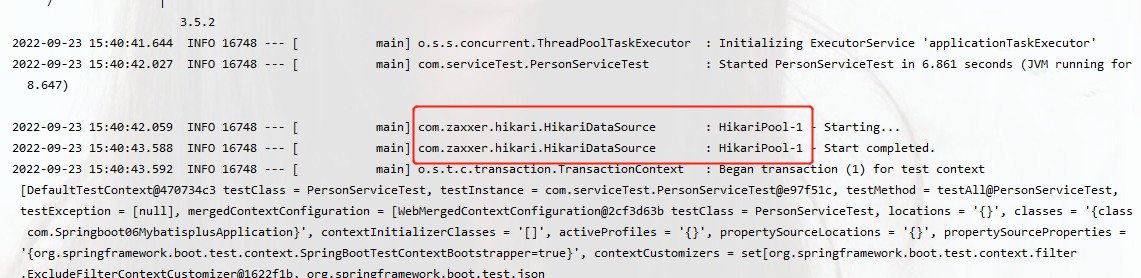
当我们把这个注释掉,就会显示使用默认的数据源是Hikaripool
数据源配置
SpringBoot提供了3中内嵌的数据源对象供开发者选择
HikariCp:默认内置数据源对象
Tomcat提供DataSource:HikariCP不可用的情况下,且在web环境中,将使用tomcat服务器配置的数据源对象
Commons DBCP:Hikari不可用,tomcat数据源也不可用,将使用dbcp数据源
内置持久化解决方案—JdbcTemplate

得先导入坐标
JdbcTemplate配置

springboot内置了这个JdbcTemple,写起来比较繁琐,不如用mybatis或MP
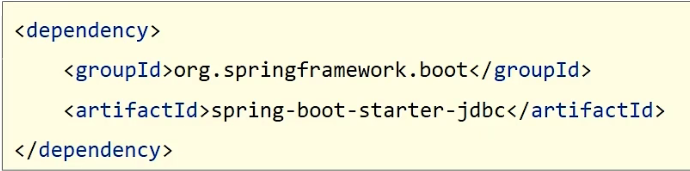
使用JdbcTemplate需要导入spring-boot-starter-jdbc
内嵌数据库
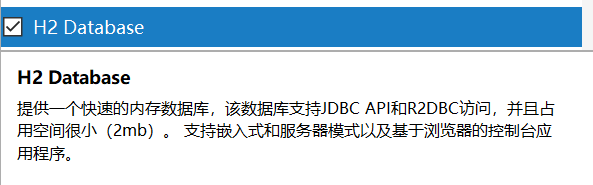
SpringBoot提供了3中内嵌数据库供选择,提高开发测试效率
- H2
- HSQL
- DerBy
H2数据库
在创建的时候勾选h2数据库
pom.xml中
        <dependency>
            <groupId>org.springframework.boot</groupId>
            <artifactId>spring-boot-starter-web</artifactId>
        </dependency>
        <dependency>
            <groupId>com.baomidou</groupId>
            <artifactId>mybatis-plus-boot-starter</artifactId>
            <version>3.4.2</version>
        </dependency>

        <dependency>
            <groupId>com.h2database</groupId>
            <artifactId>h2</artifactId>
            <scope>runtime</scope>
        </dependency>


        <dependency>
            <groupId>org.springframework.boot</groupId>
            <artifactId>spring-boot-starter-data-jpa</artifactId>
        </dependency>


        <dependency>
            <groupId>org.projectlombok</groupId>
            <artifactId>lombok</artifactId>
            <optional>true</optional>
        </dependency>
配置文件下自动会给我们写
#remote visit
spring.h2.console.settings.web-allow-others=true
#console url。Spring启动后,可以访问 http://127.0.0.1:8080/h2-console 查看数据库
spring.h2.console.path=/h2-console
#default true。咱也可以用命令行访问好数据库,感兴趣的同学点这个链接 http://www.h2database.com/html/tutorial.html?highlight=Mac&search=mac#firstFound
spring.h2.console.enabled=true
spring.h2.console.settings.trace=true

#指定数据库的种类,这里 file意思是文件型数据库
spring.datasource.url=jdbc:h2:file:~/test
#用户名密码不需要改,都是临时值
spring.datasource.username=san
spring.datasource.password=
#指定Driver,有了Driver才能访问数据库
spring.datasource.driver-class-name=org.h2.Driver
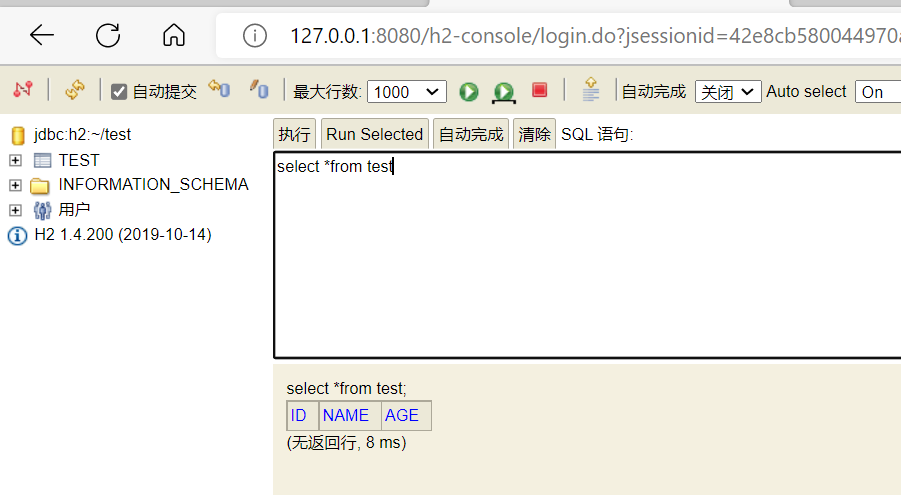
spring.h2.console.enabled=true为true就是开放这个图形界面,正式上线项目时得关闭。 http://127.0.0.1:8080/h2-console 查看数据库可以得到下图所示。
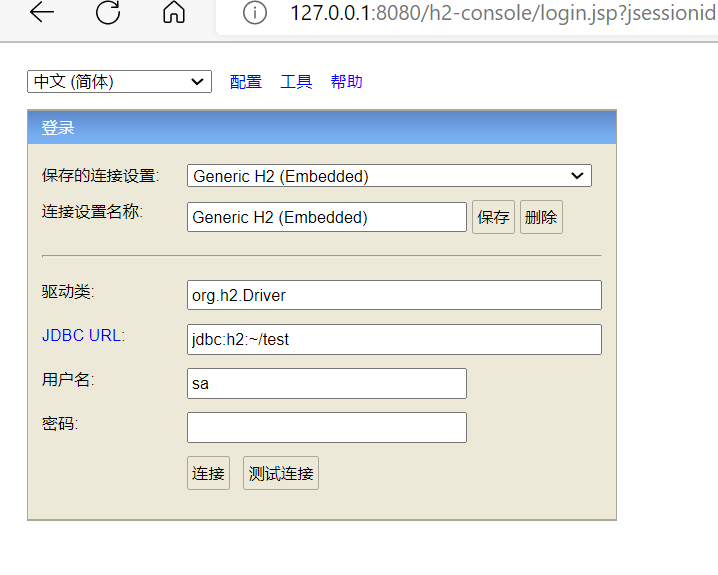
将用户名改为san直接点登录即可。
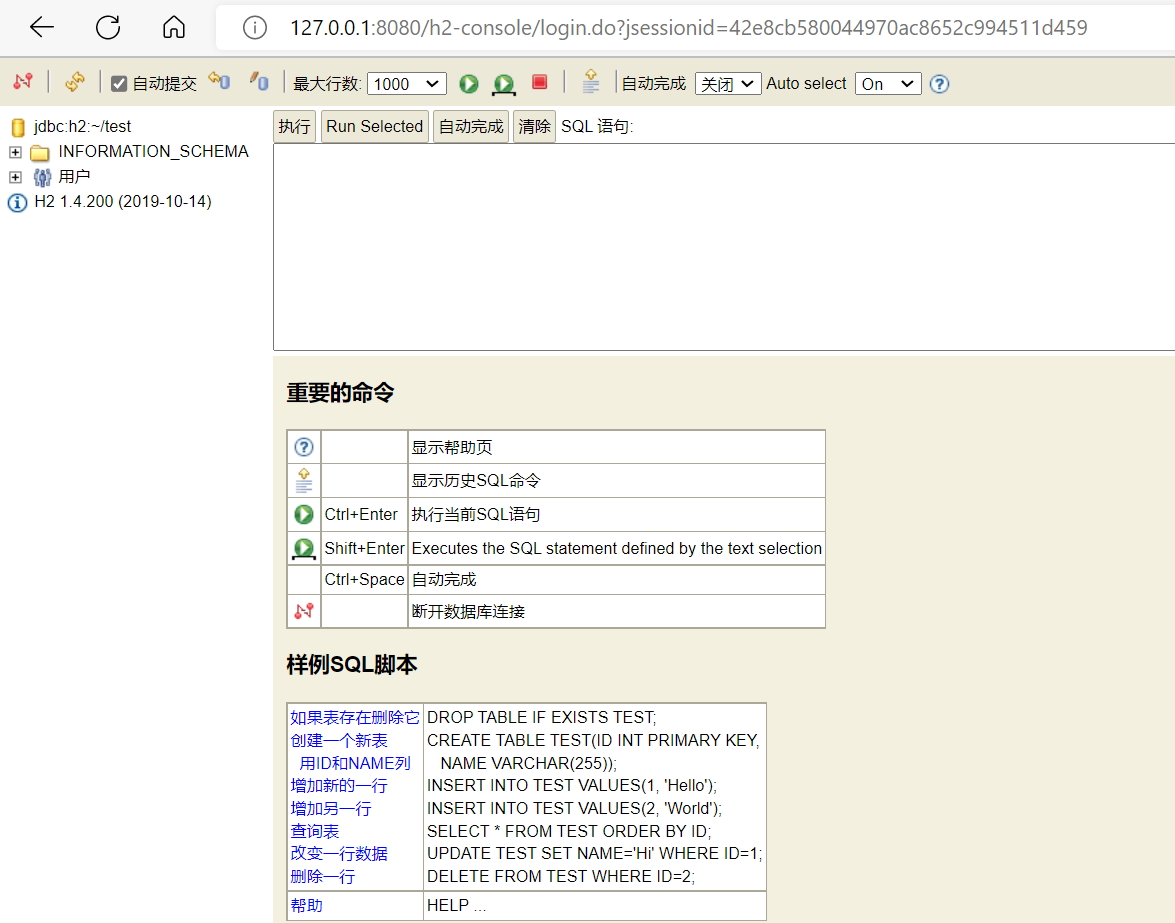
随便添加一个表
create table test(id int ,name varchar ,age int )