官方文档参考:https://docs.spring.io/spring-boot/docs/current/reference/html/spring-boot-features.html#boot-features-messaging
1 添加 依赖
<dependency>
    <groupId>org.springframework.boot</groupId>
    <artifactId>spring-boot-starter-amqp</artifactId>
</dependency>
2 添加配置
spring.rabbitmq.host=localhost
spring.rabbitmq.port=5672
spring.rabbitmq.username=guest
spring.rabbitmq.password=guest
3 生产者:消息推送
package com.example.demo.controller;

import org.springframework.amqp.rabbit.core.RabbitTemplate;
import org.springframework.web.bind.annotation.GetMapping;
import org.springframework.web.bind.annotation.RequestMapping;
import org.springframework.web.bind.annotation.RestController;

import javax.annotation.Resource;
import java.time.LocalDateTime;
import java.time.format.DateTimeFormatter;
import java.util.HashMap;
import java.util.Map;
import java.util.UUID;

/**
 * @author Aaron
 * @date 2020/3/7
 */
@RestController
@RequestMapping("/rabbit")
public class RabbitMQController {

    @Resource
    private RabbitTemplate rabbitTemplate;  //使用RabbitTemplate,这提供了接收/发送等等方法

    @GetMapping("/sendDirectMessage")
    public String sendDirectMessage() {
        String messageId = String.valueOf(UUID.randomUUID());
        String messageData = "test message, hello!";
        String createTime = LocalDateTime.now().format(DateTimeFormatter.ofPattern("yyyy-MM-dd HH:mm:ss"));
        Map<String, Object> map = new HashMap<>();
        map.put("messageId", messageId);
        map.put("messageData", messageData);
        map.put("createTime", createTime);
        //将消息携带绑定键值:TestDirectRouting 发送到交换机TestDirectExchange
        rabbitTemplate.convertAndSend("TestDirectExchange", "TestDirectRouting", map);
        System.out.println("DirectSender服务者发送消息  : " + map.toString());
        return "success";
    }
}
4 消费者:rabbitMQ消息监听
package com.example.demo.config;

import org.springframework.amqp.core.Binding;
import org.springframework.amqp.core.BindingBuilder;
import org.springframework.amqp.core.DirectExchange;
import org.springframework.amqp.core.Queue;
import org.springframework.context.annotation.Bean;
import org.springframework.context.annotation.Configuration;


/**
 * @author Aaron
 * @date 2020/3/7
 */

@Configuration
public class DirectRabbitConfig {


    //队列 起名:TestDirectQueue
    @Bean
    public Queue TestDirectQueue() {
        return new Queue("TestDirectQueue",true);
    }

    //Direct交换机 起名:TestDirectExchange
    @Bean
    DirectExchange TestDirectExchange() {
        return new DirectExchange("TestDirectExchange");
    }

    //绑定  将队列和交换机绑定, 并设置用于匹配键:TestDirectRouting
    @Bean
    Binding bindingDirect() {
        return BindingBuilder.bind(TestDirectQueue()).to(TestDirectExchange()).with("TestDirectRouting");
    }
}package com.example.demo.domain;
import org.springframework.amqp.rabbit.annotation.RabbitHandler;
import org.springframework.amqp.rabbit.annotation.RabbitListener;
import org.springframework.stereotype.Component;
import java.util.Map;
/**
* @author Aaron
* @date 2020/3/7
*/
@Component
@RabbitListener(queues = "TestDirectQueue")
public class DirectReceiver {
@RabbitHandler
public void process(Map testMessage) {
System.out.println("DirectReceiver消费者收到消息 : " + testMessage.toString());
}
}5 测试
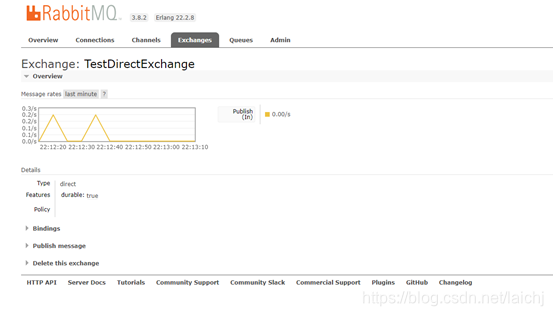
ps:需要事先创建exchange : TestDirectExchange
http://localhost:8081/rabbit/sendDirectMessage
日志打印:
