
概述
Vagrant是一种基于命令行的虚拟化工具,它可以在各种虚拟化平台(如VirtualBox、VMware等)上自动化创建和配置虚拟开发环境。使用Vagrant,开发人员可以快速、一致地部署开发环境,而不必担心与主机系统的冲突或开发团队之间的配置不一致。是用来创建和管理虚拟机的工具,可以更方便的创建虚拟机,对虚拟机进行管理。
软件安装
安装VirtualBox
VirtualBox是一款开源虚拟机软件。使用者可以在 VirtualBox 上安装并且执行 Solaris、Windows、DOS、Linux、OS/2 Warp、BSD 等系统作为客户端操作系统。
VirtualBox下载链接

安装Vagrant
Vagrant 是一款虚拟机管理工具,Vagrant 支持管理多种虚拟化管理工具的虚拟机。可以帮助用户快速启动和配置 VirtualBox,VMware Workstation 等虚拟化工具的虚拟机实例。
Vagrant下载
找到自己对应的系统版本下载安装即可
配置环境
如果你的系统盘的磁盘空间不够大,最好在安装完成 Vagrant 后,更改Vagrant 的虚拟机镜像存放目录和更改VirtualBox的虚拟机存放路径!
配置Vagrant
找到电脑的环境变量设置,将默认的vagrant镜像文件路径改为其他盘,默认的文件夹为:C:\Users\xxx\.vagrant.d.,在用户变量或系统变量下选择新建。
- 用户变量:只在本用户生效
- 系统变量:在整个系统中生效(全部用户)

这里我指定的是:D:.vagrant.d
配置VirtualBox
启动 VirtualBox 后,通过菜单 管理 -> 全局设定,或者按下快捷键 Ctrl + g,在全局设定对话框中,修改默认虚拟电脑位置,指定一个容量较大的磁盘。

用Vagrant创建一个VM
使用 Vagrant 创建虚机时,需要指定一个镜像,也就是 box。开始这个 box 不存在,所以 Vagrant 会先从网上下载,然后缓存在本地目录中。
也可以用其他操作系统
在 Vagrant Cloud上,有各种虚拟机镜像可以下载。这里以Ubuntu Server 20.04作为演示,其他镜像,也就是box操作原理相同!
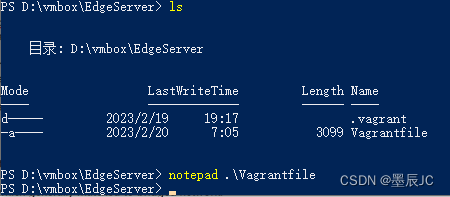
启动 PowerShell,寻找合适的位置新建文件夹,用来存放box的配置文件Vagrantfile

初始Vagrant配置文件
执行vagrant init初始化配置,生成Vagrantfile文件
vagrant init peru/ubuntu-20.04-server-amd64
其中的peru/ubuntu-20.04-server-amd64就是我们要使用的box名字,init指令之后会从网上拉取镜像,如果下载过慢,可以使用国内镜像站点:清华开源软件镜像站 使用以下指令vagrant box add [box名] 文件路径|url|中央仓库镜像
Vagrant初始化时,默认创建的虚拟机的网卡使用 NAT 方式。要想能够获得一个本地局域网的动态 IP 地址,在初始化box的文件夹中执行
notepad .\Vagrantfile
- 文件内容如下
# -- mode ruby --
# vi set ft=ruby

# All Vagrant configuration is done below. The 2 in Vagrant.configure
# configures the configuration version (we support older styles for
# backwards compatibility). Please don't change it unless you know what
# you're doing.
Vagrant.configure("2") do |config|
  # The most common configuration options are documented and commented below.
  # For a complete reference, please see the online documentation at
  # https://docs.vagrantup.com.

  # Every Vagrant development environment requires a box. You can search for
  # boxes at https://vagrantcloud.com/search.
  config.vm.box = "peru/ubuntu-20.04-server-amd64"

  # Disable automatic box update checking. If you disable this, then
  # boxes will only be checked for updates when the user runs
  # `vagrant box outdated`. This is not recommended.
  # config.vm.box_check_update = false

  # Create a forwarded port mapping which allows access to a specific port
  # within the machine from a port on the host machine. In the example below,
  # accessing "localhost:8080" will access port 80 on the guest machine.
  # NOTE: This will enable public access to the opened port
  # config.vm.network "forwarded_port", guest: 80, host: 8080

  # Create a forwarded port mapping which allows access to a specific port
  # within the machine from a port on the host machine and only allow access
  # via 127.0.0.1 to disable public access
  # config.vm.network "forwarded_port", guest: 80, host: 8080, host_ip: "127.0.0.1"

  # Create a private network, which allows host-only access to the machine
  # using a specific IP.
  # config.vm.network "private_network", ip: "192.168.33.10"

  # Create a public network, which generally matched to bridged network.
  # Bridged networks make the machine appear as another physical device on
  # your network.
  # config.vm.network "public_network"

  # Share an additional folder to the guest VM. The first argument is
  # the path on the host to the actual folder. The second argument is
  # the path on the guest to mount the folder. And the optional third
  # argument is a set of non-required options.
  # config.vm.synced_folder "../data", "/vagrant_data"

  # Provider-specific configuration so you can fine-tune various
  # backing providers for Vagrant. These expose provider-specific options.
  # Example for VirtualBox:
  #
  # config.vm.provider "virtualbox" do |vb|
  #   # Display the VirtualBox GUI when booting the machine
  #   vb.gui = true
  #
  #   # Customize the amount of memory on the VM:
  #   vb.memory = "1024"
  # end
  #
  # View the documentation for the provider you are using for more
  # information on available options.

  # Enable provisioning with a shell script. Additional provisioners such as
  # Ansible, Chef, Docker, Puppet and Salt are also available. Please see the
  # documentation for more information about their specific syntax and use.
  # config.vm.provision "shell", inline: <<-SHELL
  #   apt-get update
  #   apt-get install -y apache2
  # SHELL
end

将上图所标注的代码注释取消
启动 Ubuntu Sever 20.04 VM,在存放box对于的配置文件目录下执行
vagrant up
下图表示启动成功.
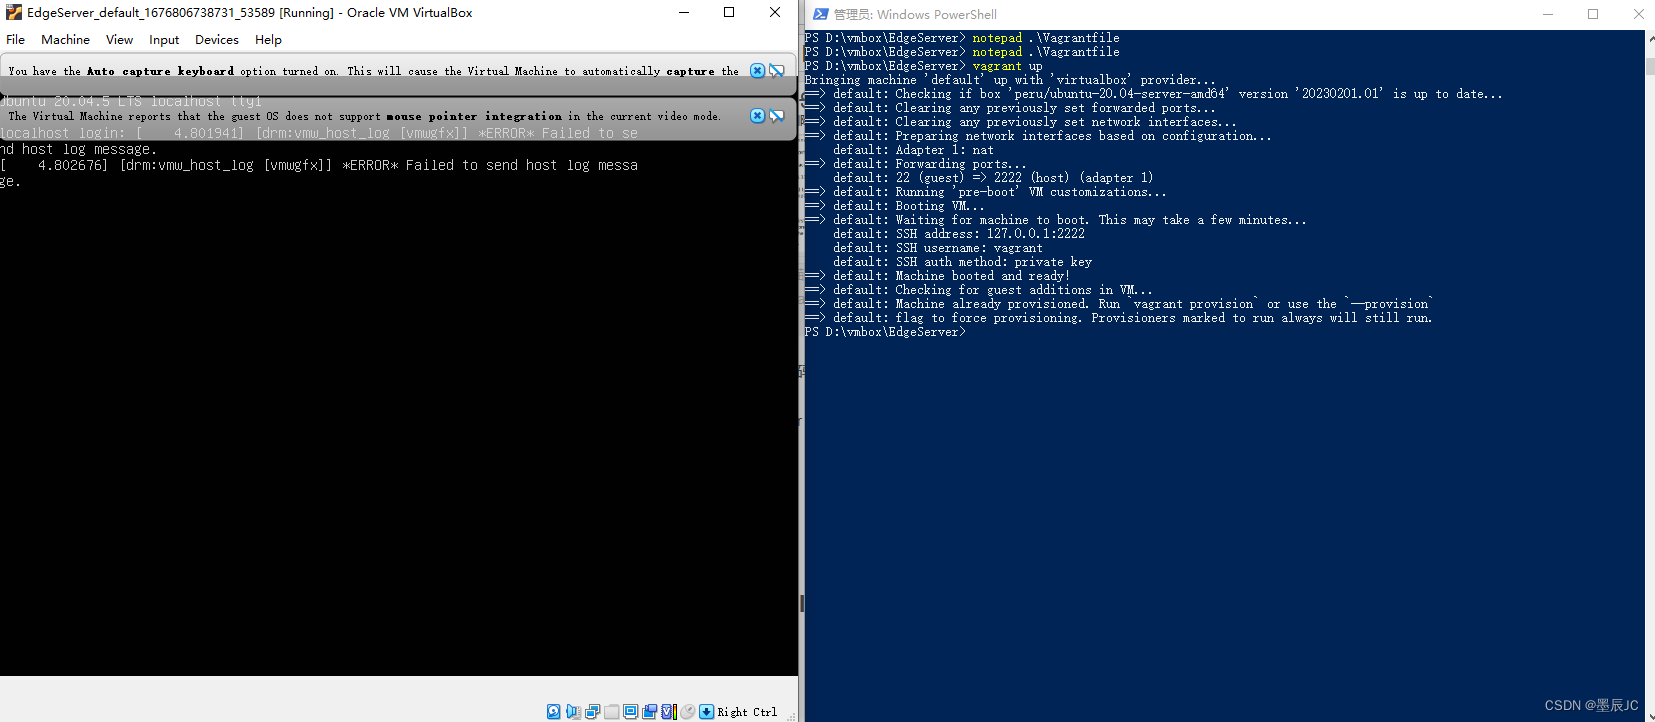
账户密码默认为:vagrant
Vagrantfile文件配置
config.vm.box:该名称为box系统镜像名
config.vm.hostname:配置虚拟机主机名
config.vm.network:这是配置虚拟机网络,由于比较复杂,我们其后单独讨论
config.vm.synced_folder:除了默认的目录绑定外,还可以手动指定绑定
config.ssh.username:默认的用户是vagrant,从官方下载的box往往使用的是这个用户名。如果是自定制的box,所使用的用户名可能会有所不同,通过这个配置设定所用的用户名。
config.vm.provision:我们可以通过这个配置在虚拟机第一次启动的时候进行一些安装配置
常用命令
查看Vagrant版本
vagrant --version
查看虚机的状态
vagrant status
指定目录下通过ssh连接虚拟机
vagrant ssh
关闭虚拟机
直接在 VirtualBox 上关闭虚机,或者直接在虚机内部执行 poweroff 命令也都是可以的。
vagrant halt
暂停虚拟机
vagrant suspend
恢复虚拟机
vagrant resume
重载虚拟机
执行下面的命令会重启虚机,并且重新加载 Vagrantfile 中的配置信息:
vagrant reload
删除虚拟机
vagrant destroy
查看vagrant下所有box列表(box名)
vagrant box list
删除相应的box
vagrant box remove box名
初始化box的操作,会生成vagrant的配置文件Vagrantfile
vagrant init box名
通过ssh登录本地环境所在虚拟机(前提是已经开启)
vagrant ssh [box名]
输出用于 ssh 连接的一些信息
vagrant ssh-config