SpringBoot开发之SpringMVC
上篇我们学习了SpringMVC,今天我们接着上个项目深入学习。上篇我们利用一种方法实现登录注册功能,今天教大家一种新的方法
一、SpringMVC接收参数的方法01
1.新建pojo包,并创建User类
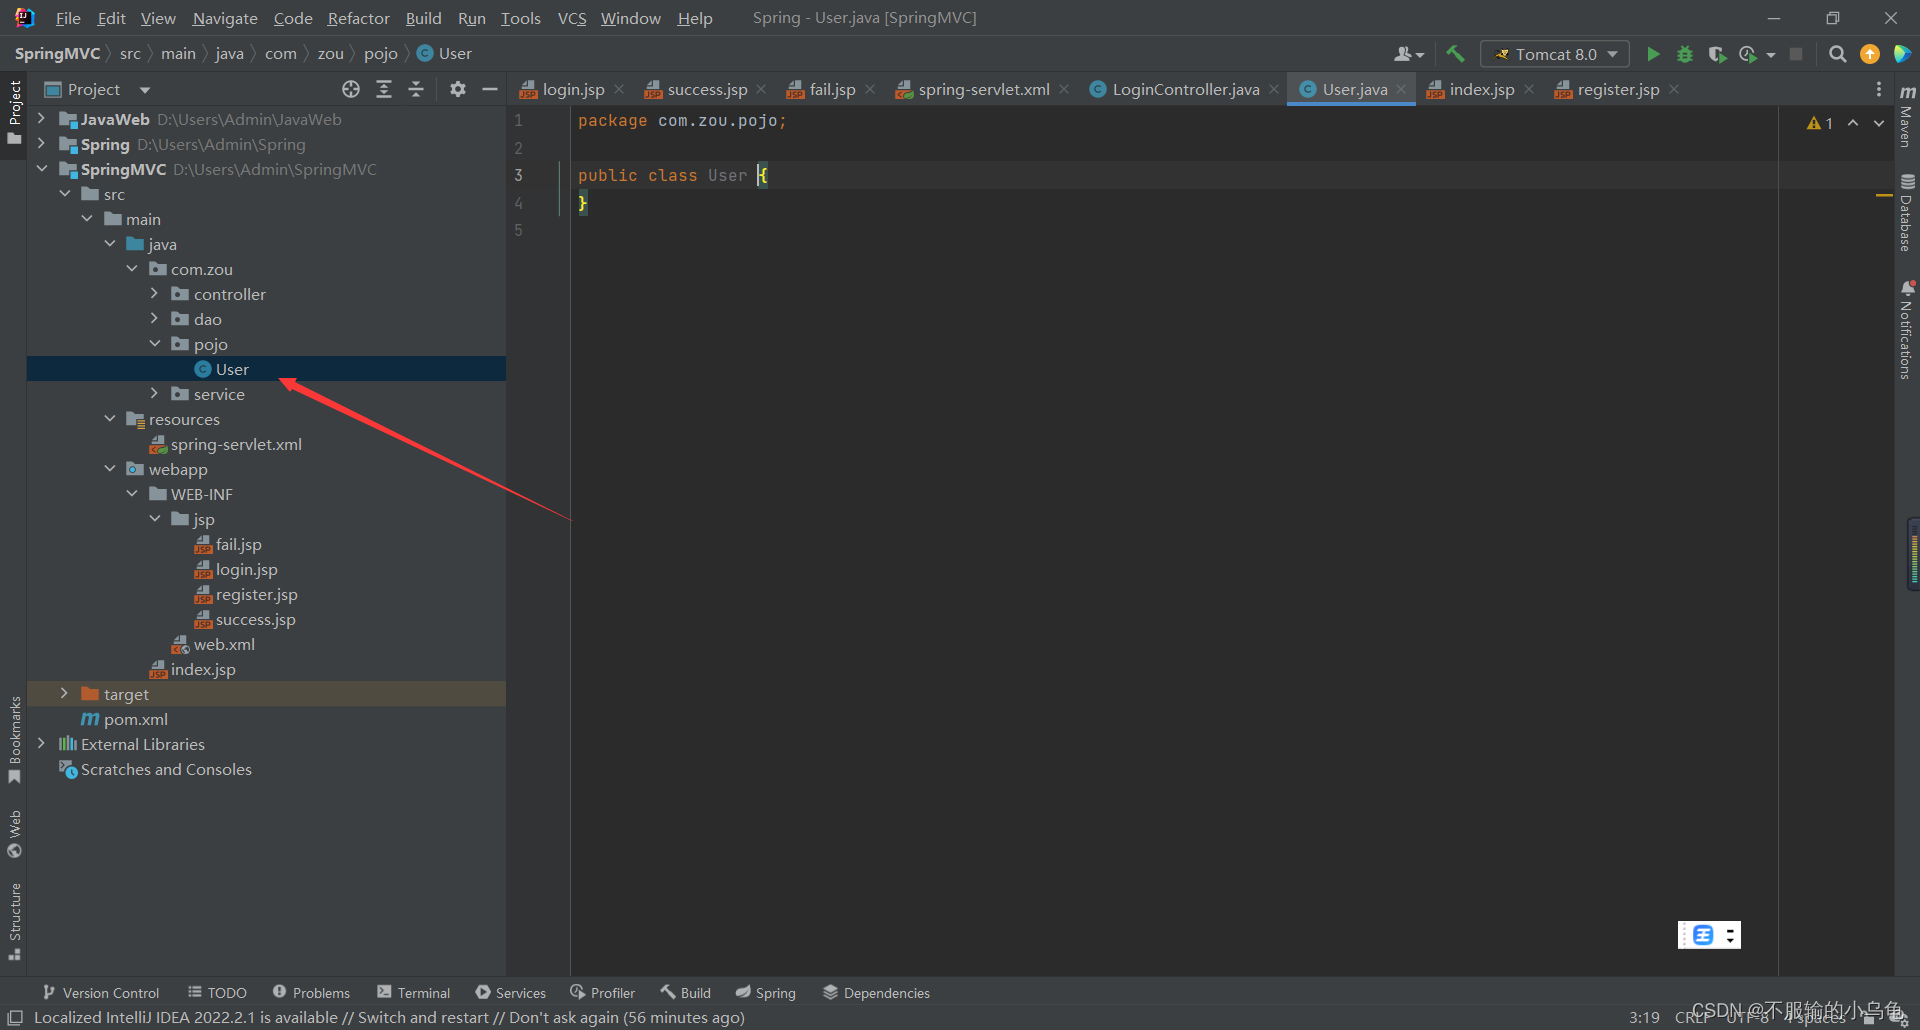
package com.zou.pojo;

public class User {


    private String username;
    private String password;

    public String getUsername() {


        return username;
    }

    public void setUsername(String username) {


        this.username = username;
    }

    public String getPassword() {


        return password;
    }

    public void setPassword(String password) {


        this.password = password;
    }
}
2.修改LoginController类
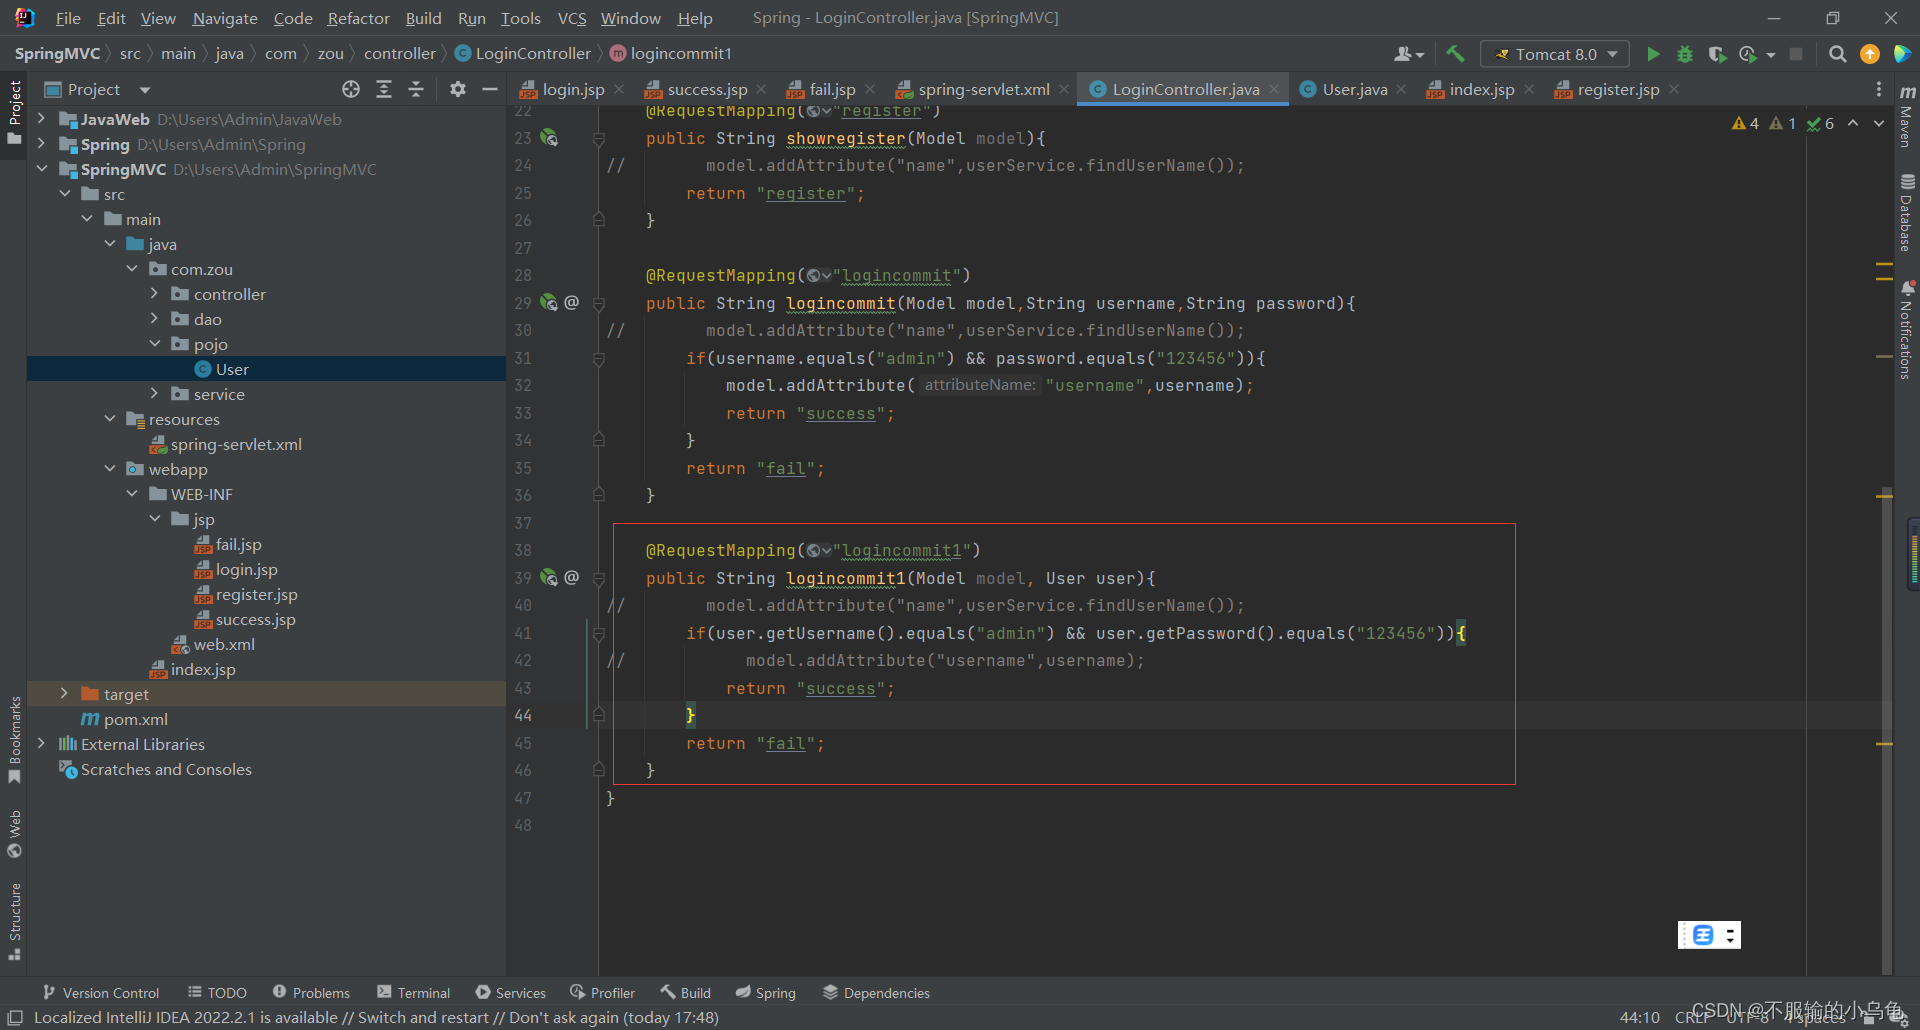
package com.zou.controller;
import com.zou.pojo.User;
import com.zou.service.UserService;
import org.springframework.beans.factory.annotation.Autowired;
import org.springframework.stereotype.Controller;
import org.springframework.ui.Model;
import org.springframework.web.bind.annotation.RequestMapping;
import org.springframework.web.servlet.ModelAndView;
import org.springframework.web.servlet.view.InternalResourceViewResolver;
@Controller
public class LoginController {
@Autowired
UserService userService;
@RequestMapping("login")
public String showlogin(Model model){
model.addAttribute("name",userService.findUserName());
return "login";
}
@RequestMapping("register")
public String showregister(Model model){
// model.addAttribute("name",userService.findUserName());
return "register";
}
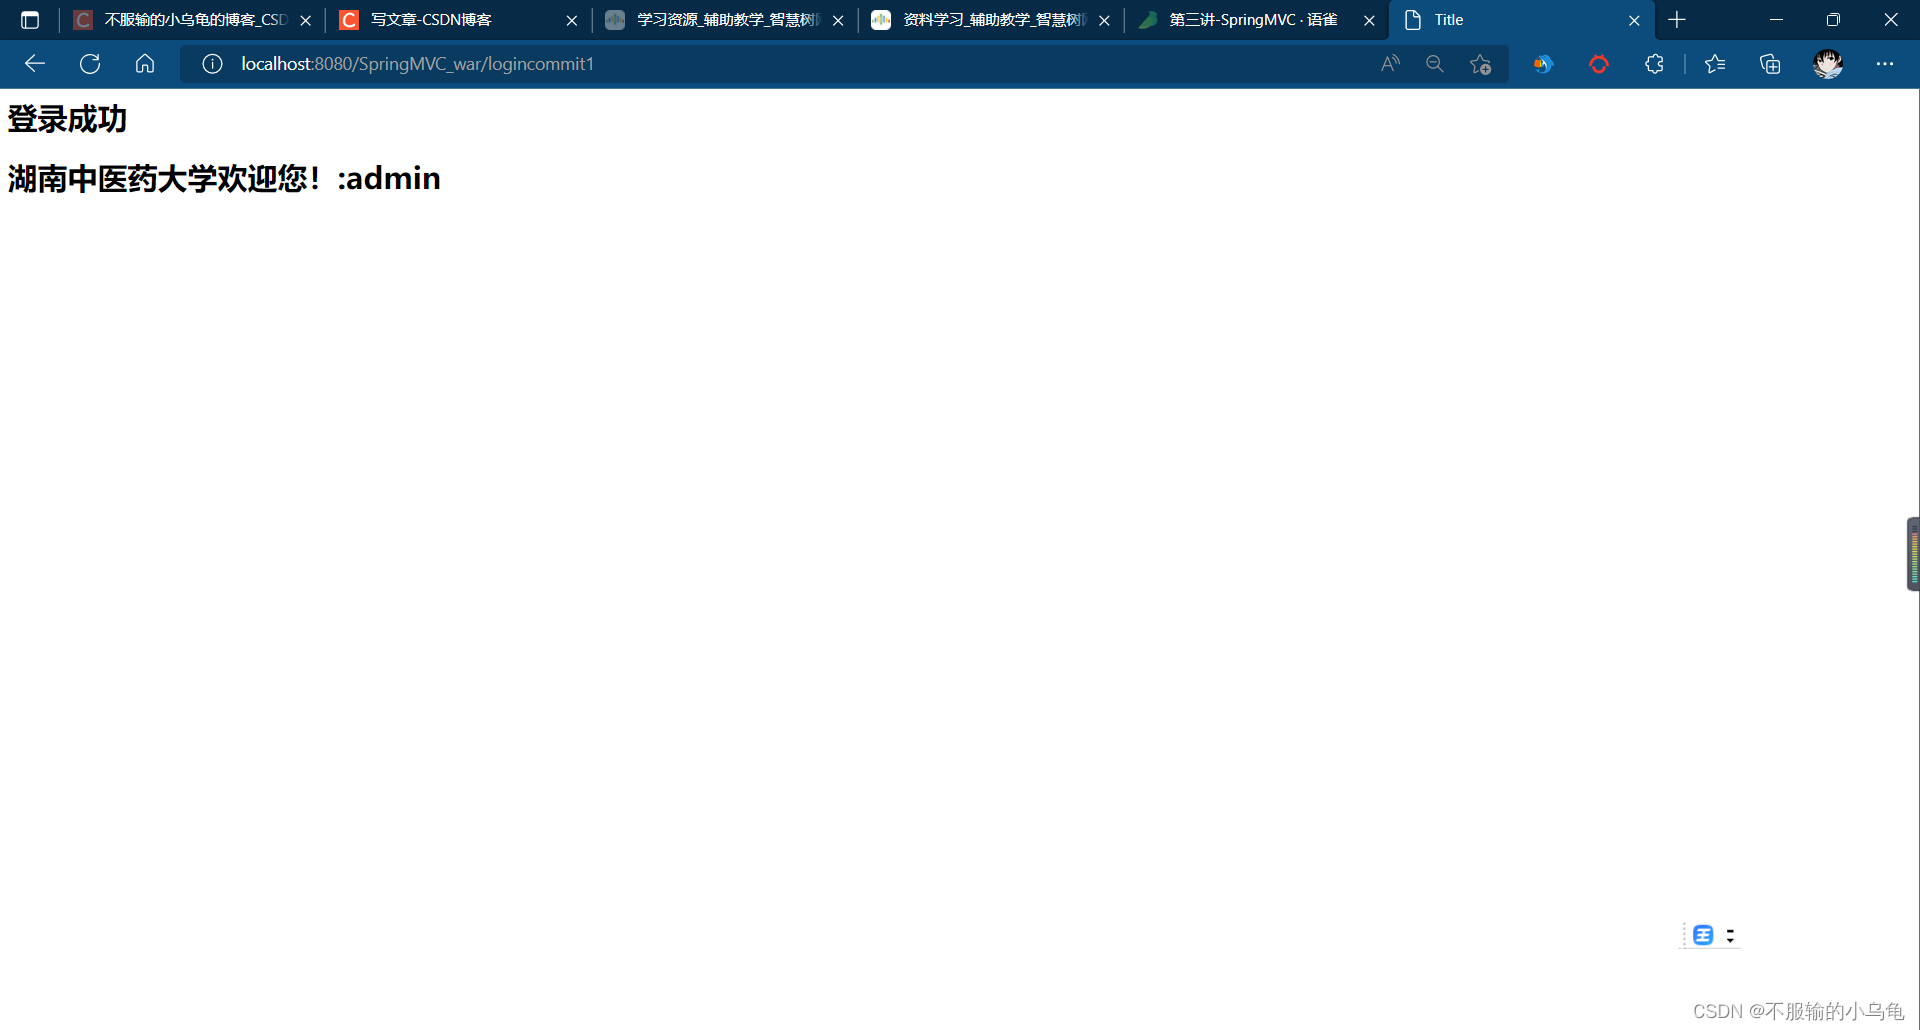
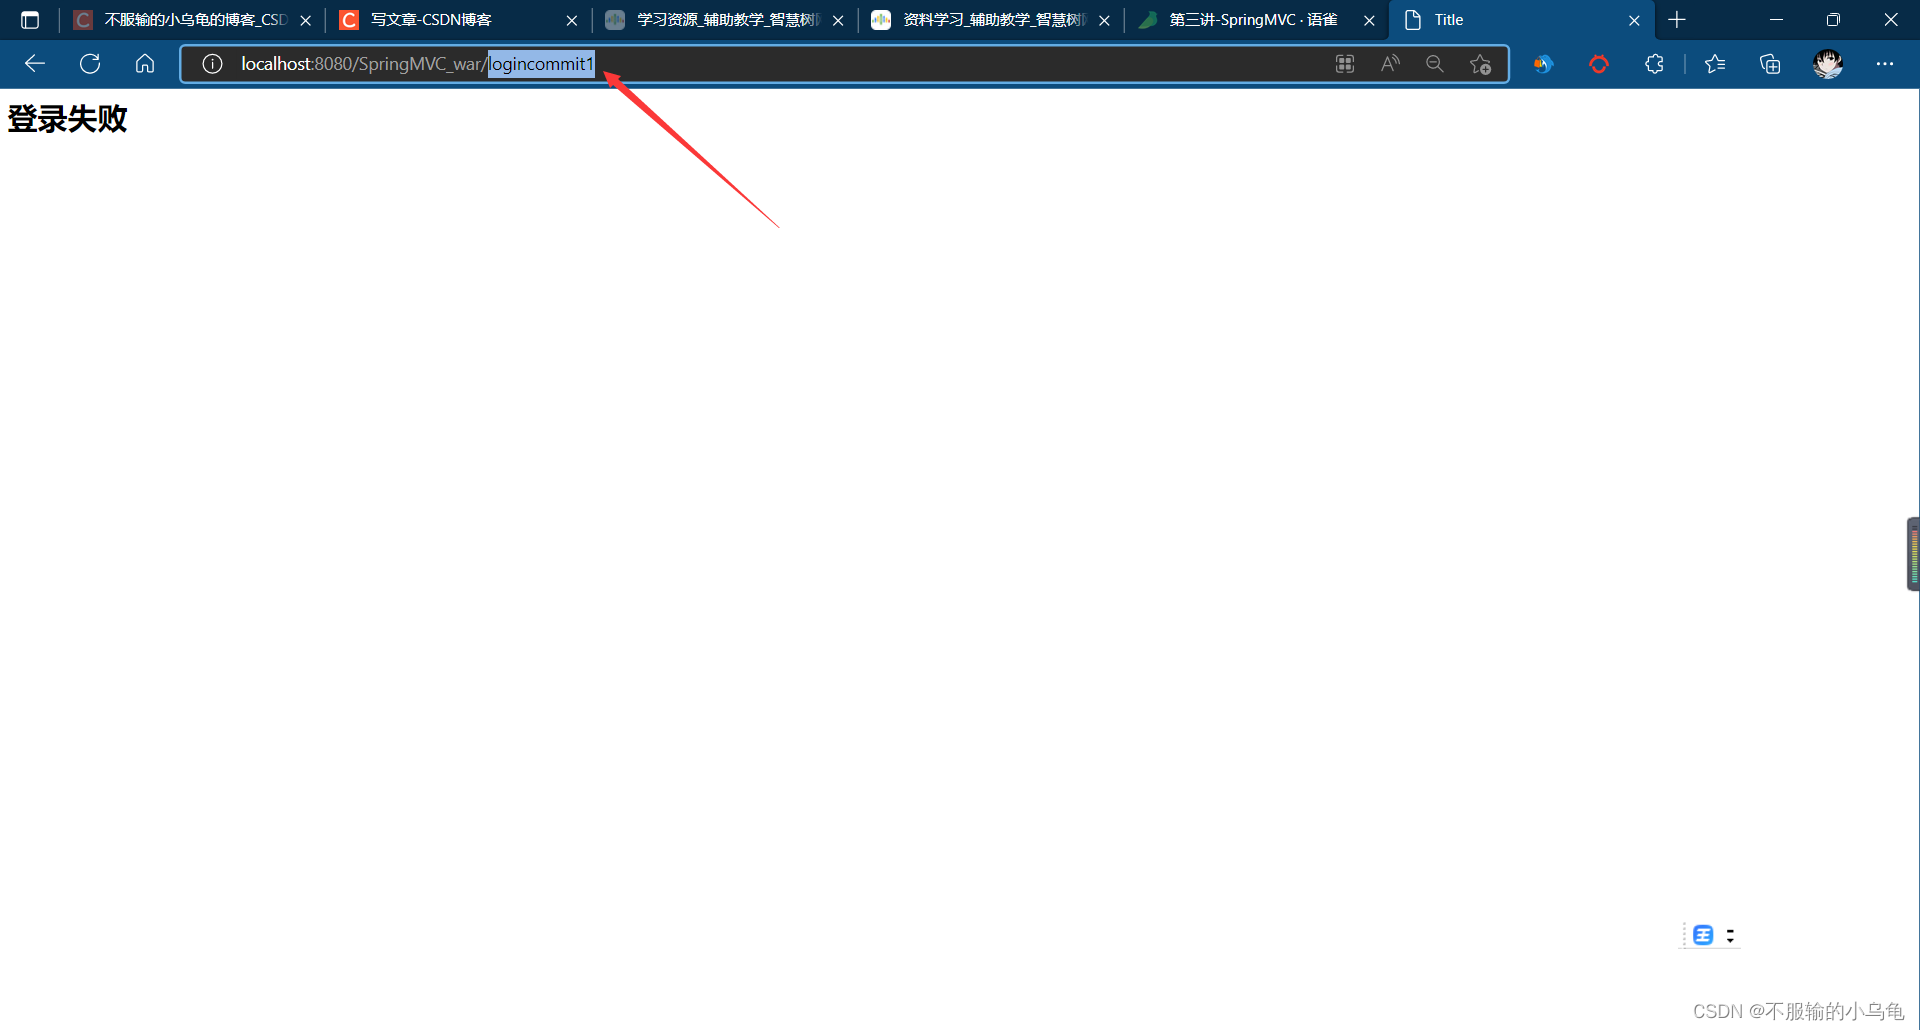
@RequestMapping("logincommit")
public String logincommit(Model model,String username,String password){
// model.addAttribute("name",userService.findUserName());
if(username.equals("admin") && password.equals("123456")){
model.addAttribute("username",username);
return "success";
}
return "fail";
}
@RequestMapping("logincommit1")
public String logincommit1(Model model, User user){
// model.addAttribute("name",userService.findUserName());
if(user.getUsername().equals("admin") && user.getPassword().equals("123456")){
// model.addAttribute("username",username);
return "success";
}
return "fail";
}
}
3.修改login.jsp
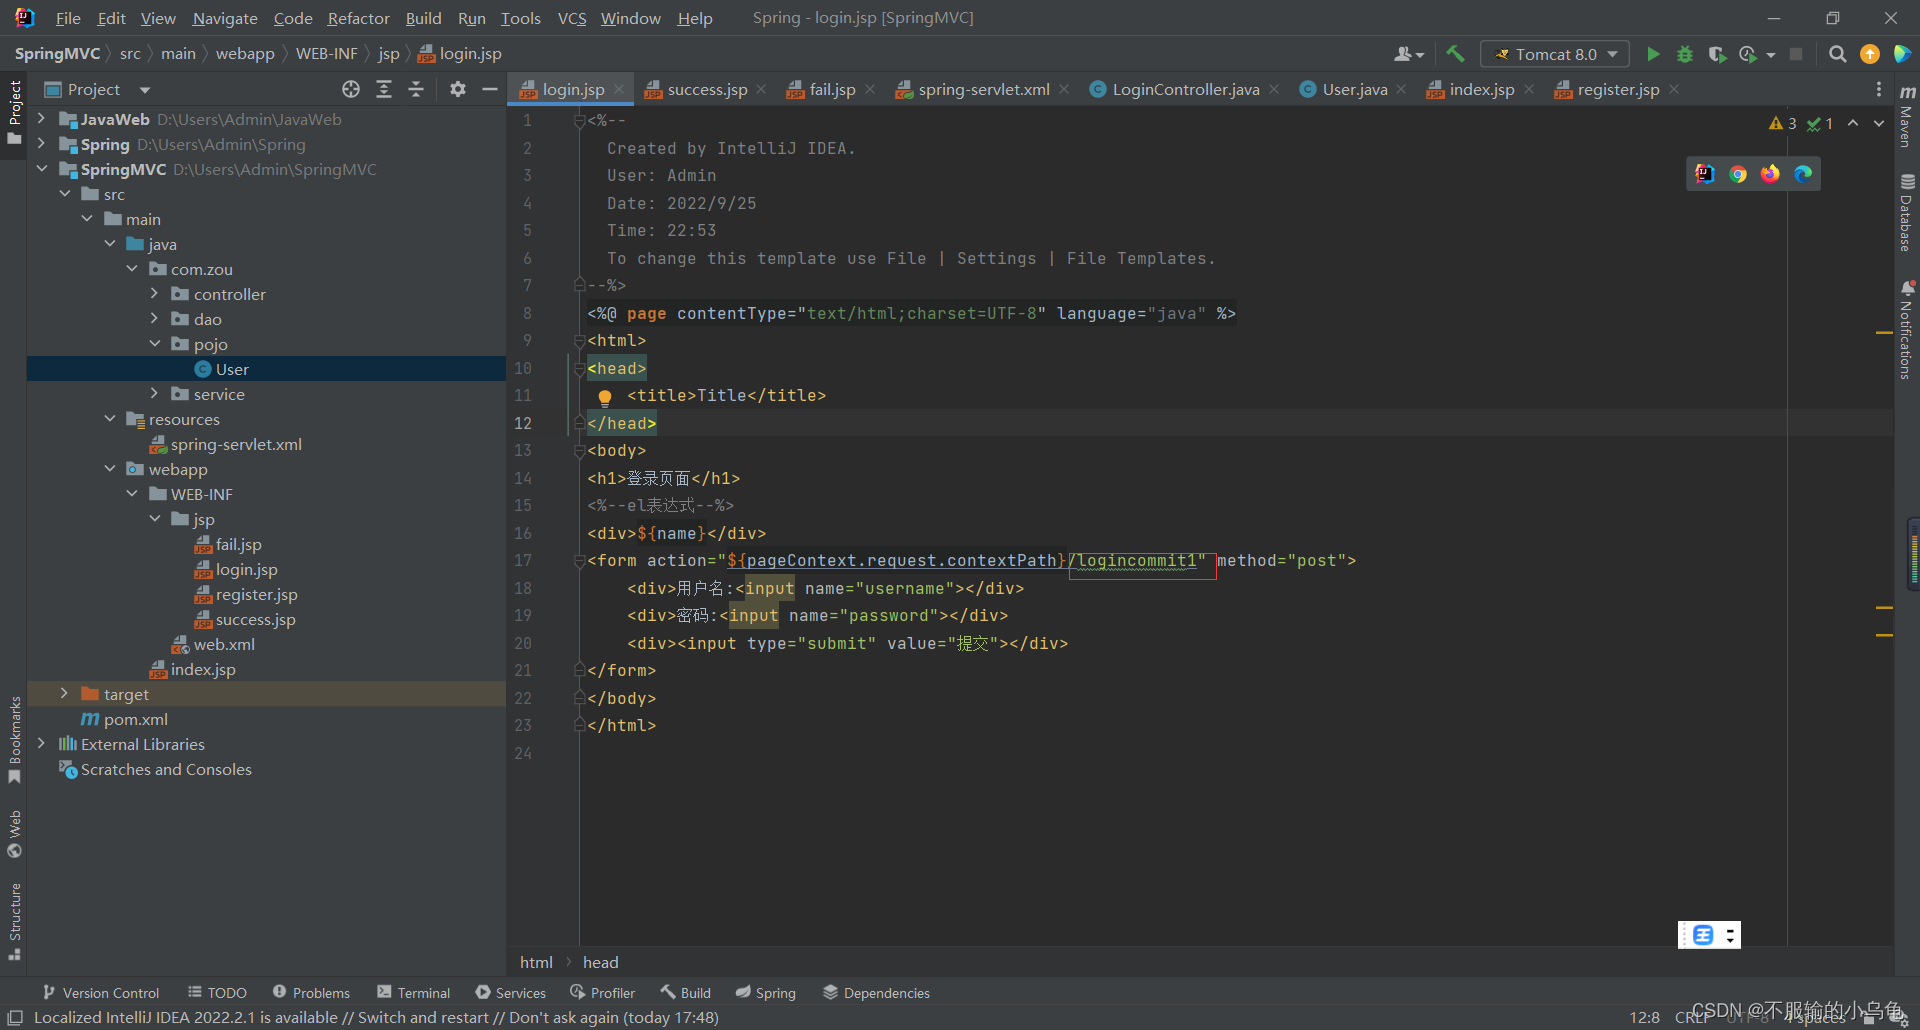
<%--
Created by IntelliJ IDEA.
User: Admin
Date: 2022/9/25
Time: 22:53
To change this template use File | Settings | File Templates.
--%>
<%@ page contentType="text/html;charset=UTF-8" language="java" %>
<html>
<head>
<title>Title</title>
</head>
<body>
<h1>登录页面</h1>
<%--el表达式--%>
<div>${
name}</div>
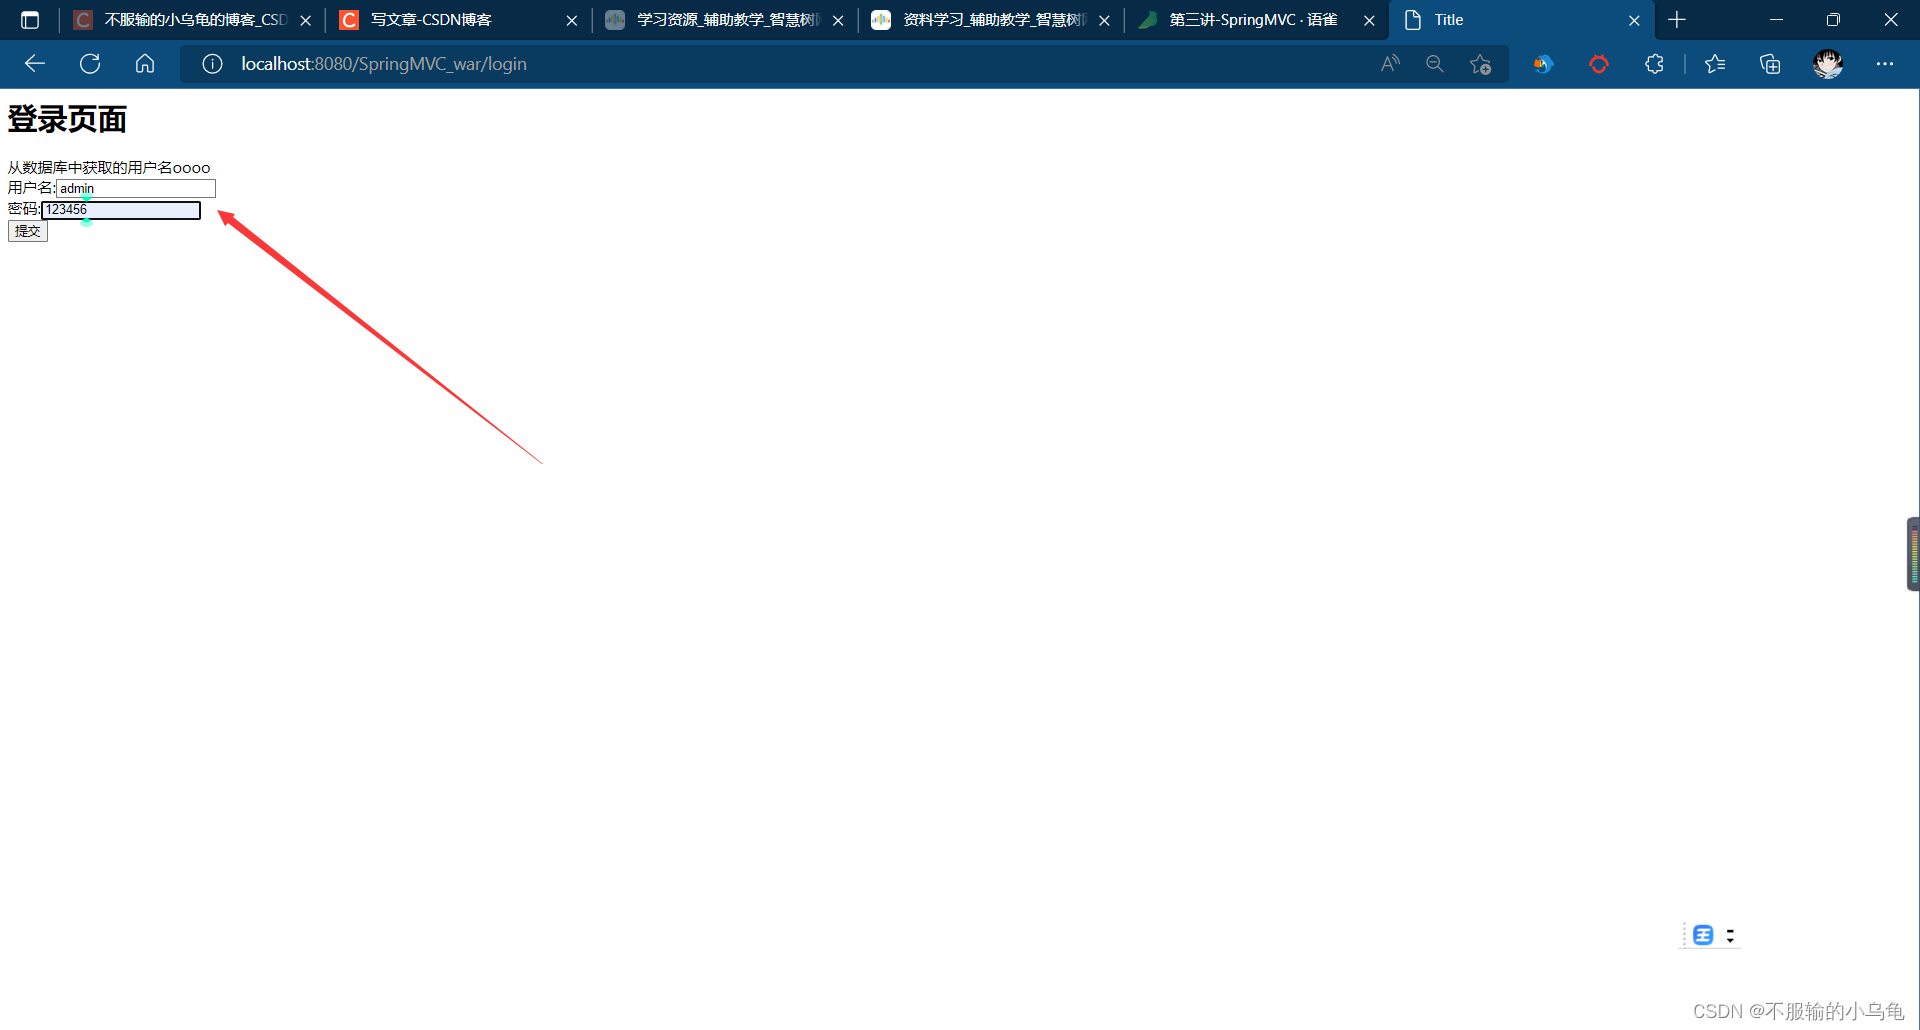
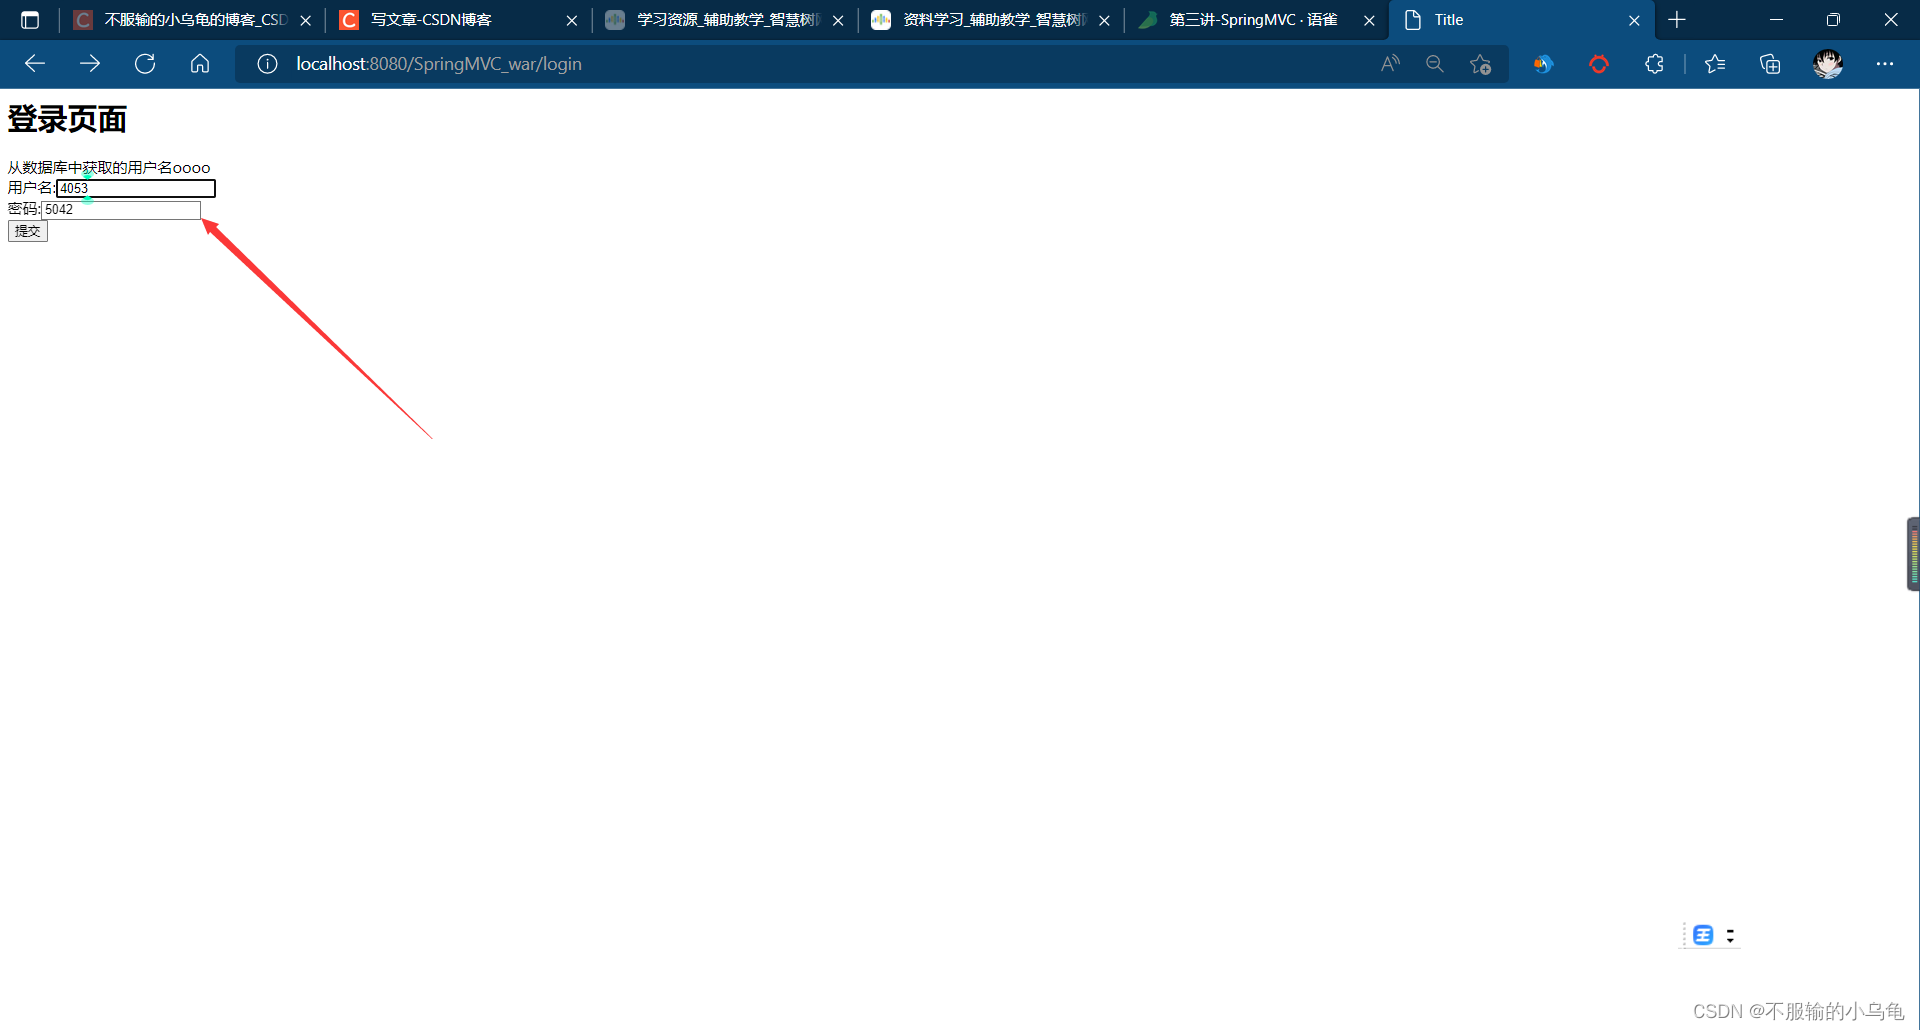
<form action="${pageContext.request.contextPath}/logincommit1" method="post">
<div>用户名:<input name="username"></div>
<div>密码:<input name="password"></div>
<div><input type="submit" value="提交"></div>
</form>
</body>
</html>
4.修改success.jsp
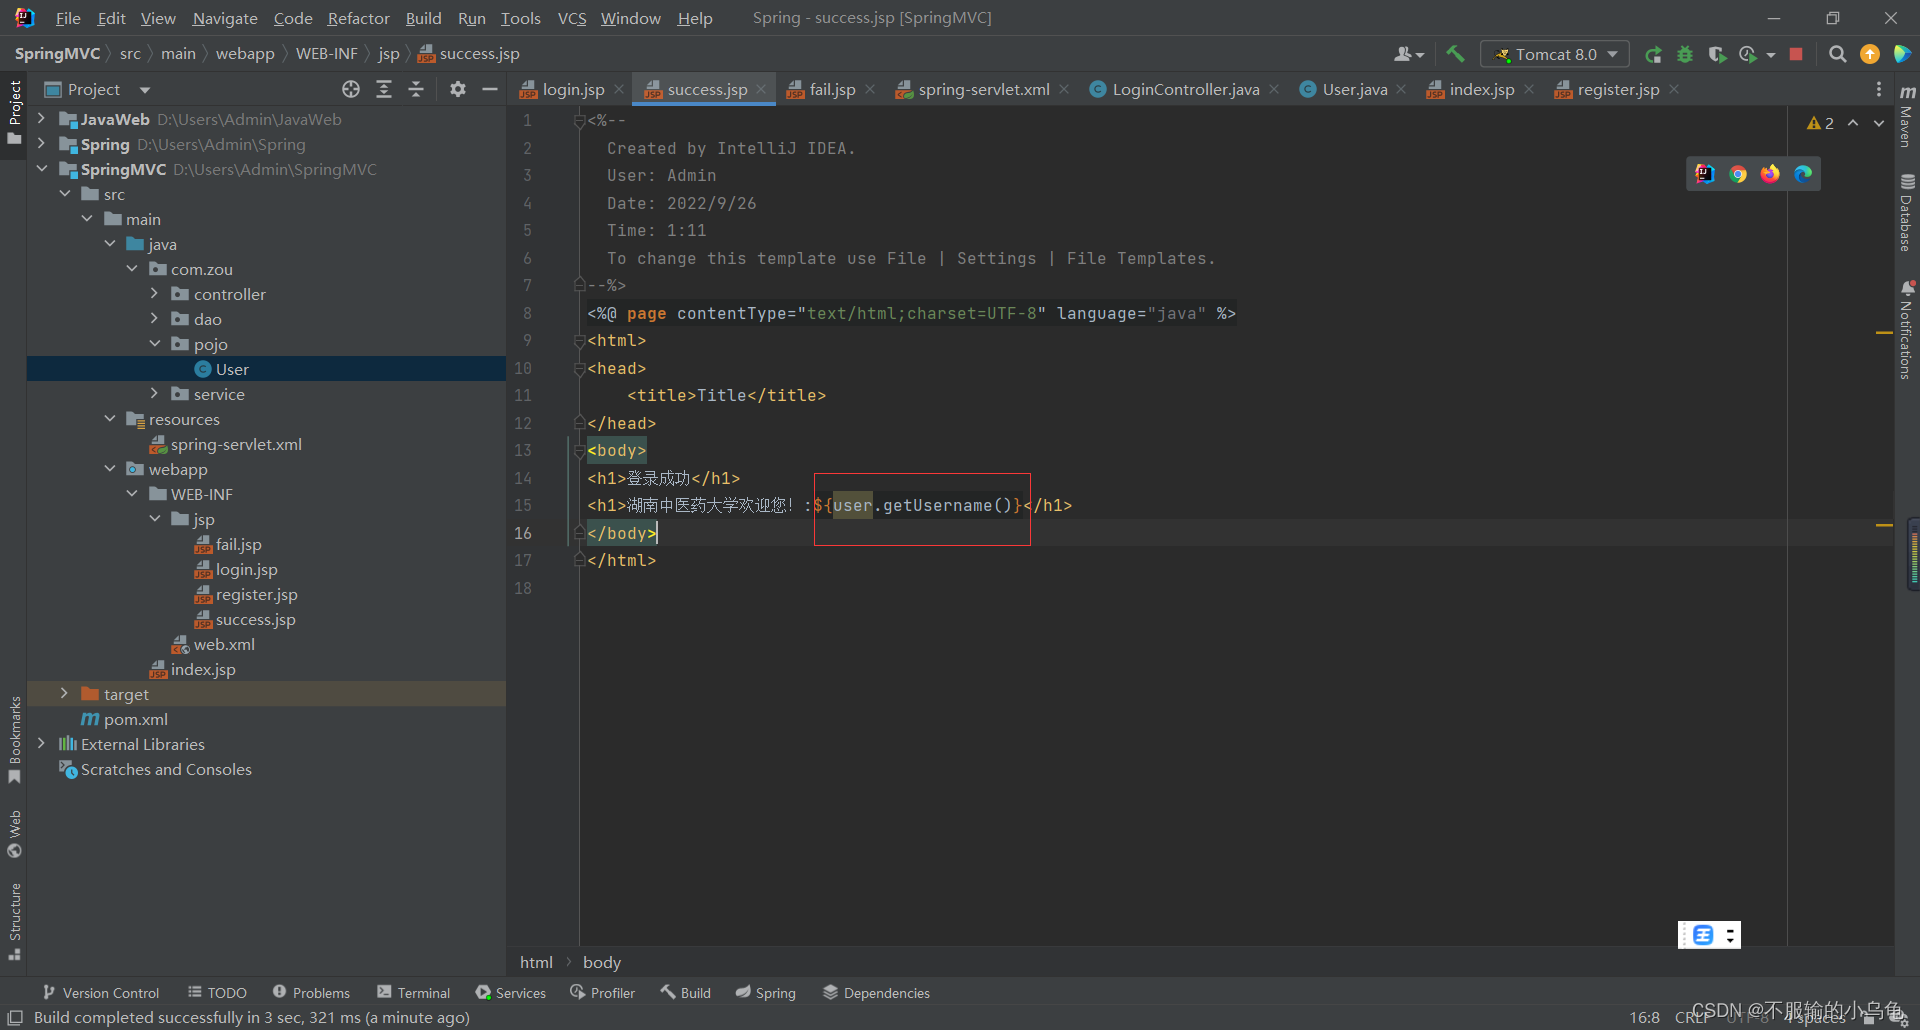
5.点击运行,同样可以

(1)登录成功页面
(2)登录失败页面
二、SpringMVC接收参数的方法02
1.在jsp文件夹下创建news.jsp页面
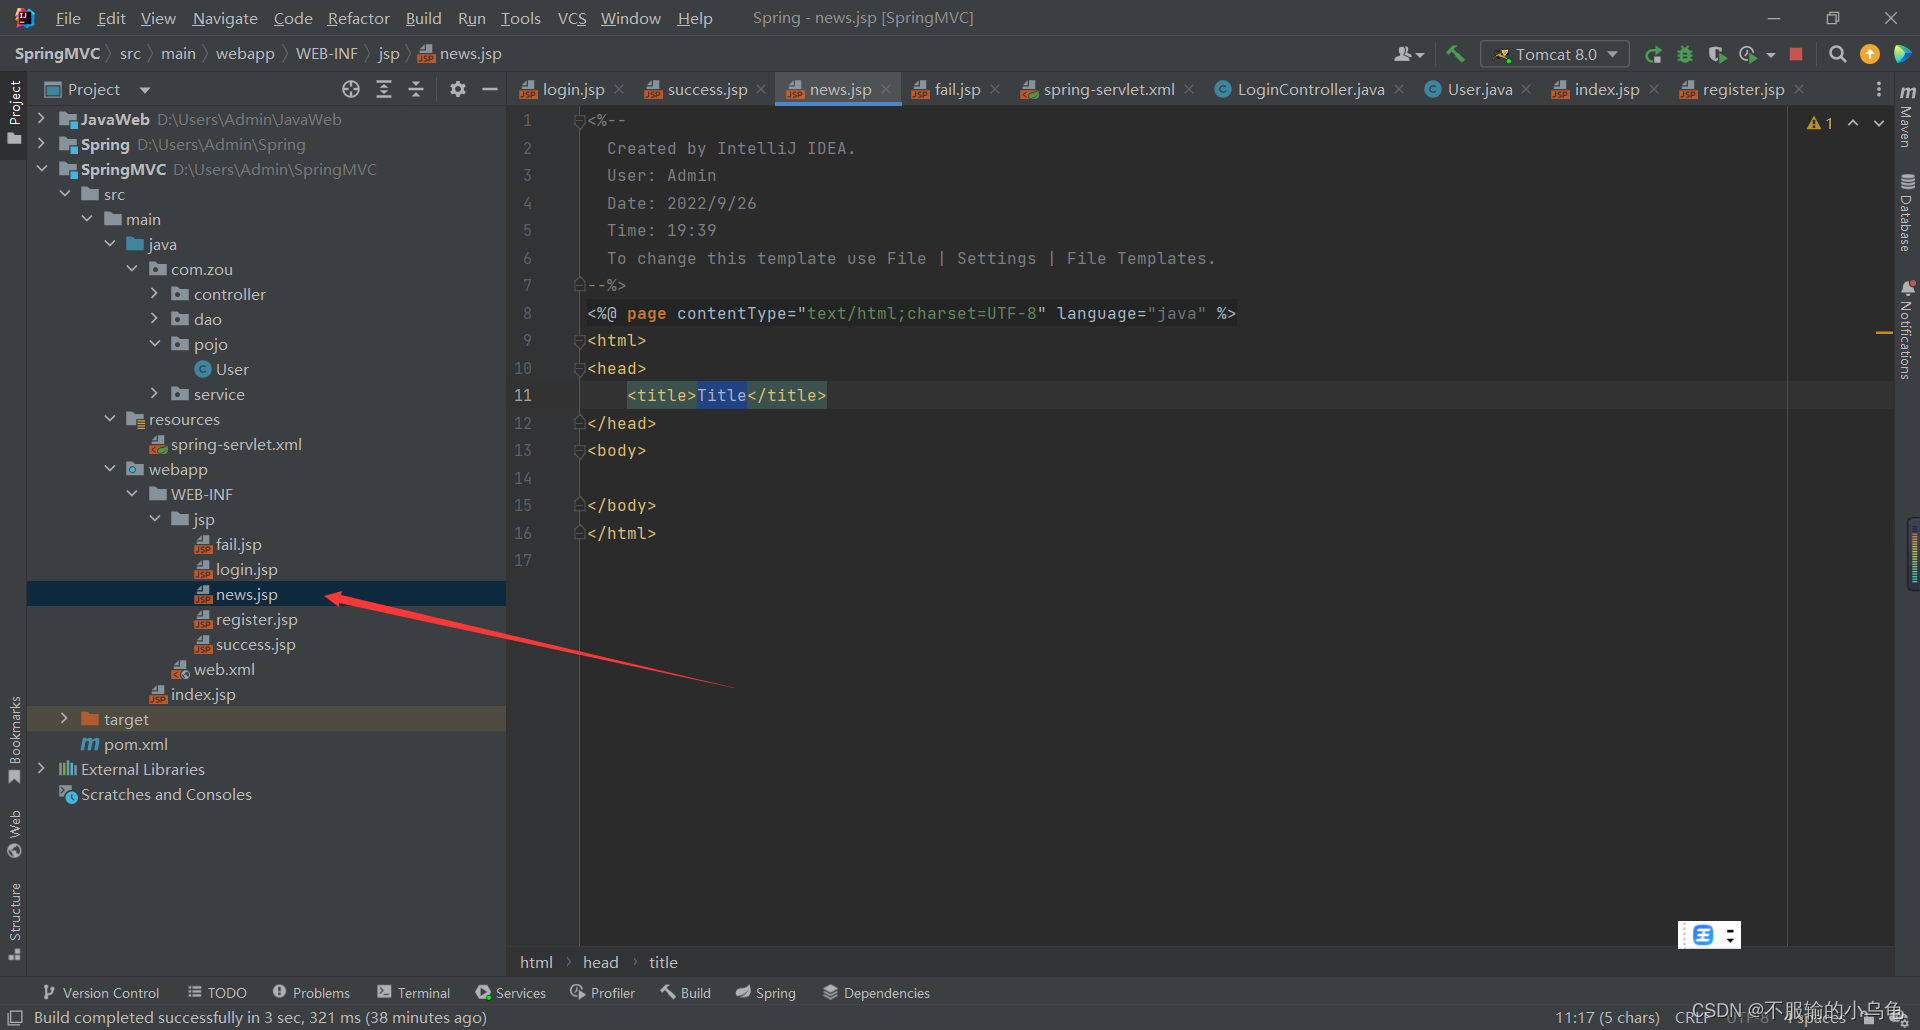
<%--
  Created by IntelliJ IDEA.
  User: Admin
  Date: 2022/9/26
  Time: 19:39
  To change this template use File | Settings | File Templates.
--%>
<%@ page contentType="text/html;charset=UTF-8" language="java" %>
<html>
<head>
    <title>Title</title>
</head>
<body>
<h1>学校新闻详情</h1>
</body>
</html>
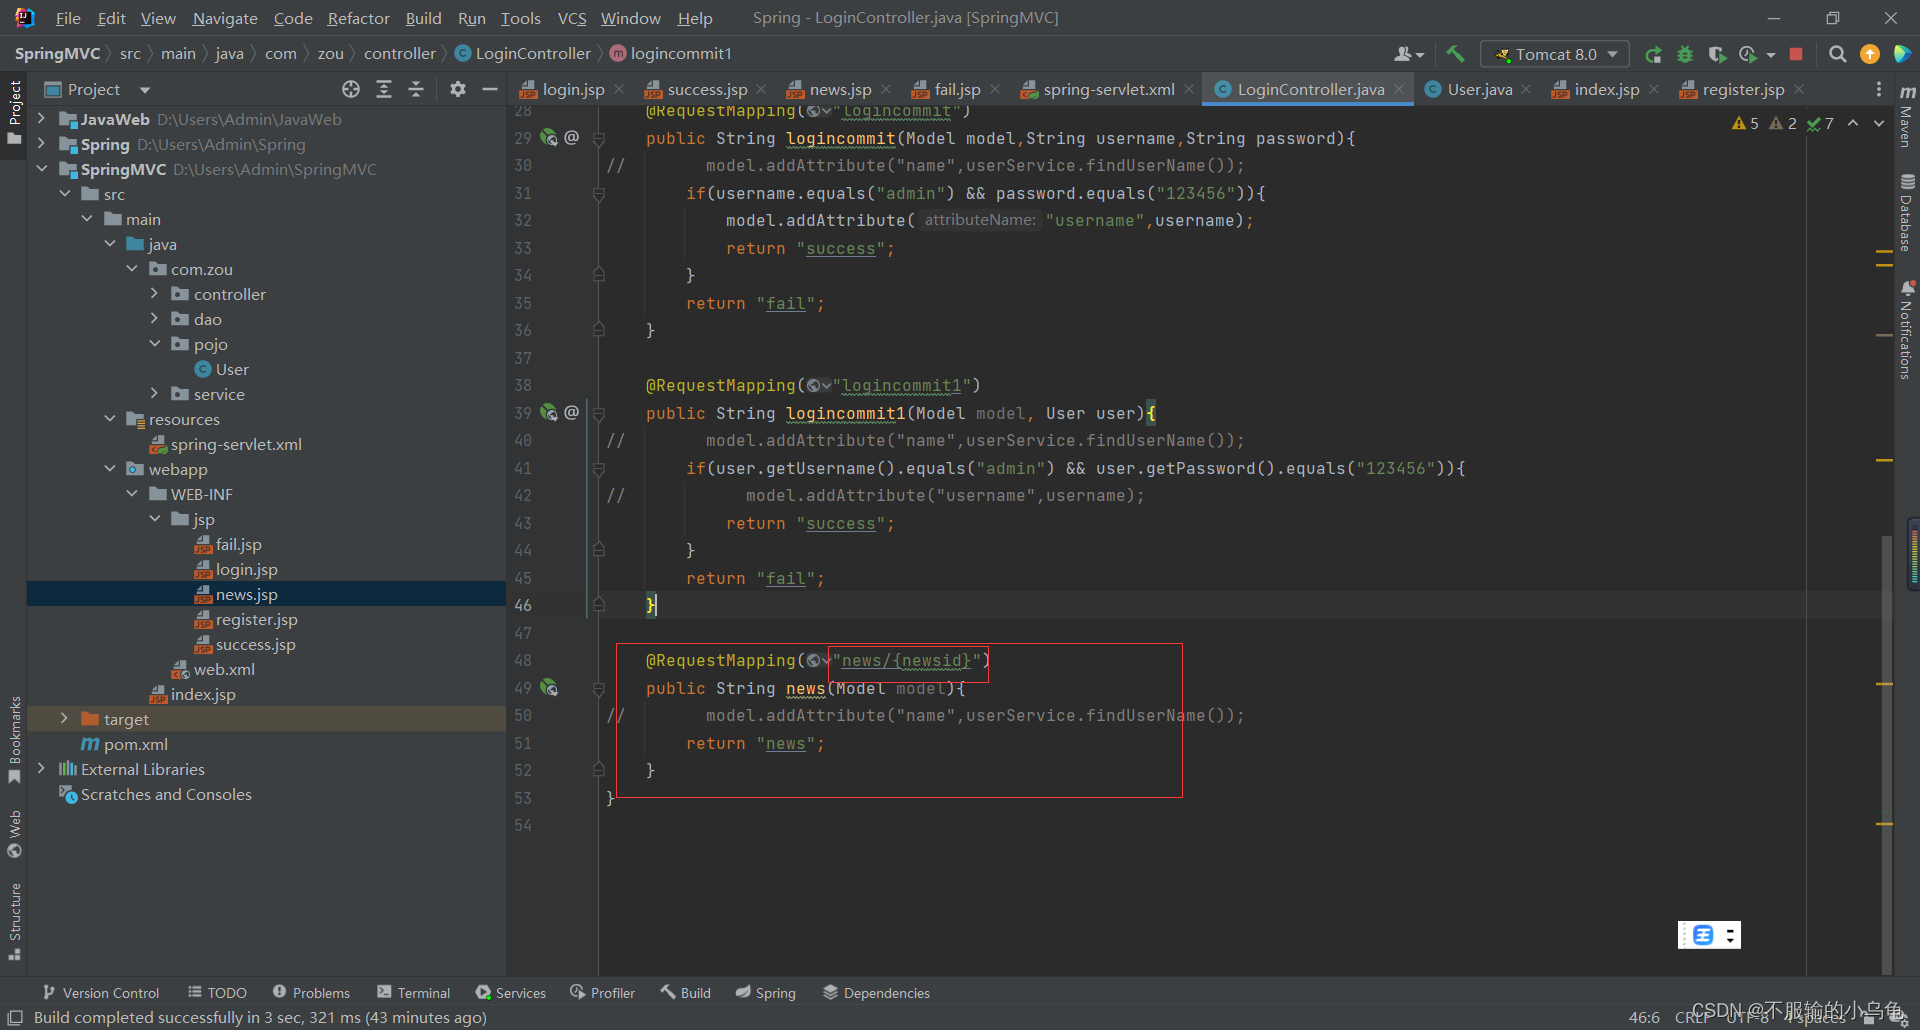
2.修改LoginController代码
package com.zou.controller;

import com.zou.pojo.User;
import com.zou.service.UserService;
import org.springframework.beans.factory.annotation.Autowired;
import org.springframework.stereotype.Controller;
import org.springframework.ui.Model;
import org.springframework.web.bind.annotation.RequestMapping;
import org.springframework.web.servlet.ModelAndView;
import org.springframework.web.servlet.view.InternalResourceViewResolver;

@Controller
public class LoginController {


    @Autowired
    UserService userService;
    @RequestMapping("login")
    public String showlogin(Model model){


        model.addAttribute("name",userService.findUserName());
        return "login";
    }

    @RequestMapping("register")
    public String showregister(Model model){


//        model.addAttribute("name",userService.findUserName());
        return "register";
    }

    @RequestMapping("logincommit")
    public String logincommit(Model model,String username,String password){


//        model.addAttribute("name",userService.findUserName());
        if(username.equals("admin") && password.equals("123456")){


            model.addAttribute("username",username);
            return "success";
        }
        return "fail";
    }

    @RequestMapping("logincommit1")
    public String logincommit1(Model model, User user){


//        model.addAttribute("name",userService.findUserName());
        if(user.getUsername().equals("admin") && user.getPassword().equals("123456")){


//            model.addAttribute("username",username);
            return "success";
        }
        return "fail";
    }

    @RequestMapping("news/{newsid}")
    public String news(Model model){


//        model.addAttribute("name",userService.findUserName());
        return "news";
    }
}
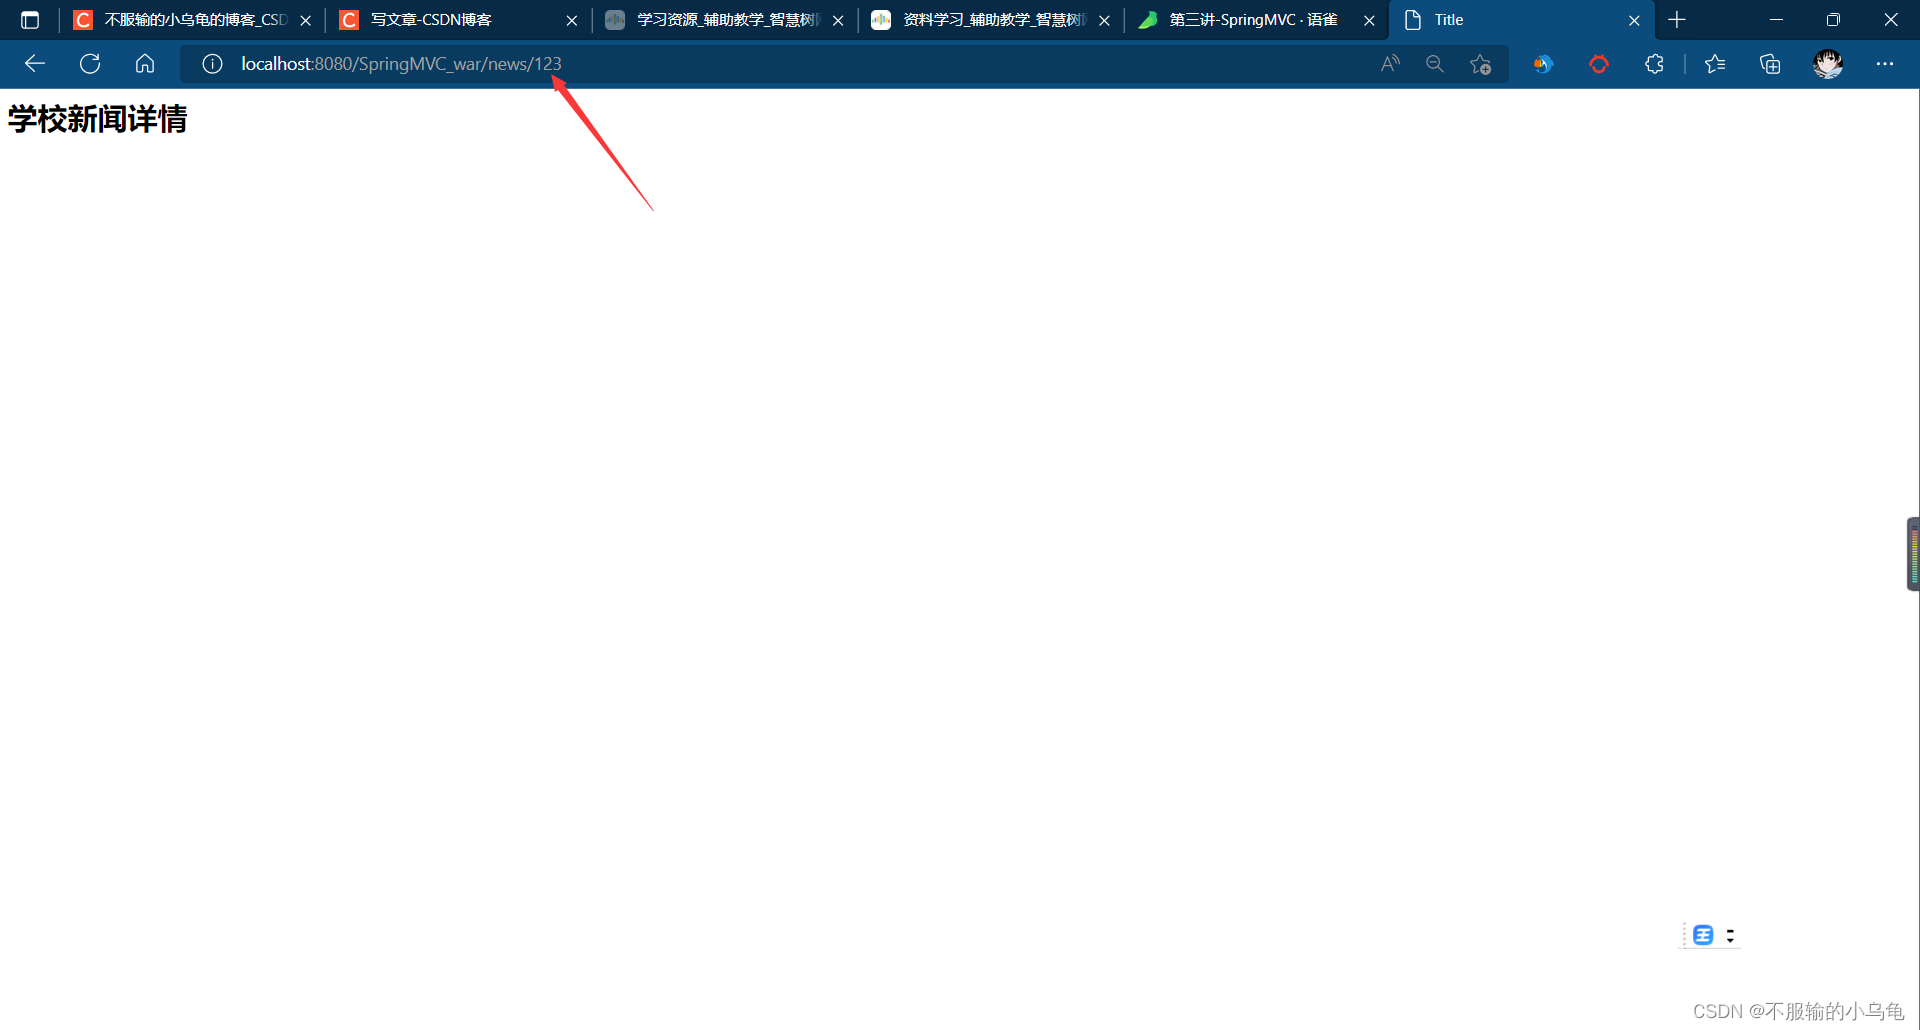
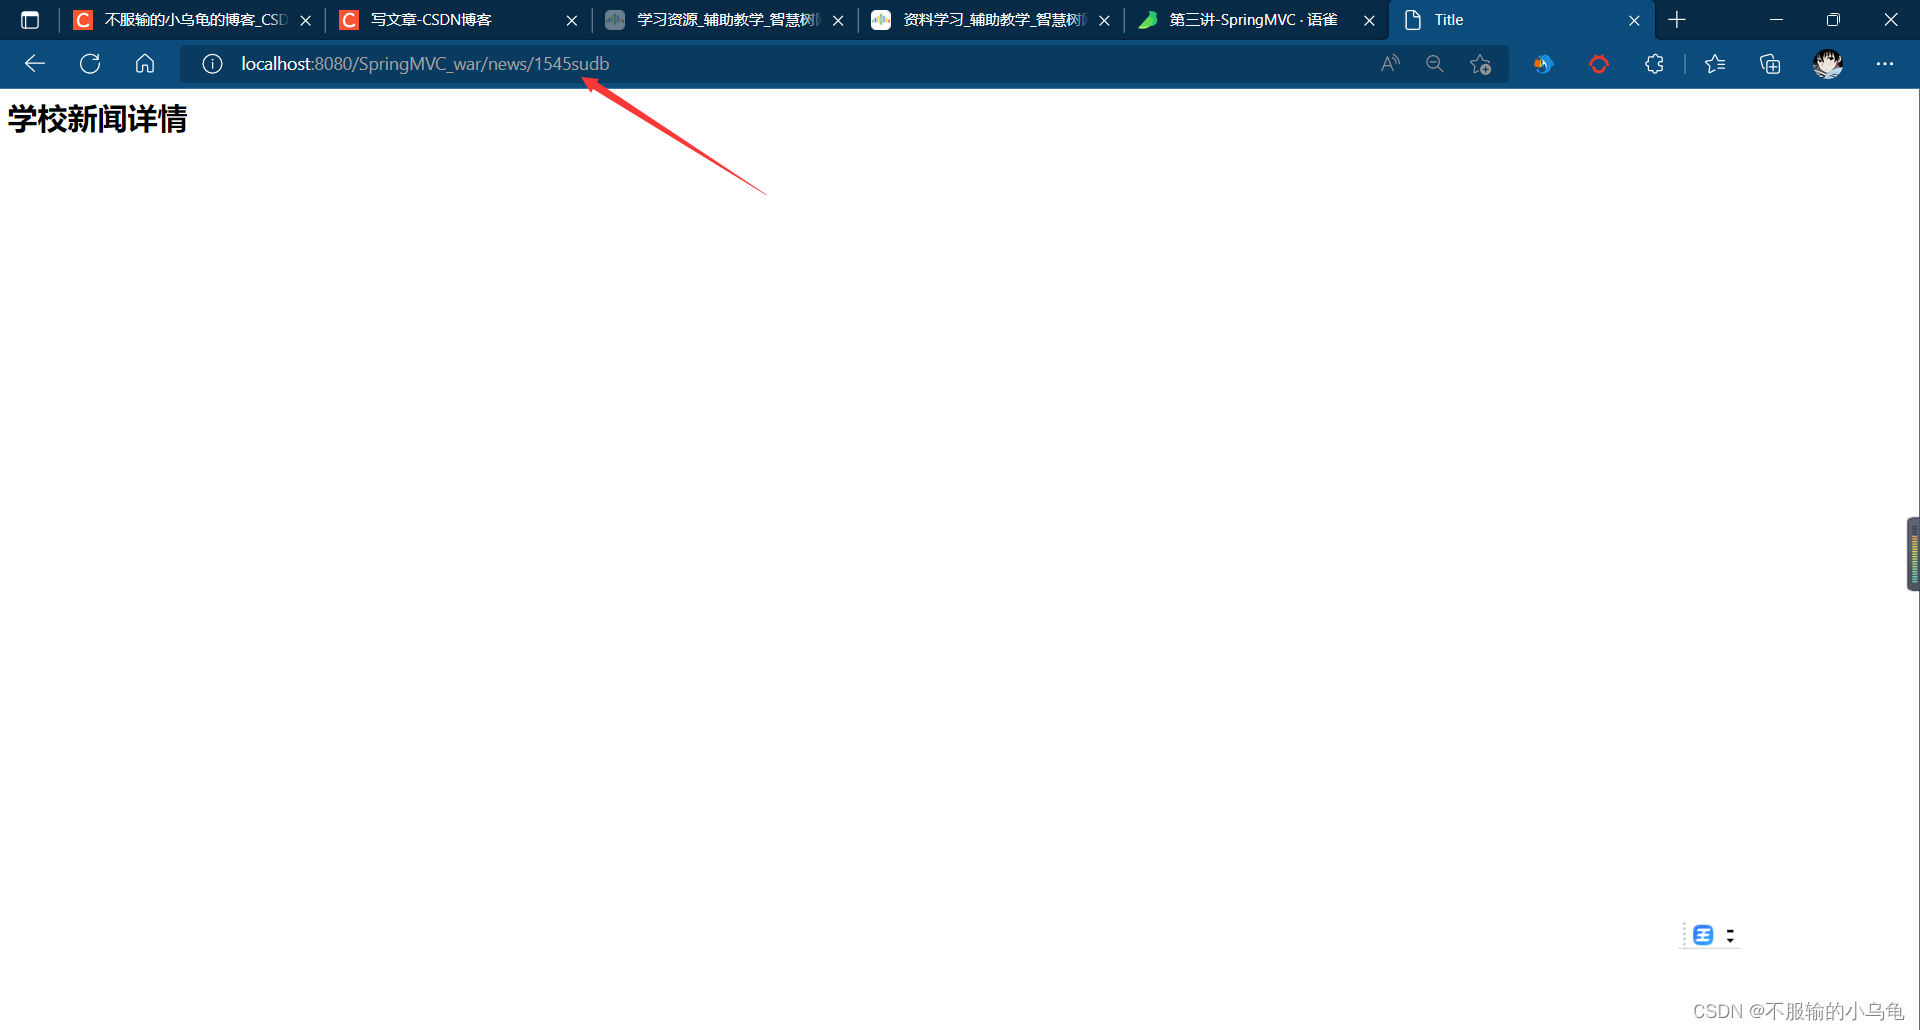
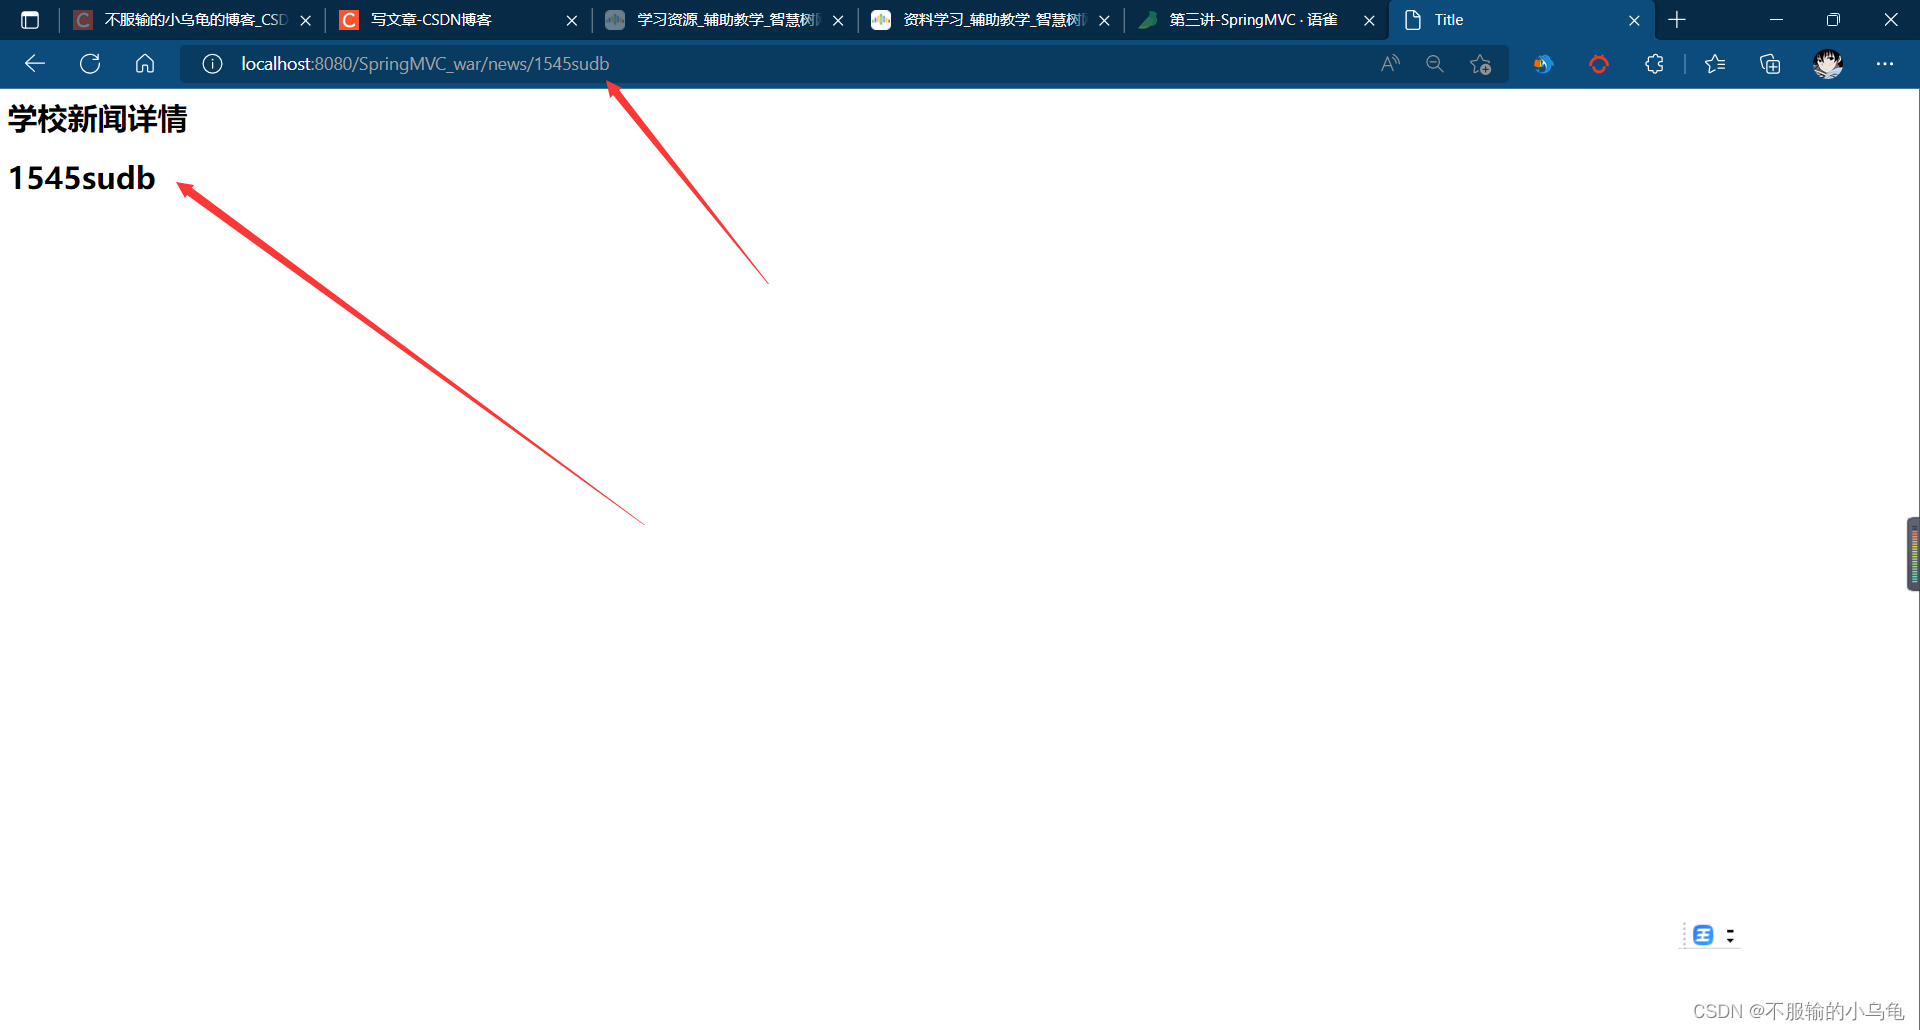
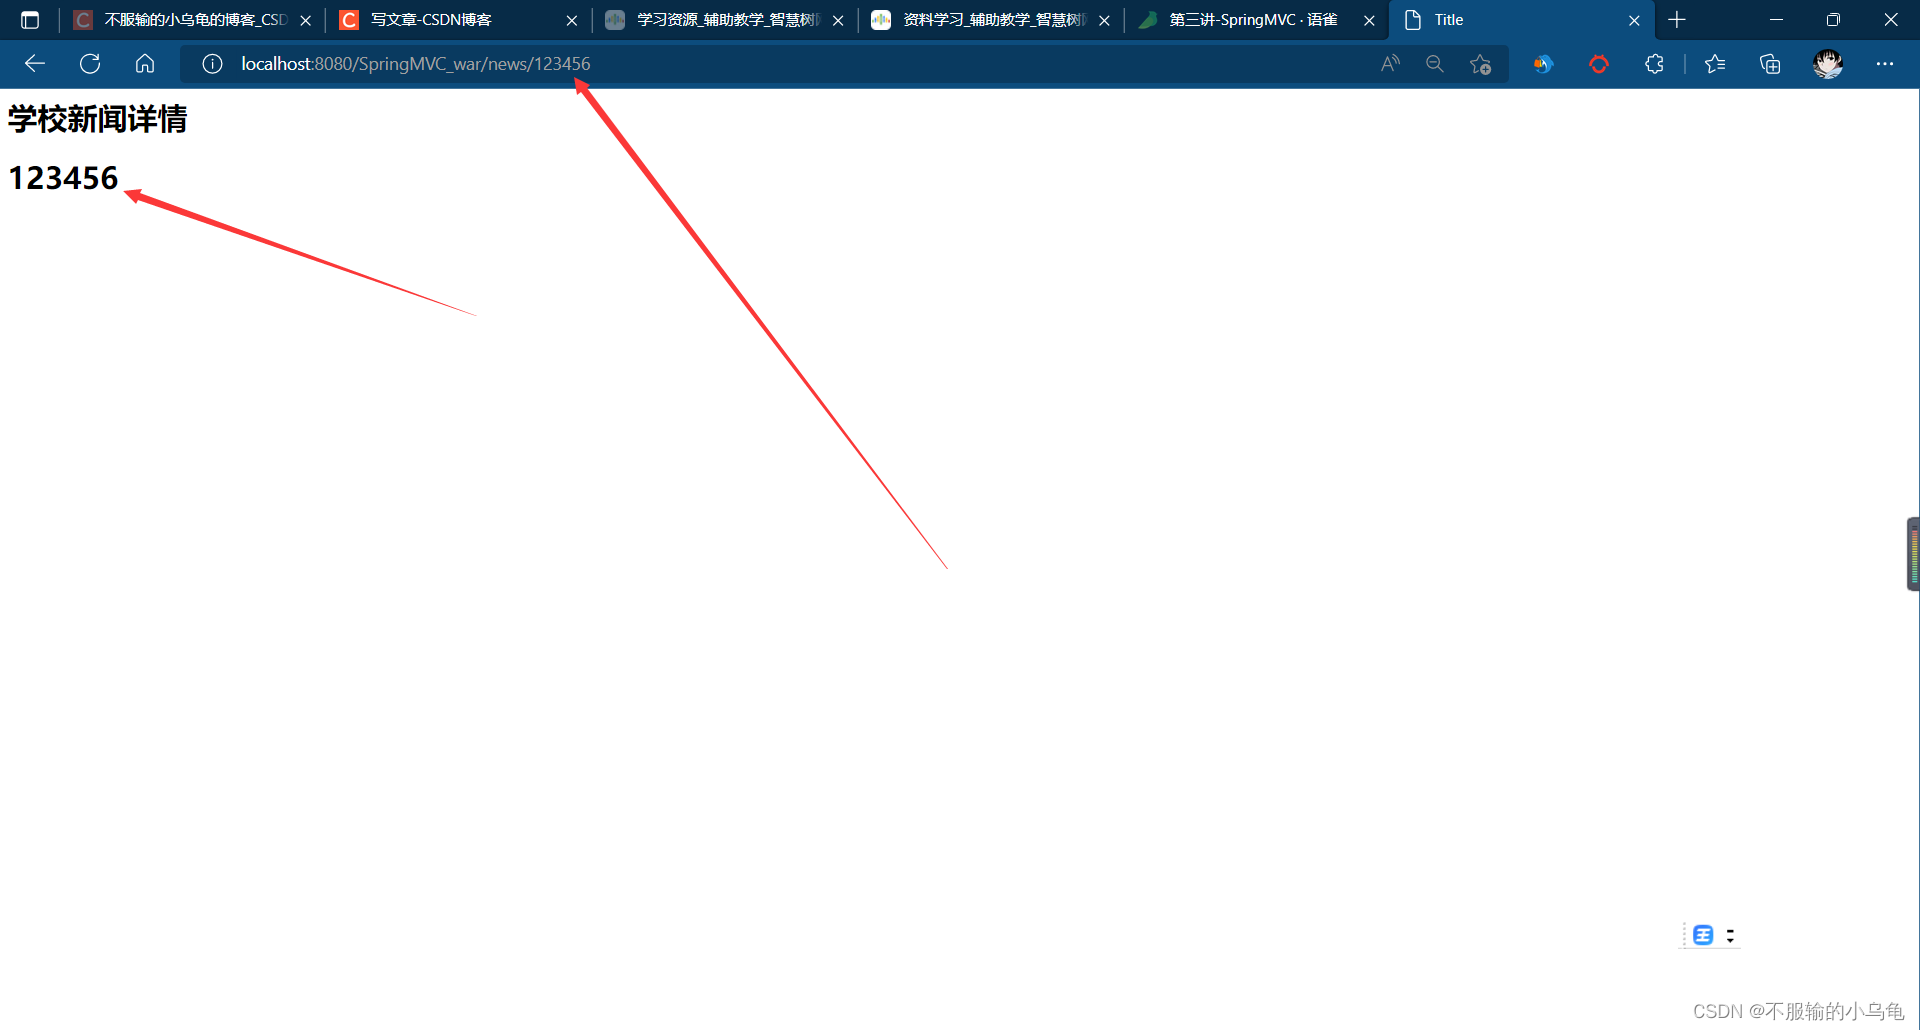
3.点击运行,使用不同newsid都可以访问成功
4.修改LoginController类,我们还可以在页面看到ID值
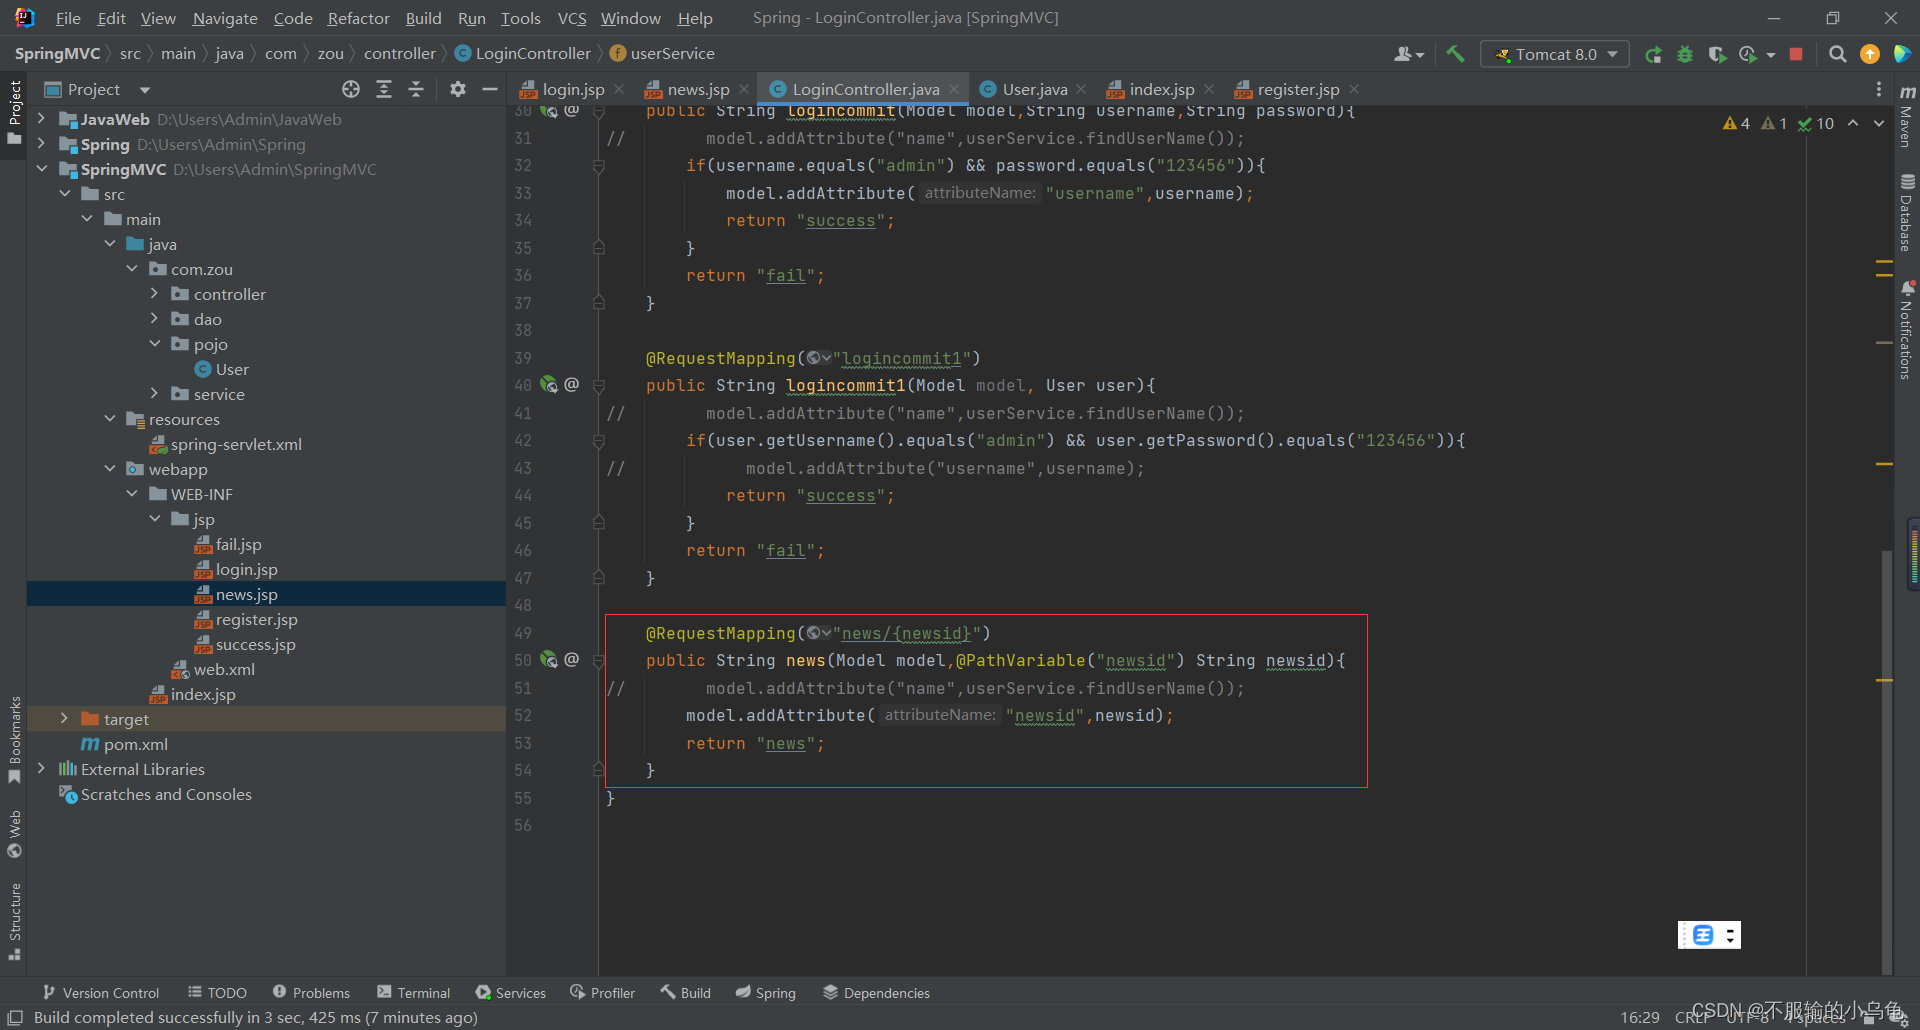
   @RequestMapping("news/{newsid}")
    public String news(Model model,@PathVariable("newsid") String newsid){


//        model.addAttribute("name",userService.findUserName());
        model.addAttribute("newsid",newsid);
        return "news";
    }
5.修改news.jsp
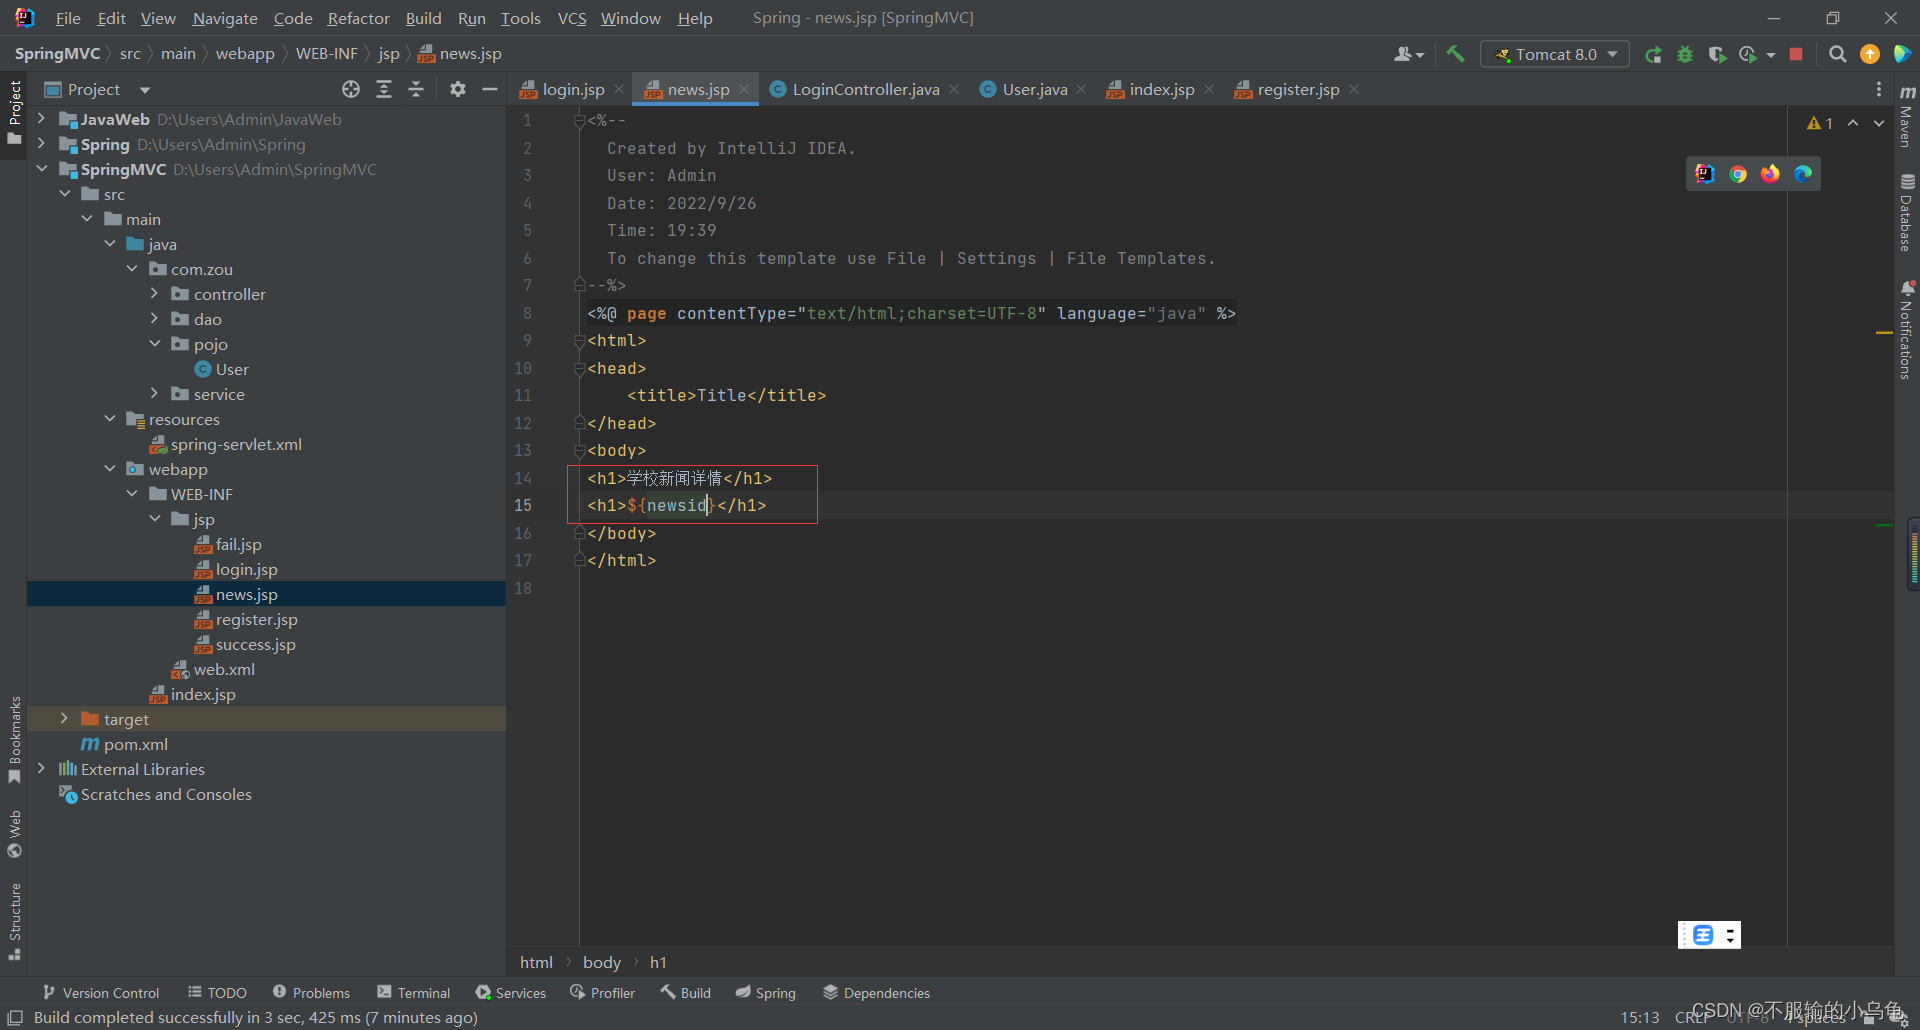
<%--
  Created by IntelliJ IDEA.
  User: Admin
  Date: 2022/9/26
  Time: 19:39
  To change this template use File | Settings | File Templates.
--%>
<%@ page contentType="text/html;charset=UTF-8" language="java" %>
<html>
<head>
    <title>Title</title>
</head>
<body>
<h1>学校新闻详情</h1>
<h1>${

    newsid}</h1>
</body>
</html>
6.点击运行,页面内可以看到ID值
7.我们还可以带多个变量,但是不能相同
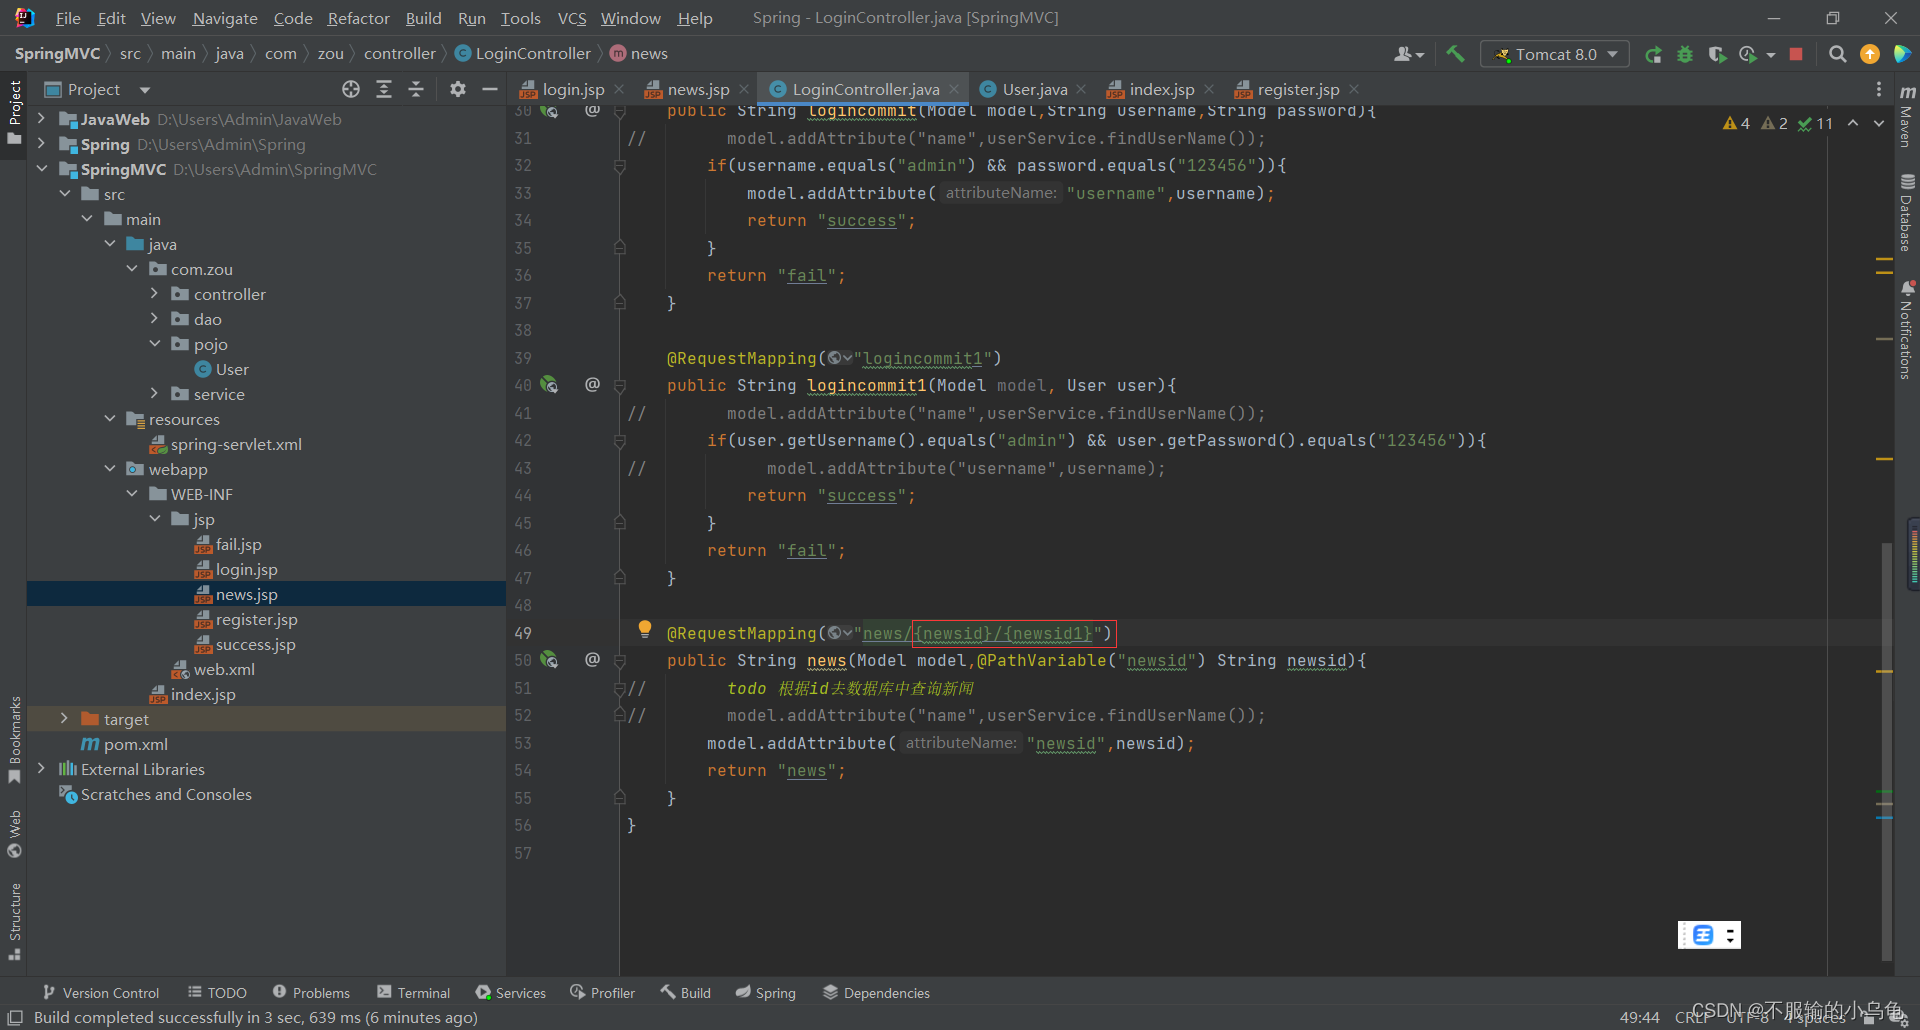
    @RequestMapping("news/{newsid}/{newsid1}")
    public String news(Model model,@PathVariable("newsid") String newsid){


//        todo 根据id去数据库中查询新闻
//        model.addAttribute("name",userService.findUserName());
        model.addAttribute("newsid",newsid);
        return "news";
    }
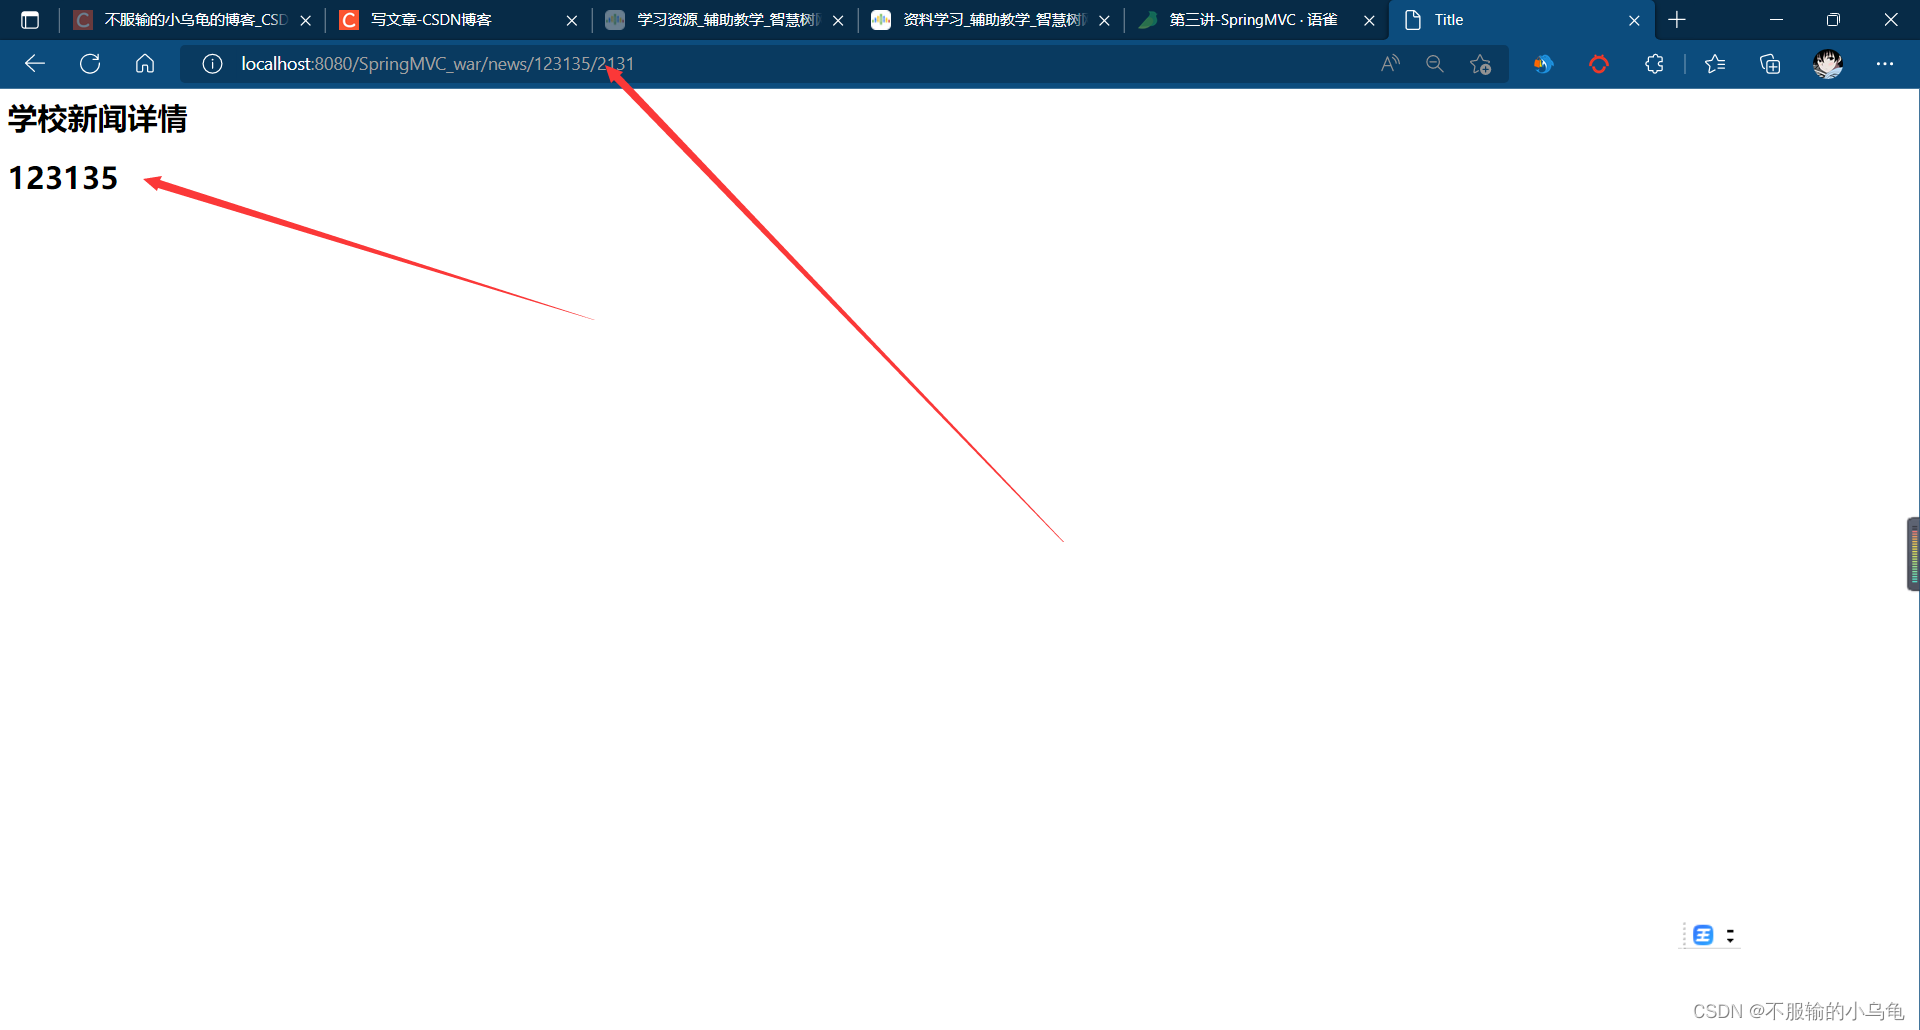
8.点击运行,没有问题
9.接下来我们把代码写的完整一点
(1)在pojo文件夹下新建News实体类
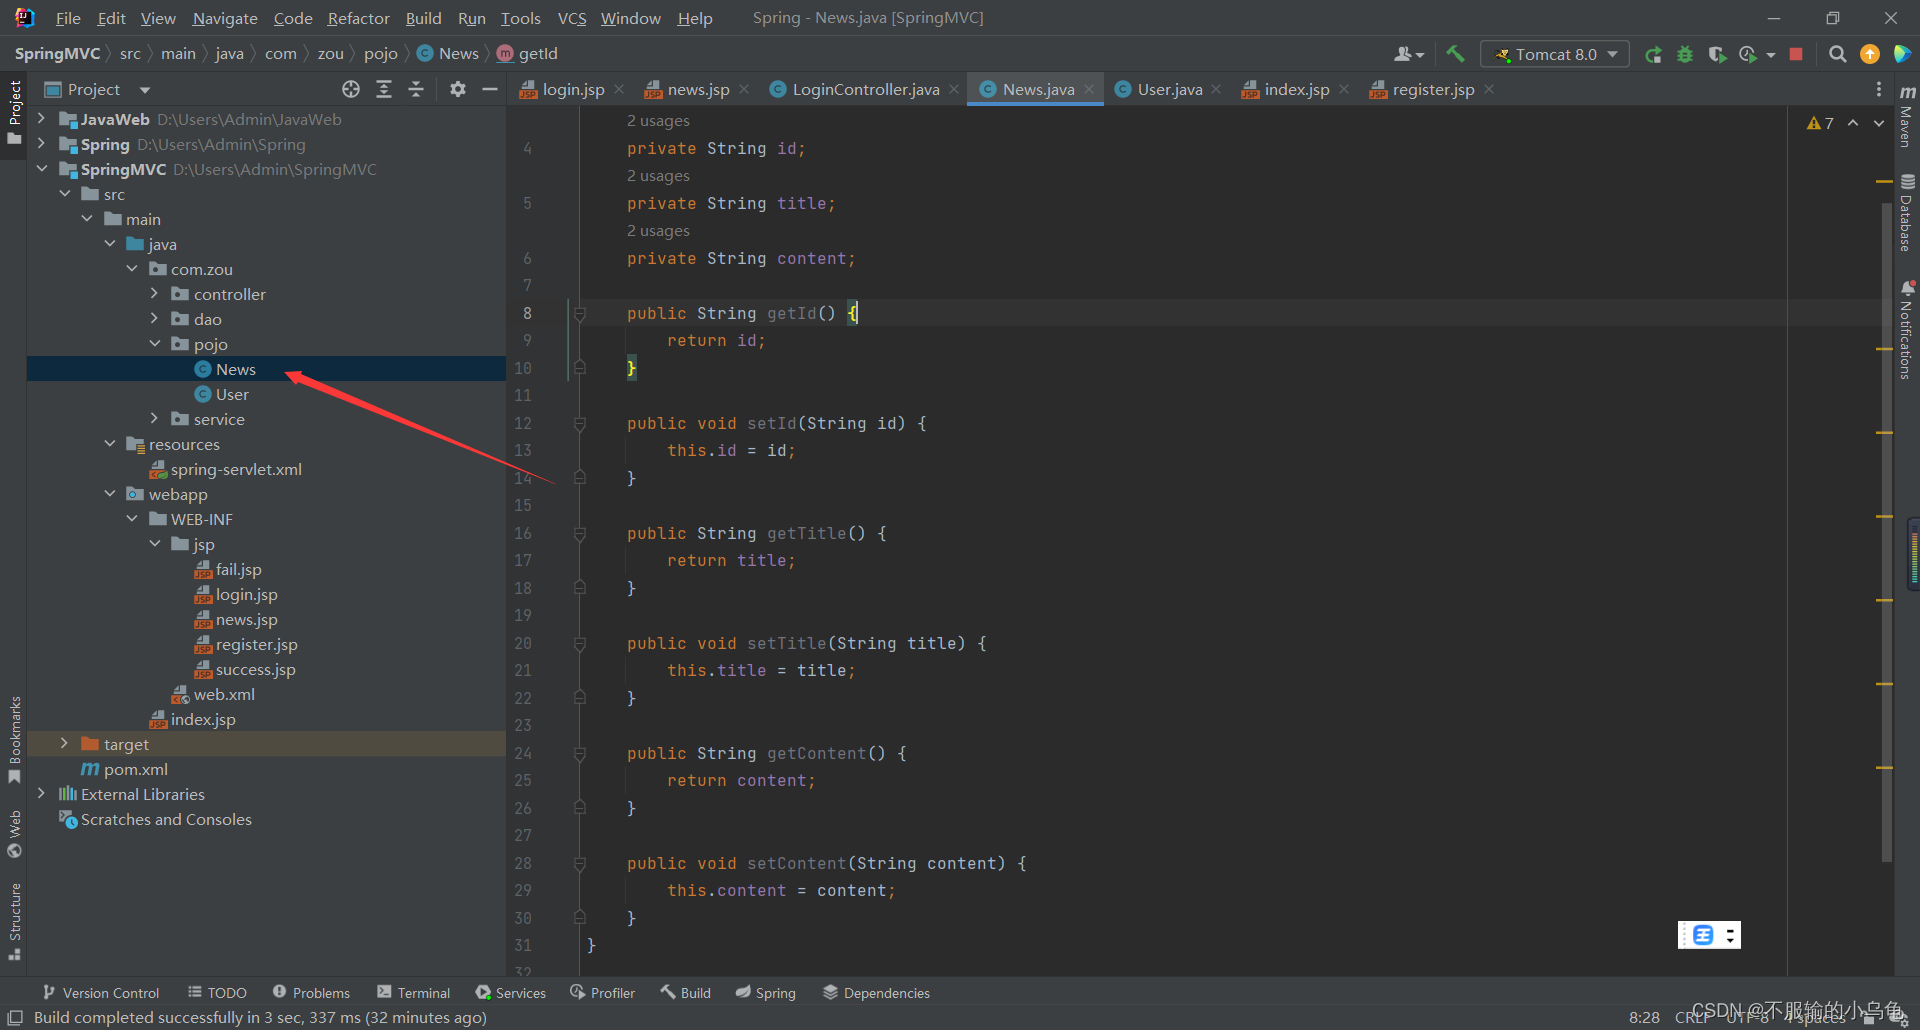
package com.zou.pojo;

public class News {


    private String id;
    private String title;
    private String content;

    public String getId() {


        return id;
    }

    public void setId(String id) {


        this.id = id;
    }

    public String getTitle() {


        return title;
    }

    public void setTitle(String title) {


        this.title = title;
    }

    public String getContent() {


        return content;
    }

    public void setContent(String content) {


        this.content = content;
    }
}
(2)修改LoginController类
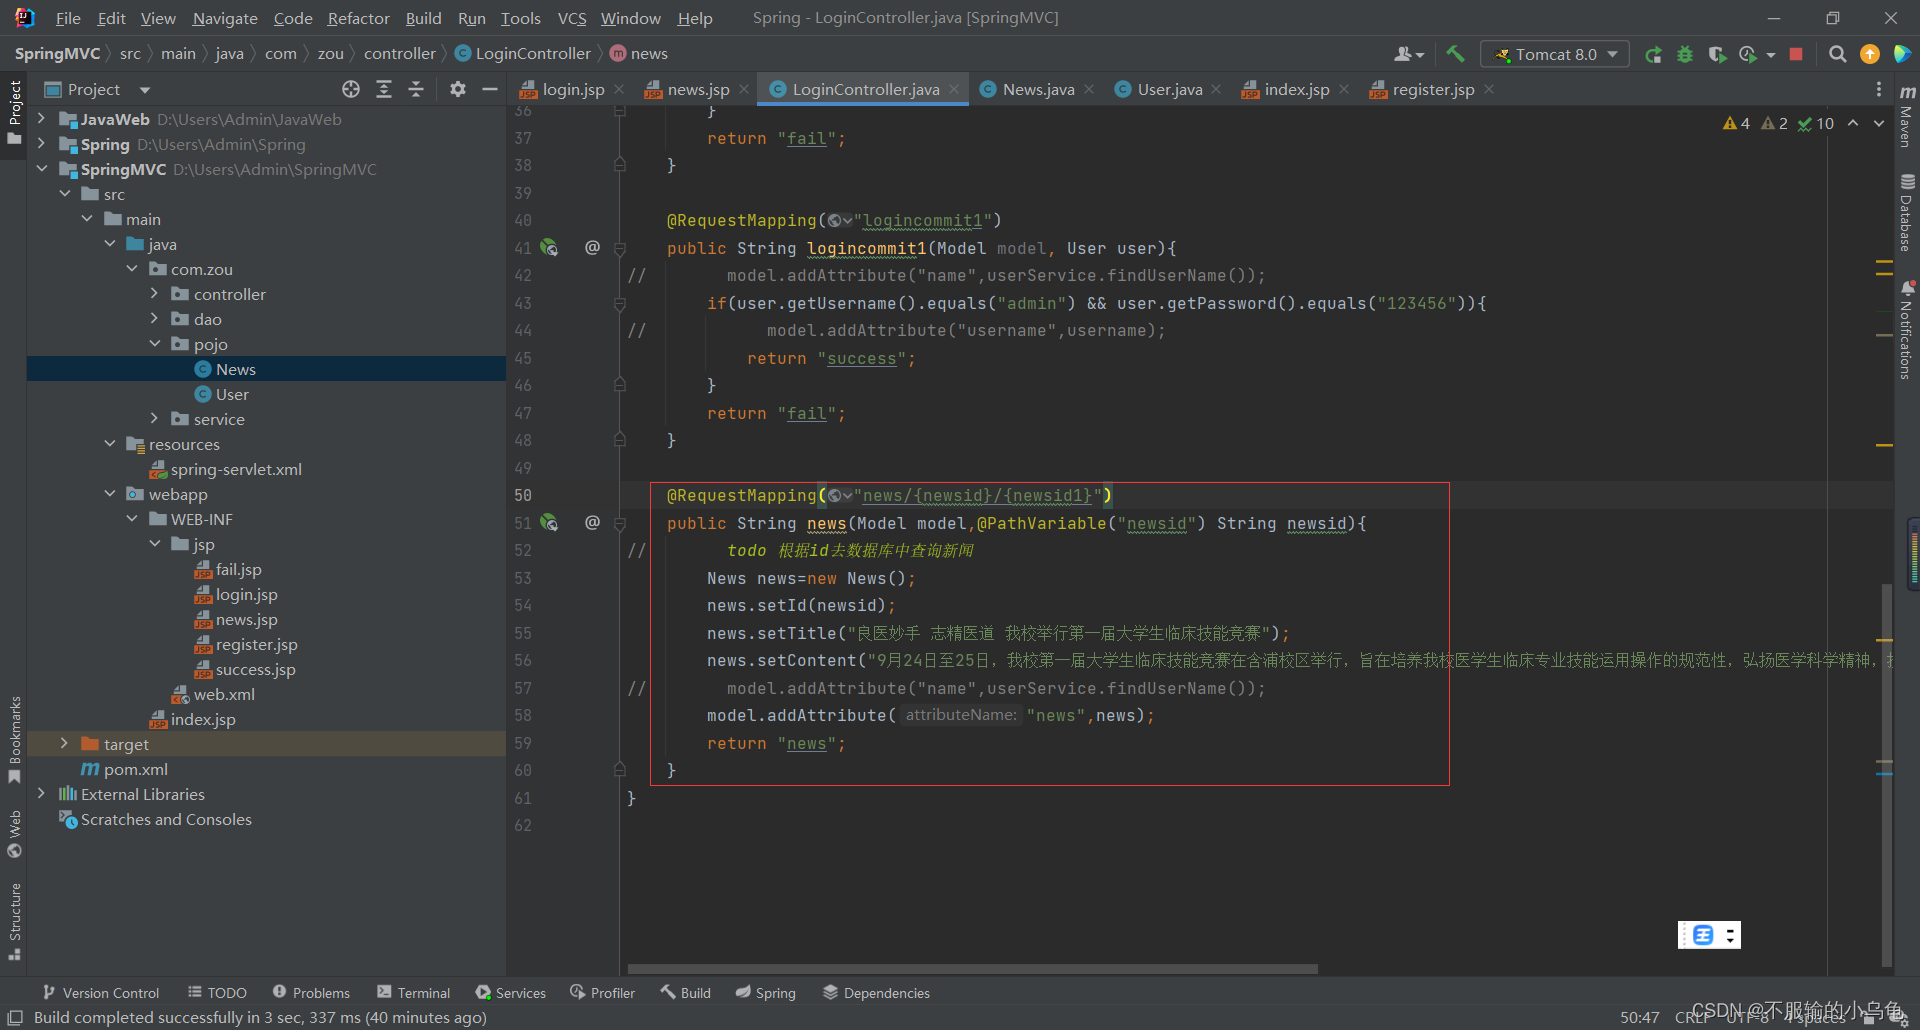
@RequestMapping("news/{newsid}/{newsid1}")
public String news(Model model,@PathVariable("newsid") String newsid){
// todo 根据id去数据库中查询新闻
News news=new News();
news.setId(newsid);
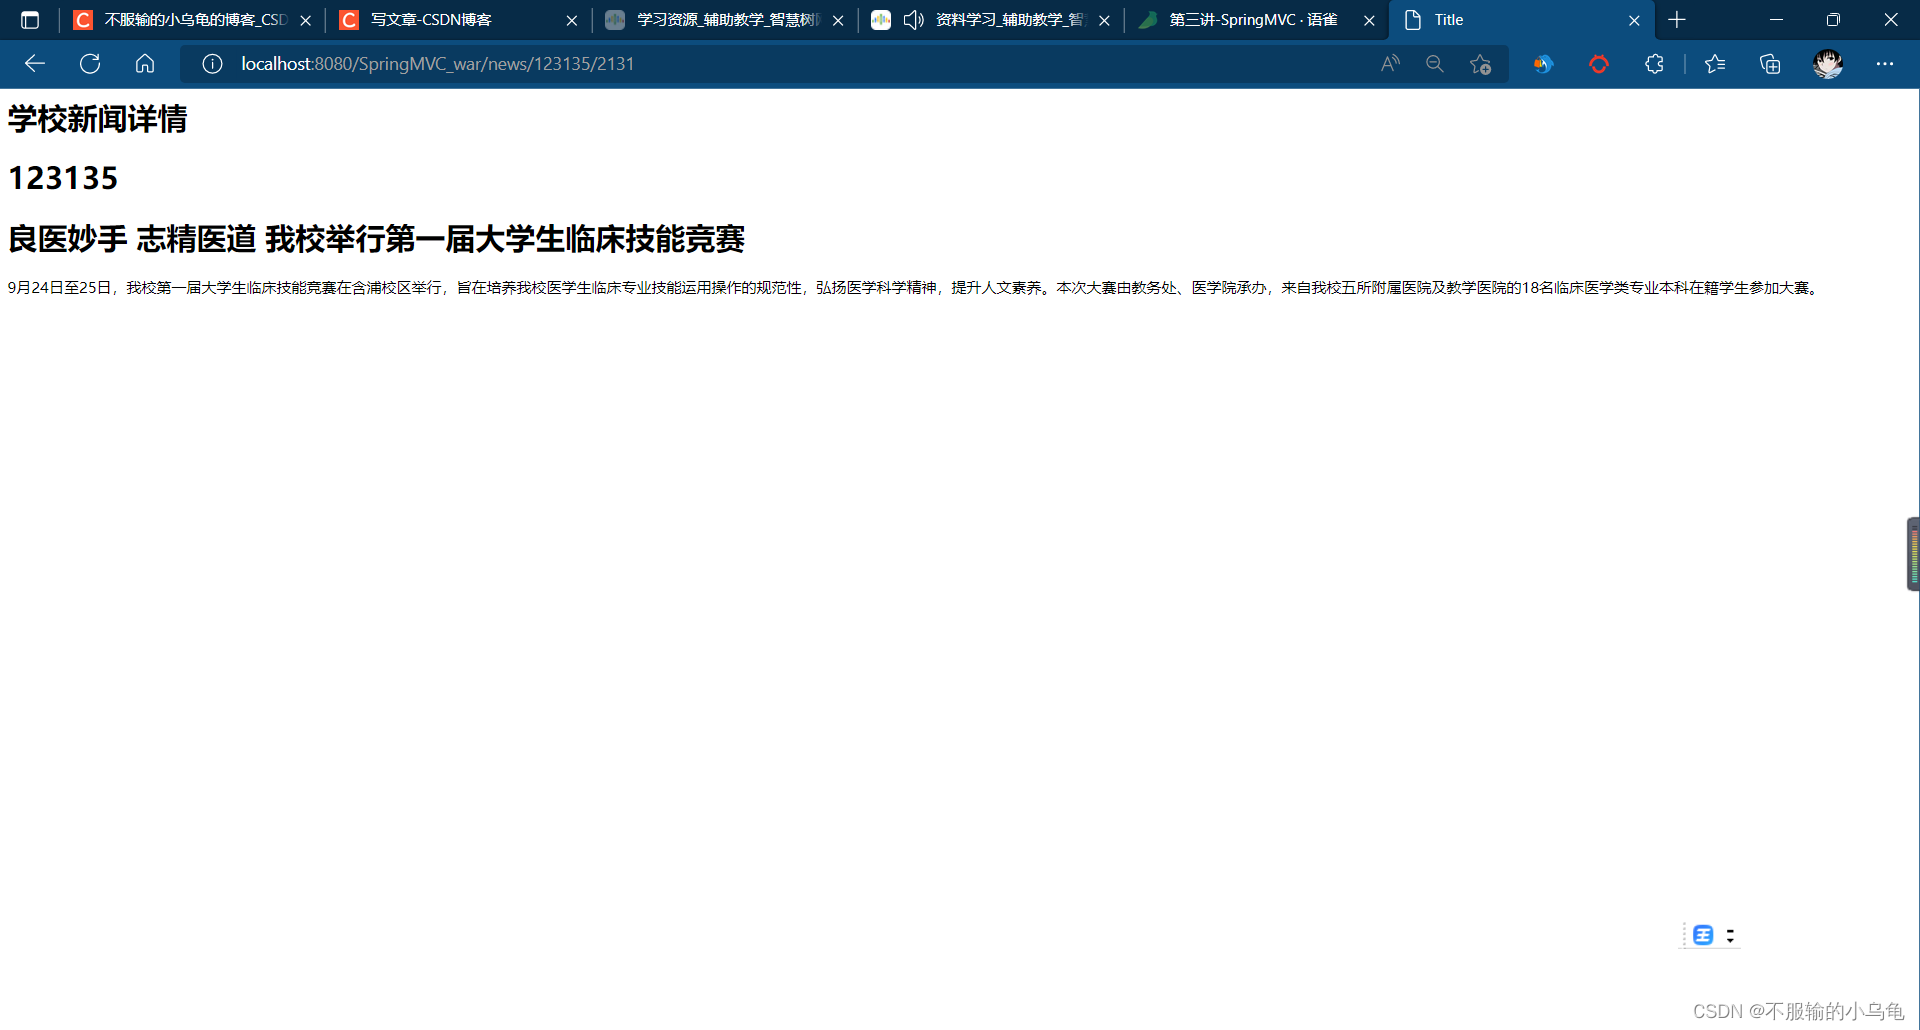
news.setTitle("良医妙手 志精医道 我校举行第一届大学生临床技能竞赛");
news.setContent("9月24日至25日,我校第一届大学生临床技能竞赛在含浦校区举行,旨在培养我校医学生临床专业技能运用操作的规范性,弘扬医学科学精神,提升人文素养。本次大赛由教务处、医学院承办,来自我校五所附属医院及教学医院的18名临床医学类专业本科在籍学生参加大赛。");
// model.addAttribute("name",userService.findUserName());
model.addAttribute("news",news);
return "news";
}
(3)修改news.jsp
<%--
  Created by IntelliJ IDEA.
  User: Admin
  Date: 2022/9/26
  Time: 19:39
  To change this template use File | Settings | File Templates.
--%>
<%@ page contentType="text/html;charset=UTF-8" language="java" %>
<html>
<head>
    <title>Title</title>
</head>
<body>
<h1>学校新闻详情</h1>
<h1>${

    news.id}</h1>
<h1>${

    news.title}</h1>
<div>${

    news.content}</div>
</body>
</html>
(4)点击运行,内容就出来啦
10.jstl标签
(1)在jsp文件夹下新建newslist.jsp
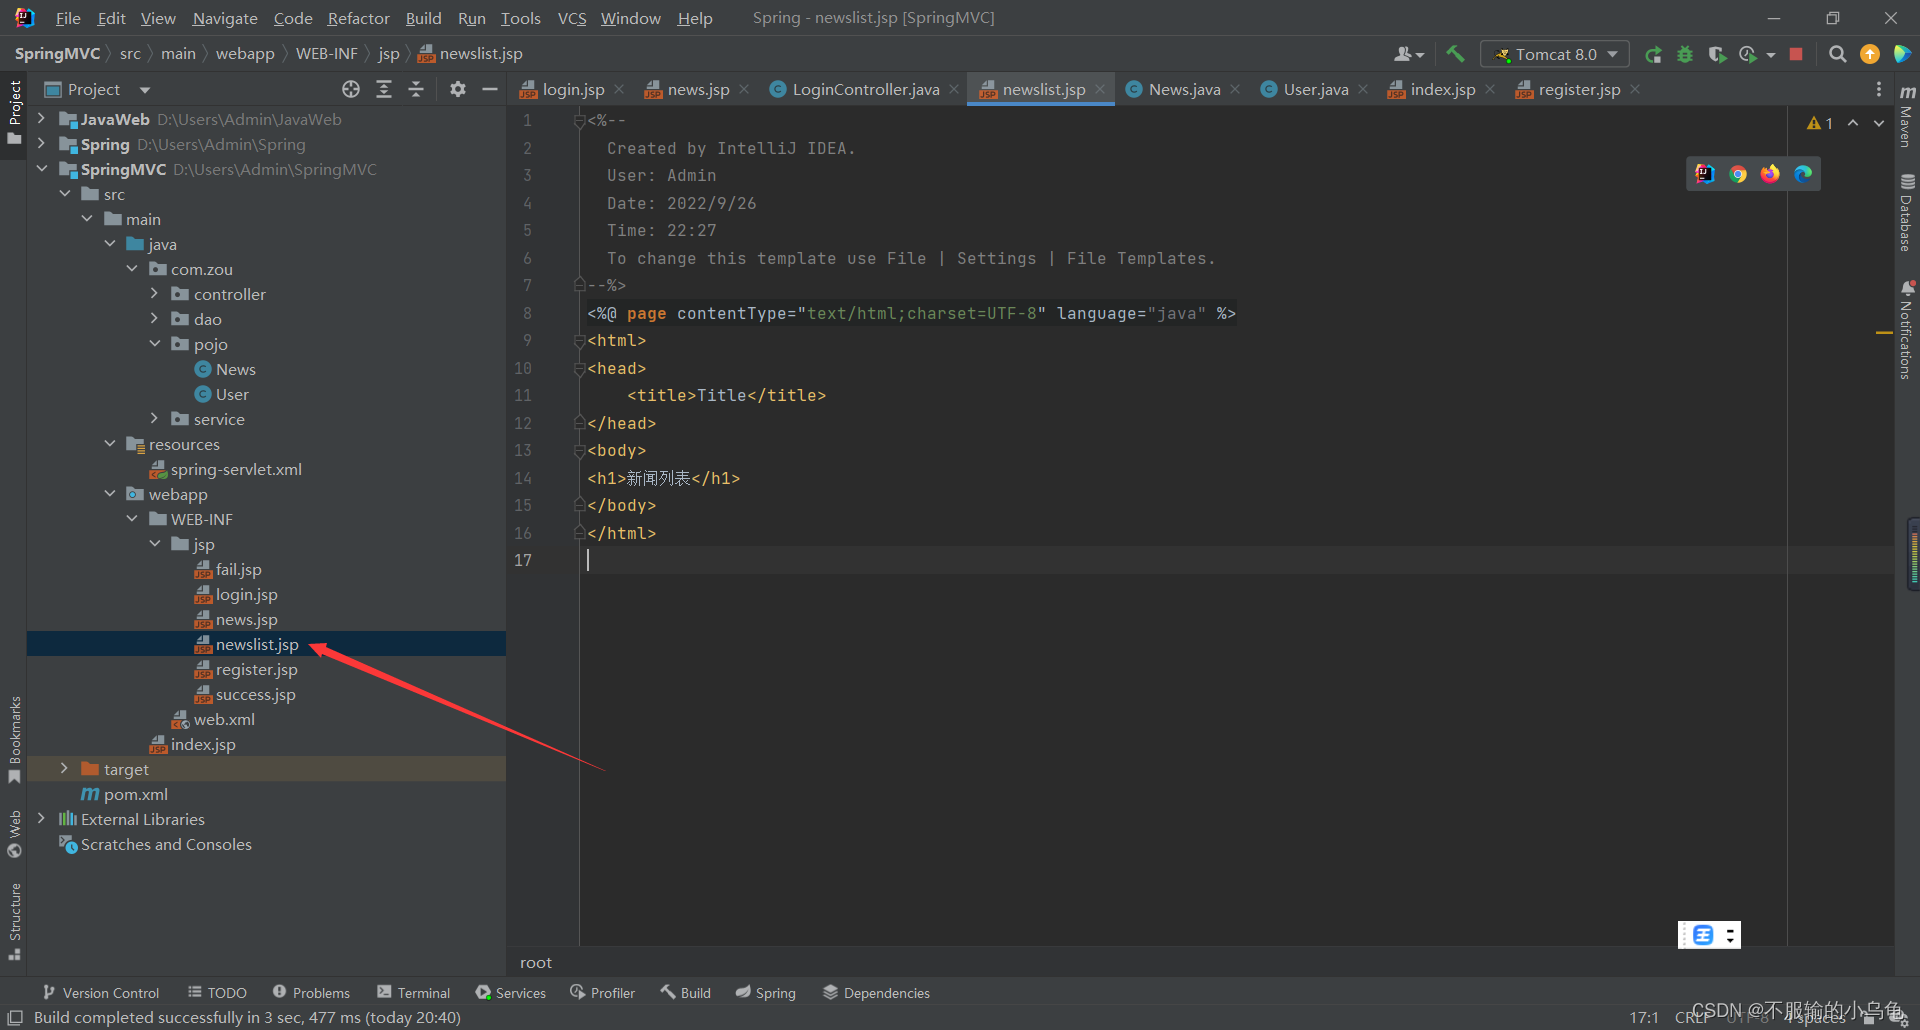
<%--
  Created by IntelliJ IDEA.
  User: Admin
  Date: 2022/9/26
  Time: 22:27
  To change this template use File | Settings | File Templates.
--%>
<%@ page contentType="text/html;charset=UTF-8" language="java" %>
<html>
<head>
    <title>Title</title>
</head>
<body>
<h1>新闻列表</h1>
</body>
</html>
(2)修改LoginController类

   @RequestMapping("newslist")
    public String newslist(Model model){


//        model.addAttribute("name",userService.findUserName());
//        todo 去数据库中查询新闻列表
        List<News> newsList=new ArrayList<News>();
        for(int i=0;i<=10;i++){


            News news=new News();
            news.setId("id:"+i);
            news.setTitle("title:"+i);
            news.setContent("content:"+i);
            newsList.add(news);
        }
        model.addAttribute("newslist","newsList");
        return "newslist";
    }
(3)在pom.xml中导入依赖包,并同步
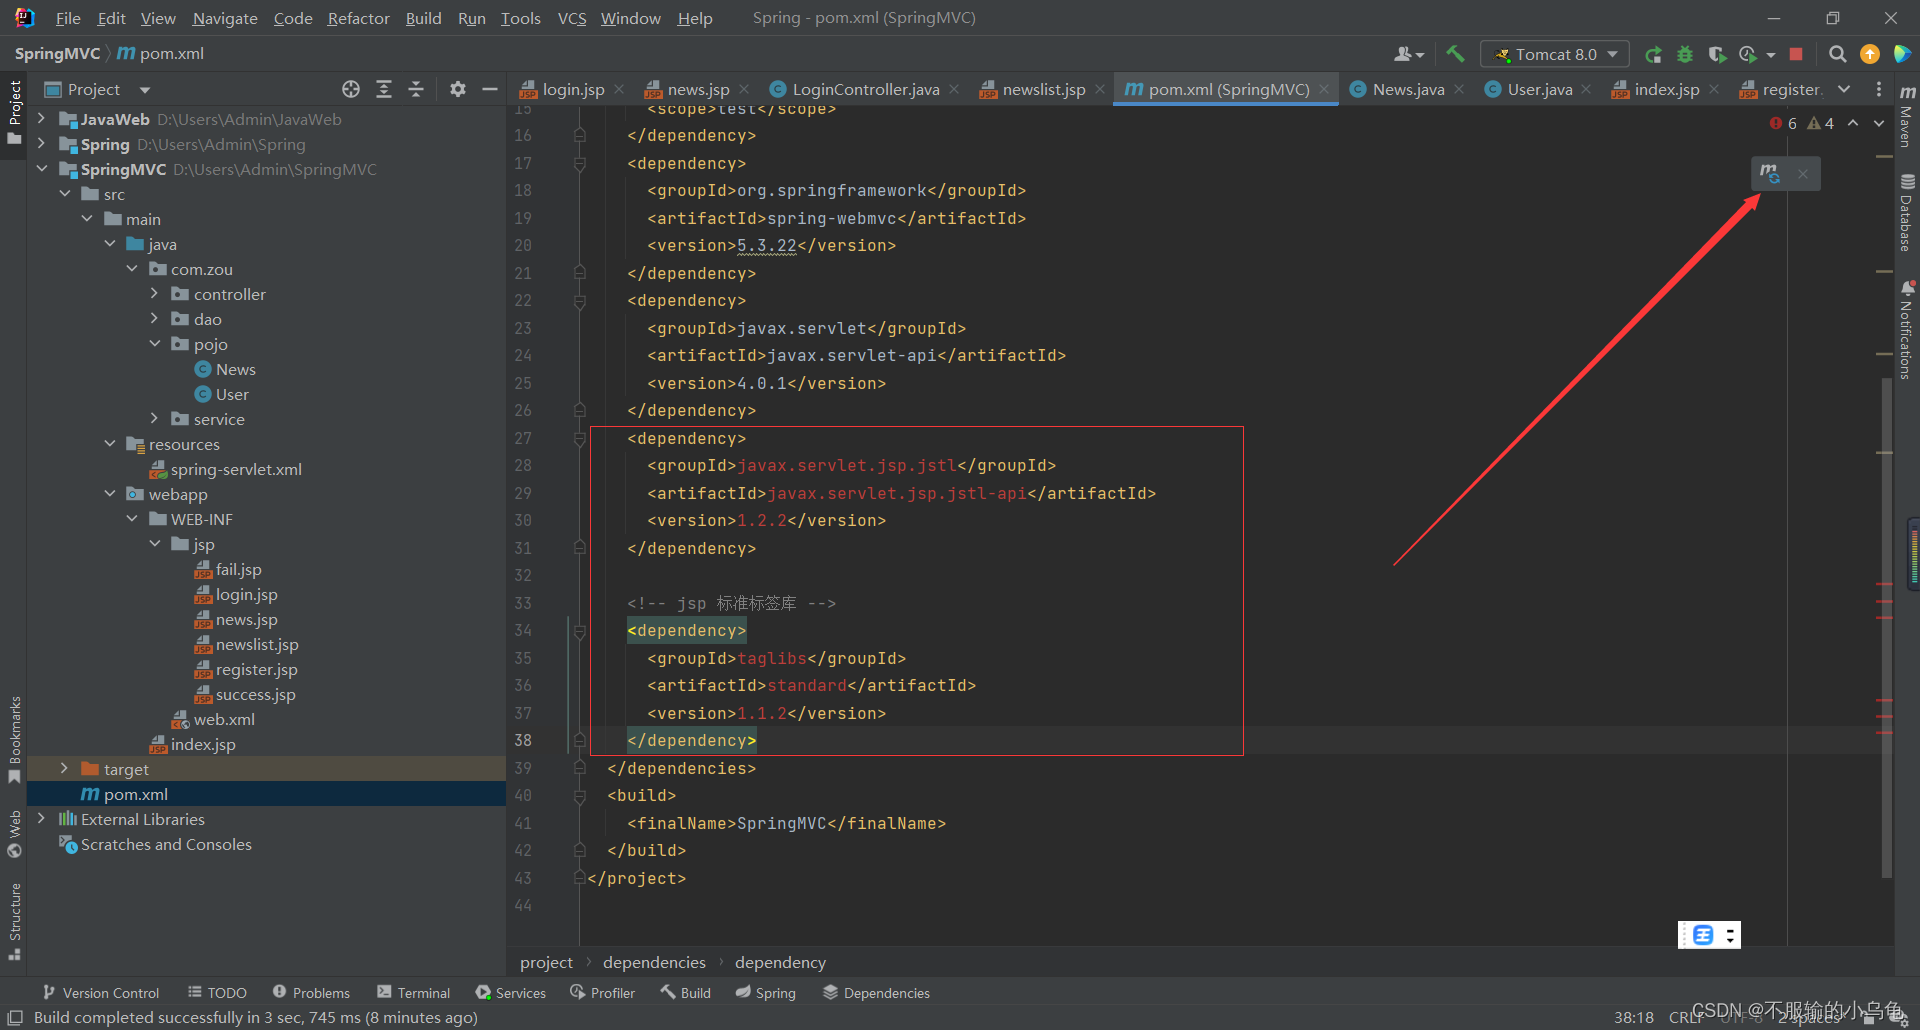
 <dependency>
      <groupId>javax.servlet.jsp.jstl</groupId>
      <artifactId>javax.servlet.jsp.jstl-api</artifactId>
      <version>1.2.2</version>
    </dependency>

    <!-- jsp 标准标签库 -->
    <dependency>
      <groupId>taglibs</groupId>
      <artifactId>standard</artifactId>
      <version>1.1.2</version>
    </dependency>
(4)修改newslist.jsp
<%--
  Created by IntelliJ IDEA.
  User: Admin
  Date: 2022/9/26
  Time: 22:27
  To change this template use File | Settings | File Templates.
--%>
<%@ page contentType="text/html;charset=UTF-8" language="java" %>
<%@ taglib uri="http://java.sun.com/jsp/jstl/core" prefix="c"%>
<html>
<head>
    <title>Title</title>
</head>
<body>
<h1>新闻列表</h1>
<%--jstl标签--%>
<table border="1">
    <tr>
        <td>新闻id</td>
        <td>新闻标题</td>
        <td>新闻内容</td>
    </tr>
<c:forEach    var="news"  items="${newslist}">
    <tr>
        <td>${

    news.id}</td>
        <td>${

    news.title}</td>
        <td>${

    news.content}</td>
    </tr>
</c:forEach>
</table>

</body>
</html>
(5)点击运行,完美
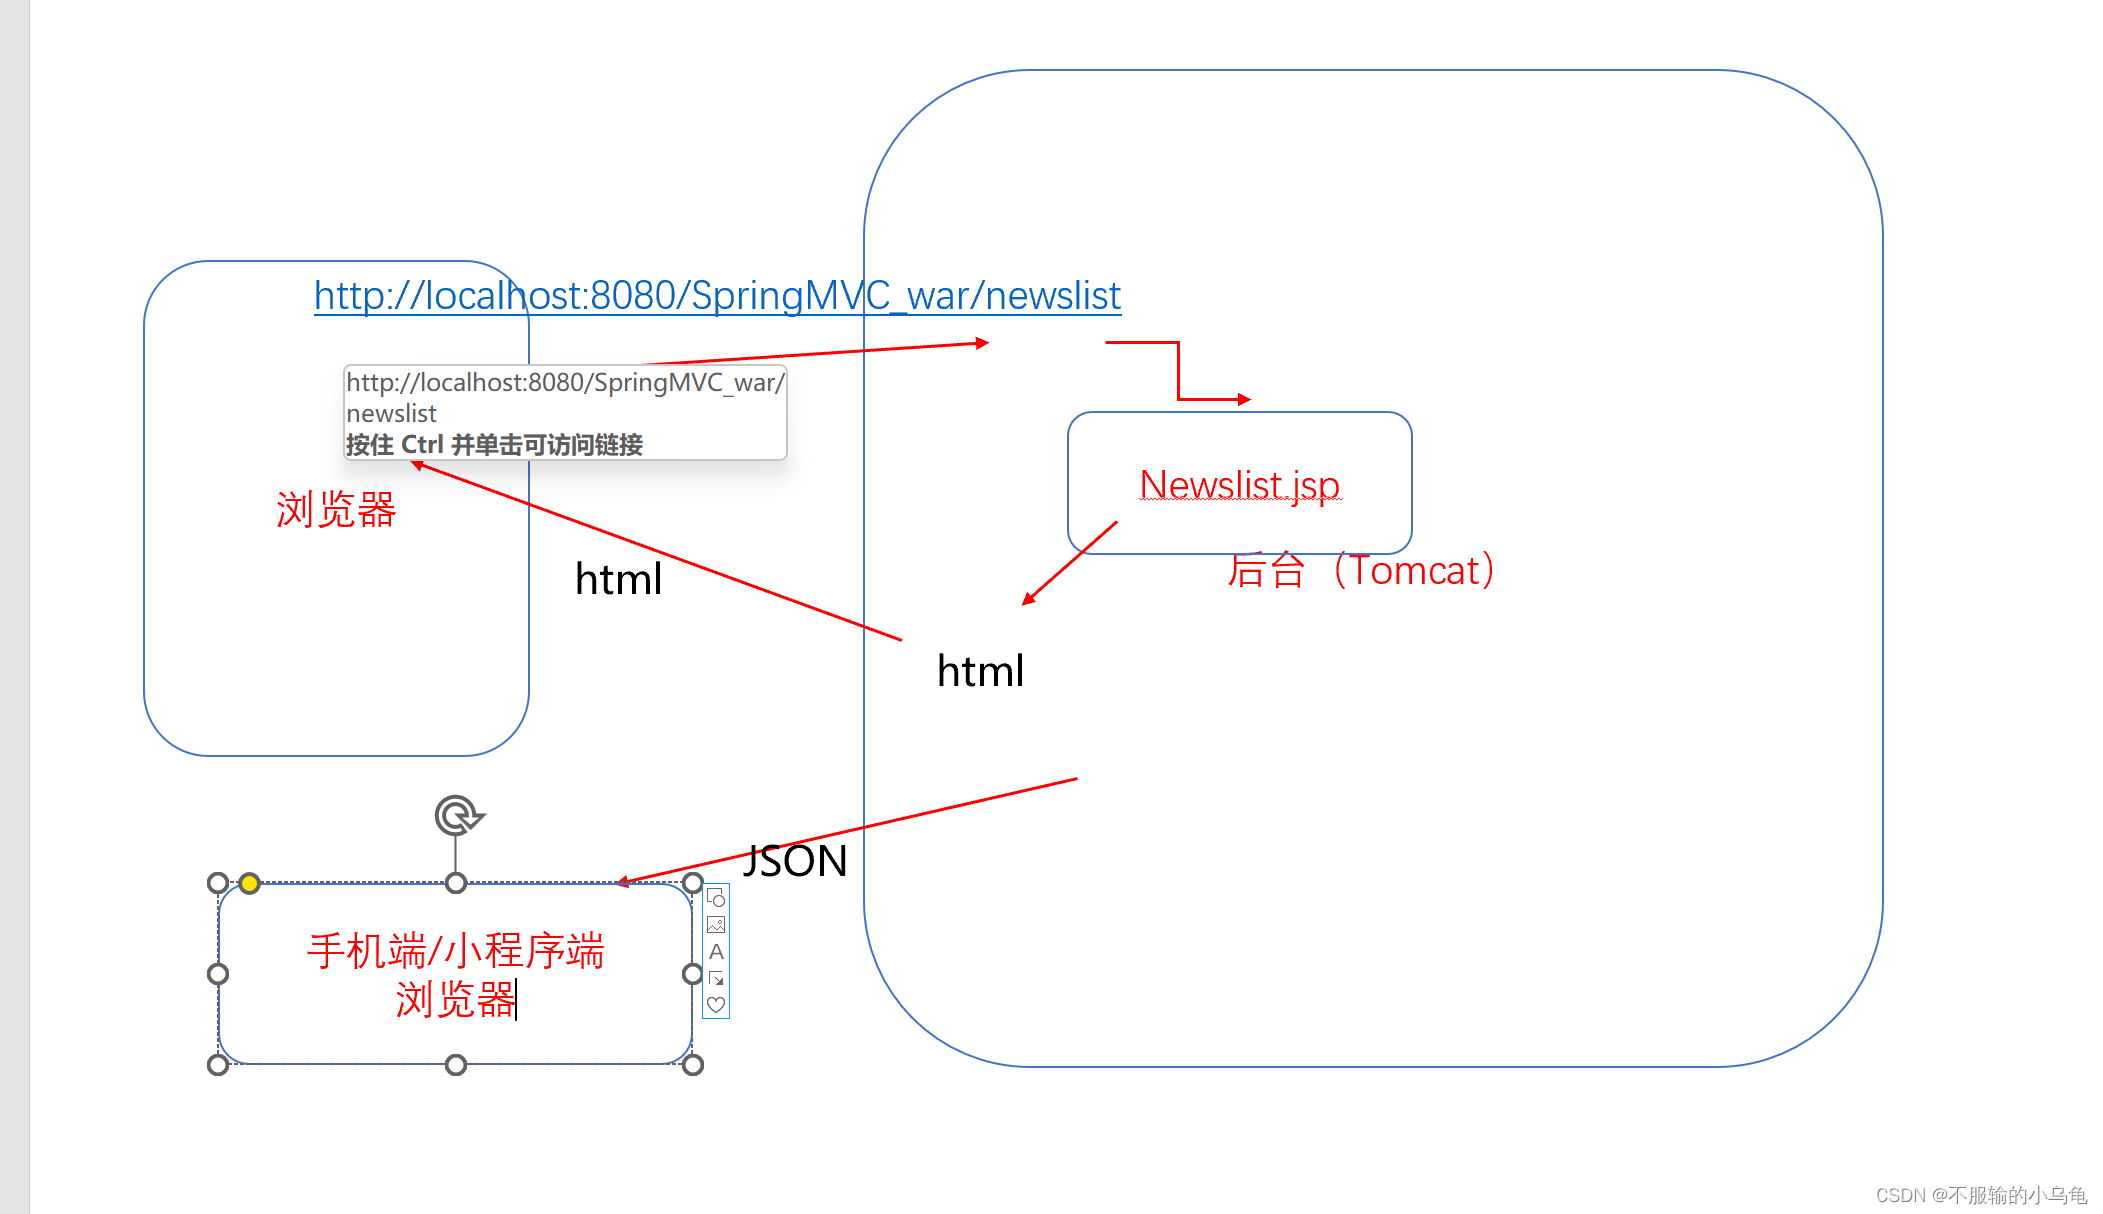
11.SpringMVC返回JSON
(1)在pom.xml中导入依赖包
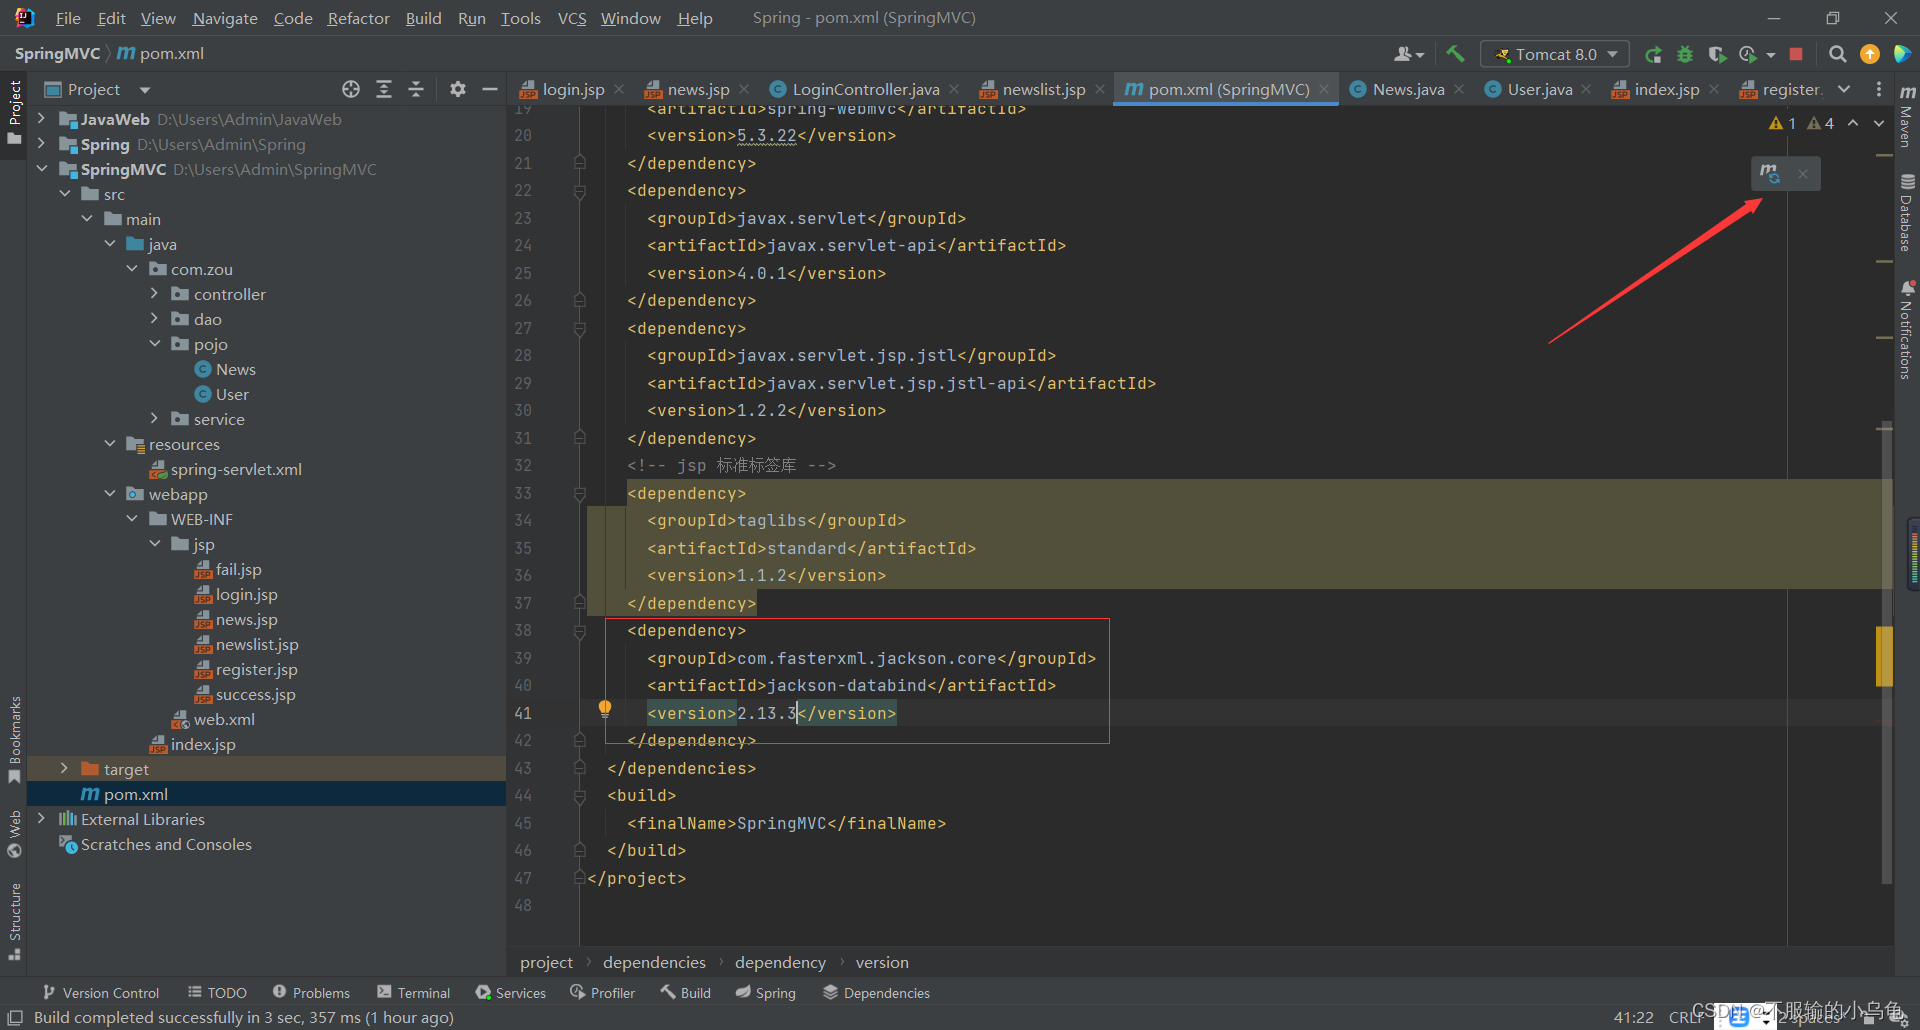
  <dependency>
      <groupId>com.fasterxml.jackson.core</groupId>
      <artifactId>jackson-databind</artifactId>
      <version>2.13.3</version>
    </dependency>
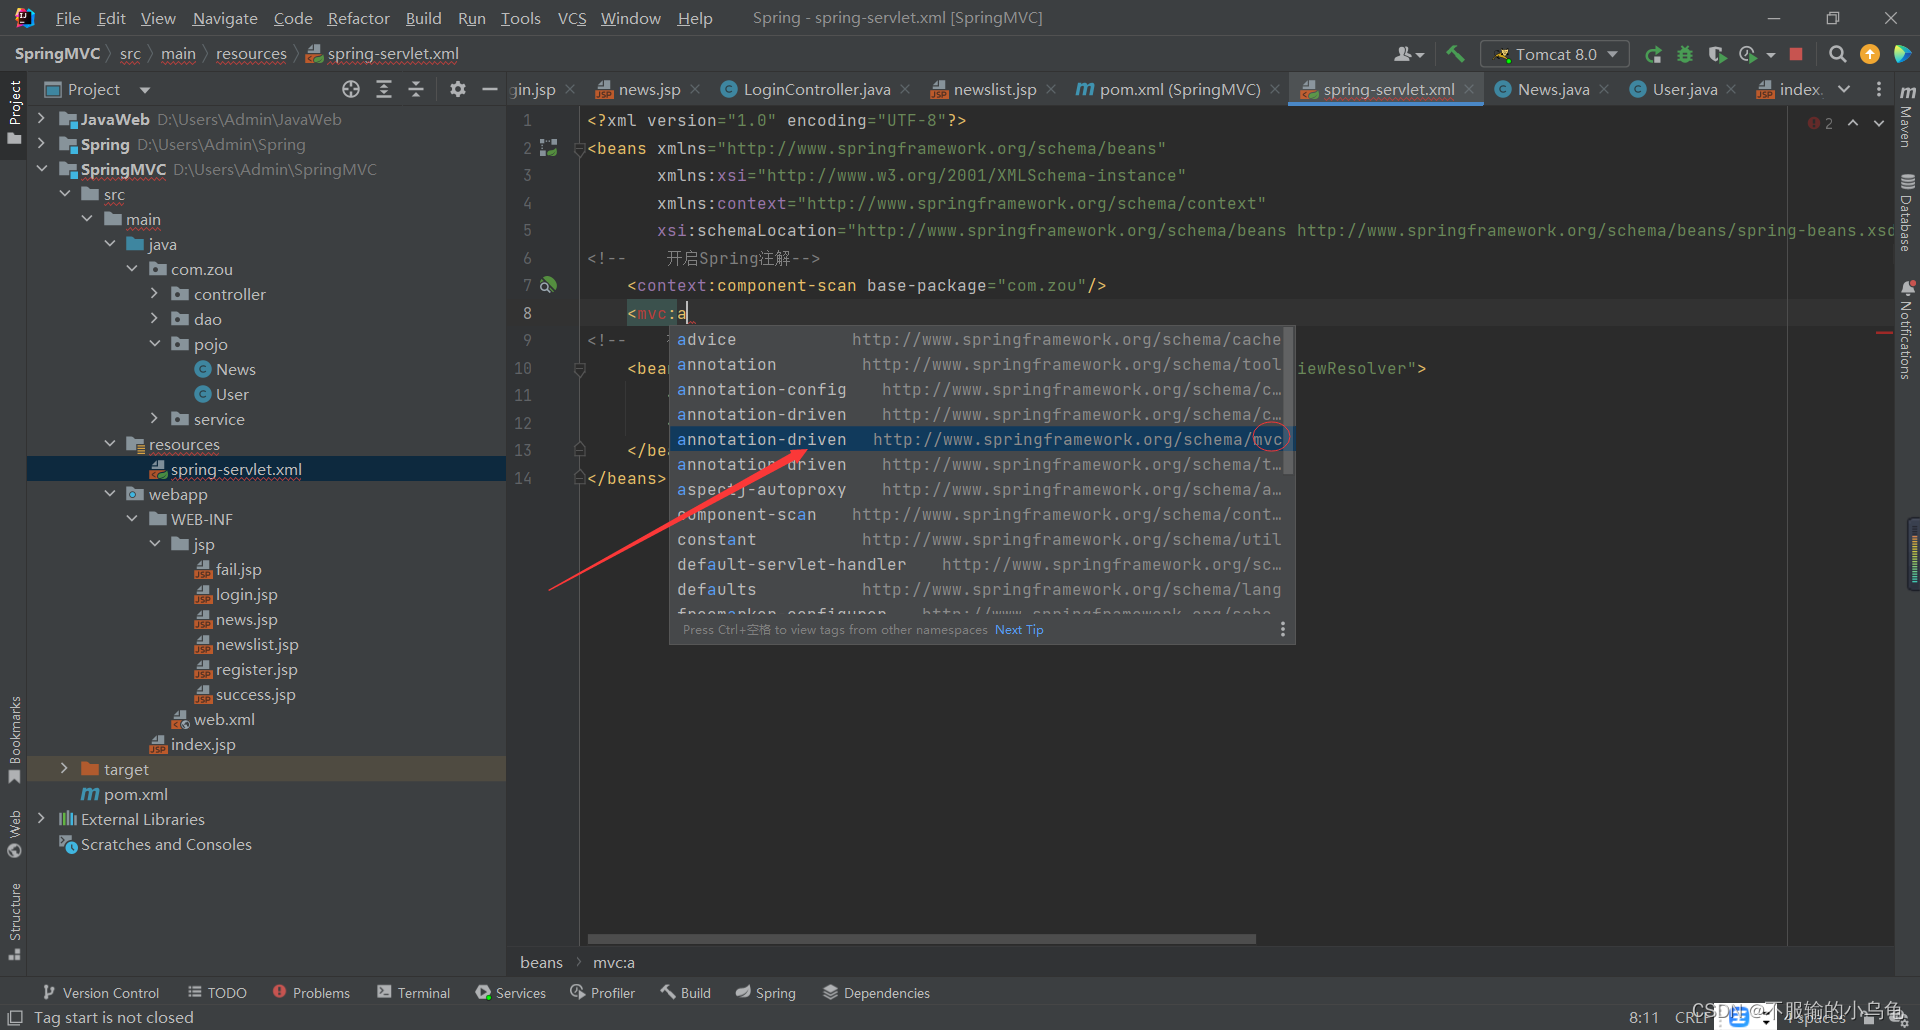
(2)修改spring-servlet配置文件,记住要选择mvc!!!
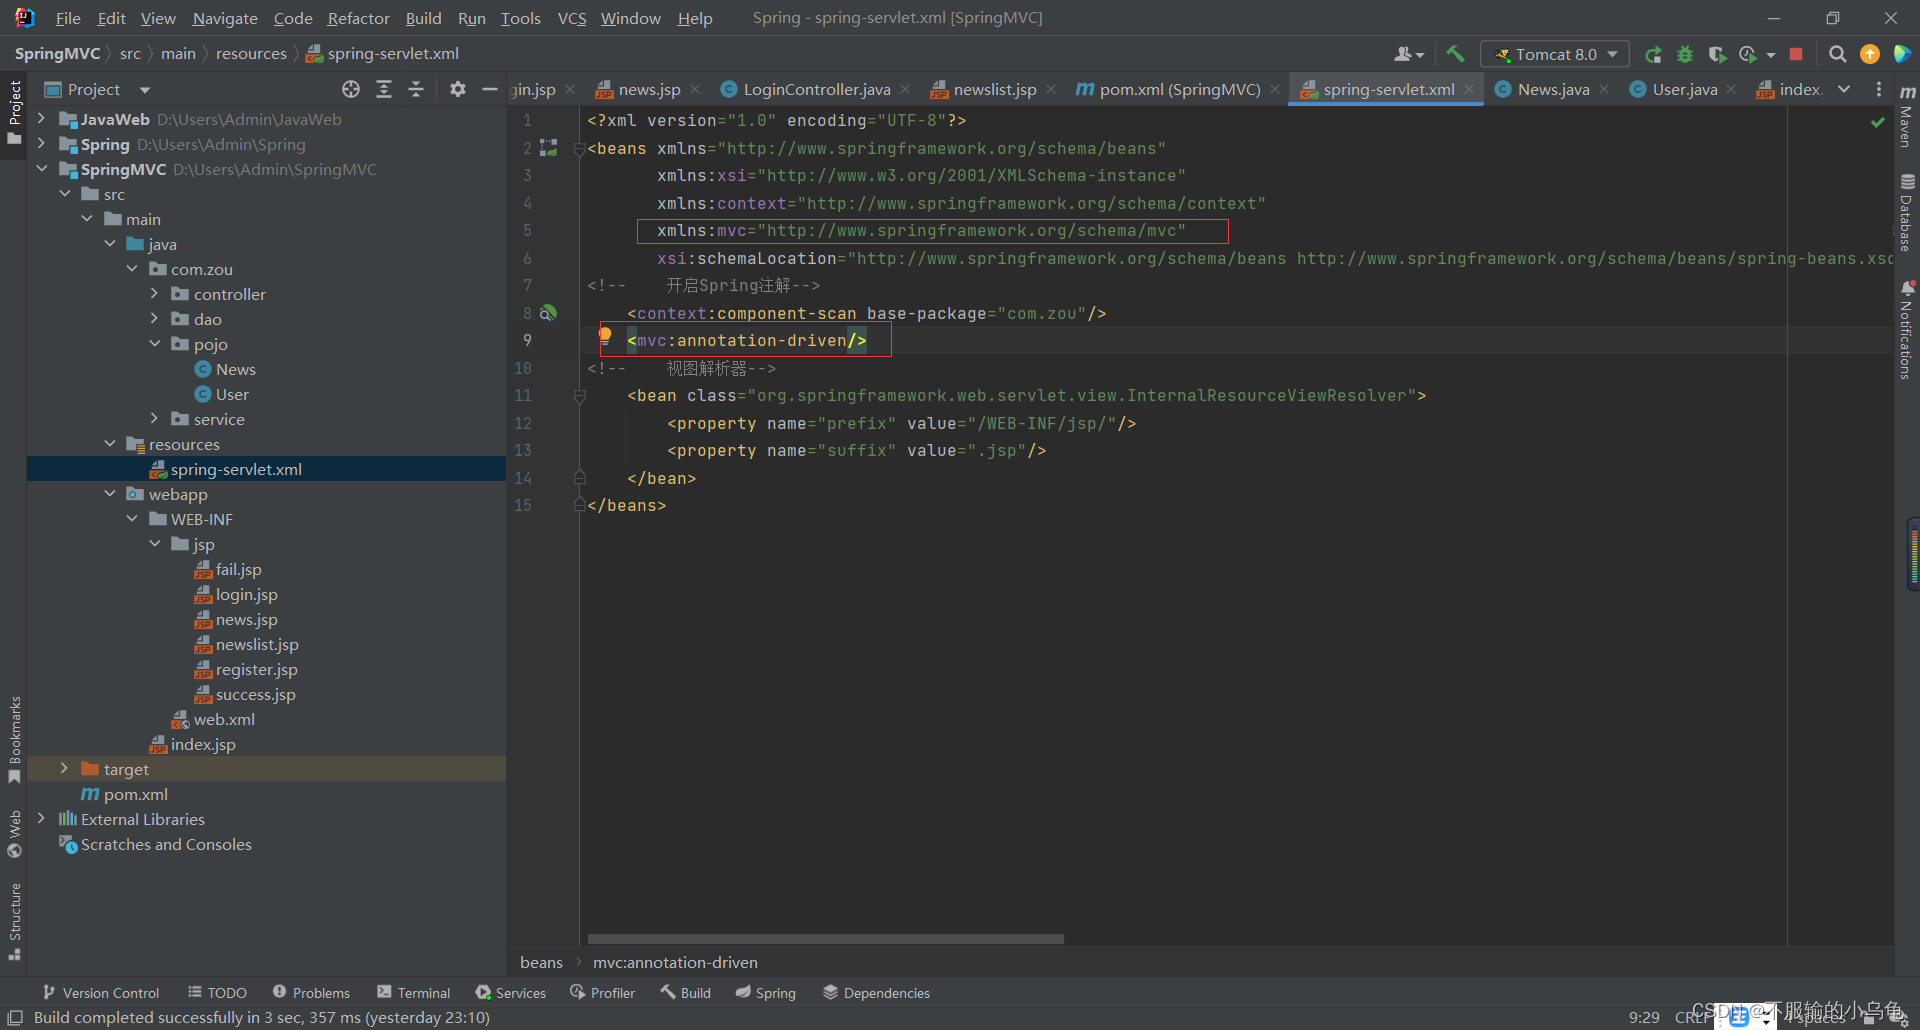
<?xml version="1.0" encoding="UTF-8"?>
<beans xmlns="http://www.springframework.org/schema/beans"
       xmlns:xsi="http://www.w3.org/2001/XMLSchema-instance"
       xmlns:context="http://www.springframework.org/schema/context"
       xmlns:mvc="http://www.springframework.org/schema/mvc"
       xsi:schemaLocation="http://www.springframework.org/schema/beans http://www.springframework.org/schema/beans/spring-beans.xsd http://www.springframework.org/schema/context https://www.springframework.org/schema/context/spring-context.xsd http://www.springframework.org/schema/mvc https://www.springframework.org/schema/mvc/spring-mvc.xsd">
<!--    开启Spring注解-->
    <context:component-scan base-package="com.zou"/>
    <mvc:annotation-driven/>
<!--    视图解析器-->
    <bean class="org.springframework.web.servlet.view.InternalResourceViewResolver">
        <property name="prefix" value="/WEB-INF/jsp/"/>
        <property name="suffix" value=".jsp"/>
    </bean>
</beans>
(3)修改LoginController类,将对象类型转成String(JSON) ,框架自动完成

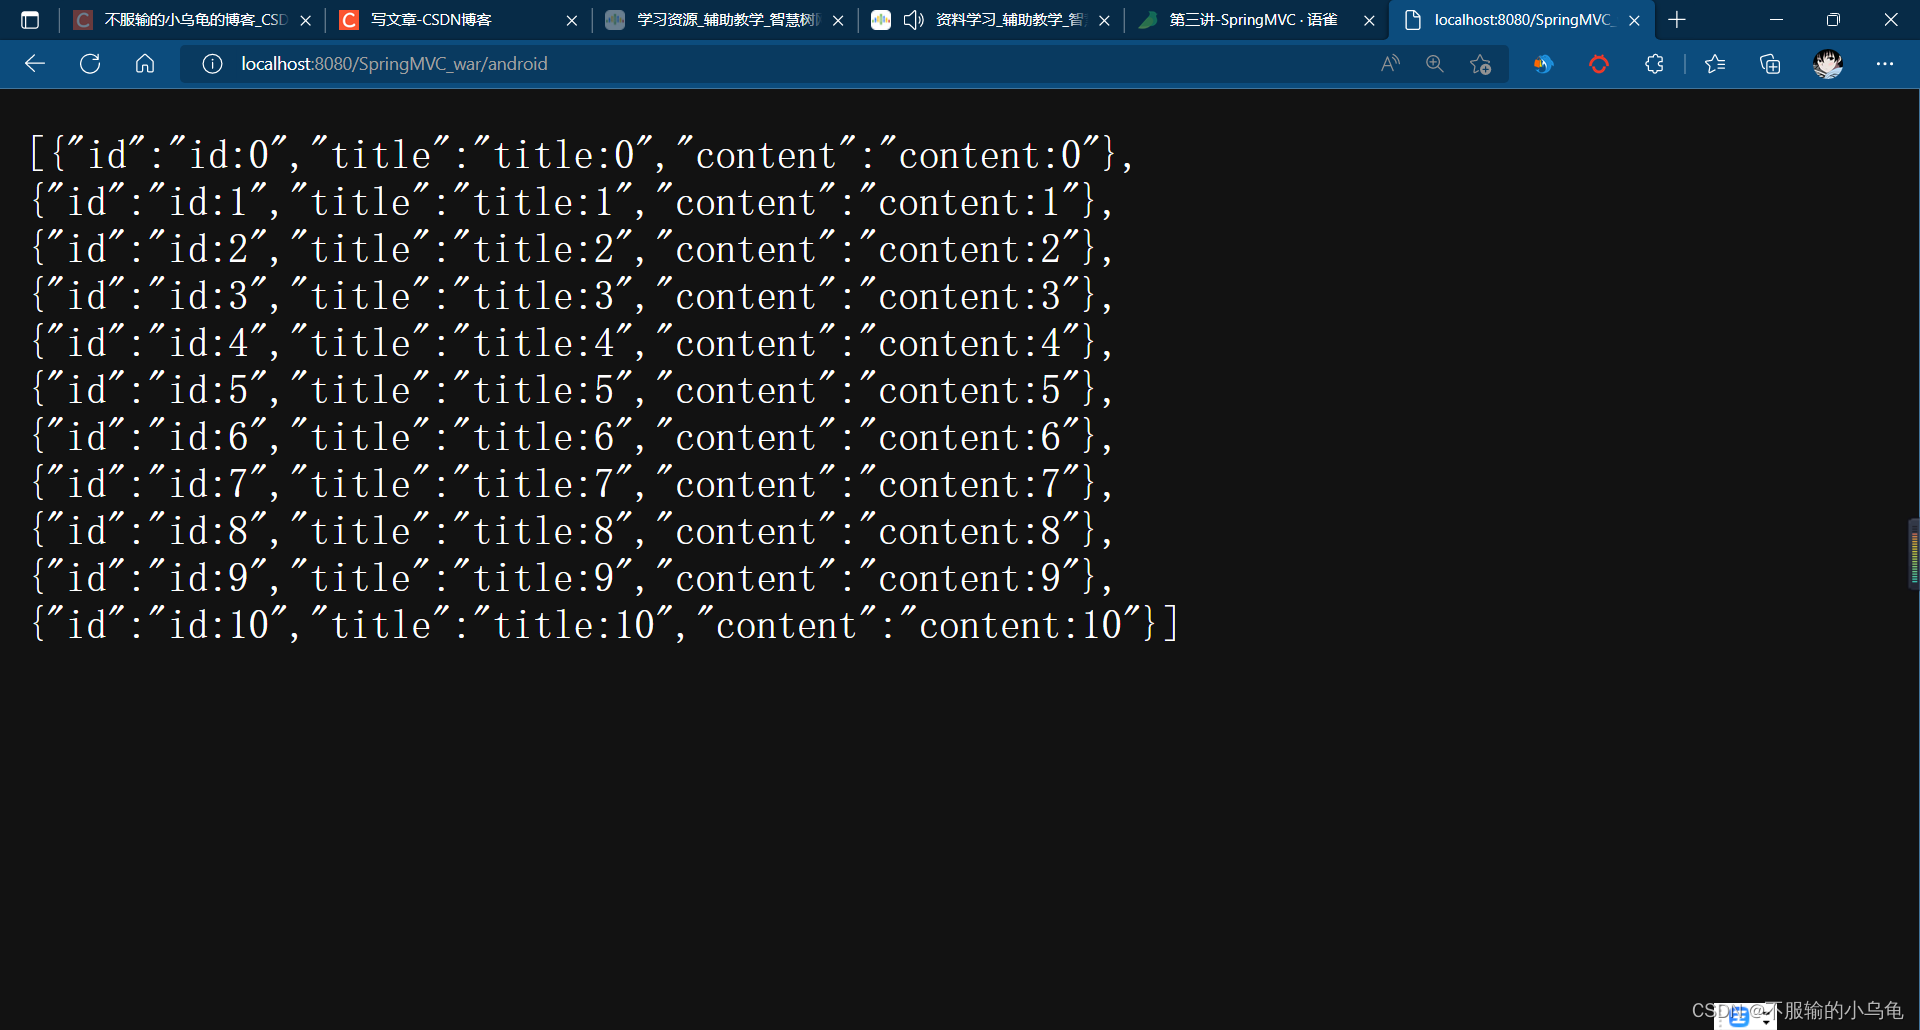
   @RequestMapping("android")
    @ResponseBody
    public List<News> getandroid(){


//        返回JSON数据
//        将对象类型转成String 框架自动完成
//        model.addAttribute("name",userService.findUserName());
//        todo 去数据库中查询新闻列表
        List<News> newsList=new ArrayList<News>();
        for(int i=0;i<=10;i++){


            News news=new News();
            news.setId("id:"+i);
            news.setTitle("title:"+i);
            news.setContent("content:"+i);
            newsList.add(news);
        }
        return newsList;
    }
(4)点击运行,返回了JSON数据,请求成功
三、资源下载
下载地址:SpringBoot开发之SpringMVC(续)
到此结束,睡觉啦!