接着上篇登录后 登录表单数据发送给服务器、验证成功后返回token口令、储存到浏览器会话窗口。方便登录过后的一些请求发送。
// 统一封装的 axios
// 配置axios
import axios from 'axios'
// 请求的根路径
axios.defaults.baseURL = 'http://127.0.0.1:8888/api/private/v1/'
// 请求拦截 添加 herders.Authorization 身份字段 并且展示进度条
axios.interceptors.request.use(config =>{
  config.headers.Authorization = window.sessionStorage.getItem('token')
  // 必须在最后 return config
  NProgress.start()
  return config
})

// 响应拦截 中 展示进度条

axios.interceptors.response.use(config =>{
  // 必须在最后 return config
  NProgress.done()
  return config
})
之后页面会通过路由跳转到首页
首页布局采用 element-ui的Container 布局容器
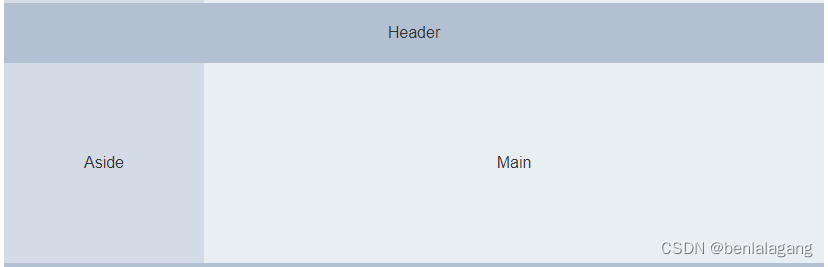
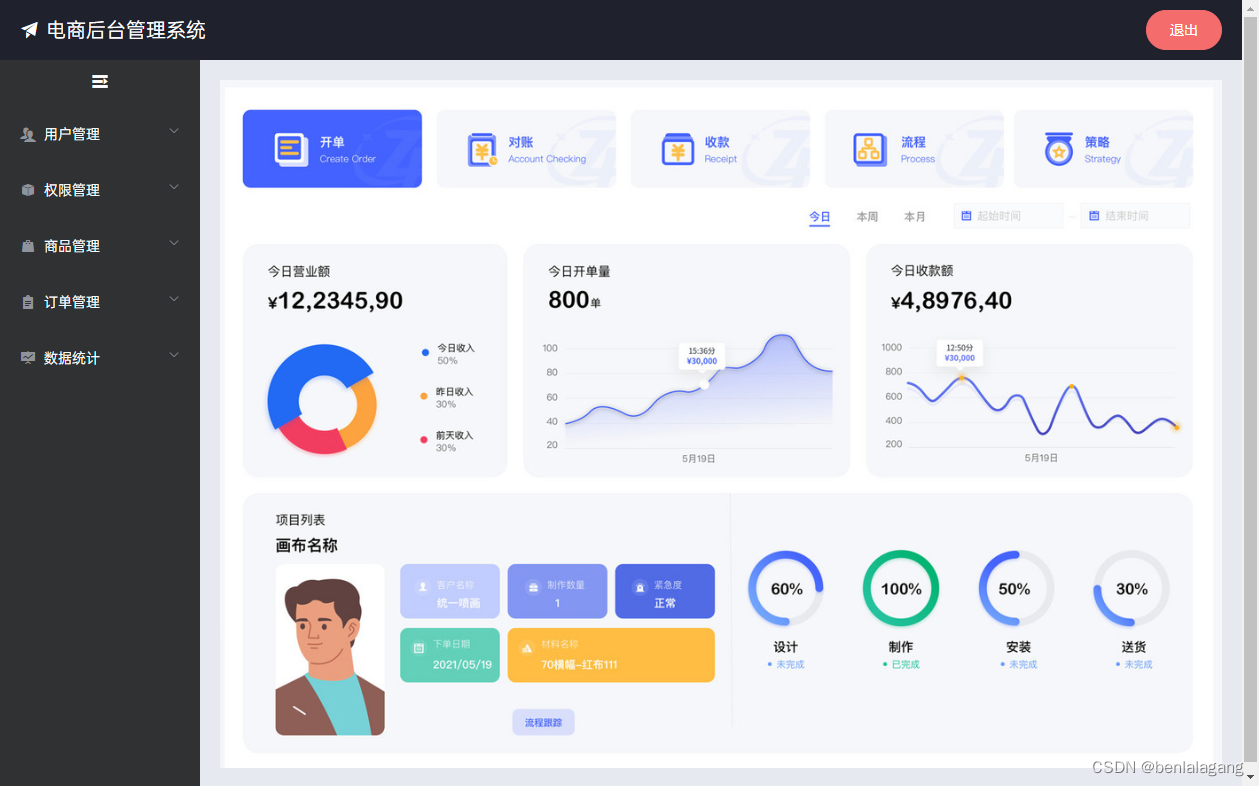
Header:
用来渲染标题 以及右侧的退出按钮
<!--   头部区域   -->
      <el-header>
        <div>
          <i class="el-icon-s-promotion"></i>
          电商后台管理系统
        </div>
        <el-button type="danger" round @click="logout">退出</el-button>
      </el-header>


<script>


    logout () {
      // 退出登录 清空token 跳转到登录页
      window.sessionStorage.clear()
      this.$router.push('/login')
    }


</script>
Aside
侧边导航:
页面进入到home时 发送请求 获得 导航列表数据
      created() {
    // 页面刚创建时 获取 左侧导航数据
    this.getMenuList()
  },


async getMenuList(){
      const {data:res} = await this.$http.get('menus')
      if (res.meta.status !== 200) return this.$Msg.error(res.meta.msg)
      this.MenuData = res.data
    },
使用 el-submenu 一级菜单 el-menu-item 二级菜单 渲染组件完成
再使用多重 v-for 渲染数据
组件的一些属性 可以在 element-ui 官网直接查询
扫描二维码关注公众号,回复:
14561335 查看本文章

如collapse 操作边栏 展示与收缩 通过 点击toggle 切换布尔值 影响 最上面标签的三元表达式
toggle(){
// 切换侧导航收起和展开
this.isCollapse = !this.isCollapse
},
通过 defalut-active 默认显示高亮
点击哪一个二级菜单就把它储存到 浏览器储存当中
currPath(path){
// 存储高亮的二级导航
window.sessionStorage.setItem('currPath',path)
this.activePath = window.sessionStorage.getItem('currPath')
}

<!--        侧边栏 unique-opened 是否只保持一个菜单展开-->
        <el-aside :width="isCollapse ? '64px' : '200px'">
          <div class="toggle" @click="toggle">
            <i class="el-icon-s-unfold"></i>
          </div>
          <el-menu
            background-color="#303133"
            text-color="#fff"
            active-text-color="#ffd04b"
            :collapse="isCollapse"
            :default-active="activePath"
            :router="true"
            :collapse-transition="false"
            :unique-opened="false">
<!--            一级菜单 index+'' 加空字符串 变成字符串-->
            <el-submenu :index="m.id + ''" v-for="m in MenuData" :key="m.id">
              <template slot="title">
                <i :class="iconList[m.id]"></i>
                <span>{

   {m.authName}}</span>
              </template>
<!--              二级菜单-->
              <el-menu-item :index="'/'+mc.path"
                            @click="currPath('/'+mc.path)"
                            v-for="mc in m.children"
                            :key="mc.id">
                <template slot="title">
                  <i :class="iconList[mc.id]"></i>
                  <span>{

   {mc.authName}}</span>
                </template>
              </el-menu-item>
            </el-submenu>

          </el-menu>
        </el-aside>
main
只放置一个<router-view></router-view> 通过路由配置来 更改显示内容
一进入页面先登录 登录完成后 进入首页欢迎页
欢迎页 以及其他组件 都在 home的 children当中
const routes = [
  {
    path: '/',
    redirect: '/login'
  },
  {
    path: '/login',
    component: Login
  },
  {
    path: '/home',
    component: Home,
    redirect: '/welcome',
    children:[
      {
        path:'/welcome',
        component:Welcome
      },
      {
        path:'/users',
        component:Users
      },
      {
        path:'/rights',
        component:RightsC
      }.......