文章目录
文章目录
前言
阿里云版和纯手工版详细步骤:

一、阿里云版
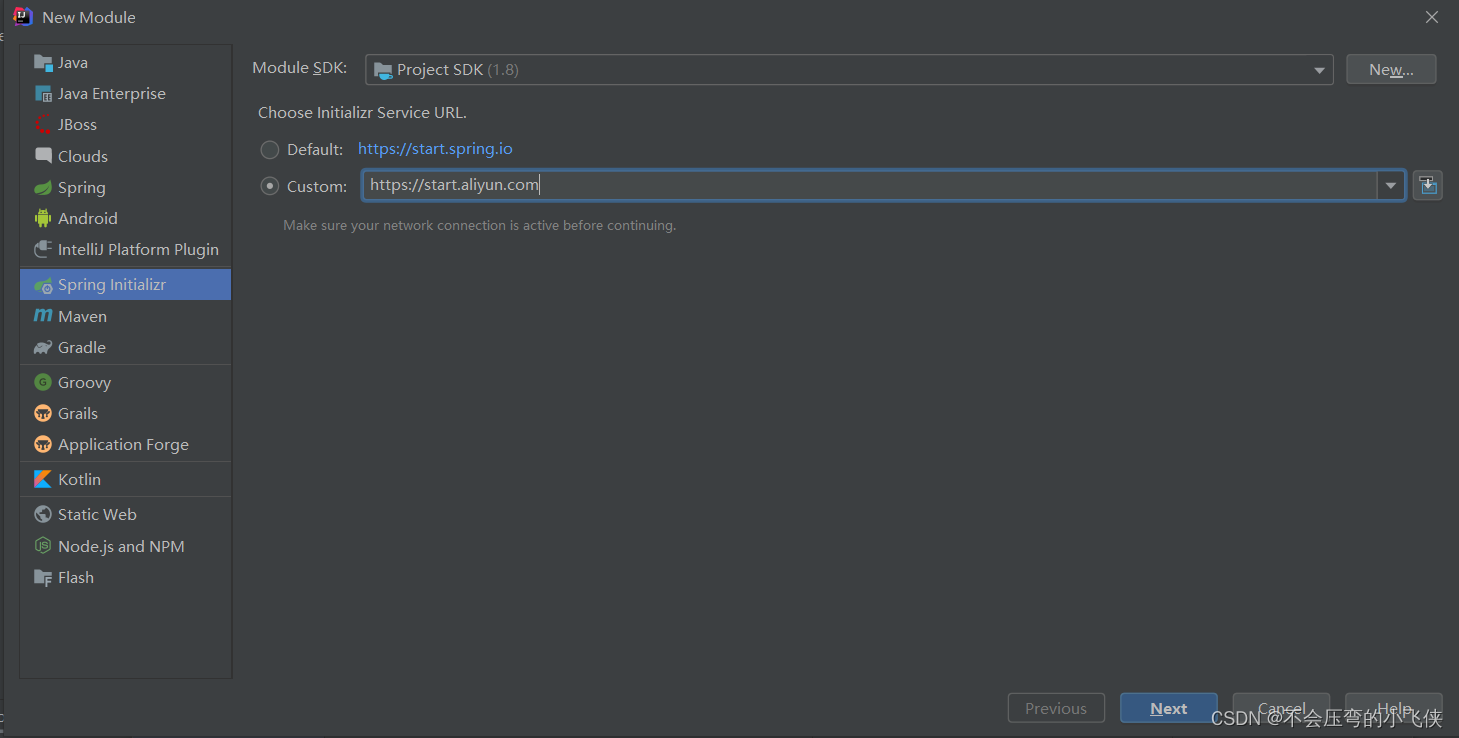
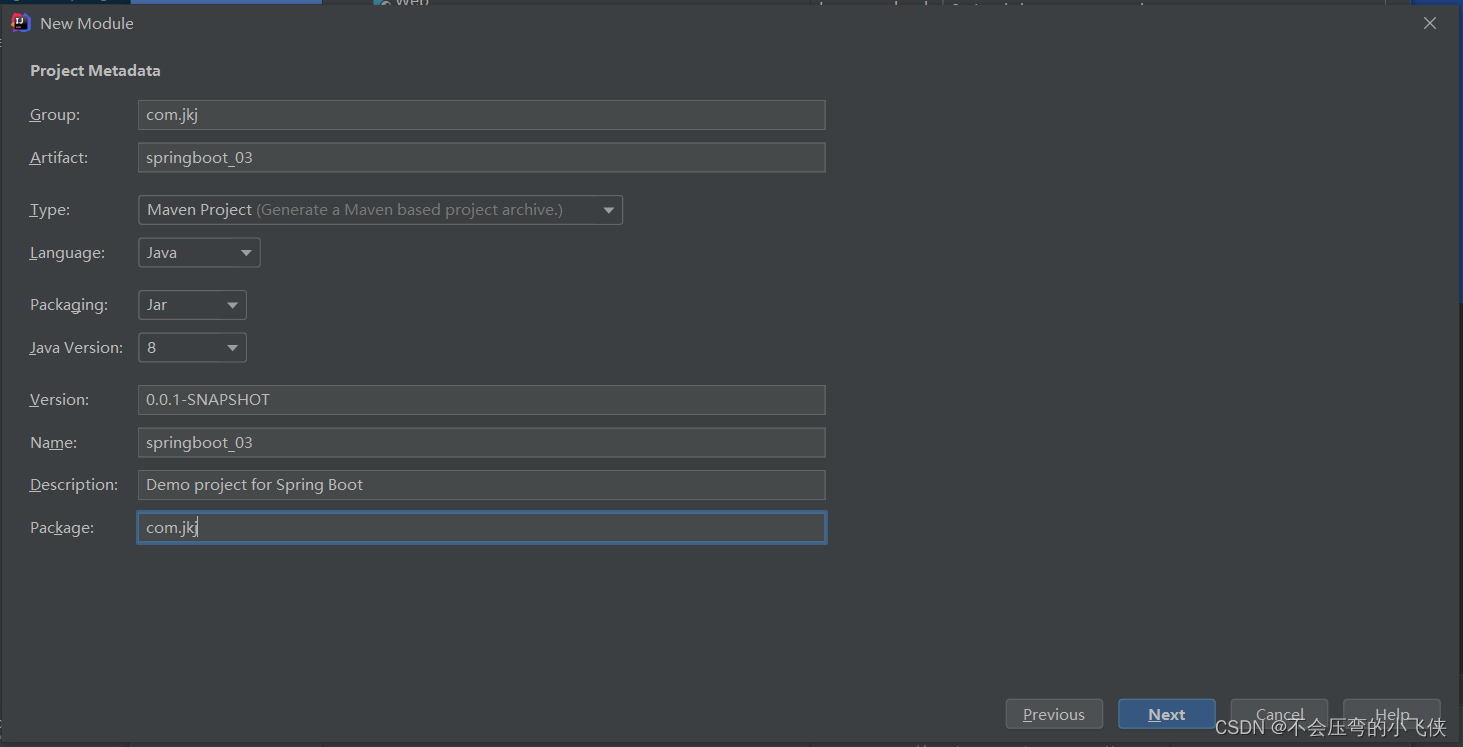
1.新增模块
- File
- Project Structure
- Spring Initializr
- 更改Initializr Service URL 为:https://start.aliyun.com
2.springboot联网功能
注意:java version与自己配置的jdk版本保持一致
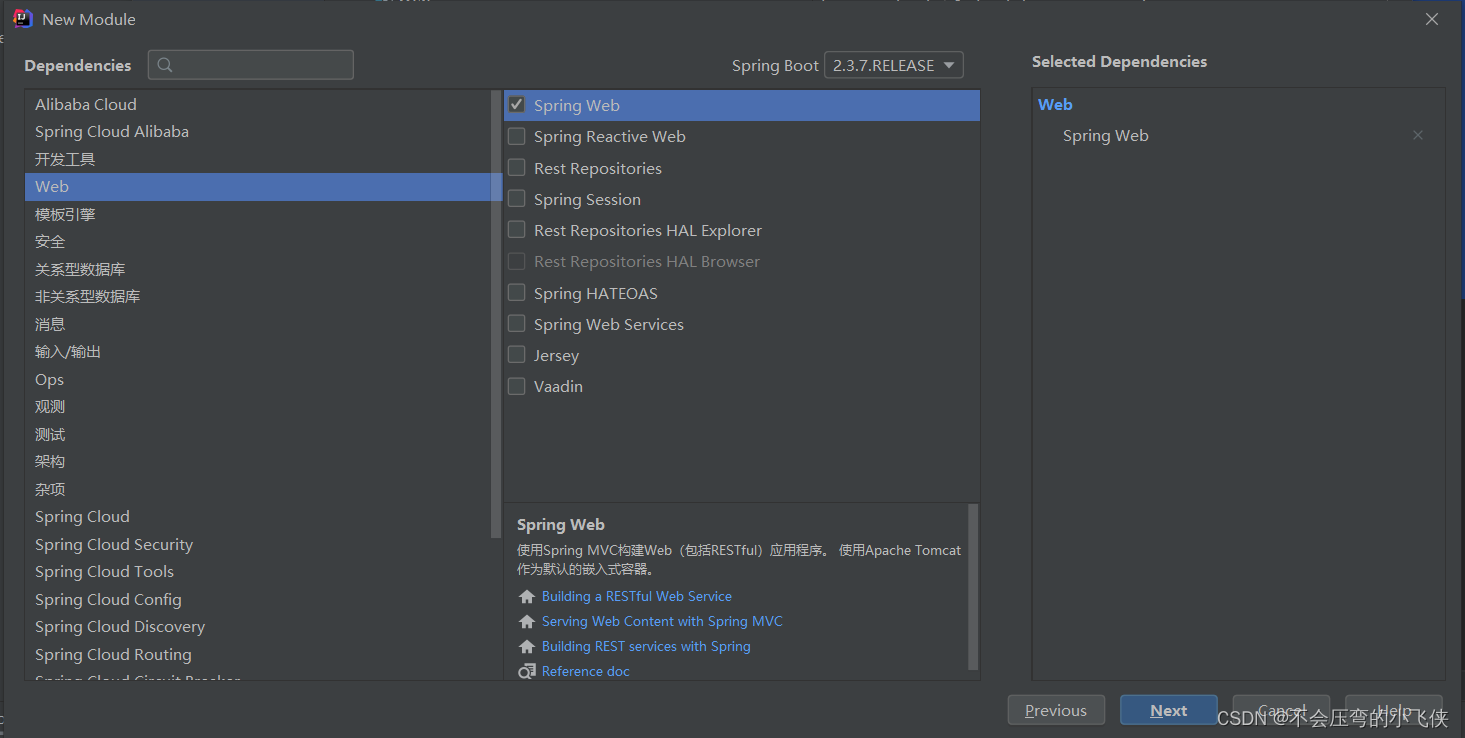
3.选择当前模块需要使用的技术集
- 根据自己的需求选择
- 选择web
- 选择SpringWeb
4.控制类
package com.jkj.controller;

import org.springframework.web.bind.annotation.GetMapping;
import org.springframework.web.bind.annotation.RequestMapping;
import org.springframework.web.bind.annotation.RestController;

@RestController
@RequestMapping("/booksThree")
public class BookController {


    @GetMapping
    public String ById(){


        System.out.println("springboot_03 is running...");
        return "springboot_03 is running...";
    }
}
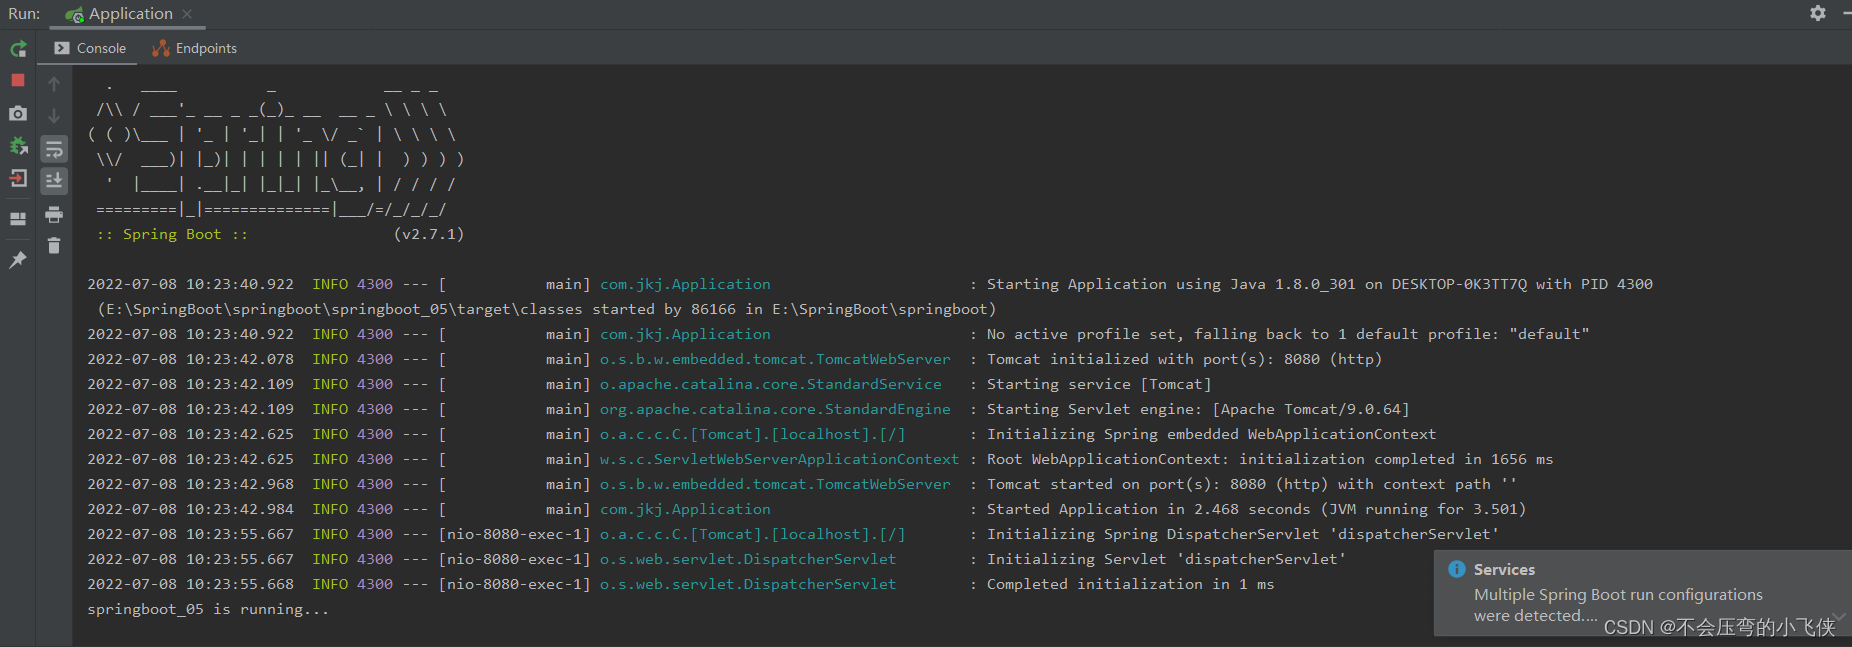
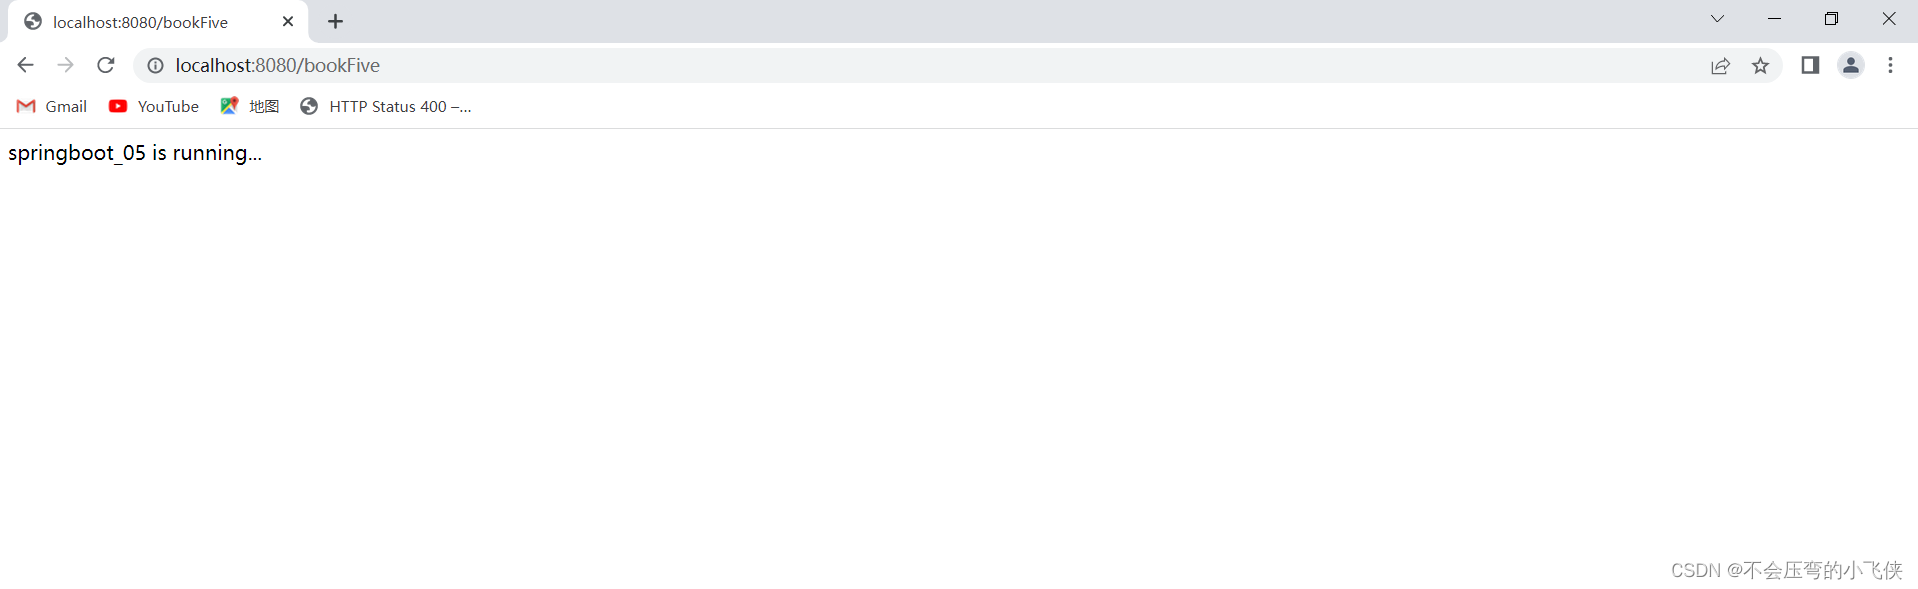
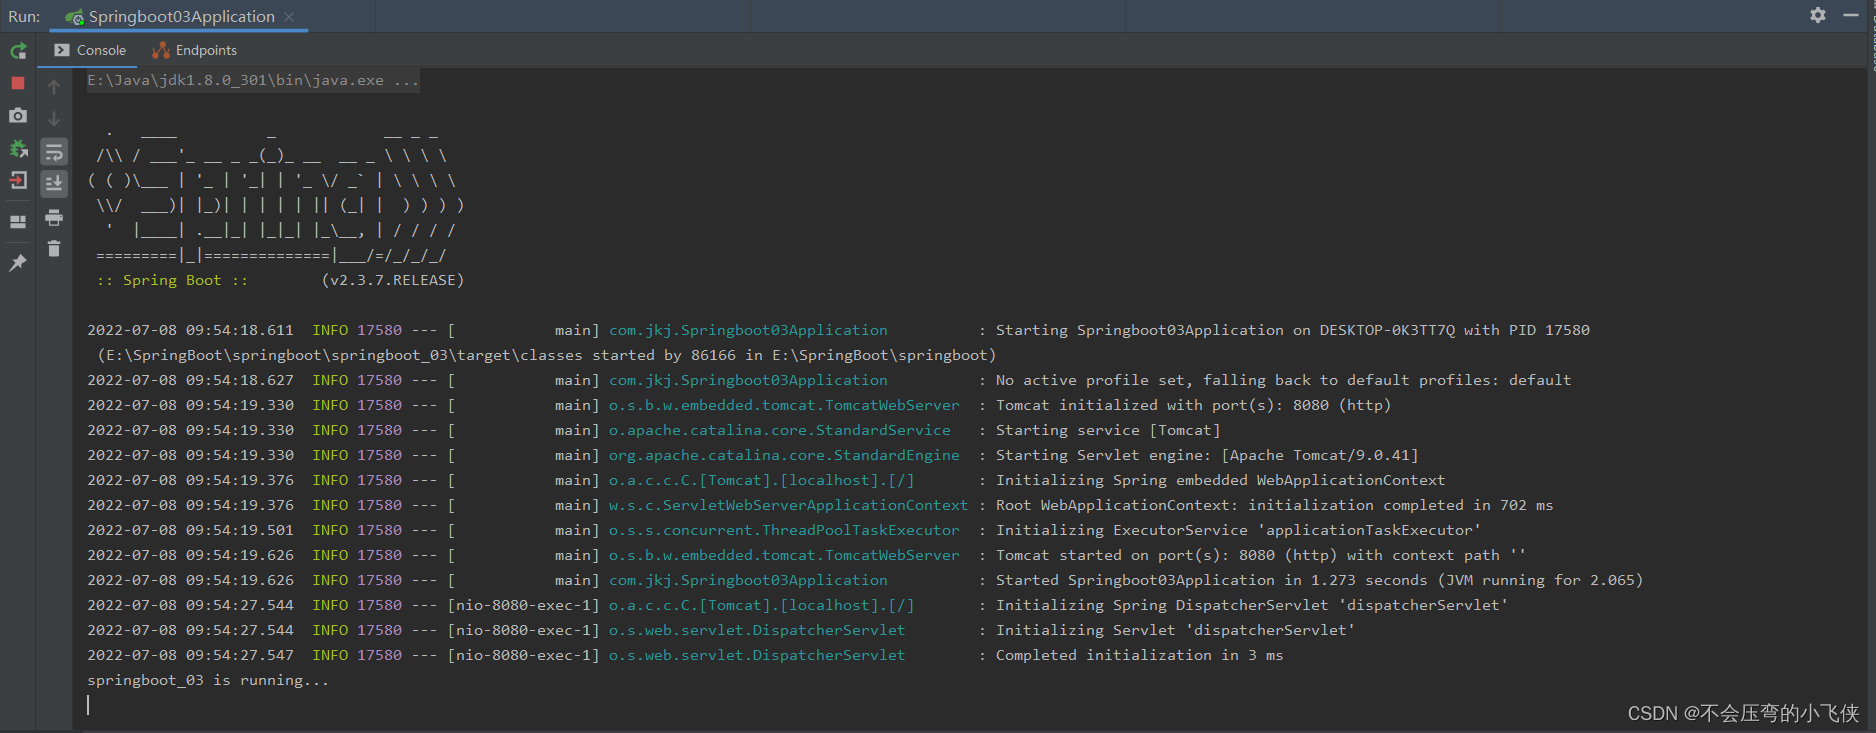
5.测试

二、纯手工版
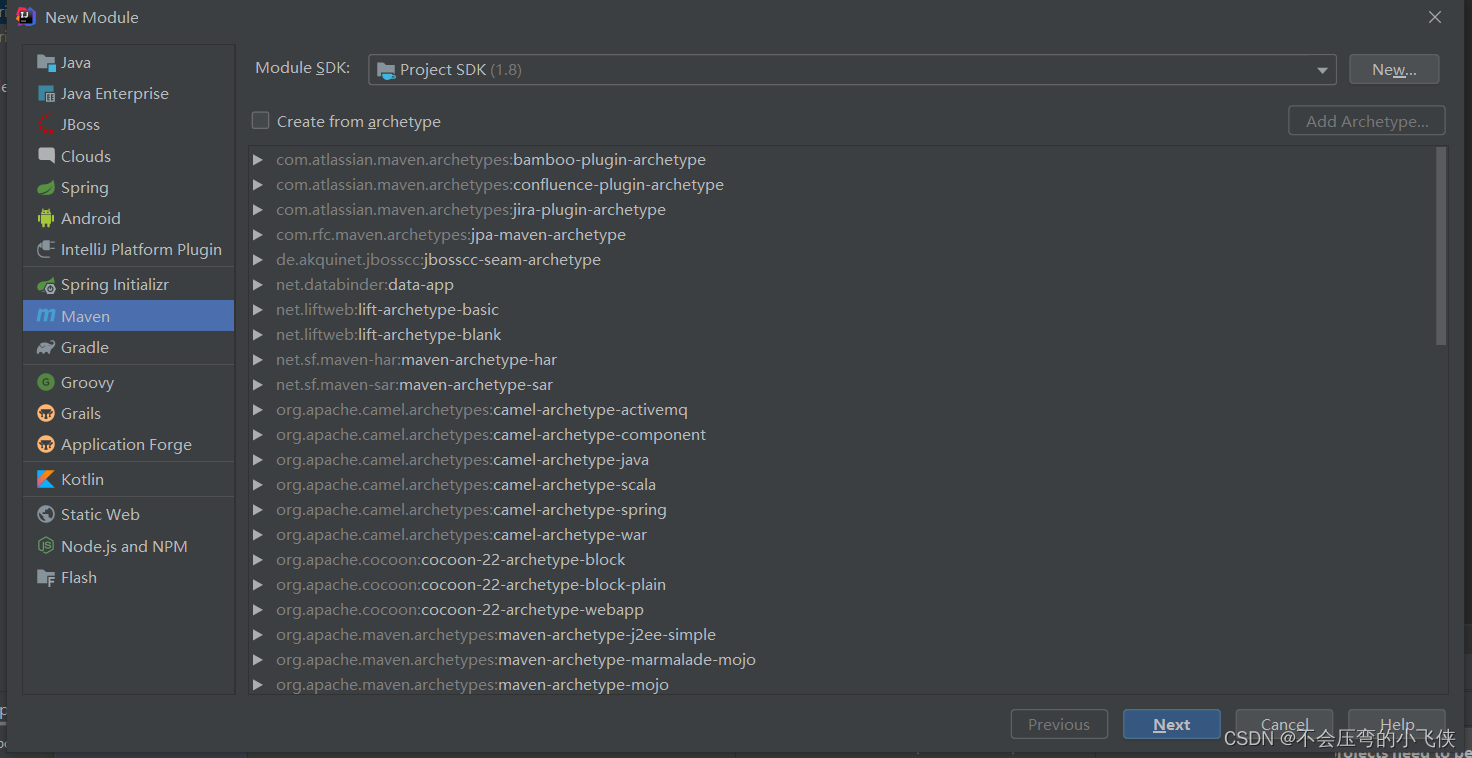
1.新建模板-Maven
- File
- Project Structure
- Maven
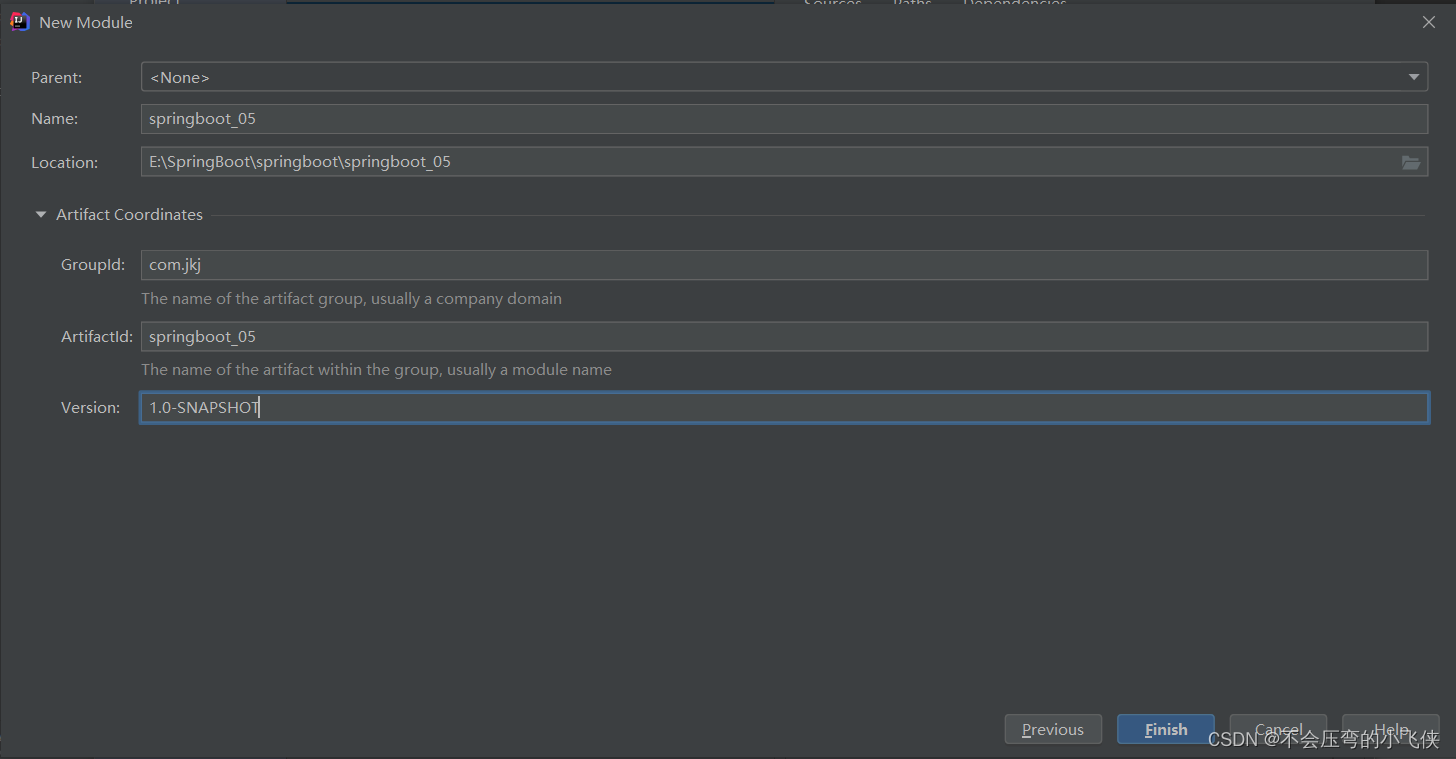
2.修改模块位置

3.配置依赖pom.xml
<?xml version="1.0" encoding="UTF-8"?>
<project xmlns="http://maven.apache.org/POM/4.0.0"
         xmlns:xsi="http://www.w3.org/2001/XMLSchema-instance"
         xsi:schemaLocation="http://maven.apache.org/POM/4.0.0 http://maven.apache.org/xsd/maven-4.0.0.xsd">
    <modelVersion>4.0.0</modelVersion>

    <groupId>com.jkj</groupId>
    <artifactId>springboot_05</artifactId>
    <version>1.0-SNAPSHOT</version>

    <parent>
        <groupId>org.springframework.boot</groupId>
        <artifactId>spring-boot-starter-parent</artifactId>
        <version>2.7.1</version>
    </parent>
    <description>Demo project for Spring Boot</description>
    <properties>
        <java.version>1.8</java.version>
    </properties>
    <dependencies>
        <dependency>
            <groupId>org.springframework.boot</groupId>
            <artifactId>spring-boot-starter-web</artifactId>
        </dependency>

        <dependency>
            <groupId>org.springframework.boot</groupId>
            <artifactId>spring-boot-starter-test</artifactId>
            <scope>test</scope>
        </dependency>
    </dependencies>


</project>
4.编写Application入口类
package com.jkj;

import org.springframework.boot.SpringApplication;
import org.springframework.boot.autoconfigure.SpringBootApplication;

@SpringBootApplication
public class Application {


    public static void main(String[] args) {


        SpringApplication.run(Application.class, args);
    }
}
5.控制类
package com.jkj.controller;

import org.springframework.web.bind.annotation.GetMapping;
import org.springframework.web.bind.annotation.RequestMapping;
import org.springframework.web.bind.annotation.RestController;

@RestController
@RequestMapping("/bookFive")
public class BookController {


    @GetMapping
    public String ById(){


        System.out.println("springboot_05 is running...");
        return "springboot_05 is running...";
    }
}
6.测试