一.运行效果
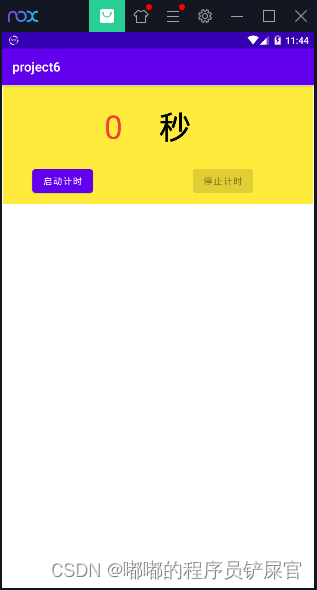
点击启动计时
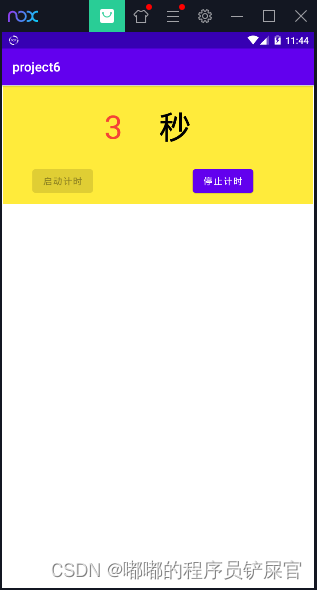
点击停止计时

二.项目情况
本项目主要学习二点:
- 线程的使用
- 跨线程更新UI
1.项目源代码
activity_main.xml 前端代码
<?xml version="1.0" encoding="utf-8"?>
<androidx.constraintlayout.widget.ConstraintLayout xmlns:android="http://schemas.android.com/apk/res/android"
    xmlns:app="http://schemas.android.com/apk/res-auto"
    xmlns:tools="http://schemas.android.com/tools"
    android:layout_width="match_parent"
    android:layout_height="match_parent"
    tools:context=".MainActivity">

    <androidx.constraintlayout.widget.ConstraintLayout
        android:id="@+id/constraintLayout"
        android:layout_width="0dp"
        android:layout_height="181dp"
        android:layout_marginStart="1dp"
        android:layout_marginTop="1dp"
        android:layout_marginEnd="1dp"
        android:background="#FFEB3B"
        app:layout_constraintEnd_toEndOf="parent"
        app:layout_constraintHorizontal_bias="0.0"
        app:layout_constraintStart_toStartOf="parent"
        app:layout_constraintTop_toTopOf="parent">

        <TextView
            android:id="@+id/text_shownum"
            android:layout_width="wrap_content"
            android:layout_height="wrap_content"
            android:layout_marginStart="156dp"
            android:layout_marginTop="28dp"
            android:text="0"
            android:textColor="#F44336"
            android:textSize="50sp"
            app:layout_constraintStart_toStartOf="parent"
            app:layout_constraintTop_toTopOf="parent" />

        <TextView
            android:id="@+id/textView"
            android:layout_width="wrap_content"
            android:layout_height="wrap_content"
            android:layout_marginStart="56dp"
            android:layout_marginTop="28dp"
            android:text="秒"
            android:textColor="#000000"
            android:textSize="50sp"
            app:layout_constraintStart_toEndOf="@+id/text_shownum"
            app:layout_constraintTop_toTopOf="parent" />

        <Button
            android:id="@+id/btn_end"
            android:layout_width="wrap_content"
            android:layout_height="wrap_content"
            android:layout_marginEnd="92dp"
            android:layout_marginBottom="11dp"
            android:onClick="btn_end"
            android:text="停止计时"
            app:layout_constraintBottom_toBottomOf="parent"
            app:layout_constraintEnd_toEndOf="parent" />

        <Button
            android:id="@+id/btn_start"
            android:layout_width="wrap_content"
            android:layout_height="wrap_content"
            android:layout_marginStart="45dp"
            android:layout_marginBottom="11dp"
            android:onClick="btn_start"
            android:text="启动计时"
            app:layout_constraintBottom_toBottomOf="parent"
            app:layout_constraintStart_toStartOf="parent" />
    </androidx.constraintlayout.widget.ConstraintLayout>

</androidx.constraintlayout.widget.ConstraintLayout>
MainActivity 后端代码:
package com.example.project6;
import static android.view.View.INVISIBLE;
import androidx.appcompat.app.AppCompatActivity;
import android.os.Bundle;
import android.os.Handler;
import android.os.Message;
import android.view.View;
import android.widget.Button;
import android.widget.TextView;
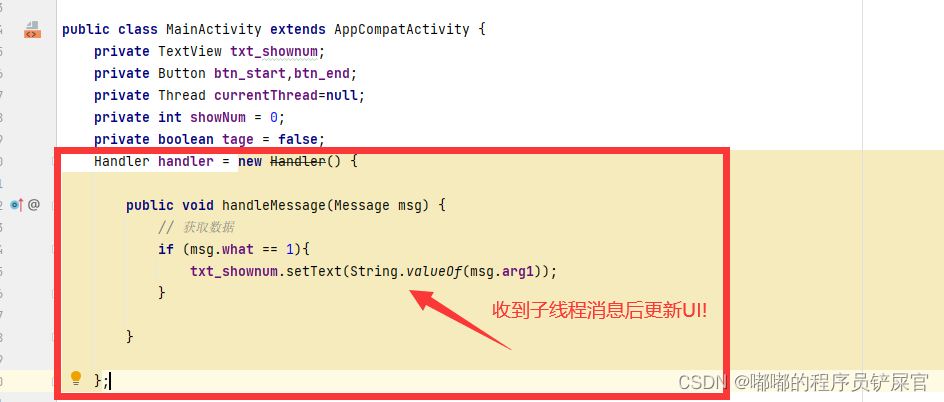
public class MainActivity extends AppCompatActivity {
private TextView txt_shownum;
private Button btn_start,btn_end;
private Thread currentThread=null;
private int showNum = 0;
private boolean tage = false;
Handler handler = new Handler() {
public void handleMessage(Message msg) {
// 获取数据
if (msg.what == 1){
txt_shownum.setText(String.valueOf(msg.arg1));
}
}
};
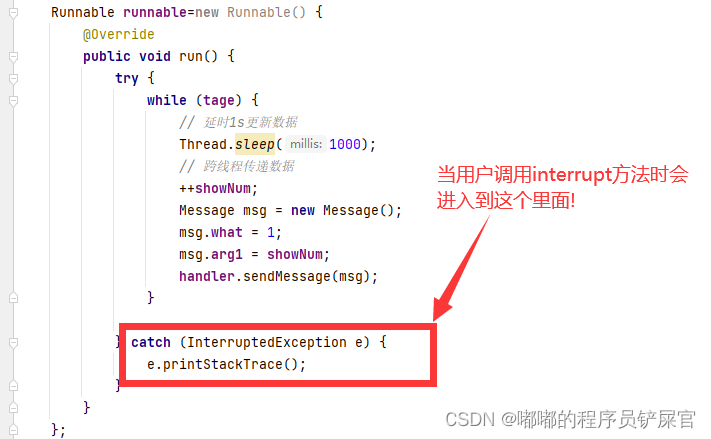
Runnable runnable=new Runnable() {
@Override
public void run() {
try {
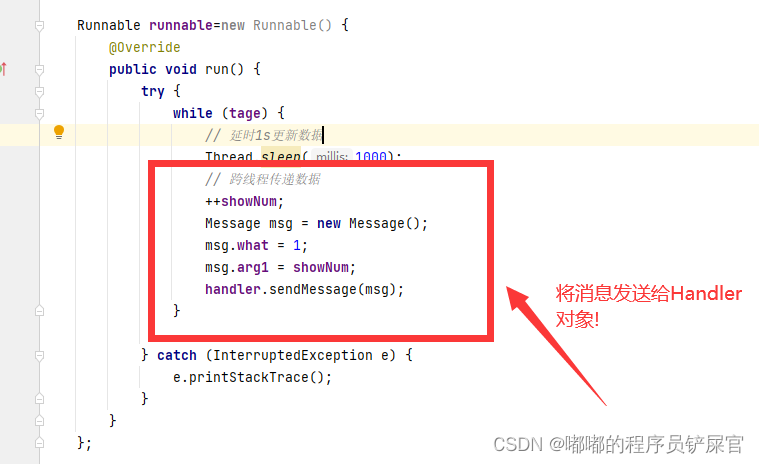
while (tage) {
// 延时1s更新数据
Thread.sleep(1000);
// 跨线程传递数据
++showNum;
Message msg = new Message();
msg.what = 1;
msg.arg1 = showNum;
handler.sendMessage(msg);
}
} catch (InterruptedException e) {
e.printStackTrace();
}
}
};
@Override
protected void onCreate(Bundle savedInstanceState) {
super.onCreate(savedInstanceState);
setContentView(R.layout.activity_main);
initView();
}
private void initView() {
txt_shownum = findViewById(R.id.text_shownum);
btn_start = findViewById(R.id.btn_start);
btn_end = findViewById(R.id.btn_end);
// 默认情况下停止按钮无法启动
btn_end.setEnabled(false);
}
public void btn_end(View view) throws InterruptedException {
btn_start.setEnabled(true);
btn_end.setEnabled(false);
tage = false;
currentThread.interrupt();
}
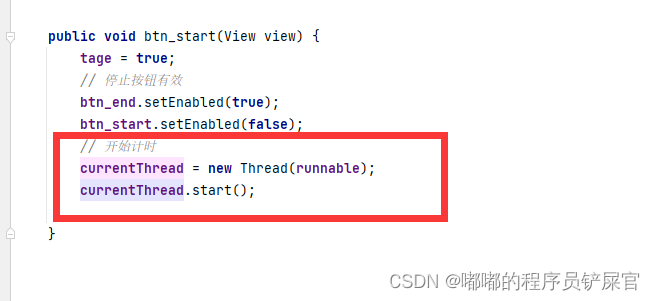
public void btn_start(View view) {
tage = true;
// 停止按钮有效
btn_end.setEnabled(true);
btn_start.setEnabled(false);
// 开始计时
currentThread = new Thread(runnable);
currentThread.start();
}
}
2.相关代码说明
- 线程的使用
线程的使用可以学习我的另一篇博文:Java基础多线程
本项目通过重写Runnable 接口的run方法实现线程
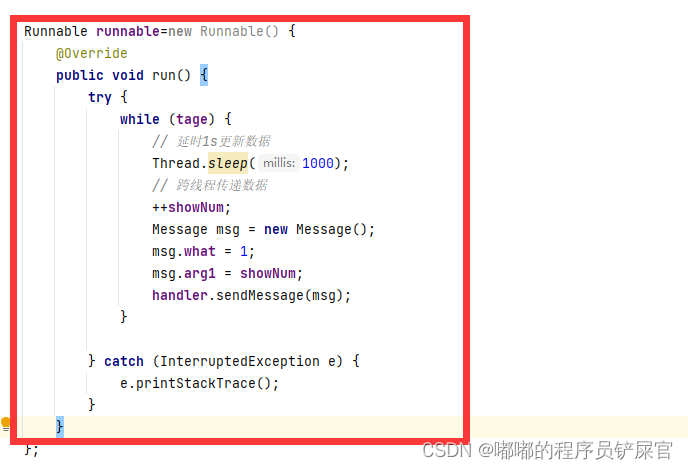
在点击停止计时线程调用interrupt()方法是为了停止休眠(tage是执行标识)
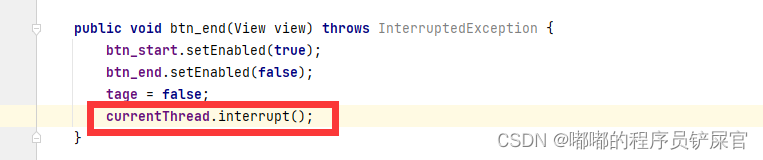
该线程会进入中断异常
- 跨线程更新UI
有五种方式实现UI的更新,可以学习这篇博文Android在子线程中更新UI的几种方法示例,本项目通过Handler实现UI的更新
三.项目源码
微信公众号搜索程序员孤夜(或扫描下方二维码),后台回复 安卓源码 获取项目总文件(projects),在总文件下的Project6就是本篇博文对应的源码!