这是机器未来的第27篇文章
原文首发地址:https://blog.csdn.net/RobotFutures/article/details/125611861
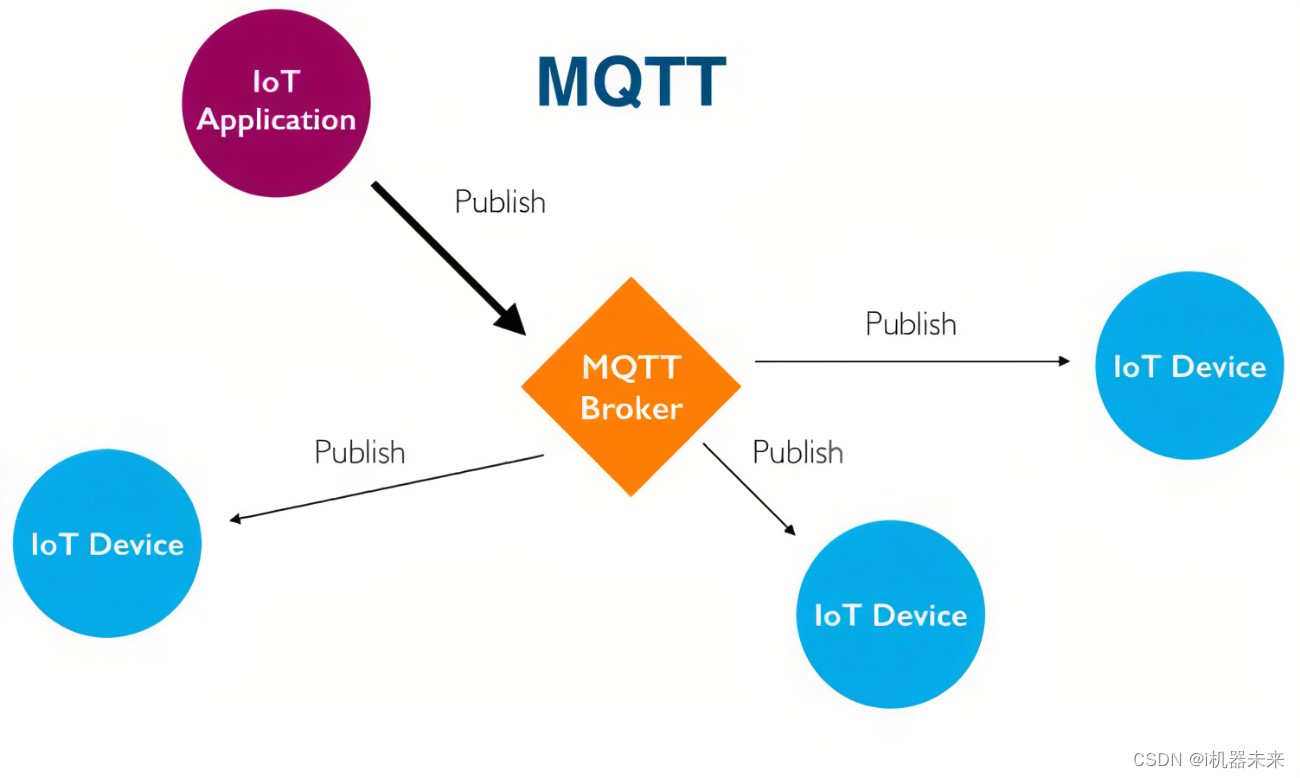
1. 概述
本文记录了如何快速构建MQTT TLS安全加密通讯。
2. 单向认证
2.1. 生成证书
- 生成证书颁发机构证书和密钥
openssl req -new -x509 -days 180 -extensions v3_ca -keyout ca.key -out ca.crt
例子:
root@cc58e655b170:/home/zhou/tensorflow/workspace/cert2# openssl req -new -x509 -days 180 -extensions v3_ca -keyout ca.key -out ca.crt
Generating a RSA private key
.......................................................................................+++++
...................................................................+++++
writing new private key to 'ca.key'
Enter PEM pass phrase:		# 此处密码填写随意,后面签名证书时会用到
Verifying - Enter PEM pass phrase: # 重复输入密码
-----
You are about to be asked to enter information that will be incorporated
into your certificate request.
What you are about to enter is what is called a Distinguished Name or a DN.
There are quite a few fields but you can leave some blank
For some fields there will be a default value,
If you enter '.', the field will be left blank.
-----
Country Name (2 letter code) [AU]:CN
State or Province Name (full name) [Some-State]:CHINA
Locality Name (eg, city) []:BEIJING
Organization Name (eg, company) [Internet Widgits Pty Ltd]:IOT Company
Organizational Unit Name (eg, section) []:MQTT
Common Name (e.g. server FQDN or YOUR name) []:
Email Address []:
-
生成服务器密钥
- 生成不加密的服务器密钥
openssl genrsa -out server.key 2048例子:
root@cc58e655b170:# openssl genrsa -out server.key 2048 Generating RSA private key, 2048 bit long modulus (2 primes) .................................................+++++ ........................................................................+++++ e is 65537 (0x010001)- 生成服务器密钥
openssl genrsa -des3 -out server.key 2048 -
生成一个证书签名请求发送给CA
openssl req -out server.csr -key server.key -new
示例:
root@cc58e655b170:/home/cert2# openssl req -out server.csr -key server.key -new
You are about to be asked to enter information that will be incorporated
into your certificate request.
What you are about to enter is what is called a Distinguished Name or a DN.
There are quite a few fields but you can leave some blank
For some fields there will be a default value,
If you enter '.', the field will be left blank.
-----
Country Name (2 letter code) [AU]:CN
State or Province Name (full name) [Some-State]:CHINA
Locality Name (eg, city) []:BEIJING
Organization Name (eg, company) [Internet Widgits Pty Ltd]:IOT Company
Organizational Unit Name (eg, section) []:MQTT
Common Name (e.g. server FQDN or YOUR name) []:127.0.0.1 # 此处必须和MQTT Broker的IP地址一致
Email Address []:

Please enter the following 'extra' attributes
to be sent with your certificate request
A challenge password []:
An optional company name []:
注意:Common Name (e.g. server FQDN or YOUR name)必须和MQTT Broker的IP地址一致
- 用CA证书对服务器证书进行签名
openssl x509 -req -in server.csr -CA ca.crt -CAkey ca.key -CAcreateserial -out server.crt -days 180
示例:
root@cc58e655b170:/home/cert2# openssl x509 -req -in server.csr -CA ca.crt -CAkey ca.key -CAcreateserial -out server.crt -days  180
Signature ok
subject=C = CN, ST = CHINA, L = BEIJING, O = IOT Company, OU = MQTT, CN = 127.0.0.1
Getting CA Private Key
Enter pass phrase for ca.key:
2.2 创建访问用户名与密码
在mosquitto-2.0.14版本中,如果开启了TSL,必须配置用户名与密码,否则会报错:
PS D:\110_Work_ProductsResearch\111-Router\mosquitto> mosquitto.exe -c .\mosquitto.conf -v
1647950672: mosquitto version 2.0.14 starting
1647950672: Config loaded from .\mosquitto.conf.
1647950672: Opening ipv6 listen socket on port 8883.
1647950672: Opening ipv4 listen socket on port 8883.
1647950672: mosquitto version 2.0.14 running
1647950675: New connection from 127.0.0.1:2014 on port 8883.
1647950675: Sending CONNACK to auto-866C8338-D0EB-3239-0AD4-E1787CD80D0E (0, 5)
1647950675: Client auto-866C8338-D0EB-3239-0AD4-E1787CD80D0E disconnected, not authorised.
配置命令行如下
mosquitto_passwd -c passwd [username]
示例如下:
PS D:\110_Work_ProductsResearch\111-Router\mosquitto> mosquitto_passwd -c passwd demo
Password:
Reenter password:
命令执行完毕后,会在当前目录下生成passwd文件
2.3. 配置mosquitto
配置内容如下:
listener 8883		# 配置TSL访问端口号
cafile D:\110_Work_ProductsResearch\111-Router\mosquitto\cert\ca.crt	# 配置CA证书路径
certfile D:\110_Work_ProductsResearch\111-Router\mosquitto\cert\server.crt	# 配置服务器证书
keyfile D:\110_Work_ProductsResearch\111-Router\mosquitto\cert\server.key	# 配置服务器密钥
password_file D:\110_Work_ProductsResearch\111-Router\mosquitto\passwd	# 配置的用户名与密码文件
2.4 启动mosquitto broker
mosquitto.exe -c .\mosquitto.conf -v
-c 指定配置文件路径
-v 开启日志调试输出
2.5 订阅topic
mosquitto_sub.exe --cafile D:\110_Work_ProductsResearch\111-Router\mosquitto\cert\ca.crt -t hello -h 127.0.0.1 -u demo -P 123456 -v
–cafile:指定ca证书文件
-h:指定mqtt broker地址,这里必须指定,且必须和服务器证书生成时填写的CN域(Common Name (e.g. server FQDN or YOUR name))一致
-u: 指定用户名,这里用户名为demo
-P:指定密码,这里密码为123456
-t:指定topic,这里topic为hello
-v:开启日志
2.6 发布topic
PS D:\110_Work_ProductsResearch\111-Router\mosquitto> mosquitto_pub.exe --cafile D:\110_Work_ProductsResearch\111-Router\mosquitto\cert\ca.crt -h 127.0.0.1 -u demo -P 123456 -t hello -m world
–cafile:指定ca证书文件
-h:指定mqtt broker地址,这里必须指定,且必须和服务器证书生成时填写的CN域(Common Name (e.g. server FQDN or YOUR name))一致
-u: 指定用户名,这里用户名为demo
-P:指定密码,这里密码为123456
-t:指定topic,这里topic为hello
-m:指定发布的消息,这里的消息为world
命令执行后,mosquitto broker的日志输出如下:
PS D:\110_Work_ProductsResearch\111-Router\mosquitto> mosquitto.exe -c .\mosquitto.conf -v
1647950979: mosquitto version 2.0.14 starting
1647950979: Config loaded from .\mosquitto.conf.
1647950979: Opening ipv6 listen socket on port 8883.
1647950979: Opening ipv4 listen socket on port 8883.
1647950979: mosquitto version 2.0.14 running
1647951029: New connection from 127.0.0.1:2023 on port 8883.
1647951029: New client connected from 127.0.0.1:2023 as auto-E01CCC51-3E9E-D68B-72FD-91449420C2B6 (p2, c1, k60, u'zsm').
1647951029: No will message specified.
1647951029: Sending CONNACK to auto-E01CCC51-3E9E-D68B-72FD-91449420C2B6 (0, 0)
1647951029: Received PUBLISH from auto-E01CCC51-3E9E-D68B-72FD-91449420C2B6 (d0, q0, r0, m0, 'hello', ... (5 bytes))
1647951029: Received DISCONNECT from auto-E01CCC51-3E9E-D68B-72FD-91449420C2B6
1647951029: Client auto-E01CCC51-3E9E-D68B-72FD-91449420C2B6 disconnected.
1647952549: New connection from 127.0.0.1:1904 on port 8883.
1647952549: New client connected from 127.0.0.1:1904 as auto-5FA766C4-8CF2-4EB4-1049-919E327CB45B (p2, c1, k60, u'zsm').
1647952549: No will message specified.
1647952549: Sending CONNACK to auto-5FA766C4-8CF2-4EB4-1049-919E327CB45B (0, 0)
1647952549: Received SUBSCRIBE from auto-5FA766C4-8CF2-4EB4-1049-919E327CB45B
1647952549:     hello (QoS 0)
1647952549: auto-5FA766C4-8CF2-4EB4-1049-919E327CB45B 0 hello
1647952549: Sending SUBACK to auto-5FA766C4-8CF2-4EB4-1049-919E327CB45B
可以看到使用TSL加密传输后,通讯已经OK,至此,MQTT TLS加密传输已经搭建完毕,后续再考虑研究双向认证;
《MQTT从入门到提高系列》快速导航:
写在末尾:
- 博客简介:专注AIoT领域,追逐未来时代的脉搏,记录路途中的技术成长!
- 专栏简介:从0到1掌握分布式消息中间件MQTT的使用。
- 面向人群:具备嵌入式开发基础的初级以上程序员
- 专栏计划:接下来会逐步发布跨入人工智能的系列博文,敬请期待
- Python零基础快速入门系列
- 快速入门Python数据科学系列
- 人工智能开发环境搭建系列
- 机器学习系列
- 物体检测快速入门系列
- 自动驾驶模拟器AirSim入门系列
- 自动驾驶物体检测系列
- …