保姆级教程带你在VMware中安装Linux Debinan操作系统
1.Debinan系统介绍
Debinan是精简的Linux发行版本,有干净的作业环境
拥有方便高效的软件包管理程序和deb软件包,可以让用户容易的查找、安装、移除、更新程序,或者系统升级,健全的软件管理制度,包括了bug汇报、包维护等制度
ubuntu与Debinan使用使用的deb软件包格式
Debinan默认没有selinux和防火墙规则
默认没有安装rsync、bashrc文件注释了命令别名,不允许远程登录
Debinan系统发行版
派生Linux发行版
主条目: Linux发行版列表8基于Dpkg (Debinan系)
Kanotix-- LiveCD及Debinan安装程序。
Knoppix-- LiveCD,同时亦有数个分支,包括Morphix、Quantian、Whoppix 及Xfld。
Stanix----接口像微软Windows的LiveCD。
Libranet–目标是作为更易设置的发行版。
MEPIS–建基于KDE桌面环境,以新手为目标的发行版。
CoLinux–将Debinan融于Windows的发行版。
Ubuntu–基于Unity桌面环境的发行版。其亦有不同的分支,而几乎每一一个分支都有LiveCD (LiveCD也提供安装的功能)。
Deepin—深度操作系统,由中国武汉深之度科技有限公司开发的国产操作系统,以其特色应用与特色桌面环境(DDE)闻名。
Xandros–Corel Linux的商业支持版本。
Linux Mint Debinan Edition–基于Debinan Testing的滚动更新版本。有分别使用MATE和Cinnamon作为默认桌面环境的两个版本。
B2D/OB2D Linux–OB2D XFCE服务器版本,以及B2D 2018桌面版,采用快速安装接口,只要5~15分钟即可完成安装。
2.Debinan操作系统安装
2.1.下载iso镜像
华为云镜像:https://mirrors.huaweicloud.com/os/image
8.10:https://cdimage.Debinan.org/cdimage/archive/8.10.0/amd64/iso-dvd/Debinan-8.10.0-amd64-DVD-1.iso
2.2.安装Debinan
运行虚拟机,选上我们下载的镜像
选择图形化安装

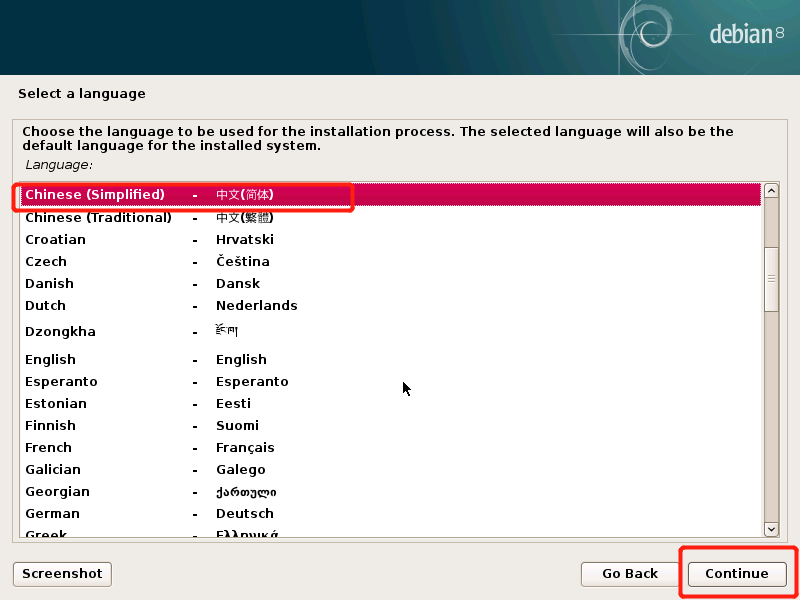
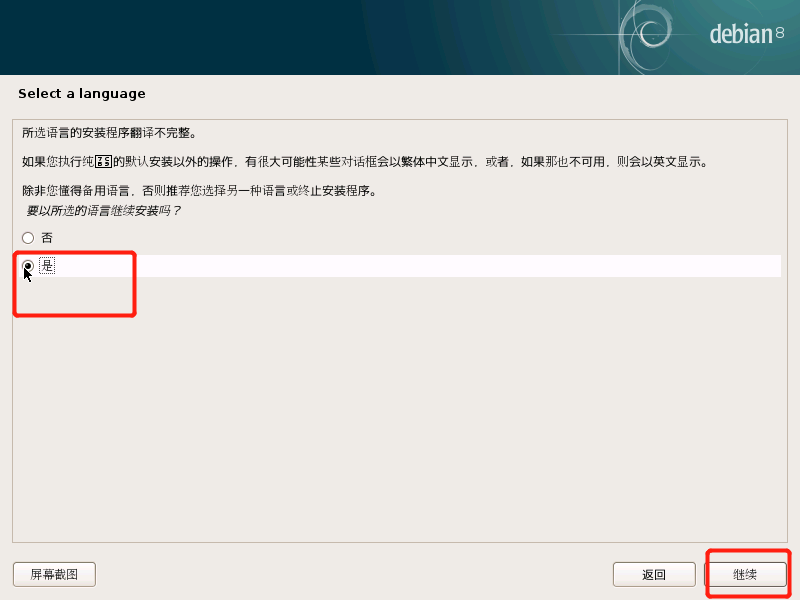
2.3.语言选择中文
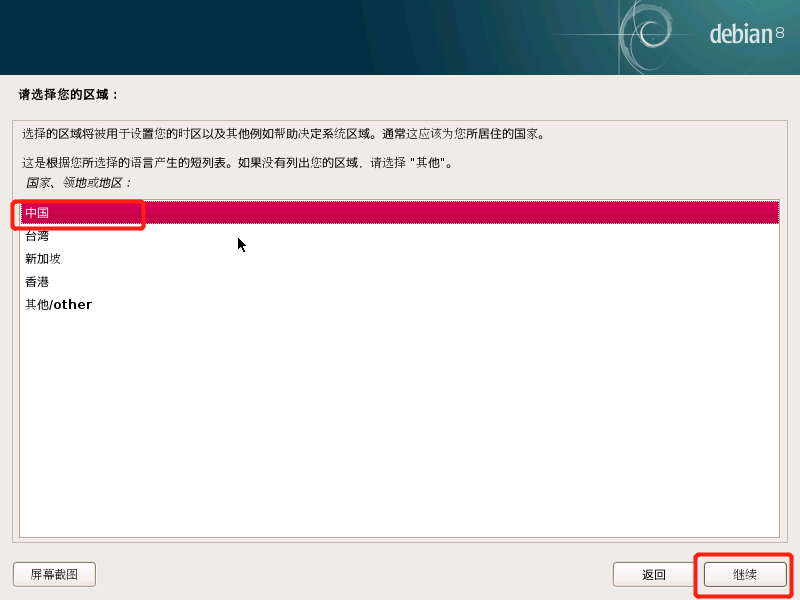
2.4.选择区域为中国
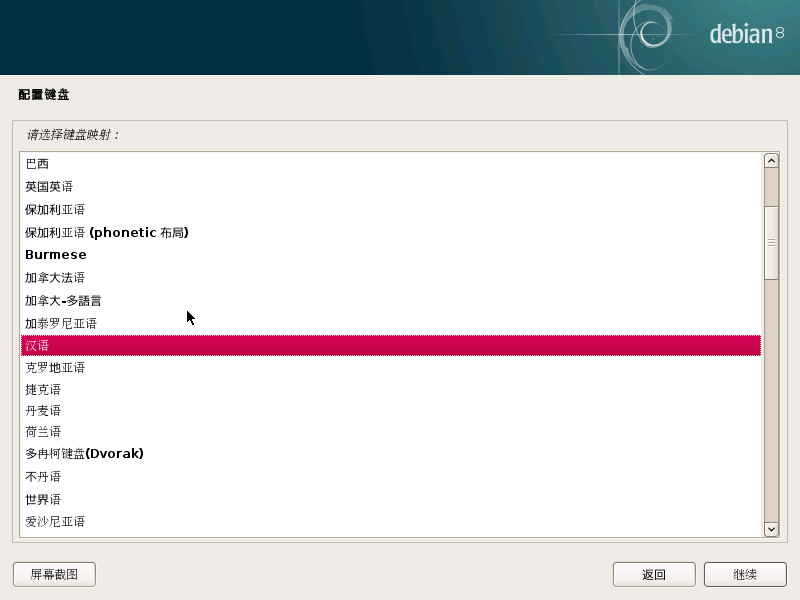
2.5.键盘选择汉语
2.6.挂载光盘

2.7.设置主机名

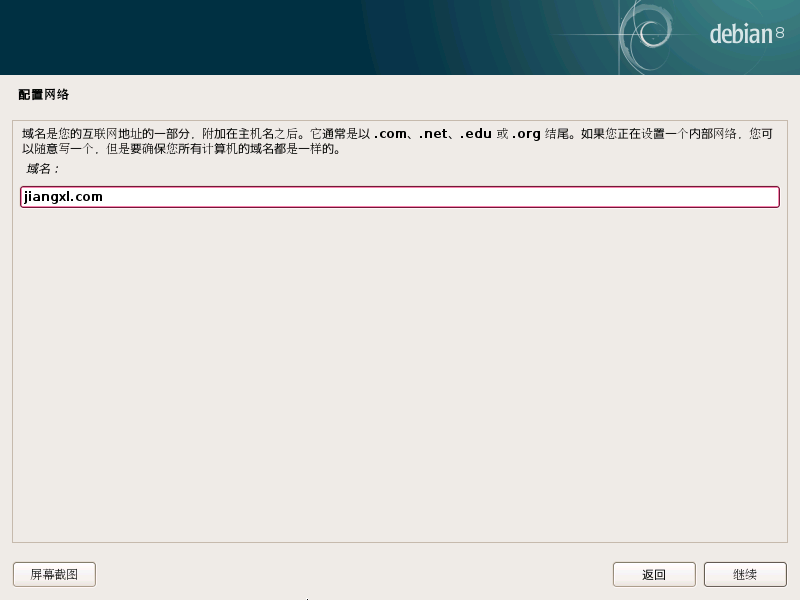
2.8.设置域名
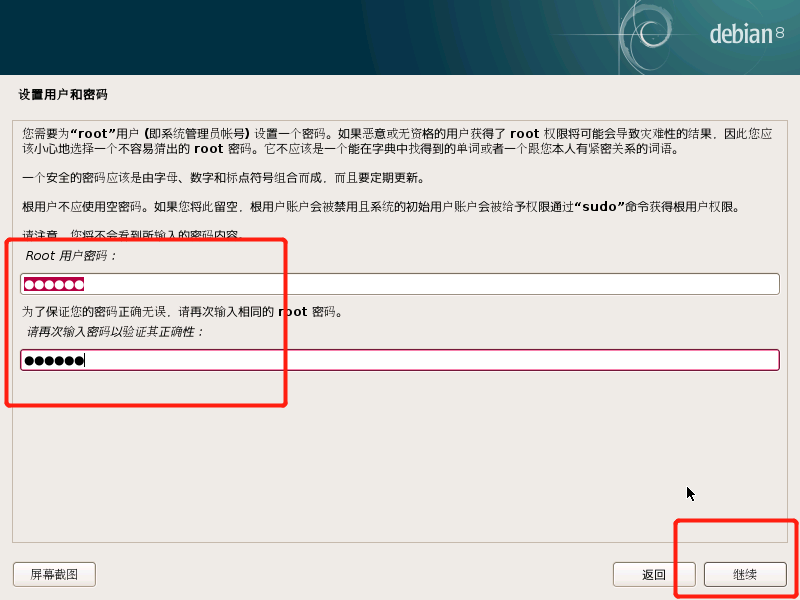
2.9.设置root密码
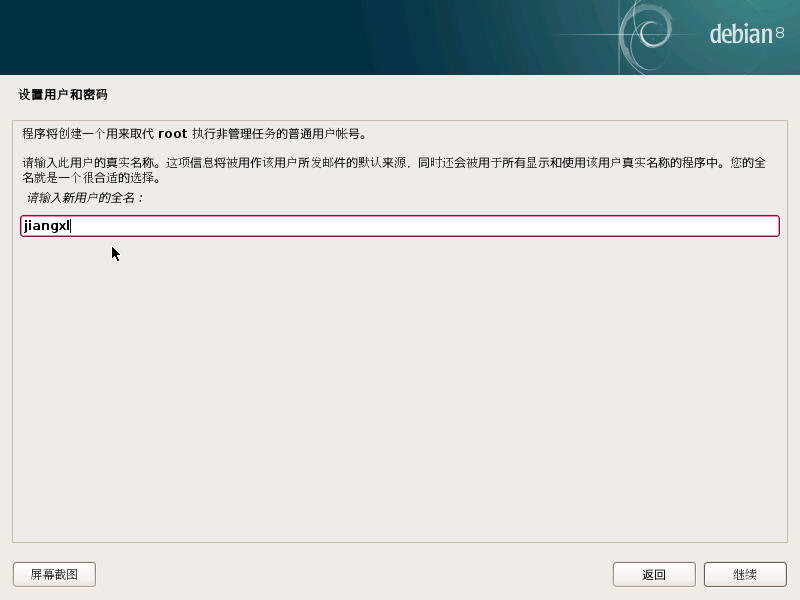
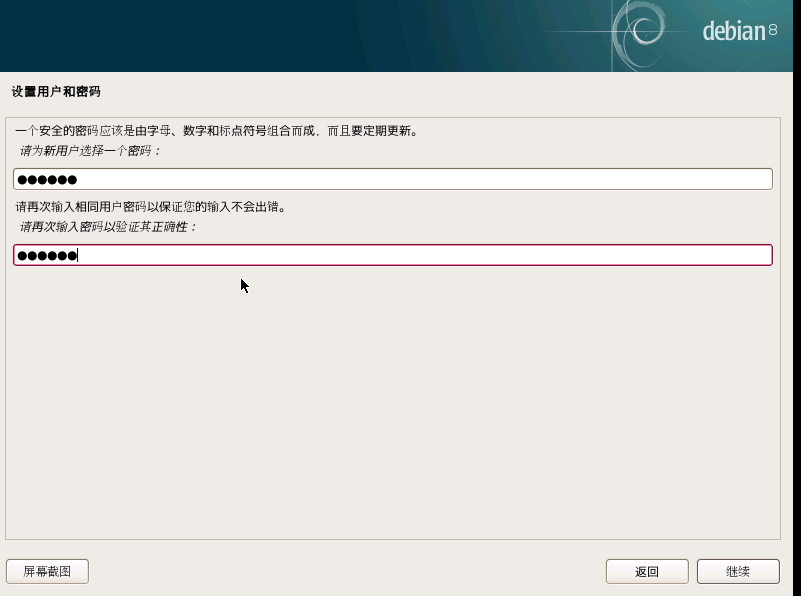
2.10.创建一个新的用户
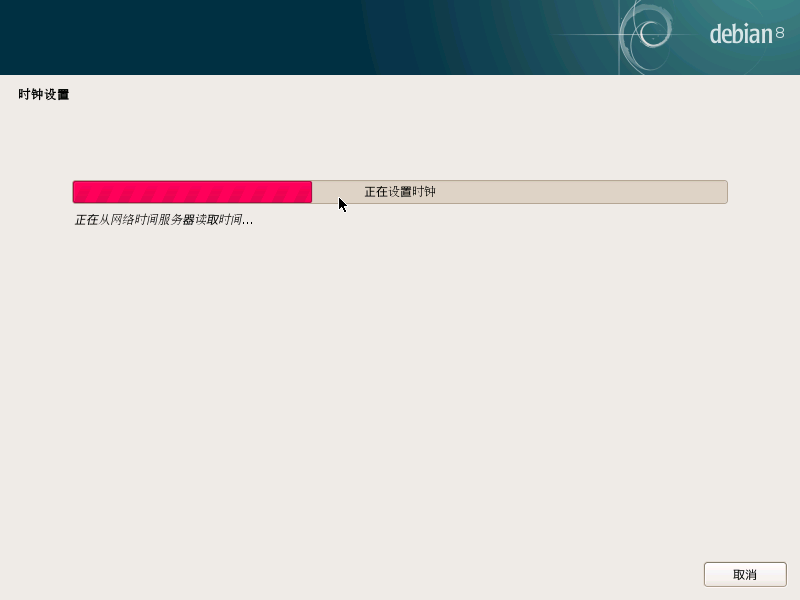
2.11设置时钟
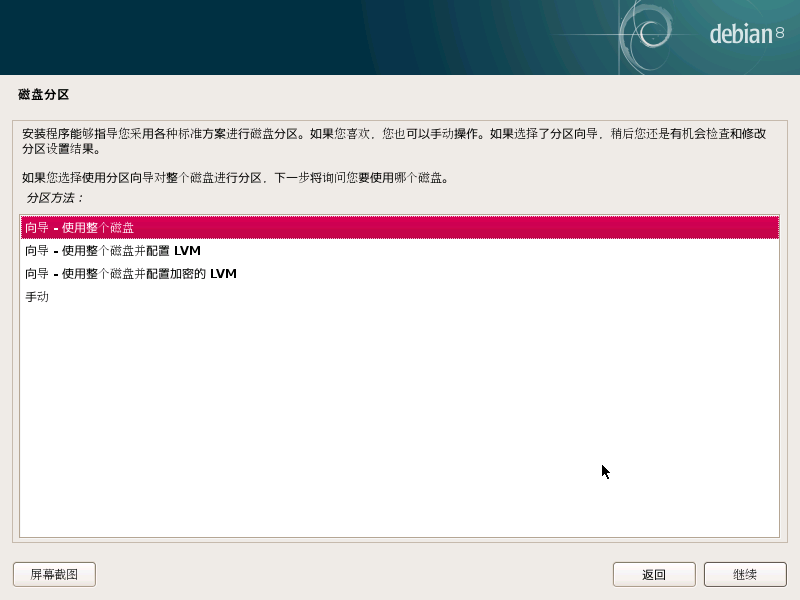
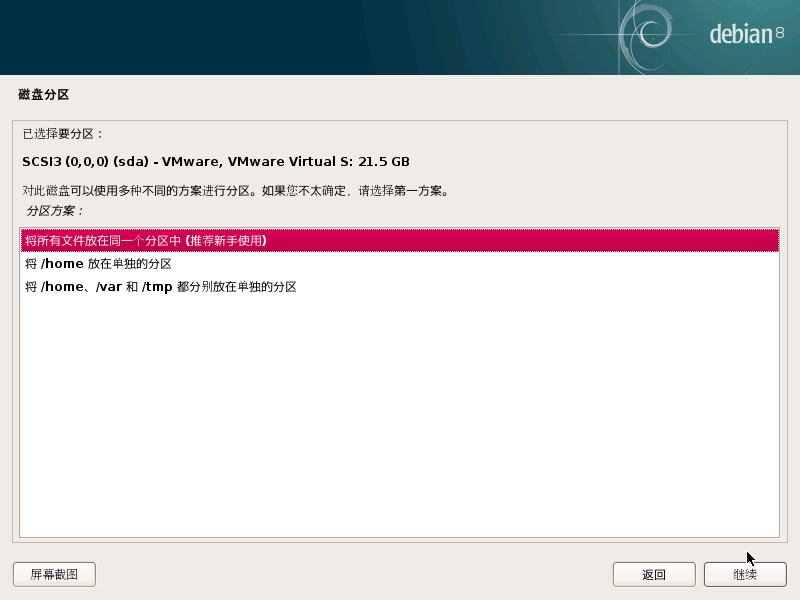
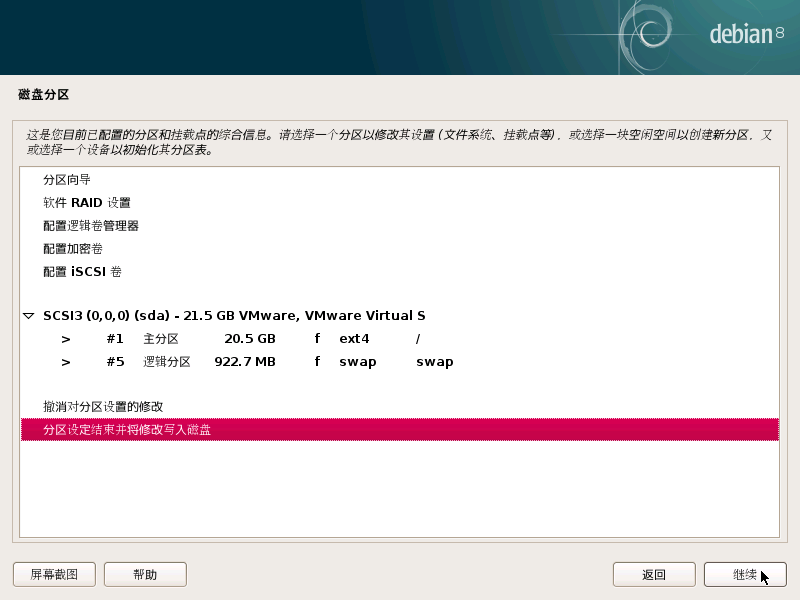
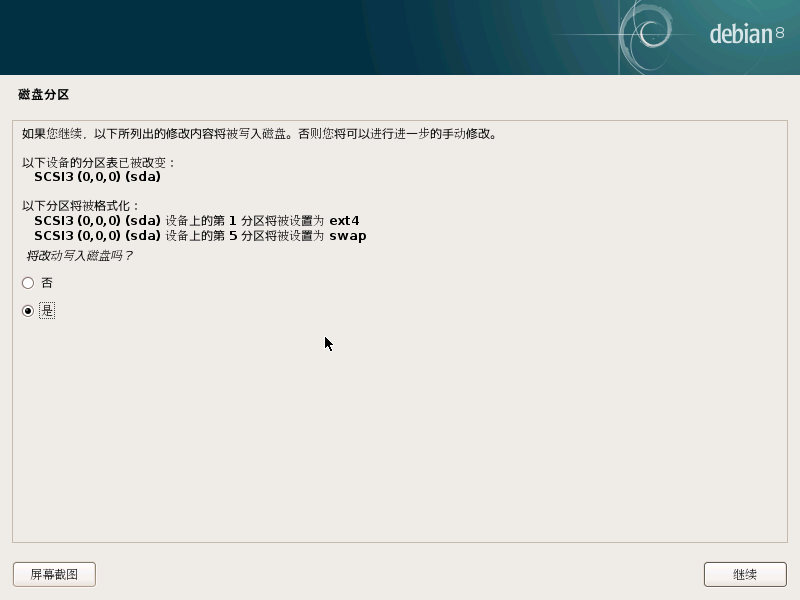
2.12.配置分区

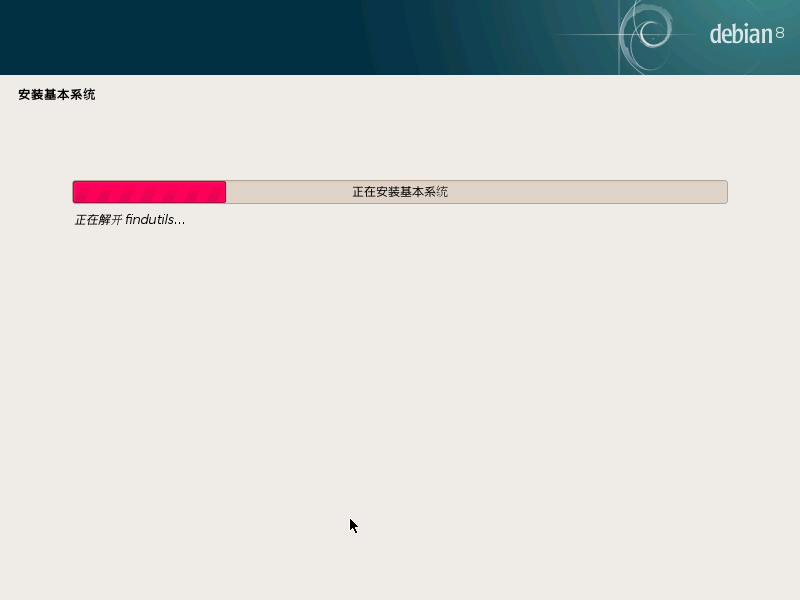
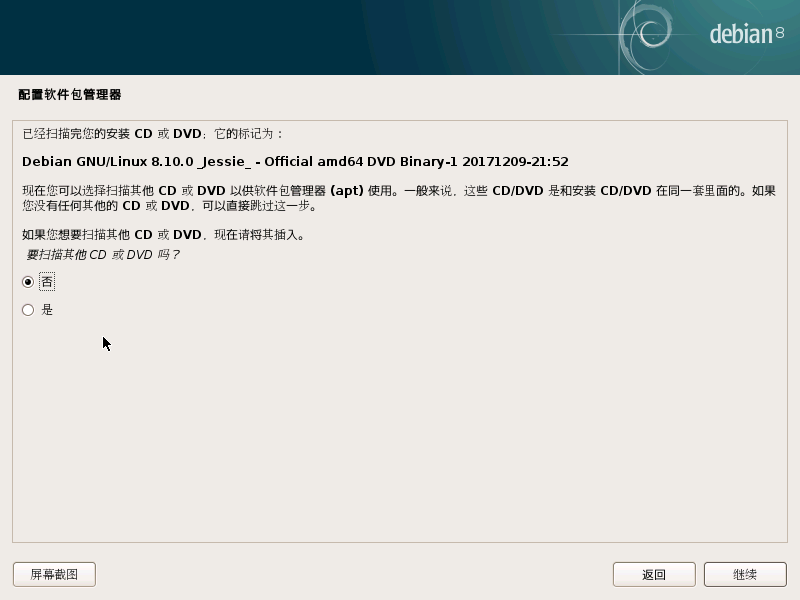
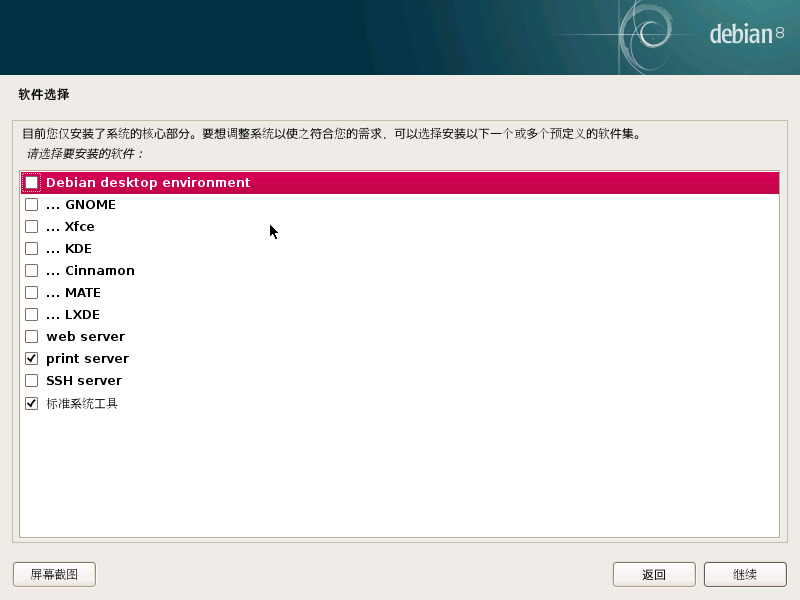
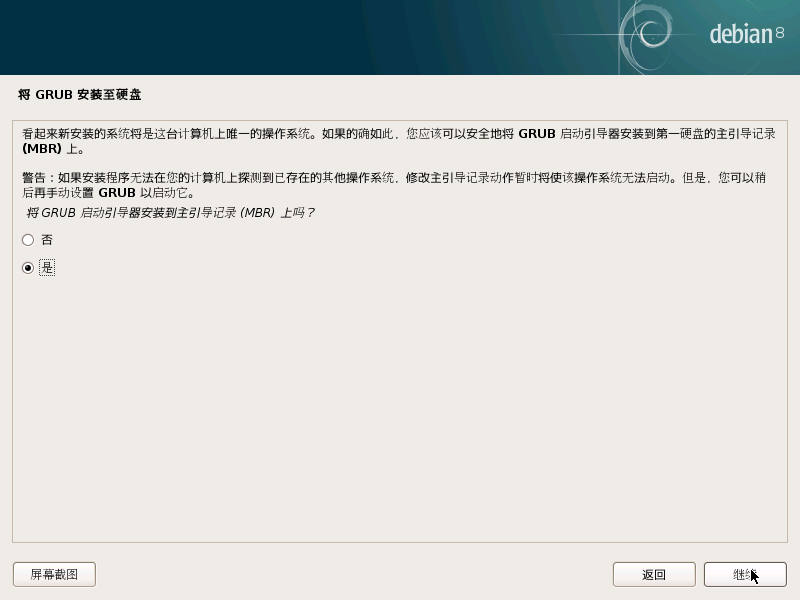
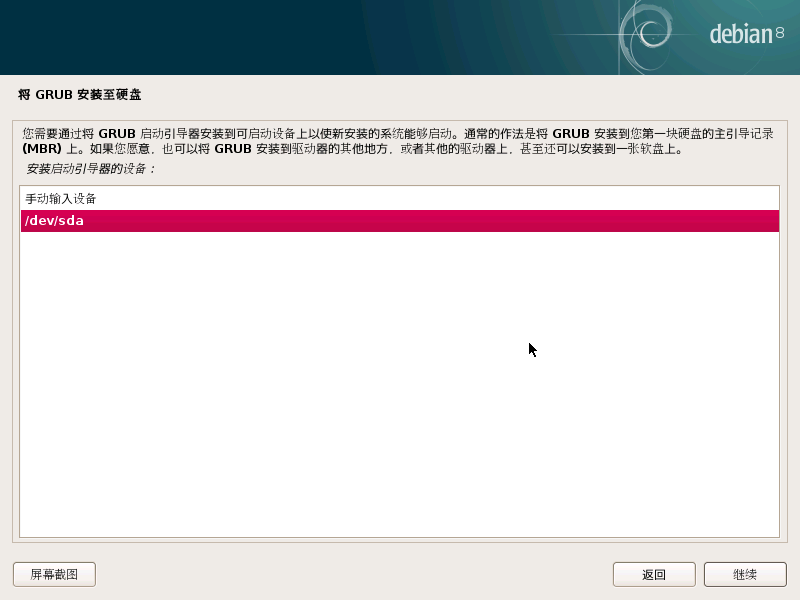
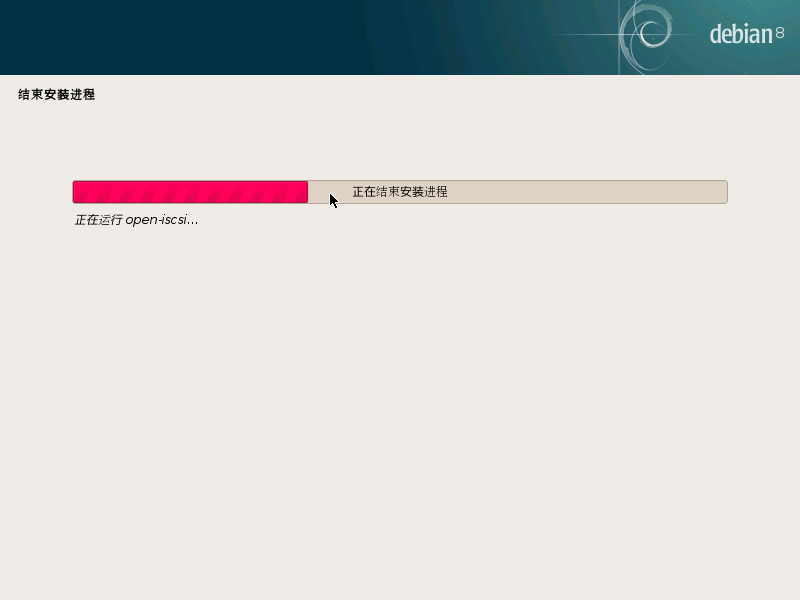
2.13.安装系统
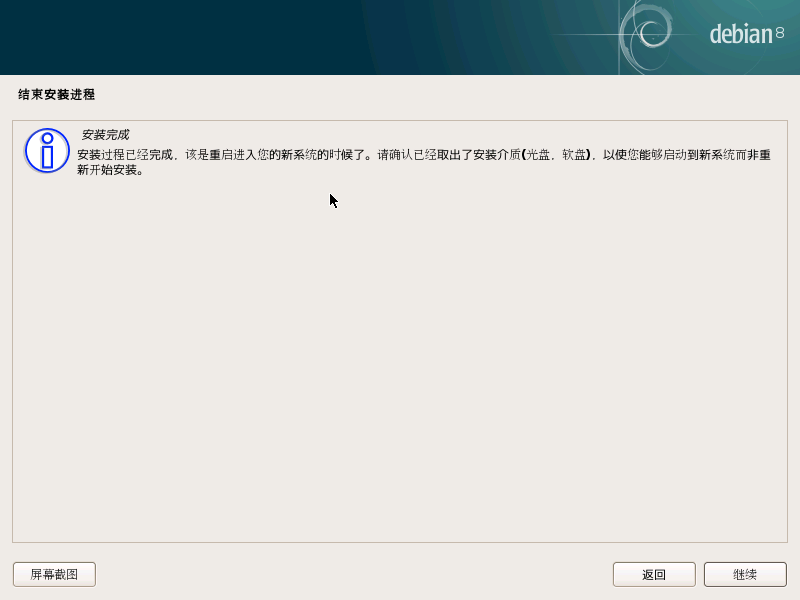
2.14重启完成安装
2.15.登陆系统

3.Debinan系统基本操作
3.1.修改网卡
root@Debinan:~# vi /etc/network/interfaces
allow-hotplug eth0
iface eth0 inet static
address 192.168.81.200
netmask 255.255.255.0
gateway 192.168.81.2

root@Debinan:~# systemctl restart networking.service
3.2.配置sshd
Debinan安装完系统默认拒绝root登陆xshell
root@Debinan:~# vi /etc/ssh/sshd_config
PermitRootLogin yes

root@Debinan:~# systemctl restart sshd
3.3.查看系统版本号
root@Debinan:~# cat /etc/Debinan_version
8.10
root@Debinan:~# uname -r
3.16.0-4-amd64
3.4.配置apt镜像源
可以使用清华园https://mirrors.tuna.tsinghua.edu.cn/help/Debinan/
Debinan8代表Jessie
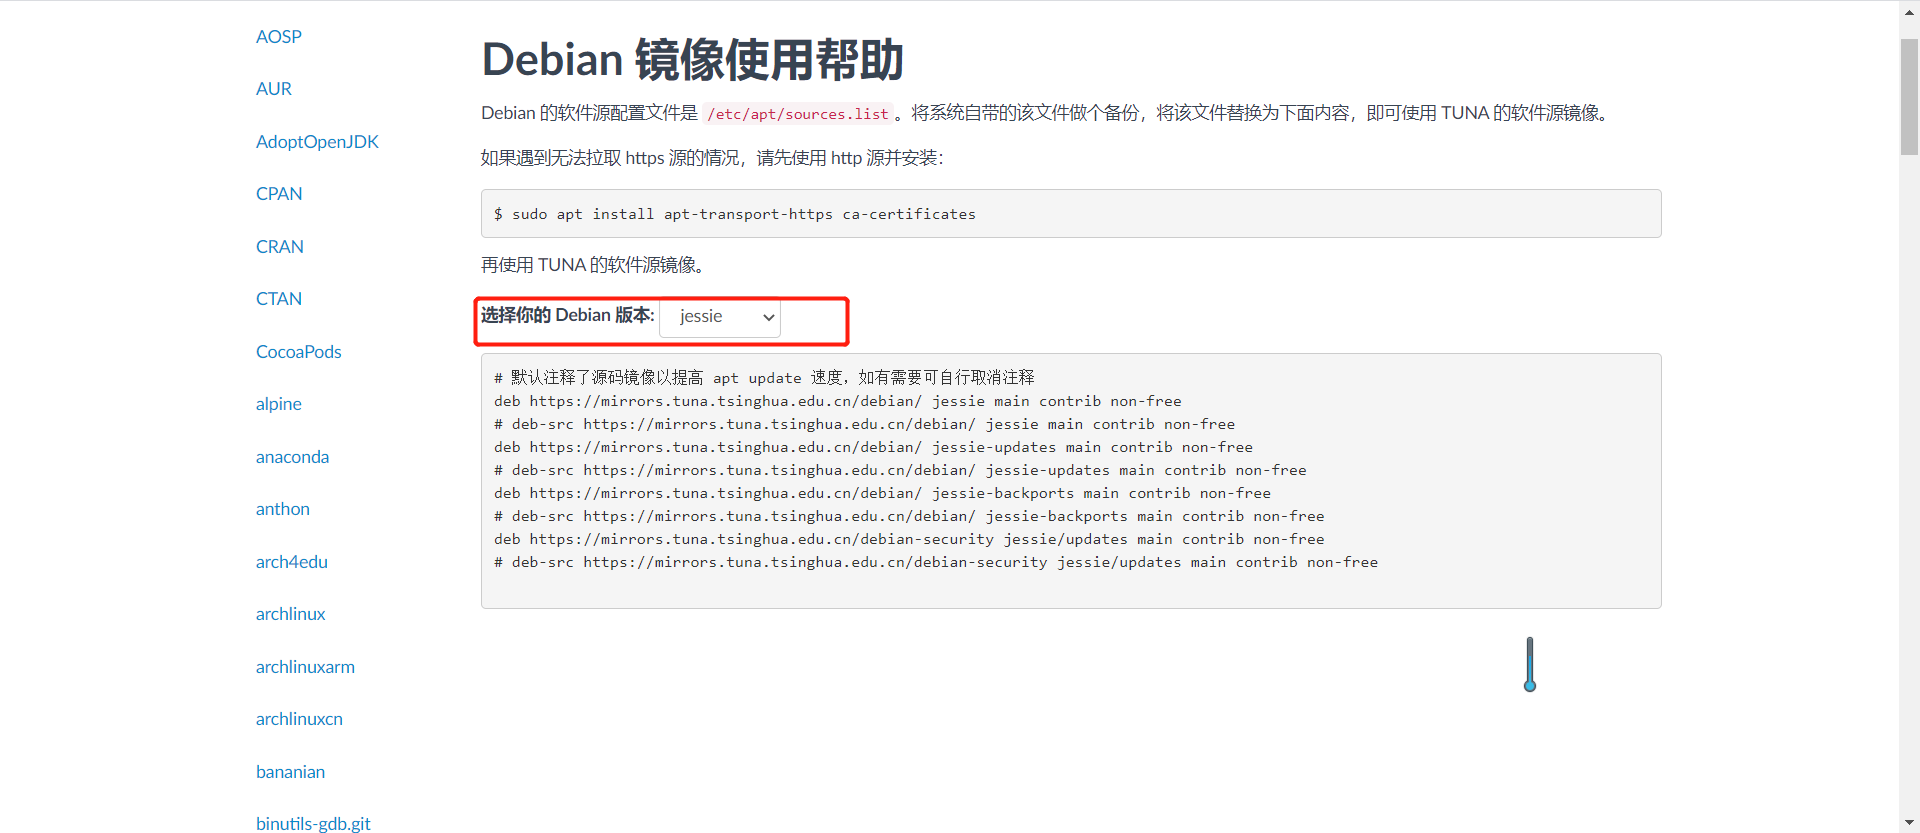
root@Debinan:~# vi /etc/apt/sources.list
deb https://mirrors.tuna.tsinghua.edu.cn/Debinan/ jessie main contrib non-free
# deb-src https://mirrors.tuna.tsinghua.edu.cn/Debinan/ jessie main contrib non-free
deb https://mirrors.tuna.tsinghua.edu.cn/Debinan/ jessie-updates main contrib non-free
# deb-src https://mirrors.tuna.tsinghua.edu.cn/Debinan/ jessie-updates main contrib non-free
deb https://mirrors.tuna.tsinghua.edu.cn/Debinan/ jessie-backports main contrib non-free
# deb-src https://mirrors.tuna.tsinghua.edu.cn/Debinan/ jessie-backports main contrib non-free
deb https://mirrors.tuna.tsinghua.edu.cn/Debinan-security jessie/updates main contrib non-free
# deb-src https://mirrors.tuna.tsinghua.edu.cn/Debinan-security jessie/updates main contrib non-free
3.5.更新软件列表
root@Debinan:~# apt-get update
3.6.使用apt安装服务
root@Debinan:~# apt install openssh-server -y
root@Debinan:~# apt-get -y install vim tree lsof
3.7.apt相关文件
| 文件路径 | 含义 |
|---|---|
| /etc/apt/sources.list | 设置软件包的获取来源 |
| /etc/apt/apt_conf.d | apt的各种配置文件 |
| /var/cache/apt/archives | 存放已经下载的软件包 |
| /var/cache/apt/archives/partial | 存放正在下载的软件包 |
| /var/lib/apt/lists | 存放已经下载的软件包详细信息 |
| /var/lib/apt/lists/partial | 存放正在下载的软件包详细信息 |
3.8.apt-get子命令
| 命令 | 含义 |
|---|---|
| update | 更新软件包列表 |
| upgrade | 更新系统中的所有软件 |
| install | 安装软件包 |
| remove | 卸载软件包 |
| autoremove | 仅删除不需要再次下载的软件包 |
| purge | 彻底删除软件包,包括配置文件 |
| source | 下载源代码 |
| build-dep | 自动下载安装编译某个软件所需要的软件包 |
| dist-upgrade | 升级整个发行版 |
| clean | 删除本地缓存中所有的升级包 |
| autoclean | 删除本地缓存中无用的软件包 |
| check | 检查是否存在依赖关系 |
3.9.使用命令别名
Debinan默认将所有的命令别名全部注释了
root@Debinan:~# vim .bashrc
alias ls='ls $LS_OPTIONS'
alias ll='ls $LS_OPTIONS -l'
alias l='ls $LS_OPTIONS -lA
alias rm='rm -i'
alias cp='cp -i'
alias mv='mv -i'
root@Debinan:~# source .bashrc
3.10.apt-get命令选项
| 参数 | 含义 |
|---|---|
| -d | 仅下载,不安装 |
| -f | 修复依赖问题 |
| -m | 忽略缺失的软件包,遇到无法下载的软件包,自动忽略 |
| –no-download | 禁止下载软件包 |
| -q | 静默模式,输出信息 |
| -s | 模拟测试 |
| -y | 自动输入yes |
| -u | 显示已升级的软件 |
| -V | 显示已安装软件的版本号 |
| -b | 源码包下载后自动编译 |
| –ignore-hold | 忽略被保留的软件包 |
| –no-upgrade | 不要升级 |
| –force-yes | 强制回答yes |
| –print-uris | 仅答应软件包地址,不安装 |
| –purge | 彻底删除 |
| –reinstall | 重新安装 |
3.11.查询一个包信息
root@Debinan:~# apt-cache search vim
vim - Vi IMproved - enhanced vi editor
vim-runtime - Vi IMproved - Runtime files
vim-tiny - Vi IMproved - enhanced vi editor - compact version
vim-common - Vi IMproved - Common files
4.制作本地的deb源
4.1.安装nginx并配置目录索引
root@Debinan:~# apt-get -y install nginx

root@Debinan:~# vim /etc/nginx/conf.d/repo.conf
server {
	listen 888;
	server_name jiangxl.com;

	location / {
		root /data/web;
		autoindex on;
	}
}

root@Debinan:~# nginx -t
nginx: the configuration file /etc/nginx/nginx.conf syntax is ok
nginx: configuration file /etc/nginx/nginx.conf test is successful

root@Debinan:~# mkdir /data/web/Packages -p

root@Debinan:~# systemctl start nginx
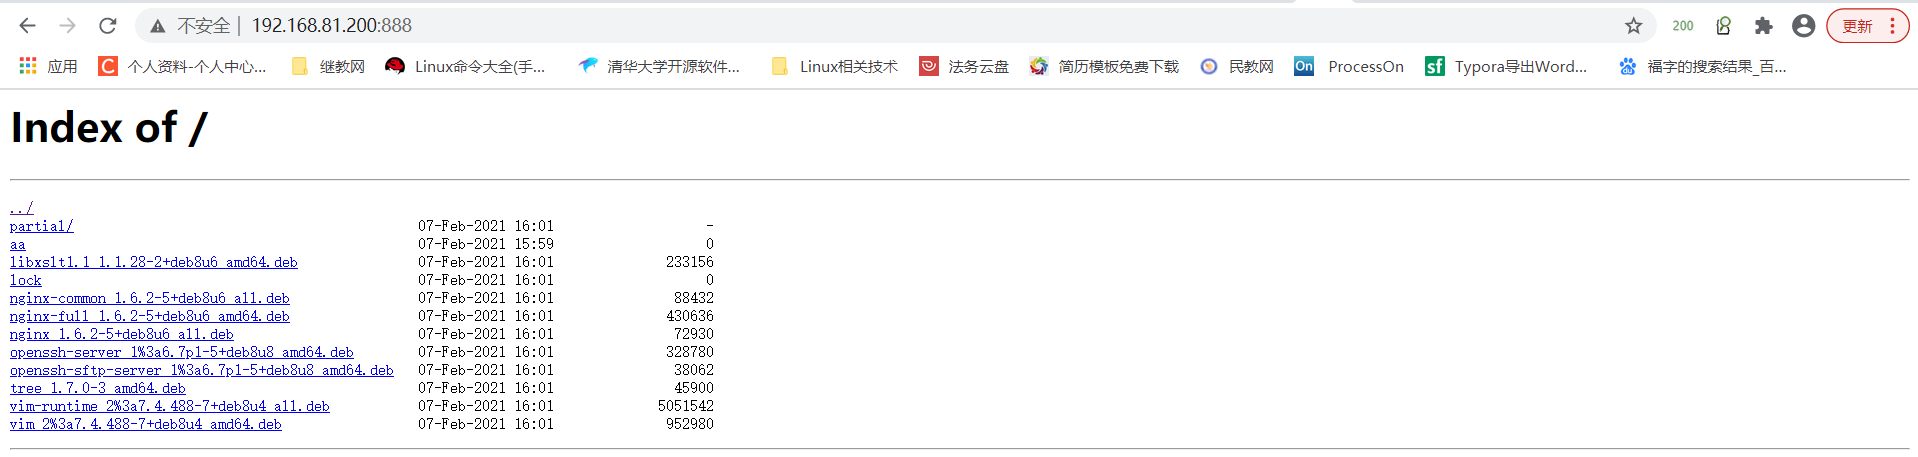
4.2.将软件包复制到站点目录并制作packages
root@Debinan:~# cp -r /var/cache/apt/archives/* /data/web/Packages

root@Debinan:~# cd /data/web/Packages
root@Debinan:/data/web# dpkg-scanpackages ./ /dev/null | gzip -9c > Packages.gz
dpkg-scanpackages: warning: Packages in archive but missing from override file:
dpkg-scanpackages: warning:   libxslt1.1 nginx nginx-common nginx-full openssh-server openssh-sftp-server tree vim vim-runtime
dpkg-scanpackages: info: Wrote 9 entries to output Packages file.
4.3.访问站点是否可用
4.4.配置deb源
root@Debinan:~# vim /etc/apt/sources.list
deb http://192.168.81.200:888/ /
4.5.安装一个软件
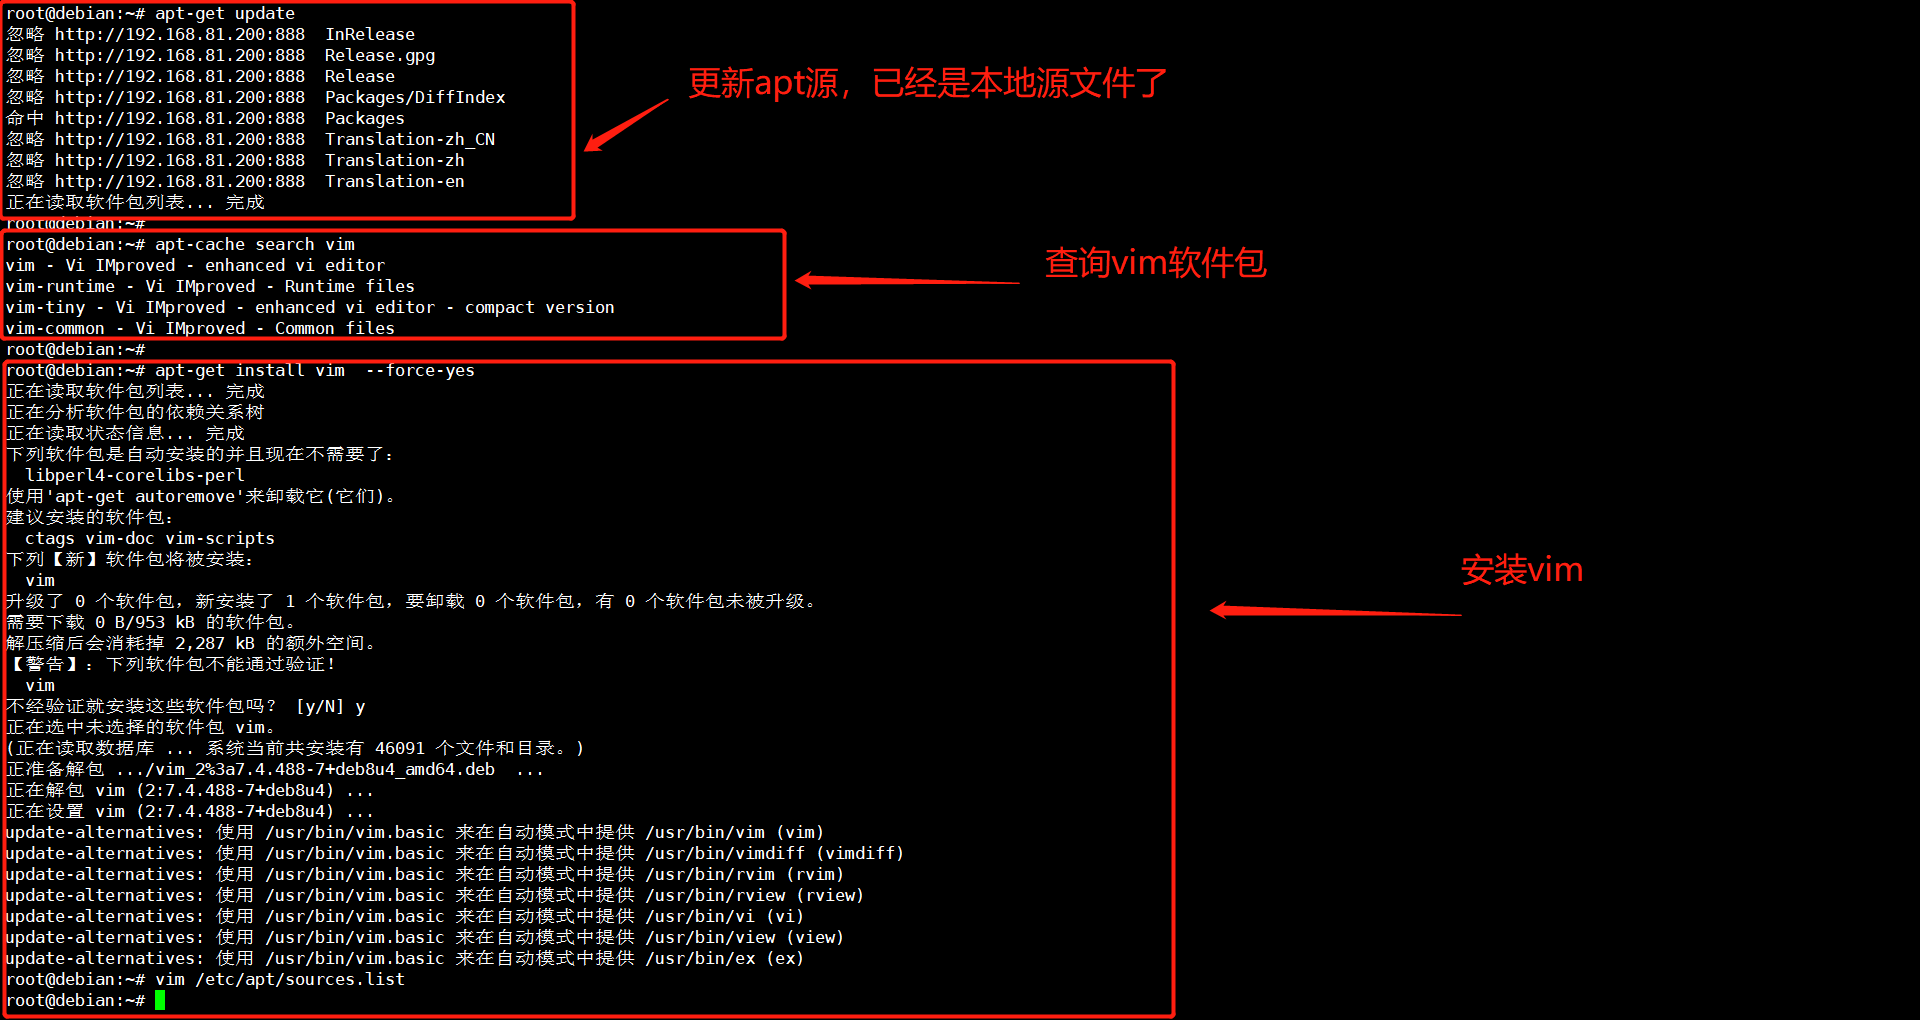
1.卸载vim
root@Debinan:~# apt-get remove vim

2.更新源
root@Debinan:~# apt-get update
忽略 http://192.168.81.200:888  InRelease
忽略 http://192.168.81.200:888  Release.gpg
忽略 http://192.168.81.200:888  Release
忽略 http://192.168.81.200:888  Packages/DiffIndex
命中 http://192.168.81.200:888  Packages
忽略 http://192.168.81.200:888  Translation-zh_CN
忽略 http://192.168.81.200:888  Translation-zh
忽略 http://192.168.81.200:888  Translation-en
正在读取软件包列表... 完成

3.查询vim包
root@Debinan:~# apt-cache search vim

4.安装vim
root@Debinan:~# apt-get install vim  --force-yes

5.使用vim
root@Debinan:~# vim /etc/apt/sources.list