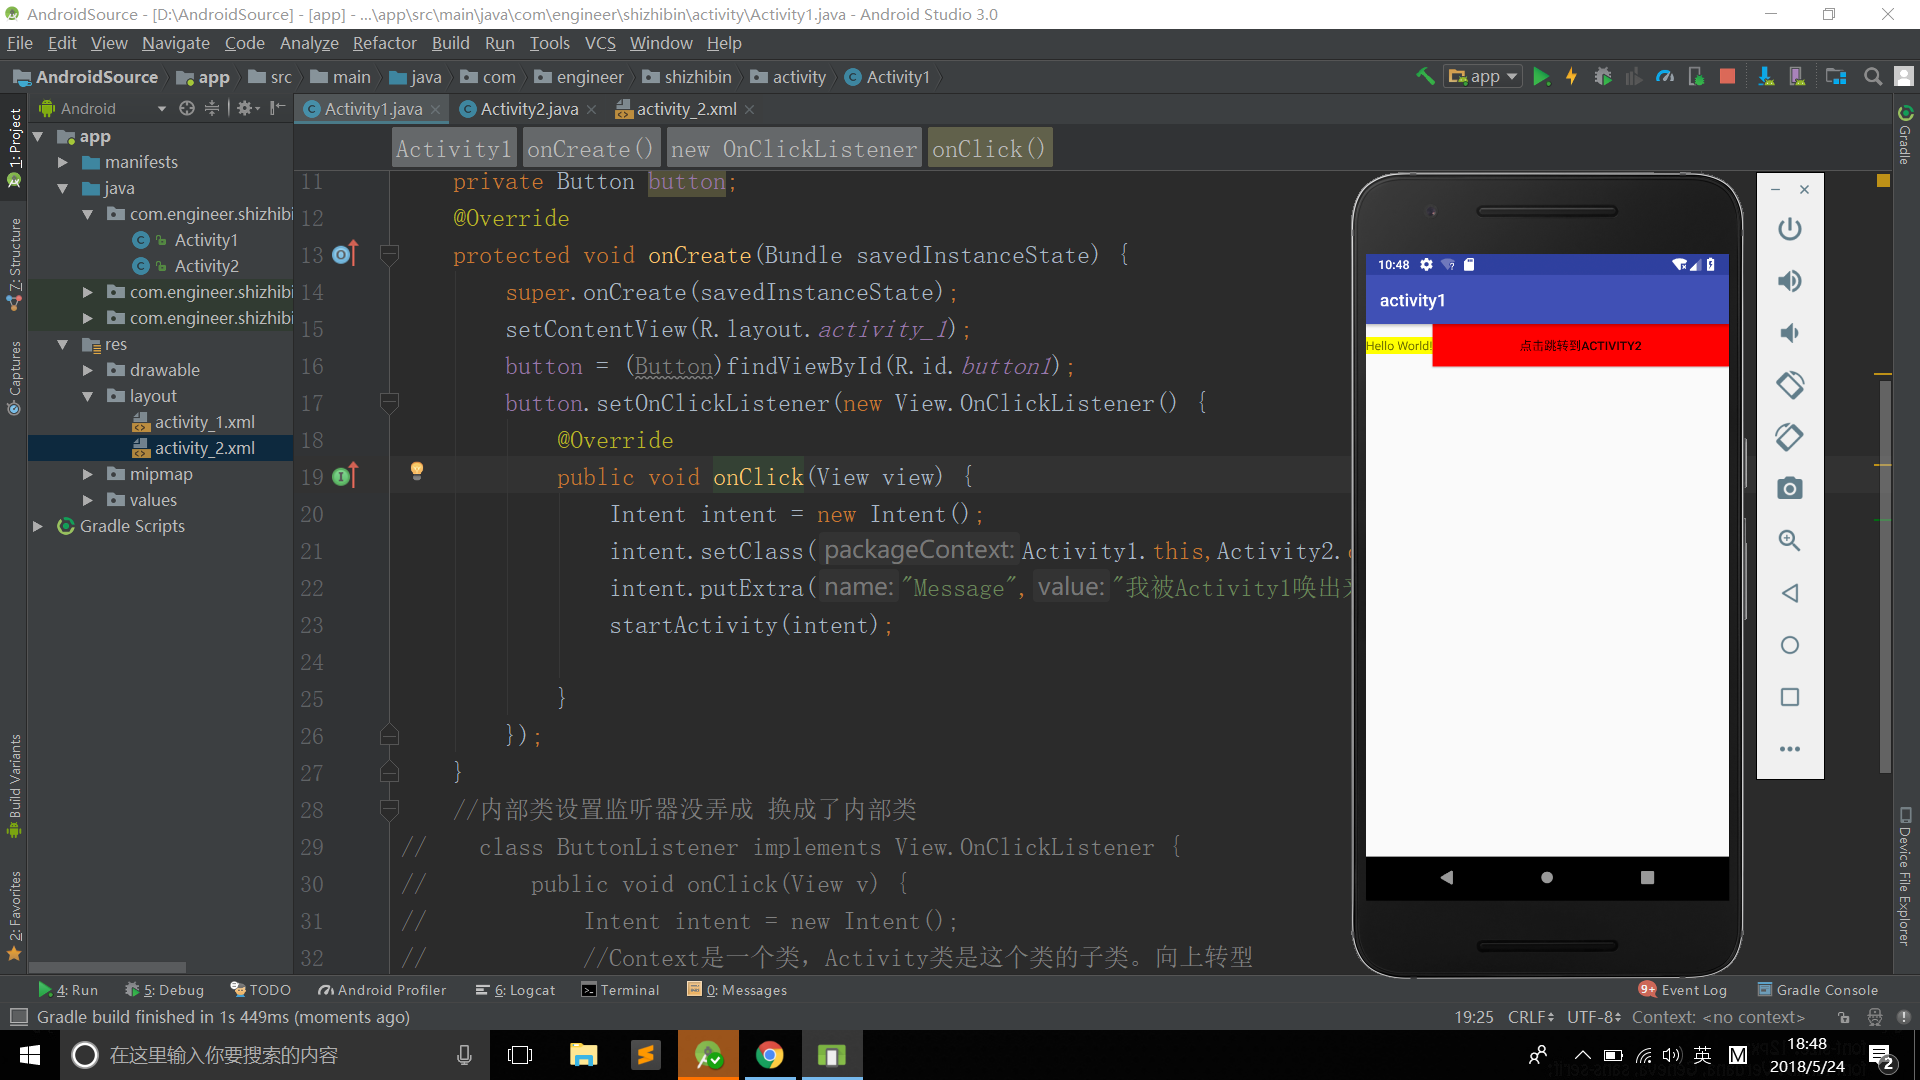
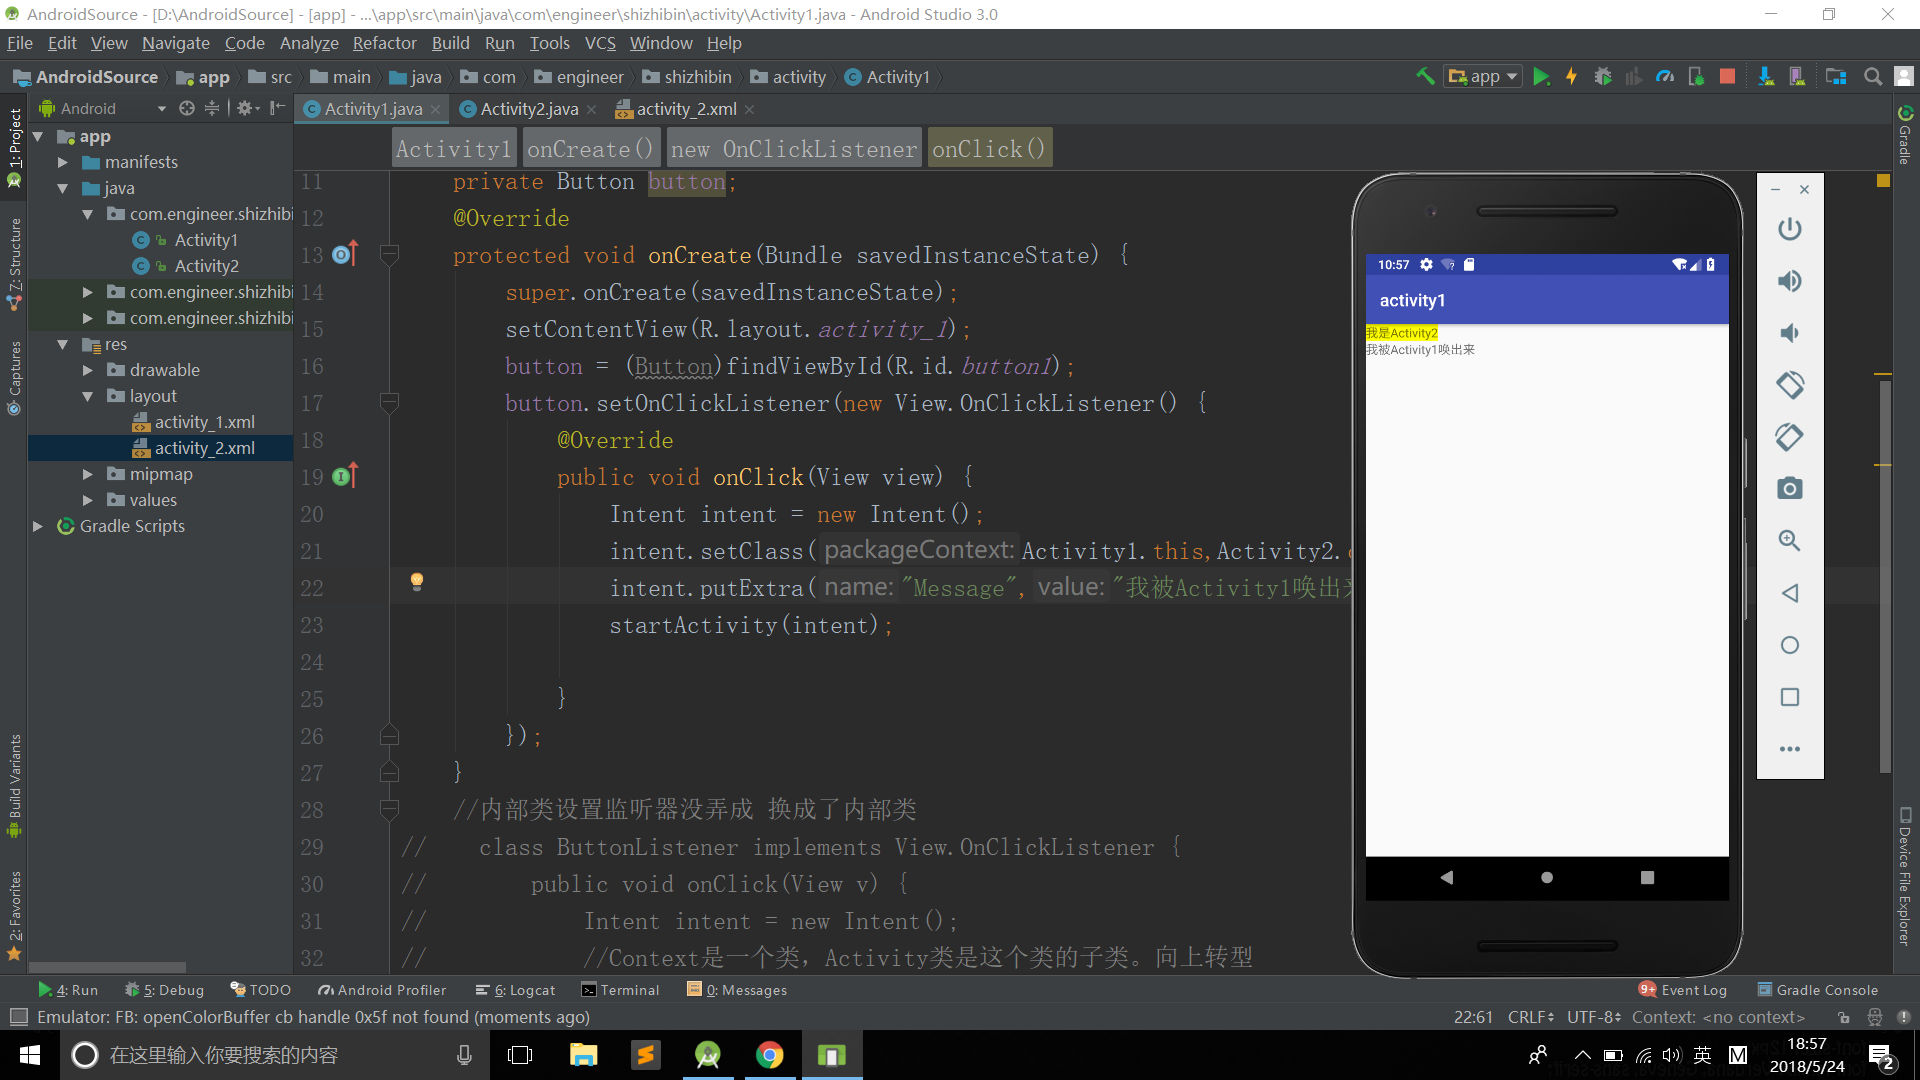
大概效果:在Activity1中有一个Button,当点击Button时,跳转到Activity2。跳转时,由Activity1向Activity2传递字符串,使Activity2中原本为空的TextView,显示一行字。
大致步骤:
①新建Activity2类;
②在Layout中新建Activity_2.xml ;
③在Androidmanifest.xml中加入Activity2标签;
④Activity_1.xml 文件中,给Avtivity1加入一个Button;
⑤在Activity1.java中给Button设置监听器,点击时创建Intent对象。通过Intent对象,设置要传递的信息,这里是一个字符串。intent.putExtra("Message","我被Activity1唤出来");
⑥在Activity2中接收来自Activity1的Intent对象,获取传递来的字符串。
⑦将获取到的字符串内容设置为TextView中的text。
代码:
Activity1:
package com.engineer.shizhibin.activity;

import android.content.Intent;
import android.os.Bundle;
import android.support.v7.app.AppCompatActivity;
import android.view.View;
import android.widget.Button;


public class Activity1 extends AppCompatActivity {
    private Button button;
    @Override
    protected void onCreate(Bundle savedInstanceState) {
        super.onCreate(savedInstanceState);
        setContentView(R.layout.activity_1);
        button = (Button)findViewById(R.id.button1);
        button.setOnClickListener(new View.OnClickListener() {
            @Override
            public void onClick(View view) {
                Intent intent = new Intent();
                intent.setClass(Activity1.this,Activity2.class); //想通过意图做的事情
                intent.putExtra("Message","我被Activity1唤出来");
                startActivity(intent);

            }
        });
    }
Activity2:
package com.engineer.shizhibin.activity;

import android.content.Intent;
import android.os.Bundle;
import android.support.v7.app.AppCompatActivity;
import android.widget.TextView;

public class Activity2 extends AppCompatActivity {
    private TextView mText;
    @Override
    protected void onCreate(Bundle savedInstanceState) {
        super.onCreate(savedInstanceState);
        setContentView(R.layout.activity_2);
        mText = (TextView) findViewById(R.id.text);
        Intent intent = getIntent();
        String Message = intent.getStringExtra("Message");
        mText.setText(Message);
    }
}
Activity1的布局:
<?xml version="1.0" encoding="utf-8"?>
<LinearLayout
    xmlns:android="http://schemas.android.com/apk/res/android"
    xmlns:app="http://schemas.android.com/apk/res-auto"
    xmlns:tools="http://schemas.android.com/tools"
    android:layout_width="match_parent"
    android:layout_height="match_parent"
    tools:context="com.engineer.shizhibin.activity.Activity1">

    <TextView
        android:layout_width="wrap_content"
        android:layout_height="wrap_content"
        android:text="Hello World!"
        android:background="#ff0"
        app:layout_constraintBottom_toBottomOf="parent"
        app:layout_constraintLeft_toLeftOf="parent"
        app:layout_constraintRight_toRightOf="parent"
        app:layout_constraintTop_toTopOf="parent" />
   <Button
       android:id="@+id/button1"
       android:layout_width="match_parent"
       android:layout_height="wrap_content"
       android:background="#f00"
       android:text="点击跳转到activity2"/>

</LinearLayout>
Activity2的布局:
<?xml version="1.0" encoding="utf-8"?>
<LinearLayout
    xmlns:android="http://schemas.android.com/apk/res/android"
    xmlns:app="http://schemas.android.com/apk/res-auto"
    xmlns:tools="http://schemas.android.com/tools"
    android:layout_width="match_parent"
    android:layout_height="match_parent"
    android:orientation="vertical"
    tools:context="com.engineer.shizhibin.activity.Activity2">

    <TextView
        android:layout_width="wrap_content"
        android:layout_height="wrap_content"
        android:text="我是Activity2"
        android:background="#ff0" />
    <TextView
        android:id="@+id/text"
        android:layout_width="match_parent"
        android:layout_height="match_parent"
        android:text = ""/>

</LinearLayout>
代码这么多,没必要都放上来。只是想记录一下,开始学习Android的第一次练手。
运行界面: