一.Navigation介绍
Fragment的管理是件麻烦的事,使用方法是用FragmentManager和FragmentTransaction来管理它们之间的切换,包括切换动画和数据传递等。所以Android Jetpack 提供Navigation来帮助我们管理Fragment。
二.Navigation的元素
- Navigation Graph:新型的XML资源文件,包含应用程序的页面以及页面间的关系。
- NavHostFragment:特殊的Fragment,Navigation Graph的Fragment通过NavHostFragment进行展示。
- NavController:负责Navigation Graph的页面切换工作。
三.Navigation使用
1.创建Navigation Graph
新建Android项目后,依次选择res→New→Android Resource File,新建文件,类型选择Navigation。
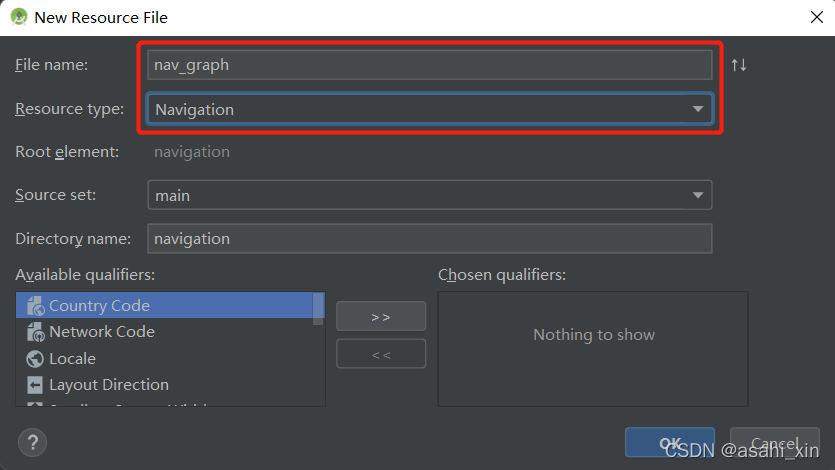
Navigation的使用需要添加依赖,创建文件之后会提示自动添加,也可手动添加。

 implementation 'androidx.navigation:navigation-fragment:2.0.0'
 implementation 'androidx.navigation:navigation-ui:2.0.0'
2.添加NavHostFragment
NavHostFragment是特殊的fragment,需要将它添加到Activity的布局文件中,作为其他fragment的容器。
<?xml version="1.0" encoding="utf-8"?>
<LinearLayout xmlns:android="http://schemas.android.com/apk/res/android"
    xmlns:app="http://schemas.android.com/apk/res-auto"
    android:layout_width="match_parent"
    android:layout_height="match_parent">

    <fragment
        android:id="@+id/nav_host_fragment"
        android:name="androidx.navigation.fragment.NavHostFragment"
        android:layout_width="match_parent"
        android:layout_height="match_parent"
        app:defaultNavHost="true"
        app:navGraph="@navigation/nav_graph" />
</LinearLayout>
这一行代表它是一个特殊的fragment。
android:name="androidx.navigation.fragment.NavHostFragment"
defaultNavHost设置为true时,该fraggment会自动处理返回键,按下手机的返回键时,自动退出当前展示的fragment。
app:defaultNavHost="true"
nav_graph是上文创建的导航视图
app:navGraph="@navigation/nav_graph"
添加NavHostFragment之后,回到导航图上,在Destinations中可以看见我们刚才设置的NavHostFragment。
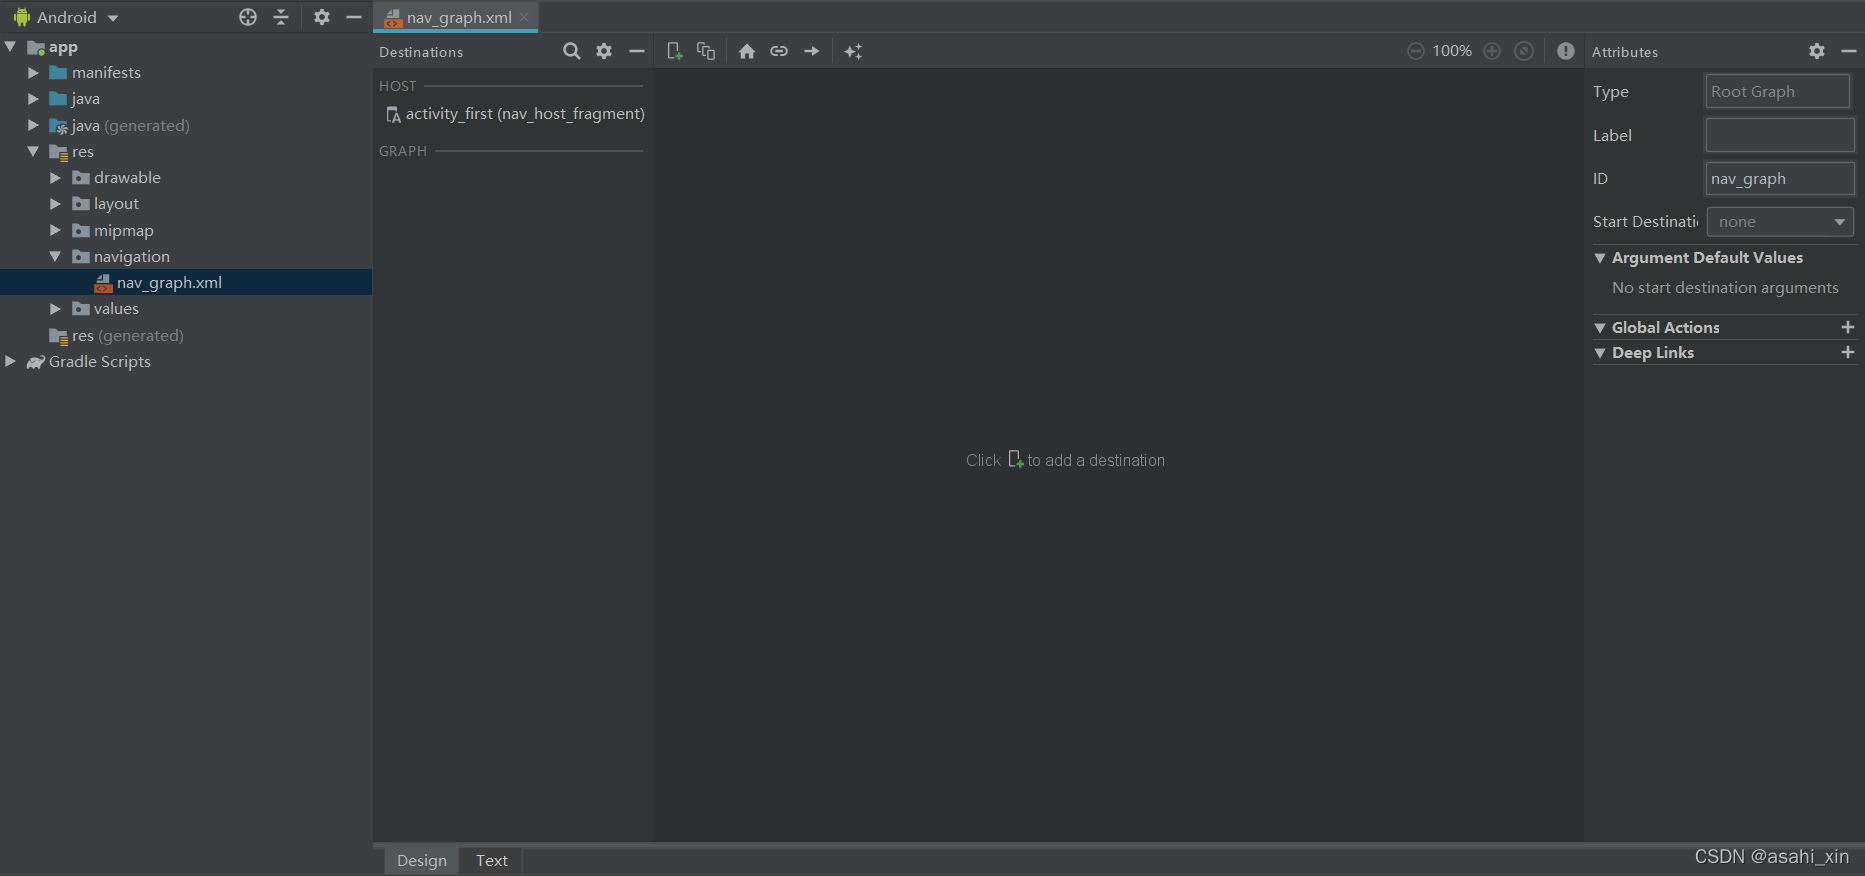 3.创建Destination

Destination可以是Activity或fragment,最常见的是fragment。因为Navigation组件的作用是方便一个Activity管理多个fragment。
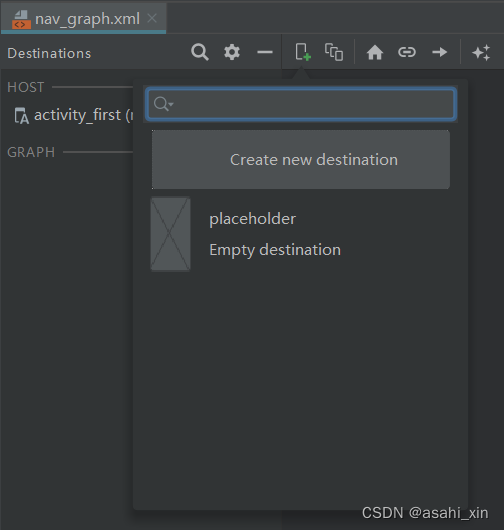
我们可以点击加号→create new destination来创建fragment,当然也可以自己手动创建。
下面是Text面板
<?xml version="1.0" encoding="utf-8"?>
<navigation xmlns:android="http://schemas.android.com/apk/res/android"
    xmlns:app="http://schemas.android.com/apk/res-auto"
    xmlns:tools="http://schemas.android.com/tools"
    android:id="@+id/nav_graph"
    app:startDestination="@id/firstFragment">

    <fragment
        android:id="@+id/firstFragment"
        android:name=".FirstFragment"
        android:label="fragment_first"
        tools:layout="@layout/fragment_first" />
</navigation>


 app:startDestination="@id/firstFragment"
startDestination就代表它是起始fragment。运行程序,就可以看到了。
4.完成Fragment切换
与FirstFragment类似,创建一个Secondfragment。
在Destinations面板可以看到。
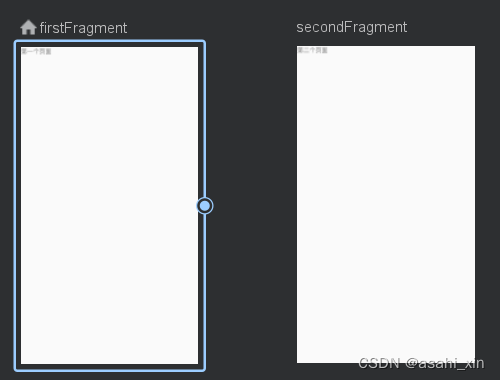
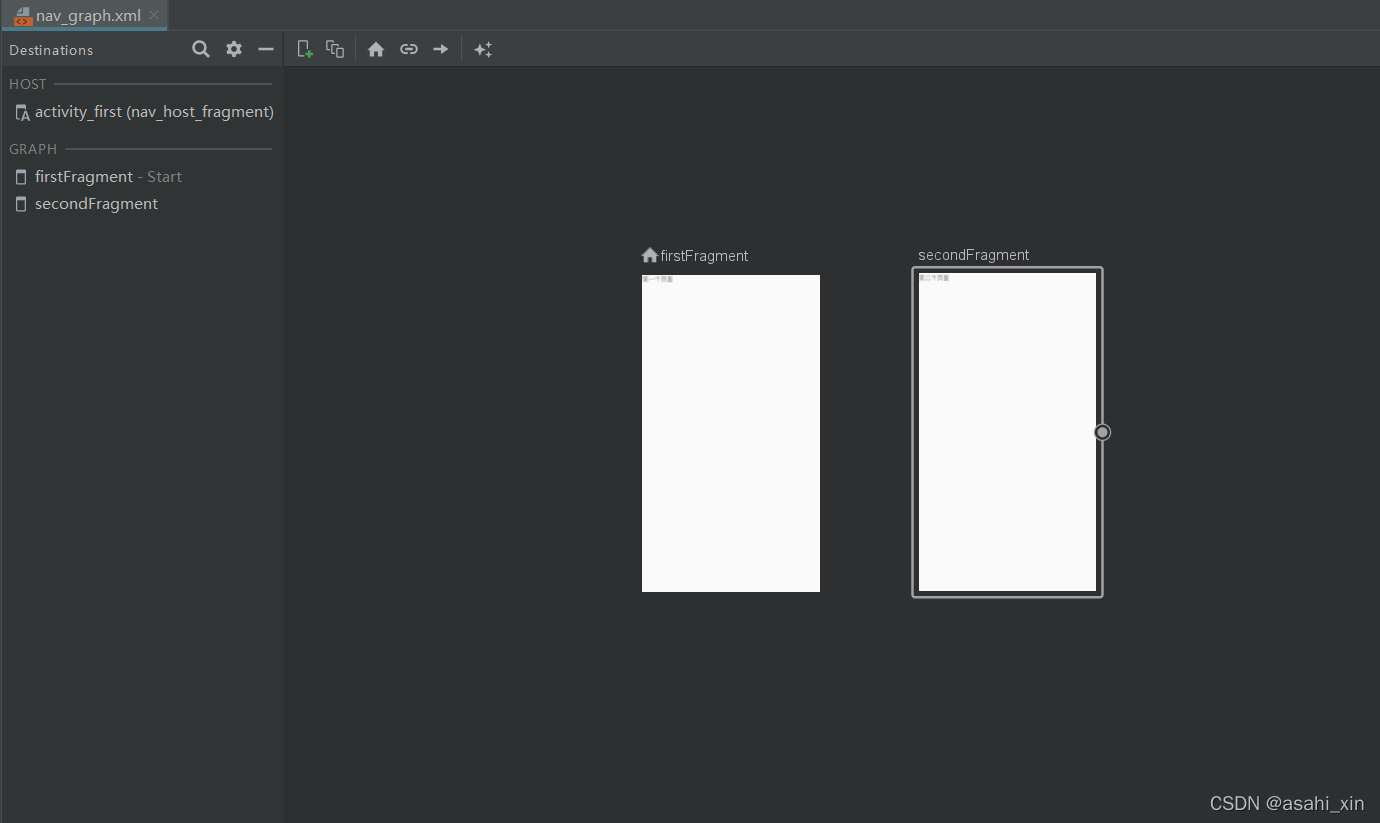 点击FirstFragment,选择右边的圆圈,拖拽至Secondfragment
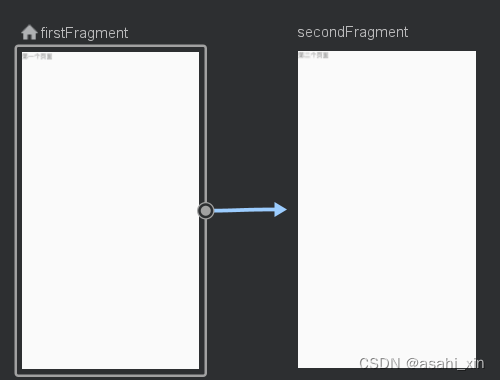
切换到Text面板,可以看到多了一个action的标签。
<?xml version="1.0" encoding="utf-8"?>
<navigation xmlns:android="http://schemas.android.com/apk/res/android"
    xmlns:app="http://schemas.android.com/apk/res-auto"
    xmlns:tools="http://schemas.android.com/tools"
    android:id="@+id/nav_graph"
    app:startDestination="@id/firstFragment">

    <fragment
        android:id="@+id/firstFragment"
        android:name=".FirstFragment"
        android:label="fragment_first"
        tools:layout="@layout/fragment_first" >
        <action
            android:id="@+id/action_firstFragment_to_secondFragment"
            app:destination="@id/secondFragment" />
    </fragment>
    <fragment
        android:id="@+id/secondFragment"
        android:name=".SecondFragment"
        android:label="fragment_second"
        tools:layout="@layout/fragment_second" />
</navigation>


 app:destination="@id/secondFragment"
表示它的目的地是secondFragment。
5.使用NavController完成导航
完成上述步骤后,我们还需要NavController来实现具体的页面切换。
在firstFragment中添加两个按钮用来演示两种操作方式。
方式一:
    @OnClick({R.id.button1})
    public void onClick(View view) {
        switch (view.getId()) {
            case R.id.button1:
                Navigation.findNavController(view).navigate(R.id.action_firstFragment_to_secondFragment);
                break;
        }
    }
方式二:
button2.setOnClickListener(Navigation.createNavigateOnClickListener(R.id.action_firstFragment_to_secondFragment));
运行程序可以看到,两种方式都可以完成页面切换。
6.切换动画
虽然完成了切换,但还是很生硬,我们可以为页面添加切换动画。
首先是添加动画文件

之后选择箭头,并添加动画。
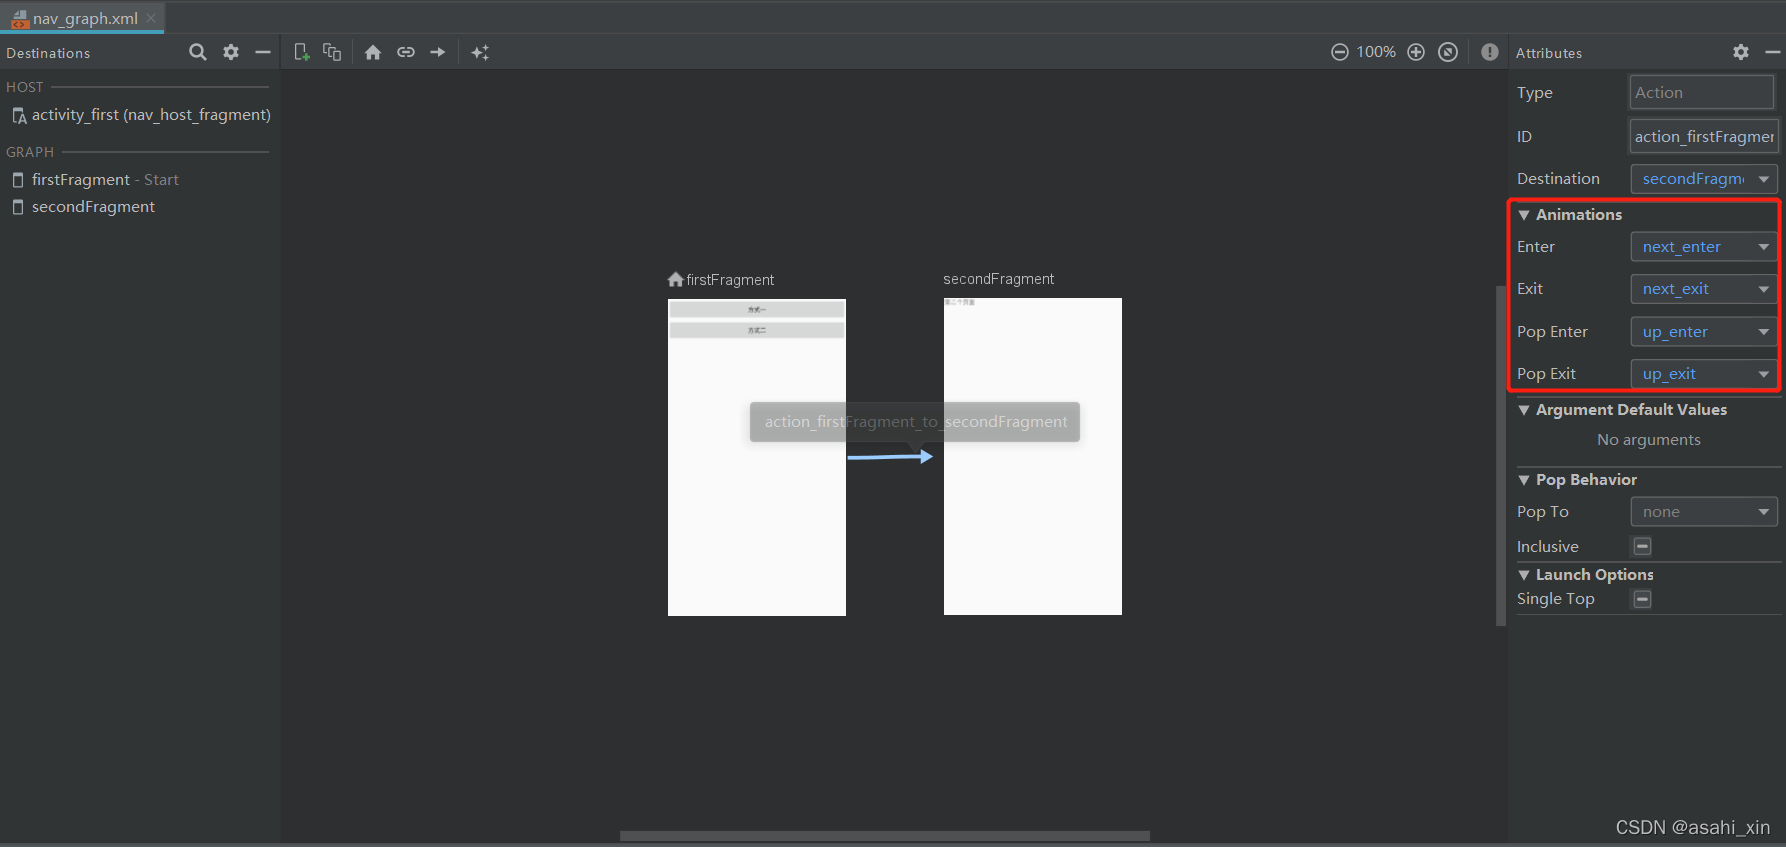 下文是Text面板。
<?xml version="1.0" encoding="utf-8"?>
<navigation xmlns:android="http://schemas.android.com/apk/res/android"
    xmlns:app="http://schemas.android.com/apk/res-auto"
    xmlns:tools="http://schemas.android.com/tools"
    android:id="@+id/nav_graph"
    app:startDestination="@id/firstFragment">

    <fragment
        android:id="@+id/firstFragment"
        android:name=".FirstFragment"
        android:label="fragment_first"
        tools:layout="@layout/fragment_first" >
        <action
            android:id="@+id/action_firstFragment_to_secondFragment"
            app:destination="@id/secondFragment"
            app:enterAnim="@anim/next_enter"
            app:exitAnim="@anim/next_exit"
            app:popEnterAnim="@anim/up_enter"
            app:popExitAnim="@anim/up_exit" />
    </fragment>
    <fragment
        android:id="@+id/secondFragment"
        android:name=".SecondFragment"
        android:label="fragment_second"
        tools:layout="@layout/fragment_second" />
</navigation>
运行程序,我们就可以看到切换动画了。
四.传递参数
Fragment的切换经常需要有参数的传递,为了配合Navigation,Android提供了safe args插件。
传统的数据传递
Bundle bundle = new Bundle();
bundle.putString("type", "方式1");
Navigation.findNavController(view).navigate(R.id.action_firstFragment_to_secondFragment, bundle);


 Bundle bundle = new Bundle();
 bundle.putString("type", "方式2");
 button2.setOnClickListener(Navigation.createNavigateOnClickListener(R.id.action_firstFragment_to_secondFragment, bundle));
接收
 Bundle arguments = getArguments();
 if (null != arguments) {
    String type = arguments.getString("type");
    tip.setText(type);
 }
safe args传递参数
在Project的build添加
classpath "android.arch.navigation:navigation-safe-args-gradle-plugin:1.0.0"
在module的build添加
apply plugin: 'androidx.navigation.safeargs'
在导航页进行添加,同时也可以通过在XML直接编写代码添加。
选择fragment,点击Arguments。
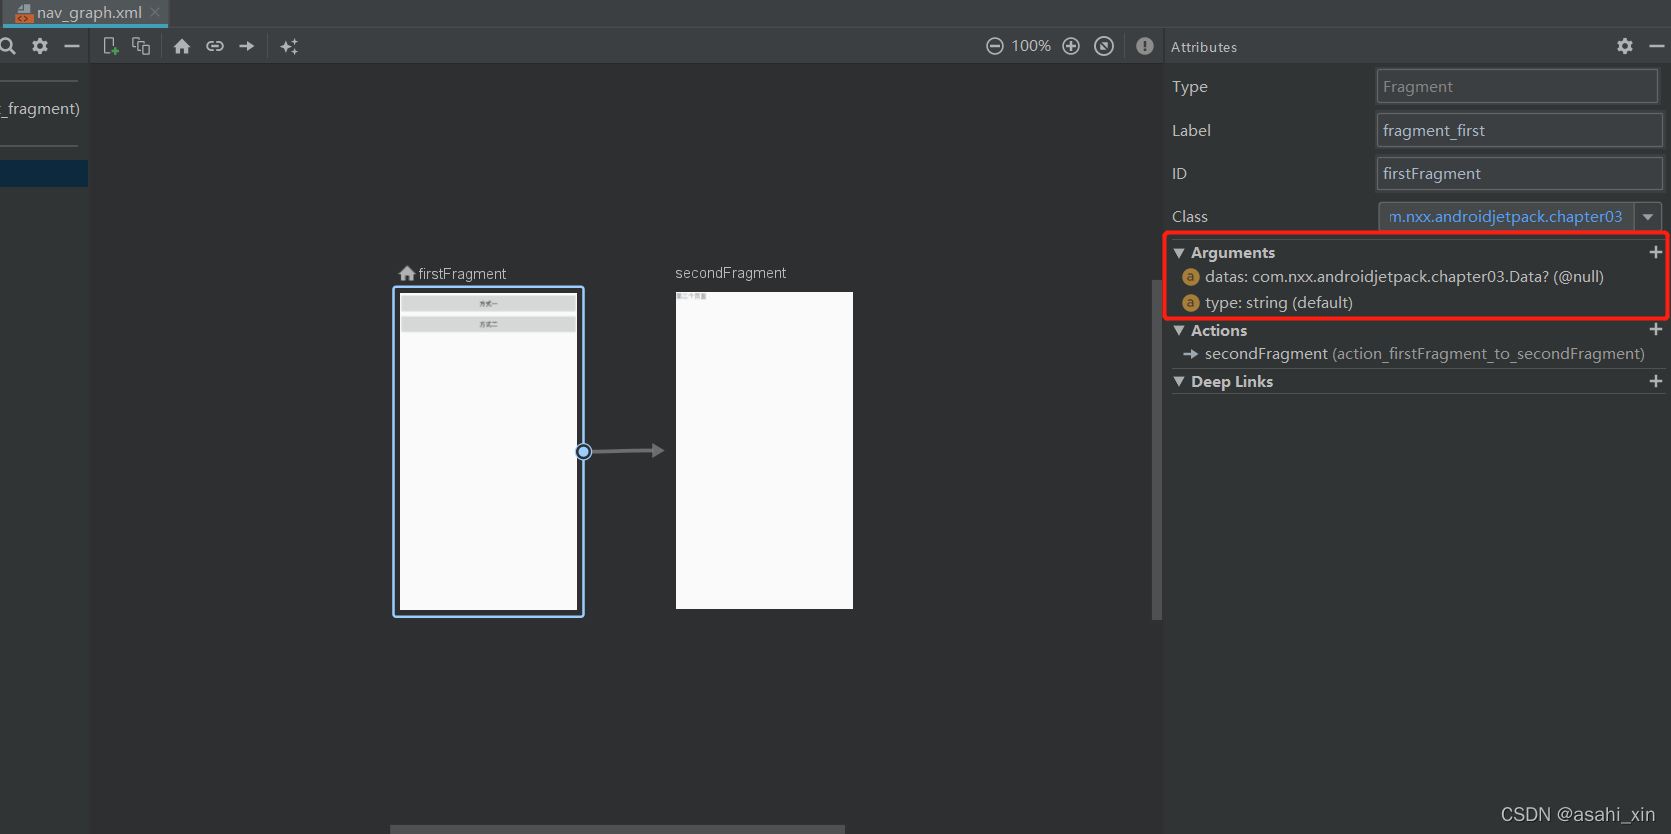
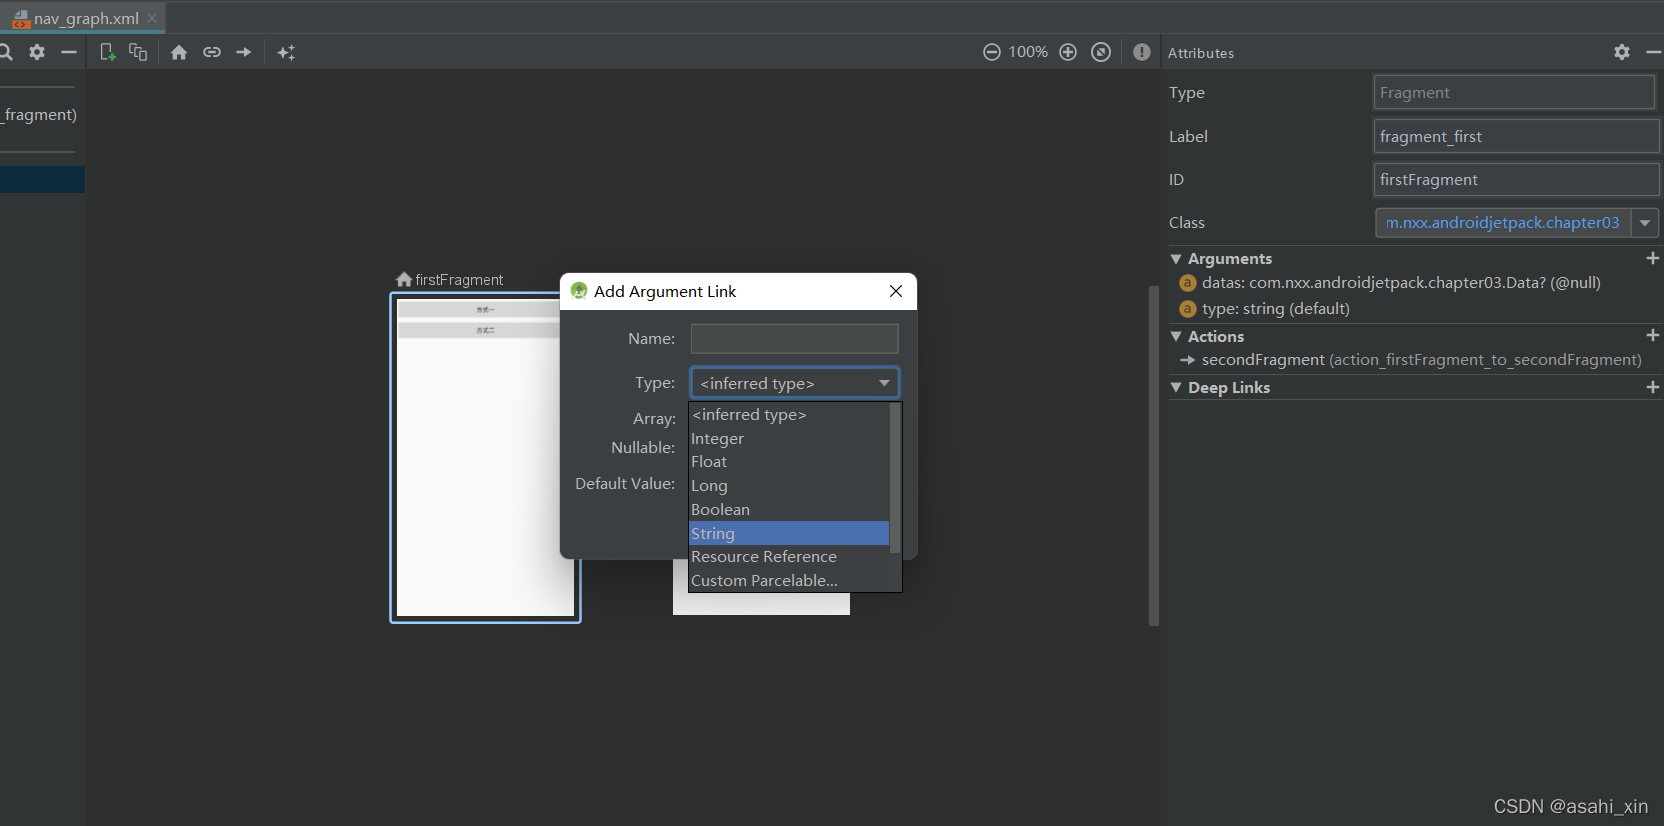 添加之后编译,并查看XML。
<?xml version="1.0" encoding="utf-8"?>
<navigation xmlns:android="http://schemas.android.com/apk/res/android"
    xmlns:app="http://schemas.android.com/apk/res-auto"
    xmlns:tools="http://schemas.android.com/tools"
    android:id="@+id/nav_graph"
    app:startDestination="@id/firstFragment">

    <fragment
        android:id="@+id/firstFragment"
        android:name=".FirstFragment"
        android:label="fragment_first"
        tools:layout="@layout/fragment_first">
        <action
            android:id="@+id/action_firstFragment_to_secondFragment"
            app:destination="@id/secondFragment"
            app:enterAnim="@anim/next_enter"
            app:exitAnim="@anim/next_exit"
            app:popEnterAnim="@anim/up_enter"
            app:popExitAnim="@anim/up_exit" />
        <argument
            android:name="type"
            android:defaultValue="default"
            app:argType="string" />
        <argument
            android:name="datas"
            app:argType=".Data"
            app:nullable="true"
            android:defaultValue="@null" />

    </fragment>
    <fragment
        android:id="@+id/secondFragment"
        android:name=".SecondFragment"
        android:label="fragment_second"
        tools:layout="@layout/fragment_second" />
</navigation>
之后代码控制
方式一:
 Bundle bundle = new FirstFragmentArgs.Builder().setType("方式一").setDatas(new Data("方式一"))
                        .build().toBundle();
                Navigation.findNavController(view).navigate(R.id.action_firstFragment_to_secondFragment, bundle);
方式二:
 Bundle bundle = new FirstFragmentArgs.Builder().setType("方式二").setDatas(new Data("方式2")).build().toBundle();
 button2.setOnClickListener(Navigation.createNavigateOnClickListener(R.id.action_firstFragment_to_secondFragment, bundle));
接收:
 Bundle arguments = getArguments();
 if (null != arguments) {
     String type = FirstFragmentArgs.fromBundle(arguments).getType();
     Data datas = FirstFragmentArgs.fromBundle(arguments).getDatas();
     assert datas != null;
     tip.setText(datas.getData());
}
五.深层链接DeepLink
Navigatin还有一个特性DeepLink,通过这个特性,可以使用PendingIntent直接跳转到应用程序。
PendingIntent:当应用程序接收到推送时,点击该推送可以直接跳转到相应页面。
创建一个通知
    private static final String CHANNEL_ID = "1";
    private static final int notificationId = 8;

    /**
     * 向通知栏发送一个通知
     */
    private void sendNotification() {
        if (getActivity() == null) {
            return;
        }

        if (Build.VERSION.SDK_INT >= Build.VERSION_CODES.O) {
            int importance = NotificationManager.IMPORTANCE_DEFAULT;
            NotificationChannel channel = new NotificationChannel(CHANNEL_ID, "ChannelName", importance);
            channel.setDescription("description");
            NotificationManager notificationManager = getActivity().getSystemService(NotificationManager.class);
            notificationManager.createNotificationChannel(channel);
        }

        NotificationCompat.Builder builder = new NotificationCompat.Builder(getActivity(), CHANNEL_ID)
                .setSmallIcon(R.drawable.ic_launcher_foreground)
                .setContentTitle("DeepLinkDemo")
                .setContentText("Hello World!")
                .setPriority(NotificationCompat.PRIORITY_DEFAULT)
                .setContentIntent(getPendingIntent())
                .setAutoCancel(true);

        NotificationManagerCompat notificationManager = NotificationManagerCompat.from(getActivity());
        notificationManager.notify(notificationId, builder.build());
    }
getPendingIntent()
 /**
     * 通过PendingIntent设置,当通知被点击后需要跳转到哪个destination,以及传递的参数
     */
    private PendingIntent getPendingIntent() {
        if (getActivity() != null) {
            Bundle bundle = new Bundle();
            bundle.putString("params", "通知跳转");
            return Navigation
                    .findNavController(getActivity(), R.id.send)
                    .createDeepLink()
                    .setGraph(R.navigation.nav_graph)
                    .setDestination(R.id.secondFragment)
                    .setArguments(bundle)
                    .createPendingIntent();
        }
        return null;
    }
OK!以上是Navigation功能的介绍。