下载试用版
地址:https://www.mcafee.com/enterprise/zh-cn/downloads/trials.html
step 1:先下载epo

下载Endpoint Security

step 2 : 提前下载:
yum -y install pam.i686
yum -y install libgcc
yum -y install unzip
step 3 :创建soft文件夹
mkdir /soft
使用XFtp7将下载好的软件包,传输到/soft目录下
软件包:ENSL1069_Eval.zip
cd /soft
unzip ENSL1069_Eval.zip

cd ENSL1069_Eval

step 4 : 先安装MFErt.i686.rpm和MFEma.x86_64.rpm
cd MA562LNX

rpm -ivh MFErt.i686.rpm
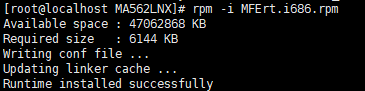
rpm -ivh MFEma.x86_64.rpm

step 5 : 回到ENSL1069_Eval中,开始安装
./install-mfetp.sh
之后会出现一个用户协议,直接按“q”键可以直接结束
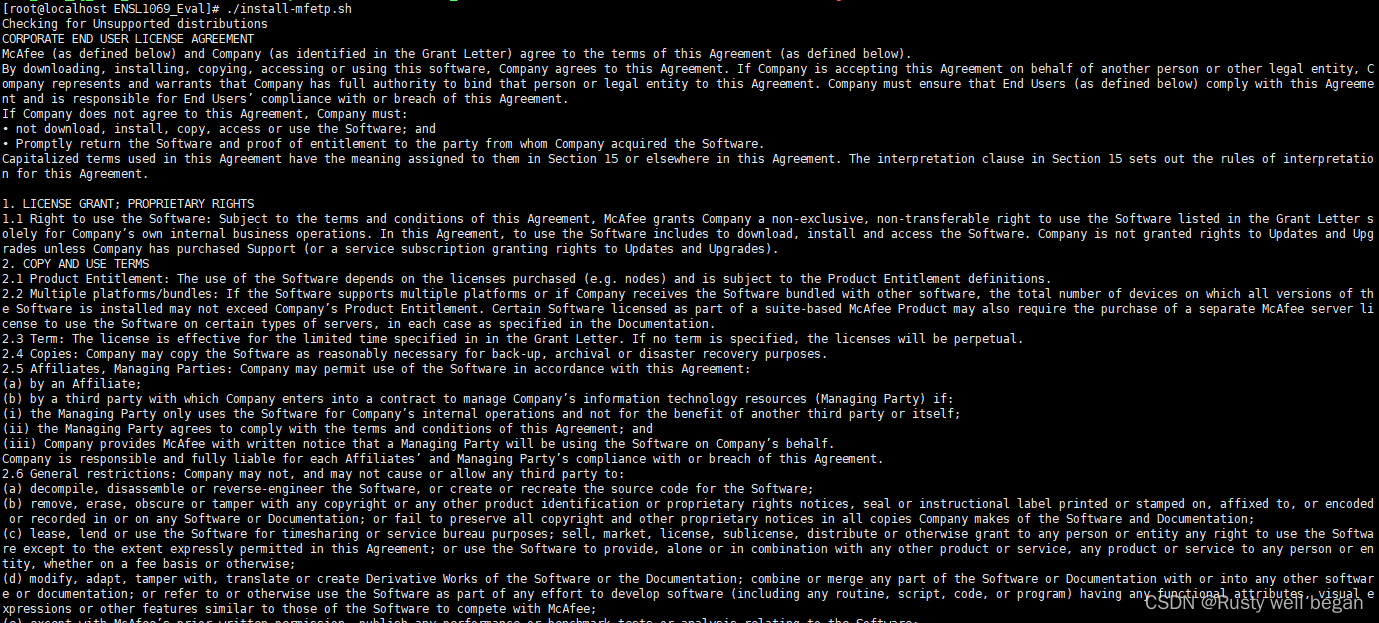
在之后的选项中选择accept

之后便会自动安装

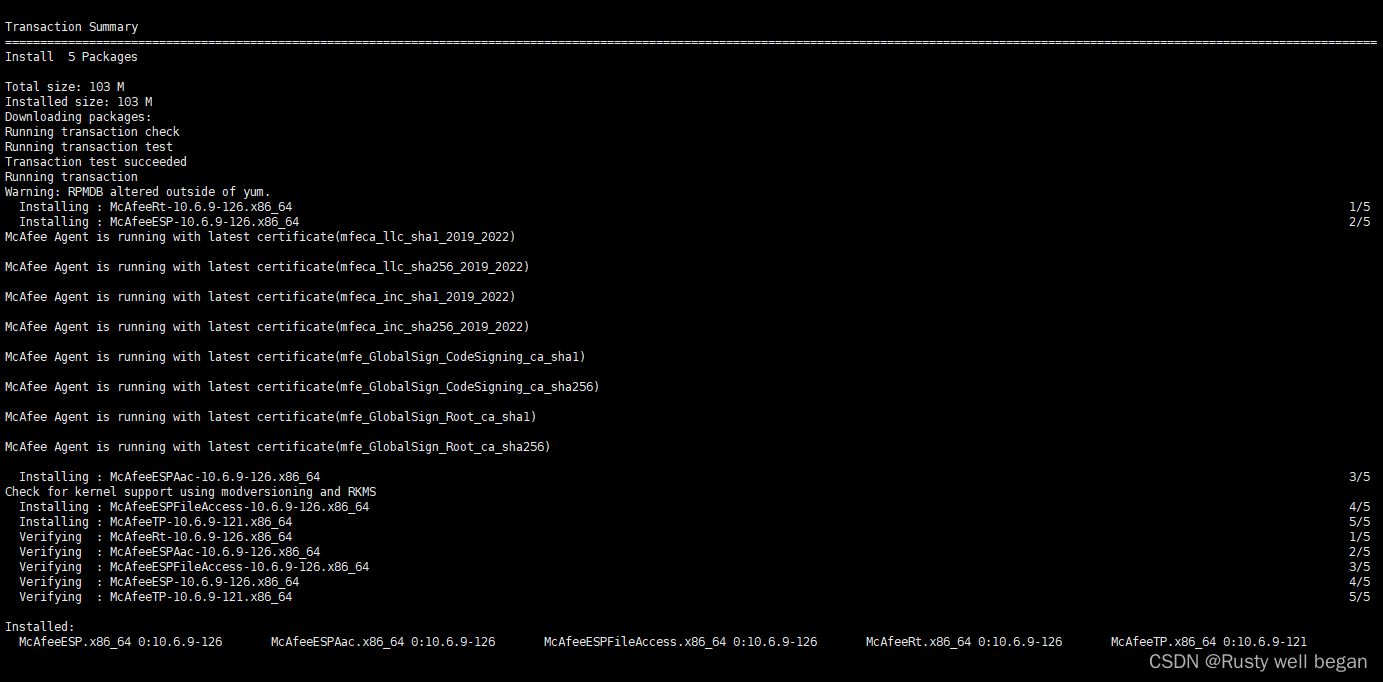
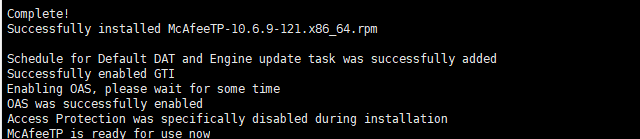
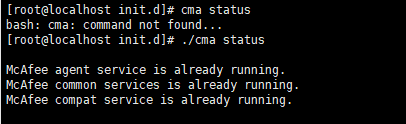
之后,可以用/etc/init.d/cma status查看安装是否成功
具体操作服务端命令,进入/opt/McAfee/ens/tp/bin/路径下,
cd /opt/McAfee/ens/tp/bin/
step 6 : 查看具体命令
./mfetpcli -h(以下命令均使用两个“-”)
<1>Help options:
–help
Prints usage information of this tool.
打印此工具的使用信息。

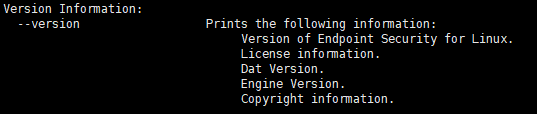
<2>Version Information:
–version
Prints the following information:
Version of Endpoint Security for Linux.
License information.
Dat Version.
Engine Version.
Copyright information.
<3>Configure OAS global settings:
–setoasglobalconfig
This option lets you configure the global settings available in On-Access Scan policy.
此选项允许您配置按访问扫描策略中可用的全局设置。

<4>Add Process option:
–addprocess
Adds processes to the list of user defined processes.
将进程添加到用户定义的进程列表中。

<5>Set Process option: (设置进程选项 )
–setprocess
Modifies the risktype of existing processes in the list of user defined processes.

<5>Delete Process option:
–delprocess
Deletes a process from the process list.

<6>Configures profile specific On-Access scanning options:
–setoasprofileconfig
Configures profile specific On-Access scanning options.

<7>Setquarantine Folder option:
–setquarantinefolder
Specifies the folder where infected files will be quarantined.Default value is /Quarantine/.
An absolute path should be specified as a value.
指定将隔离受感染文件的文件夹。默认值为 /Quarantine/。 路径应该是绝对路径;

<8>List Quarantine Items option:
–listquarantineitems
Lists the files that were quarantined.
列出被隔离的文件。

<9>Restore Quarantine Items option:
–restorequarantineitems
Restores the quarantine items to the original files on disk.
将隔离项目还原到磁盘上的原始文件。

<10>Get OAS configuration settings:
–getoasconfig
Prints details of On-Access Scan settings in standard output.
在标准输出中打印按访问扫描设置的详细信息。

<11>Get OAS profile configuration settings:
–getoasprofileconfig
Shows OAS settings applicable to the profile name specified.
显示指定文件名称的 OAS 设置。

<12>Creates an On-Demand task (ODS):
–addodstask
Creates an On-Demand task (ODS)
创建按需任务

<13>Lists all the tasks configured on the system:
–listtasks
Lists all the tasks configured on the system, including the ones that are scheduled from ePO.
列出系统上配置的所有任务,包括从 ePO 计划的任务。

<15>Deletes a task:
–deltask
Deletes a task based on the task index.
根据任务索引删除任务。

<16>Runs a task:
–runtask
Runs a task based on the task index.
根据任务索引运行任务。

<17>Stops a task:
–stoptask
Stops a task based on the task index.
根据任务索引停止任务。

<18>Shows the task configuration:
–showtask
Shows the task configuration based on the task index.
根据任务索引显示任务配置。

<19>Set Max product log size option:
–setmaxproductlogsize
This option configures the maximum product log file size.
此选项配置最大产品日志文件大小。

<20>Product Log option:
–productlog
This enables or disables product logging.
这将启用或禁用产品日志记录。

<21>Debug Log option:
–debuglog
This enables or disables debug logging.
这将启用或禁用调试日志记录。

<22>Use Syslog option:
–usesyslog
This enables or disables logging using syslog on the system.
这将启用或禁用使用系统上的 syslog 进行日志记录。

<23>On Access Scan Activity Log option:
–oasactivitylog
This enables or disables on-access scan activity logging on the system.
这将启用或禁用系统上的按访问扫描活动日志记录。

<24>Use Fanotify option:
–usefanotify
This enables use of fanotify for On-Access Scan.
这允许使用 fanotify 进行按访问扫描。

<25>Use Kernel Module option:
–usekernelmodule
This enables use of kernel module for On-Access Scan.
这允许使用内核模块进行按访问扫描。

<26>Add Update Task option:
–addupdatetask
Adds and defines a DAT and engine update task.
添加并定义 DAT 和引擎更新任务。

<27>Schedule Task option:
–scheduletask
Schedules a task corresponding to the given index.
安排与给定索引对应的任务。

<28>Flush Scan Cache option:
–flushscancache
Flushes the scan cache.
刷新扫描缓存。

<29>Show Scan Cache option:
–showscancachestatus
Shows the status of the scan cache
显示扫描缓存的状态

<30>Show Log Settings option:
–showlogsettings
Show current log settings.
显示当前日志设置。

<31>Add repository option:
–addrepository
Creates the repository.
创建存储库。

<32>Disable repository option:
–disablerepository
Disables the repository.
禁用存储库。

<33>Enable repository option:
–enablerepository
Enables the repository.
启用存储库

<34>Show repository option:
–showrepositories
Displays the repository list.
显示存储库列表。

<35>Set repository priority option:
–setrepositorypriority
Sets the priority of the repository.
设置存储库的优先级。

<36>Add proxy option:
–addproxy
Creates the proxy.
创建代理。

<37>Remove proxy option:
–removeproxy
Removes the proxy settings.
删除代理设置。

<38>Get Access Protection status option:
–getapstatus
Gets the present status of Access Protection
获取访问保护的当前状态

<39>Access Protection Enable or Disable option:
–setapstatus
Set Enable or Disable Access Protection.
enable Enables this option.
disable Disables this option.
设置启用或禁用访问保护。

<40>Create Access Protection Rule option:
–createaprule
Creates a access protection rule.
创建访问保护规则。

<41>Get All Access Protection rules option:
–getallaprules
Gets all Access Protection rules.
获取所有访问保护规则

<42>Get Access Protection rule configuration option:
–getapruleconfig
Gets Access Protection rule configuration.
获取访问保护规则配置

<43>Delete Access Protection rule option:
–deleteaprule
Delete Access Protection rule.
删除访问保护规则

<44>Edit Access Protection Rule option:
–editaprule
Edits an access protection rule.
编辑访问保护规则

<45>Get Access Protection exclusion option:
–getapexclusions
Get Access Protection Exclusions list.
获取访问保护排除列表

<46>Set Access Protection exclusion option:
–setapexclusions
Set Access Protection global Exclusions.
设置访问保护全局排除。

<47>Delete Access Protection exclusion option:
–deleteapexclusions
Delete Access Protection global Exclusions.
删除访问保护全局排除。

<48>GTI telemetry option:
–gtitelemetry
This option lets you configure the GTI telemetry setting.
此选项允许您配置 GTI 遥测设置

<49>Proxy server config option:
–proxyserverconfig
This option lets you configure a proxy server for the product to use.
此选项允许您配置代理服务器以供产品使用。

<50>Show proxy server config option:
–showproxyserverconfig
Displays the proxy server configuration.
显示代理服务器配置。

查看扫描日志:
/var/McAfee/ens/log/tp