我的学习思路
- 装配方式 + 依赖注入
- 设计理念
- BeanDefintion scope beanClass lazy-init method constructor
- BeanDefintionMap 注册 BeanFactoryRegistry
- 注解如何解析,如何注册 BeanFactoryPostProcessor
- beanFactory.getBean("user") singletonObject 单例对象池
- bean的构建过程 new--属性填充--init
- bean的循环依赖
- beanPostPrecessor后置处理器的9次调用
- AOP init的后置方法里调用的后置处理器
- 声明式事务 MethodInterceptor
- WEB DispatherServlet#doDispath
- Spring扩展点 --IOC的扩展点:
- BeanFactoryPostProcessor
- beanPostPrecessor
- @Import
- ApplicationListener
- SmartLiftCycle
这个是我准备的Spring的学习计划,当然也是老师给我的,Spring的源码我准备了一个多月了,还有挺多细节的东西还是无法掌握,但是大致的点都能够懂,总体上有个大致的框架思路。
环境准备
- Spring Framework5.2
- JDK1.8
- IDEA2019.1.3
- Maven3.6
- Gradle4.10.2
整一套Sping的环境基础搭建就这几个,这些环境搭建细节就不一一说明,自行百度。具体构建Sping的环境可以留意我的上期的博客,期间的构建问题会出现很多不一样的问题,遇到问题可以留言,能解决的话可以帮你看看。
整体的环境
图片为gradle环境搭建成功,左侧会出现小蓝色的图标,右侧的模块会展示出现gradle图标。
新建learn-ioc5的模块
learn-ioc5的模块的用于后面Debug的测试模块,下面是搭建过程:
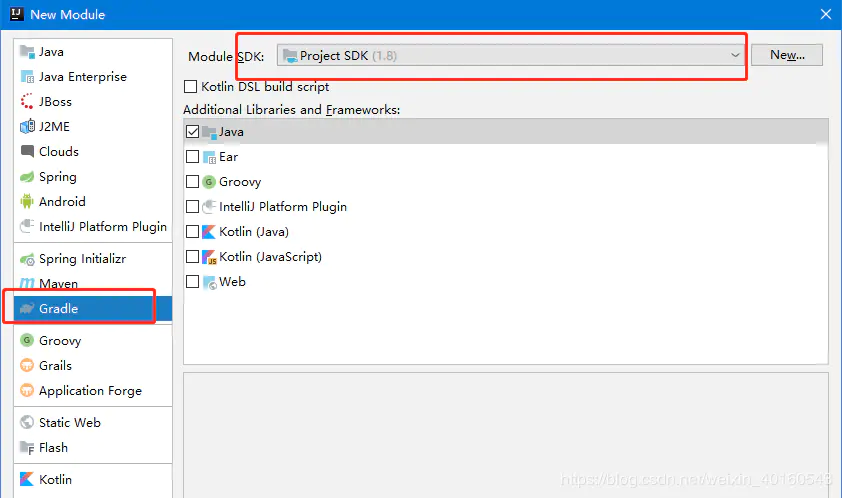
File->New->Module

Gradle->ModuleSDK->Java->Next
选择新建的模块为gradle,SDK就是本地的Java环境(前提是idea安装了gradle和jdk)
New Module
点击模块的继承
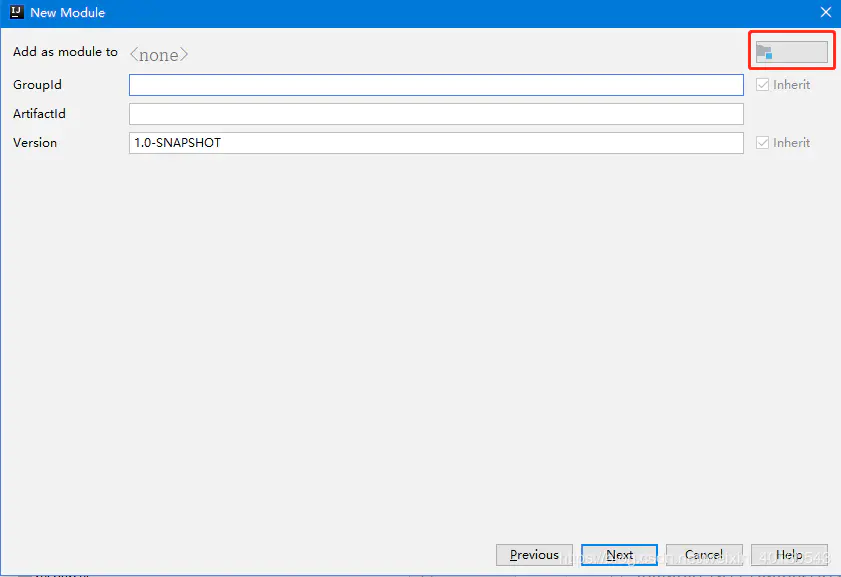
输入ArtifactId为learn-ioc5

等待完成构建,大约需要3到4分钟。会构建成功出现一个空的module。
创建完成后打开build.gradle, 引入依赖jar
compile(project(":spring-context"))
plugins {
    id 'java'
}

group 'org.springframework'
version '5.2.0.BUILD-SNAPSHOT'

sourceCompatibility = 1.8

repositories {
    mavenCentral()
}

dependencies {
    testCompile group: 'junit', name: 'junit', version: '4.12'
    compile(project(":spring-context"))
}
在src->main->java下新建好对应的包,目前我们用到的几个:
com.xuchang.bean
package com.xuchang.bean;


public class Fox {

}
package com.xuchang.bean;
public class Cat {
public Cat(){
System.out.println("new Cat()");
}
}com.xuchang.config
package com.xuchang.config;


import com.xuchang.bean.Fox;
import com.xuchang.bean.MyImportBeanDefinitionRegistrar;
import org.springframework.context.annotation.Bean;
import org.springframework.context.annotation.ComponentScan;
import org.springframework.context.annotation.Configuration;
import org.springframework.context.annotation.Import;


@Configuration
@Import(MyImportBeanDefinitionRegistrar.class)
@ComponentScan("com.xuchang")
public class AppConfig {

	// method bean   method.invoke
	@Bean
	public Fox fox(){
		return new Fox();
	}
}
·
MyImportBeanDefinitionRegistrar是我定义的BeanDefinition的注册器,未使用到的话可以去掉。
src->main->test->java
import com.xuchang.bean.Cat;
import com.xuchang.config.AppConfig;
import org.junit.Test;
import org.springframework.beans.factory.BeanFactory;
import org.springframework.beans.factory.config.BeanDefinition;
import org.springframework.beans.factory.support.DefaultListableBeanFactory;
import org.springframework.beans.factory.support.RootBeanDefinition;
import org.springframework.context.ApplicationContext;
import org.springframework.context.annotation.AnnotationConfigApplicationContext;
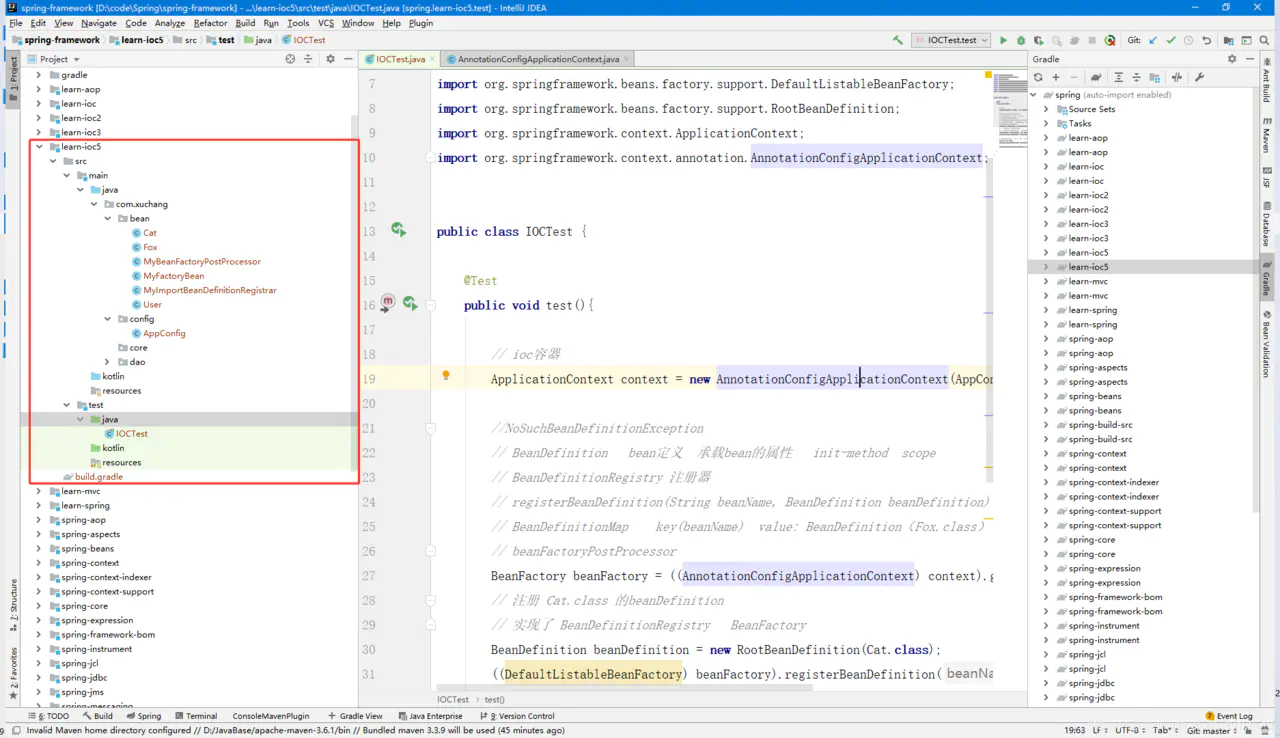
public class IOCTest {
@Test
public void test(){
// ioc容器
ApplicationContext context = new AnnotationConfigApplicationContext(AppConfig.class);
//NoSuchBeanDefinitionException
// BeanDefinition bean定义 承载bean的属性 init-method scope
// BeanDefinitionRegistry 注册器
// registerBeanDefinition(String beanName, BeanDefinition beanDefinition)
// BeanDefinitionMap key(beanName) value: BeanDefinition(Fox.class)
// beanFactoryPostProcessor
BeanFactory beanFactory = ((AnnotationConfigApplicationContext) context).getDefaultListableBeanFactory();
// 注册 Cat.class 的beanDefinition
// 实现了 BeanDefinitionRegistry BeanFactory
BeanDefinition beanDefinition = new RootBeanDefinition(Cat.class);
((DefaultListableBeanFactory) beanFactory).registerBeanDefinition("cat",beanDefinition);
// singletonObjects map 缓存单例bean beanName---singletonObject
Cat cat = new Cat();
((DefaultListableBeanFactory) beanFactory).registerSingleton("cat",cat);
System.out.println(context.getBean("fox"));
}
}总结
基本的环境和大致的流程都已经实现,运行测试类没有报错基本上Spring的环境已经准备好了。
后面留意:装配方式 + 依赖注入和设计理念