ArrayAdapter
我用一个代码来讲解ArrayAdapter的一般用法,在xml布局我就不讲了,肯定是要建立一个ListView的控件的,并柱上id以便在Java文件中调用!其实主要就是在Java文件把我们想要的view用Array Adapter的功能给实现出来的问题,可以简单来讲分为四个步骤,第一步肯定是先在Java文件获取对象List View的属性即id的,第二步是要设置你要表现的内容资源了,如String[]...文字内容或者int[]...照片内容等(你的dramble)第三步是要配置你需要的适配器了,适配器有多种,根据你要用到的去选择,如我们这节讲的是ArrayAdapter,肯定要选择rrayAdapter来做适配器代码如ArrayAdapter<String>adapter=new ArrayAdapter<String(this,android.R.layout.simple_list_item_1,data);括号里面的三个参数分别对应为:上下文即你的MainActivity,第二个参数为有的iten样板,你可以自己设置也可以直接使用Android自带的,我这个使用的就是Android资源自带的,第三个参数就是你的资源,即你所用战士内容的参数,第四步便是将适配其与你的List View建立起联系,以便实现功能的展示!
代码如下:
<?xml version="1.0" encoding="utf-8"?>
<LinearLayout xmlns:android="http://schemas.android.com/apk/res/android"
    xmlns:app="http://schemas.android.com/apk/res-auto"
    xmlns:tools="http://schemas.android.com/tools"
    android:layout_width="match_parent"
    android:layout_height="match_parent"
    tools:context=".MainActivity"
    android:orientation="vertical">
<TextView
    android:layout_width="match_parent"
    android:layout_height="wrap_content"
    android:textSize="30sp"
    android:gravity="center"
    android:text="世界百科"
    />
    <ListView
        android:id="@+id/lv"
        android:layout_width="wrap_content"
        android:layout_height="wrap_content"
         />

</LinearLayout>
MainActivity.java
package com.example.listview_arrayadapter;

import androidx.appcompat.app.AppCompatActivity;

import android.os.Bundle;
import android.widget.ArrayAdapter;
import android.widget.ListView;

public class MainActivity extends AppCompatActivity {

    @Override
    protected void onCreate(Bundle savedInstanceState) {
        super.onCreate(savedInstanceState);
        setContentView(R.layout.activity_main);
        //第一步:先获取ListView的控件资源
        ListView listview=this.findViewById(R.id.lv);
        //第二步准备数据库(Array)
        String [] data={"中国","俄罗斯","美国","英国","法国","印度","韩国","朝鲜","意大利","土耳其","阿达里亚","加拿大",
               "缅甸","日本","老挝","蒙古","乌克兰","泰国"};

        //第三步:配置适配器(ArrayAdapter)3个参数,上下文,xml布局资源,数据库源
        ArrayAdapter<String>adapter=new ArrayAdapter<String>(this,android.R.layout.simple_list_item_1,data);

        //第四步:将适配器与ListView经行关联
        listview.setAdapter(adapter);
    }
}
最终效果图

SimpleAdapter
同样我用一个代码来展示讲解这个用法,simple adapter和arraryadapter都是继承BaseAdapter的,也就是说它们都具有BaseAdapter的属性!若是要说出二者的区别,则从难易程度上讲,simple adapter相对较难,因为它用的参数比较多,一不小心就会晕!方法基本上都是一样的,我在这里要实现图片的展示,这里要引入一个xml因为在这里你可以对你的每给图片的统一样式经行自定义布局,同时注入id下面重点将Java文件实现的功能。第一步还是要获取LiatView的对象,第二部设置内容(图片或者文字)
List<Map<String,Object>> data=new ArrayList<Map<String,Object>>();
Map<String,Object> map= new HashMap<String,Object>();
map.put ("icon",R.drawable.yao);
data.add(map)
Map<String,Object>是定义了一个Map集合变量,然后List<Map<String,Object>>是定义了一个List的集合变量,是map的一个集合;map是那个list的其中一个值。
List<Map<String,Object> list=new ArrayList<Map<String,Object>>();
Map<String,Object> map=new HashMap<String,Object>();
data.add(map);//map是data中的其中一个值。
这样便得到ListView众多图片资源的一个,下面如果要再获取展示一张图片则
map= new HashMap<String,Object>();
map.put ("icon",R.drawable.diaochan);
data.add(map);类推
注意
配置适配器时(括号5个参数分别为:上下文,数据参数,item的xml布局文件,以及名称和id)
如果要是想展示更多的东西,如想在照片的一侧添加一个title(人物名称)和message(人物简介)则可以在你刚才建立的xml文件中设置两个textview即可,同时在List<Map<String,Object>> data=new ArrayList<Map<String,Object>>(); Map<String,Object> map= new HashMap<String,Object>();下面添加map.put ("title,”title内容“);和map.put ("message”,”messgae内容“);即可
代码如下:
MainActivity.java
package com.example.listview_simpleadapter;

import androidx.appcompat.app.AppCompatActivity;

import android.os.Bundle;
import android.widget.ListView;
import android.widget.SimpleAdapter;

import java.util.ArrayList;

import java.util.HashMap;
import java.util.List;
import java.util.Map;

public class MainActivity extends AppCompatActivity {

    @Override
    protected void onCreate(Bundle savedInstanceState) {
        super.onCreate(savedInstanceState);
        setContentView(R.layout.activity_main);
        //获取对象
        ListView listview =this.findViewById(R.id.lv);
        //设置数据库(你的展示内容)
        List<Map<String,Object>> data=new ArrayList<Map<String,Object>>();//定义了一个List集合变量
        Map<String,Object> map= new HashMap<String,Object>();//定义了一个Map变量
        map.put ("icon",R.drawable.yao);//将其yaotp放入map集合
        data.add(map);//将其map添加到data集合变量中去,map是data中的其中一个值。

        map= new HashMap<String,Object>();
        map.put ("icon",R.drawable.libai);
        data.add(map);

        map= new HashMap<String,Object>();
        map.put ("icon",R.drawable.diaochan);
        data.add(map);
        //配置适配器(以上用到的为SimpleAdapter方法则应选用SimpleAdapter适配器)(括号5个参数分别为:上下文,数据参数,item的xml布局文件,以及名称和id)
        SimpleAdapter adapter=new SimpleAdapter(this,data,R.layout.layout_item,new String []{"icon"},new int[]{R.id.icon});

      //将适配器与ListView的控件建立起联系
        listview.setAdapter(adapter);
    }
}
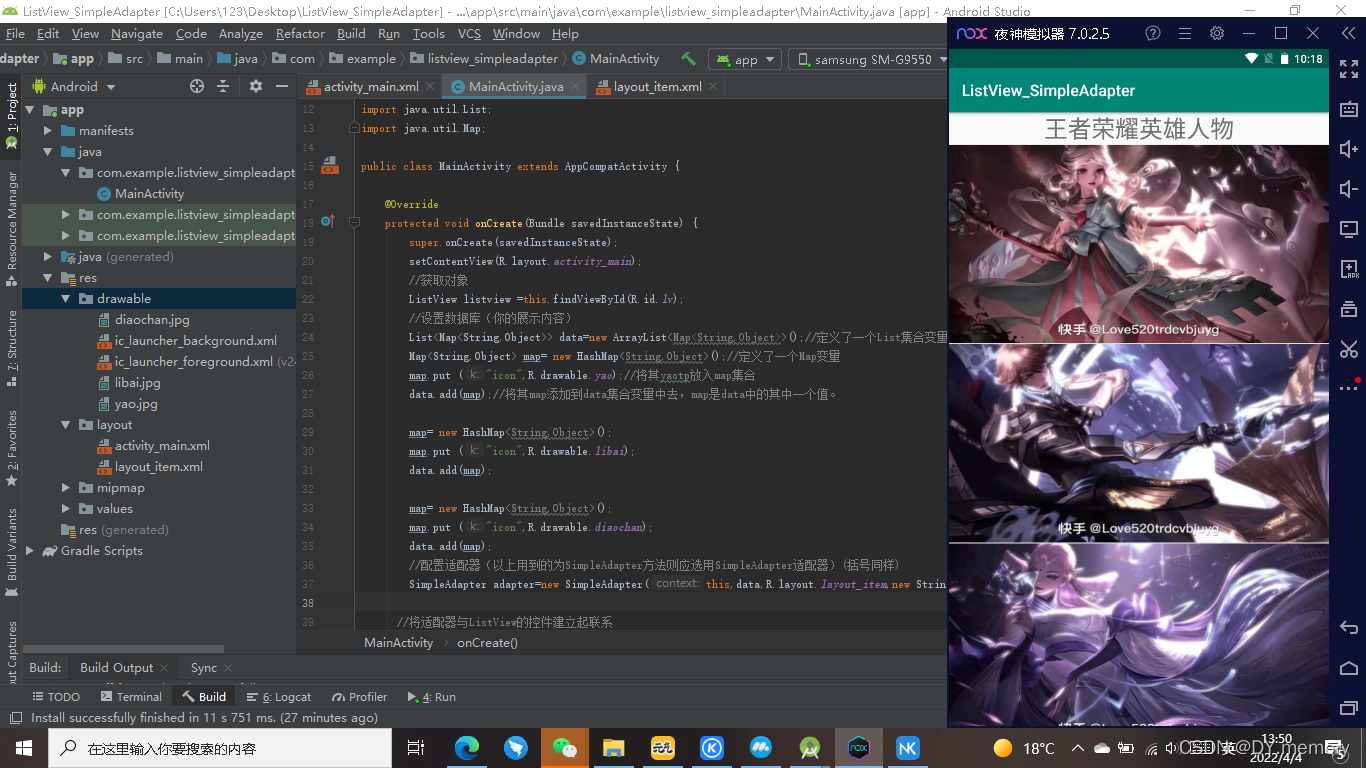
效果图
okay,下期讲解List View和RecycleView的不同和效率问题!