写在前面:电脑已经安装anaconda(或者miniconda)
如有需要,请联系:qq:2953392202
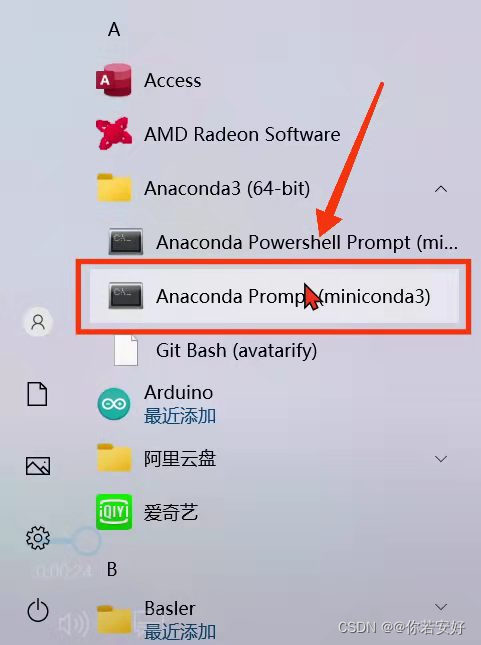
1.打开anaconda
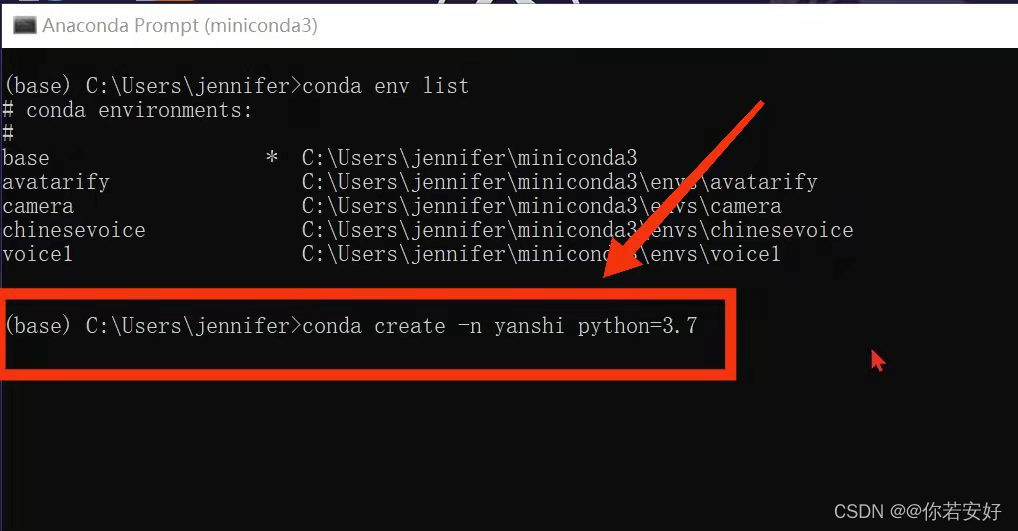
2.搭建虚拟环境
conda create -n yanshi python=3.7
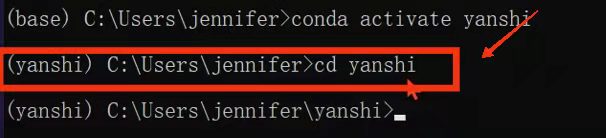
3.激活虚拟环境
conda activate yanshi

4.新建文件夹用于存python文件


5.进入虚拟环境
cd yanshi
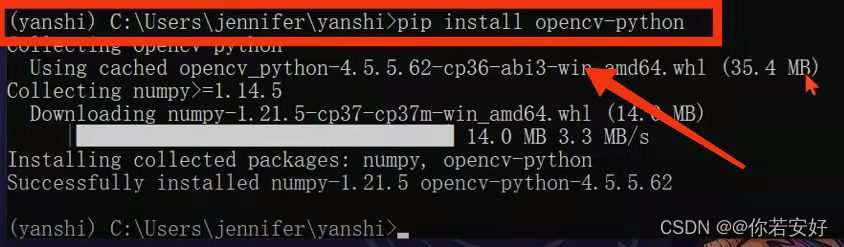
6.下载opencv-python
pip install opencv-python
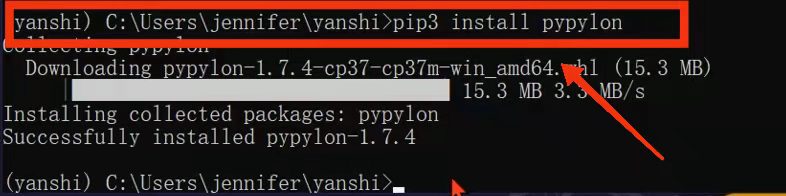
7.下载pypylon
pip3 install pypylon
8.用记事本新建一个python文件并保存
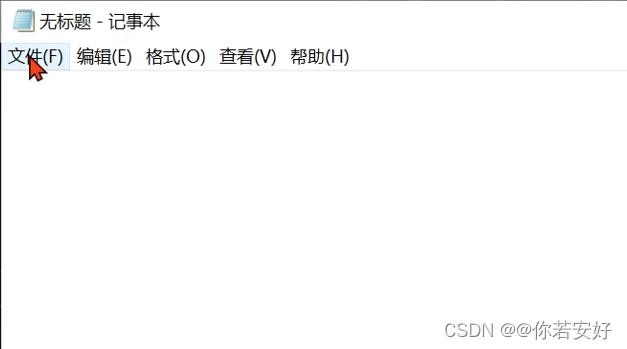

9.将以下python代码复制到新建的文件中
from pypylon import pylon
import cv2
import datetime
import time
# conecting to the first available camera

camera = pylon.InstantCamera(pylon.TlFactory.GetInstance().CreateFirstDevice())

# Grabing Continusely (video) with minimal delay
camera.StartGrabbing(pylon.GrabStrategy_LatestImageOnly)
converter = pylon.ImageFormatConverter()

# converting to opencv bgr format
converter.OutputPixelFormat = pylon.PixelType_BGR8packed
converter.OutputBitAlignment = pylon.OutputBitAlignment_MsbAligned

while camera.IsGrabbing():
    grabResult = camera.RetrieveResult(1000, pylon.TimeoutHandling_ThrowException)

    if grabResult.GrabSucceeded():
        # Access the image data
        image = converter.Convert(grabResult)
        img = image.GetArray()
        cv2.namedWindow('title', cv2.WINDOW_NORMAL)
        cv2.imshow('title', img)
        k = cv2.waitKey(1)
        #按键盘“s"保存图像
        if k == ord('s'):
           #保存图像路径
            cv2.imwrite('D:/learn/photos/a.jpg', img)
           #按键盘‘q'退出
        elif k == ord('q'):
            break
    grabResult.Release()

# Releasing the resource
camera.StopGrabbing()

cv2.destroyAllWindows()
以上代码是获取摄像头图像
10.在终端中跑python文件
python huoqu.py

附:
连续获取获取摄像头图像并保存的代码:
#连续输出并保存图像
from pypylon import pylon
import cv2
import datetime
import time

# conecting to the first available camera

camera = pylon.InstantCamera(pylon.TlFactory.GetInstance().CreateFirstDevice())

# Grabing Continusely (video) with minimal delay
camera.StartGrabbing(pylon.GrabStrategy_LatestImageOnly)
converter = pylon.ImageFormatConverter()

# converting to opencv bgr format
converter.OutputPixelFormat = pylon.PixelType_BGR8packed
converter.OutputBitAlignment = pylon.OutputBitAlignment_MsbAligned
i = 0
while camera.IsGrabbing():
    grabResult = camera.RetrieveResult(1000, pylon.TimeoutHandling_ThrowException)

    if grabResult.GrabSucceeded():
        # Access the image data
        image = converter.Convert(grabResult)
        img = image.GetArray()
        cv2.namedWindow('title', cv2.WINDOW_NORMAL)
        cv2.imshow('title', img)
        #连续输出图像路径,按数字顺序给图像命名
        cv2.imwrite('D:/learn/photos/'+str(i)+'.jpg', img)
        i=i+1
        #每隔0.025秒采集一张图像
        time.sleep(0.025)
        k = cv2.waitKey(1)
        if k == ord('s'):
            break
    grabResult.Release()

# Releasing the resource
camera.StopGrabbing()

cv2.destroyAllWindows()
将图像组合成视频的代码:
#组合图片为视频
import cv2
import os

#图片路径
im_dir = 'D:/learn/photos'
#输出视频路径
video_dir = 'D:/learn/photos/video/a.avi'
#帧率
fps = 30
#图片数
num = 232
#图片尺寸
img_size = (1920,1200)

#fourcc = cv2.cv.CV_FOURCC('M','J','P','G')#opencv2.4
fourcc = cv2.VideoWriter_fourcc('M','J','P','G') #opencv3.0
videoWriter = cv2.VideoWriter(video_dir, fourcc, fps, img_size)

for i in range(1,num):
 im_name = os.path.join(im_dir, str(i)+'.jpg')
 frame = cv2.imread(im_name)
 videoWriter.write(frame)

videoWriter.release()
print('finish')
直接获取视频代码:
#连续输出并保存图像
from pypylon import pylon
import cv2
import os

import time
# conecting to the first available camera

camera = pylon.InstantCamera(pylon.TlFactory.GetInstance().CreateFirstDevice())

# Grabing Continusely (video) with minimal delay
camera.StartGrabbing(pylon.GrabStrategy_LatestImageOnly)
converter = pylon.ImageFormatConverter()

# converting to opencv bgr format
converter.OutputPixelFormat = pylon.PixelType_BGR8packed
converter.OutputBitAlignment = pylon.OutputBitAlignment_MsbAligned
i = 0
while camera.IsGrabbing():
    grabResult = camera.RetrieveResult(1000, pylon.TimeoutHandling_ThrowException)

    if grabResult.GrabSucceeded():
        # Access the image data
        image = converter.Convert(grabResult)
        img = image.GetArray()
        cv2.namedWindow('title', cv2.WINDOW_NORMAL)
        cv2.imshow('title', img)
        cv2.imwrite('D:/learn/photos/'+str(i)+'.jpg', img)
        i=i+1
        time.sleep(0.025)
        k = cv2.waitKey(1)
        if k == ord('s'):
            #图片路径
            im_dir = 'D:/learn/photos'
#输出视频路径
            video_dir = 'D:/learn/photos/video/a.avi'
#帧率
            fps = 40
#图片数
            num = i
#图片尺寸
            img_size = (1920,1200)
            fourcc = cv2.VideoWriter_fourcc('M','J','P','G') #opencv3.0
            videoWriter = cv2.VideoWriter(video_dir, fourcc, fps, img_size)

            for i in range(1,num):
                im_name = os.path.join(im_dir, str(i)+'.jpg')
                frame = cv2.imread(im_name)
                videoWriter.write(frame)
            videoWriter.release()
            print('finish')
            break


grabResult.Release()
# Releasing the resource
camera.StopGrabbing()
cv2.destroyAllWindows()