SQLite的简单使用
小柴的笔记
一、创建SQLiteOpenHelper类
onCreate()方法中有两种创建数据表的方式。区别在于有没有IF NOT EXISTS
用 CREATE TABLE IF NOT EXISTS创建表时,当表已经存在的时候,它不会有操作,也不会去报错。没有的话,就当表存在再去创建,那么就会创建失败并报错。
public class DBOpenHelper extends SQLiteOpenHelper {


    public DBOpenHelper(@Nullable Context context, @Nullable String name, @Nullable SQLiteDatabase.CursorFactory factory, int version) {


        super(context, name, factory, version);
    }

    @Override
    public void onCreate(SQLiteDatabase db) {


    	//方式1
        db.execSQL("CREATE TABLE IF NOT EXISTS user" + "(_id INTEGER PRIMARY KEY AUTOINCREMENT, name VARCHAR(255), phoneNumber INTERGER(11), password VARCHAR(255))");
        //方式2
        db.execSQL("CREATE TABLE person" + "(_id INTEGER PRIMARY KEY AUTOINCREMENT, name VARCHAR(255), phoneNumber INTERGER(11), password VARCHAR(255))");
    }

    @Override
    public void onUpgrade(SQLiteDatabase db, int oldVersion, int newVersion) {


		//简单的时候就暂时不用更新了嘿嘿嘿
    }
}
二、MainActivity
主要实现的创建/打开数据库、再通过监听事件去触发增删改查内容
代码如下
public class MainActivity extends AppCompatActivity implements View.OnClickListener{


    private static final String NAME = "user.db";
    private static final int VERSION = 1;
    private Button mInsert;
    private Button mDelete;
    private Button mUpdate;
    private Button mQuery;
    private EditText mInsertEdit;
    private EditText mNewDataEdit;
    private EditText mOldDataEdit;
    private EditText mDeleteEdit;
    private SQLiteDatabase mDb;
    private TextView mTextView;
    private TextView mTextView1;
    private String mTextName;
    private Button mClose;

    @Override
    protected void onCreate(Bundle savedInstanceState) {


        super.onCreate(savedInstanceState);
        setContentView(R.layout.activity_main);

        /**
         * 创建DBOpenHelper对象,当数据库不存在就新建一个数据库,
         * 当数据库存在就检查版本是否一直,不一致就更新数据库。
         */
        DBOpenHelper DBOpenHelper = new DBOpenHelper(this, NAME, null, 1);
        mDb = DBOpenHelper.getWritableDatabase();
        init();
    }

    /**
     * 初始化控件
     */
    public void init() {


        mInsert = findViewById(R.id.insert);
        mInsert.setOnClickListener(this);
        mInsertEdit = findViewById(R.id.insert_edit);
        mNewDataEdit = findViewById(R.id.new_data);
        mOldDataEdit = findViewById(R.id.old_data);
        mUpdate = findViewById(R.id.update);
        mUpdate.setOnClickListener(this);
        mDeleteEdit = findViewById(R.id.delete_data);
        mDelete = findViewById(R.id.delete);
        mDelete.setOnClickListener(this);
        mQuery = findViewById(R.id.query);
        mQuery.setOnClickListener(this);
        mTextView = findViewById(R.id.data);
        mTextView1 = findViewById(R.id.data_two);
        mClose = findViewById(R.id.close);
        mClose.setOnClickListener(this);
        mTextName = "";
    }

    @Override
    public void onClick(View view) {


        if (view == mInsert) {


            //插入数据库
            ContentValues values = new ContentValues();
            values.put("name", mInsertEdit.getText().toString());
            mDb.insert("user", null, values);
        } else if (view == mUpdate) {


            //更新数据
            ContentValues values = new ContentValues();
            values.put("name", mNewDataEdit.getText().toString());
            mDb.update("user", values, "name = ?", new String[]{

    mOldDataEdit.getText().toString()});
        } else if (view == mDelete) {


            //删除数据
            mDb.delete("user", "name = ?", new String[]{

    mDeleteEdit.getText().toString()});
        } else if (view == mQuery) {


            //查询全部数据,第二个参数,是代表只能获取当前列的数据,如果需要获取整条数据就需null
            Cursor cursor = mDb.query("user", new String[]{

    "name"}, null, null, null, null, null);
            while(cursor.moveToNext()){


                String name = cursor.getString(cursor.getColumnIndex("name"));
                mTextName =  mTextName  + name + "\n";
            }
            mTextView.setText(mTextName);
            mTextName = "";
            cursor.close();

            //查询某个数据,第二个参数,是代表只能获取当前列的数据,如果需要获取整条数据就需null
            Cursor cursor1 = mDb.query("user", new String[]{

    "name"}, "name = ?", new String[]{

    "小李"}, null,null, null);
            while (cursor1.moveToNext()){


                String name = cursor1.getString(cursor1.getColumnIndex("name"));
                mTextName = mTextName + name + "\n";
            }
            mTextView1.setText(mTextName);
            mTextName = "";
            cursor1.close();
        } else if(view == mClose){


            //清除当前显示的内容
            mTextView.setText("");
            mTextView1.setText("");
            mTextName = "";
        }
    }
}
上面代码很简单,也有点多,我们一点一点分析
三、创建数据库
代码如下
 		/**
         * 创建DBOpenHelper对象,当数据库不存在就新建一个数据库,
         * 当数据库存在就检查版本是否一直,不一致就更新数据库。
         */
        DBOpenHelper DBOpenHelper = new DBOpenHelper(this, NAME, null, 1);
        mDb = DBOpenHelper.getWritableDatabase();
四、增删改查
1. 增,将数据插入数据库中
这里使用到了辅助类ContentValues,用于存储基本类型的数据。
先创建一个实例。通过put()方法保存数据,是通过key-value的方式,第一个是参数是key,第二个参数是value,如果第二个参数没写的话,保存到数据库,该key的数据保存为null。
最后通过.insert()方法插入数据到数据库中
	//插入数据库
	ContentValues values = new ContentValues();
	values.put("name", mInsertEdit.getText().toString());
	mDb.insert("user", null, values);
2. 改,修改数据库中的某条数据
同样使用了ContentValues类
将要修稿的数据存储起来
最后通过update()方法修改数据
	//更新数据
	ContentValues values = new ContentValues();
	values.put("name", mNewDataEdit.getText().toString());
	mDb.update("user", values, "name = ?", new String[]{

    mOldDataEdit.getText().toString()});
3. 删,删除数据库中的某条数据
通过delete()方法删除数据
第一个参数:表明,第二个参数:删除的条件数据,第三个是:删除的条件数据的名字
	///删除数据
	mDb.delete("user", "name = ?", new String[]{

    mDeleteEdit.getText().toString()});
4. 查,查找数据库中的数据
通过mDb.query()方法查询数据
一般后面三个都是默认null
public Cursor query(String table, String[] columns, String selection, String[] selectionArgs, String groupBy, String having, String orderBy)
String table : 表名
String[] columns : 列表的名字
String selection : 要查询的数据内容
String selectionArgs : 条件语句
String groupBy : 分组列
String having : 分组条件
String orderBy : 排序列
//查询全部数据
	Cursor cursor = mDb.query("user", new String[]{

    "name"}, null, null, null, null, null);
	while(cursor.moveToNext()){


	    String name = cursor.getString(cursor.getColumnIndex("name"));
	    mTextName =  mTextName  + name + "\n";
	}
	mTextView.setText(mTextName);
	mTextName = "";
	cursor.close();

	//查询某个数据
	Cursor cursor1 = mDb.query("user", new String[]{

    "name"}, "name = ?", new String[]{

    "小李"}, null,null, null);
	while (cursor1.moveToNext()){


	    String name = cursor1.getString(cursor1.getColumnIndex("name"));
	    mTextName = mTextName + name + "\n";
	}
	mTextView1.setText(mTextName);
	mTextName = "";
	cursor1.close();
五、activity_main.xml
很简单的布局,就不说了
<?xml version="1.0" encoding="utf-8"?>
<LinearLayout xmlns:android="http://schemas.android.com/apk/res/android"
    xmlns:app="http://schemas.android.com/apk/res-auto"
    xmlns:tools="http://schemas.android.com/tools"
    android:layout_width="match_parent"
    android:layout_height="match_parent"
    android:orientation="vertical"
    android:layout_margin="10dp"
    tools:context=".MainActivity">

    <EditText
        android:id="@+id/insert_edit"
        android:layout_width="match_parent"
        android:layout_height="wrap_content"
        android:hint="输入要增加的数据"/>
    <Button
        android:id="@+id/insert"
        android:layout_width="wrap_content"
        android:layout_height="wrap_content"
        android:text="增加"/>
    <EditText
        android:id="@+id/new_data"
        android:layout_width="match_parent"
        android:layout_height="wrap_content"
        android:hint="输入要更新的数据"/>
    <EditText
        android:id="@+id/old_data"
        android:layout_width="match_parent"
        android:layout_height="wrap_content"
        android:hint="输入被修改的数据"/>
    <Button
        android:id="@+id/update"
        android:layout_width="wrap_content"
        android:layout_height="wrap_content"
        android:text="更新"/>
    <EditText
        android:id="@+id/delete_data"
        android:layout_width="match_parent"
        android:layout_height="wrap_content"
        android:hint="输入要删除的数据"/>
    <Button
        android:id="@+id/delete"
        android:layout_width="wrap_content"
        android:layout_height="wrap_content"
        android:text="删除"/>
    <Button
        android:id="@+id/query"
        android:layout_width="wrap_content"
        android:layout_height="wrap_content"
        android:text="查询全部"/>
    <Button
        android:id="@+id/close"
        android:layout_width="wrap_content"
        android:layout_height="wrap_content"
        android:text="清空"/>
    <TextView
        android:id="@+id/data"
        android:layout_width="wrap_content"
        android:layout_height="wrap_content"
        android:text="内容为空"
        android:textColor="@color/purple_200"
        android:textSize="20sp"/>
    <TextView
        android:id="@+id/data_two"
        android:layout_width="wrap_content"
        android:layout_height="wrap_content"
        android:text="内容为空"
        android:textColor="@color/teal_700"
        android:textSize="20sp"/>

</LinearLayout>
六、使用过程
1. 演示

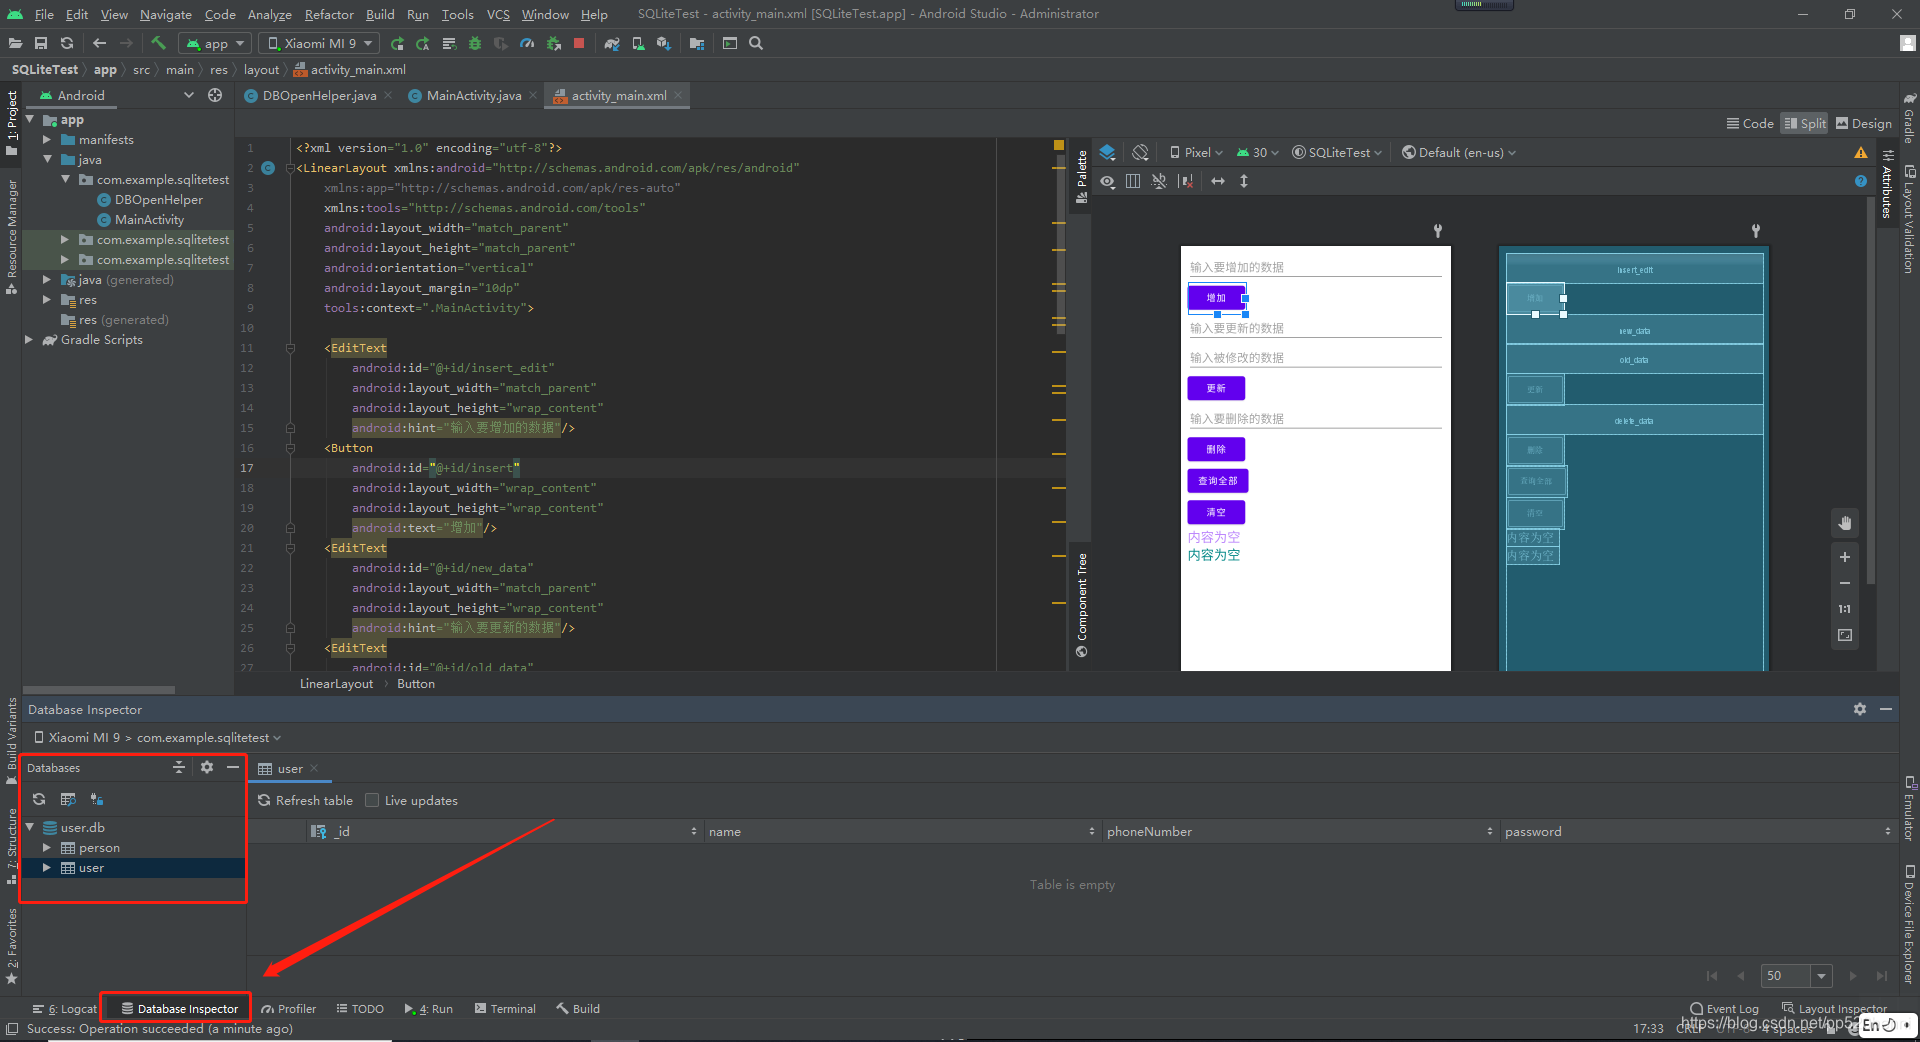
2. Database Inspector
Android Studio 正下方有提供Database Inspector,但是,只有API26以上的手机才可以使用哦
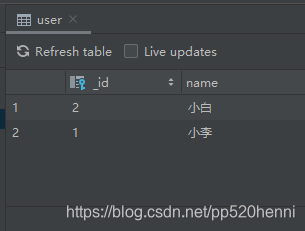
3. 插入两个数据后
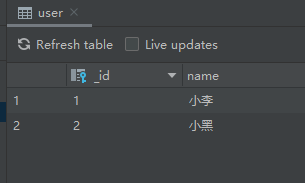
4. 更新数据
小白变小黑
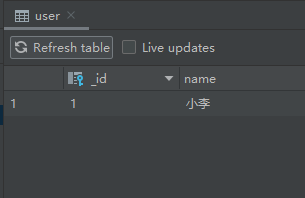
5. 删除数据
总结
SQLite是一个轻型数据库,简单方便使用
源码在这里