一、前期准备
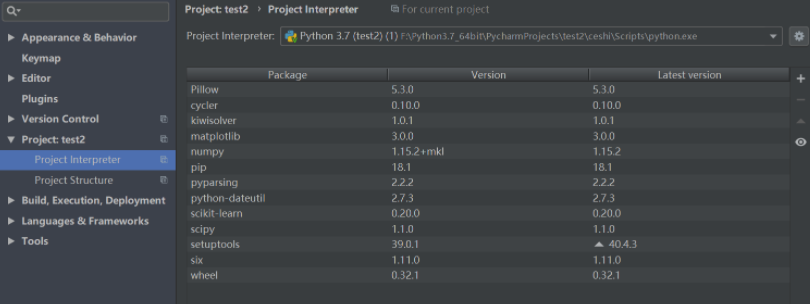
同步python库
将已有的python安装第三方库直接配置给pycharm
二、写小网页
配置文件夹
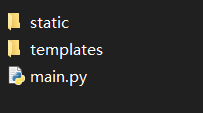
目录结构参考:flask——目录参考
static 存放css样式,图片等数据
static目录:
如其名,静态文件夹,里面防止一些静态文件,比如js、css、以及图片
templates目录:
中文为模板,里面放置html文件
venv目录:
python工程的虚拟环境,里面只需要了解一下,Lib-site-packages这个目录里面放置的当前工程需要的一些供调用的库。工程内下载的库也都在这里面。
四步骤:
- 引入Flask类
- 创建Flask对象
- 编写主程序
- 路由
源代码:
from flask import Flask

app = Flask(__name__)


# __name__是类,区别于app这个实例,app继承类的所有属性和方法

@app.route('/')
def index():
    return ("<h1>Hi,Flask!<h1>")


if "__main__" == __name__:
    app.run(port="5013")
    # run里面可改为其他的字符串数字,默认5000

三、提取视频帧
from flask import Flask, render_template
import os
import cv2
os.chdir(r'C:\Users\ouoli\PycharmProjects\pythonProject1\flask')
app = Flask(__name__)


def genFrame():
    v_path = 'static/ghz.mp4'
    image_save = 'static/pic'

    if not (os.path.exists(image_save)):
        os.mkdir(image_save)

    cap = cv2.VideoCapture(v_path)
    fc = cap.get(cv2.CAP_PROP_FRAME_COUNT)

    for i in range(int(fc)):
        _, img = cap.read()
        cv2.imwrite('static/pic/image{}.jpg'.format(i), img)


@app.route('/')
def index():
    genFrame()
    return render_template('index.html')


if "__main__" == __name__:
    app.run(port='5020')
<!DOCTYPE html>
<html lang="en">
<head>
    <meta charset="UTF-8">
    <title>Title</title>
</head>
<body>
视频分镜
<br>
<video width="180" height="320" controls autoplay>
  <source src="static/ghz.mp4" type="video/mp4">
  <object data="static/ghz.mp4" width="180" height="320">
    <embed width="180" height="320" src="static/ghz.mp4">
  </object>
</video>

</body>
</html>

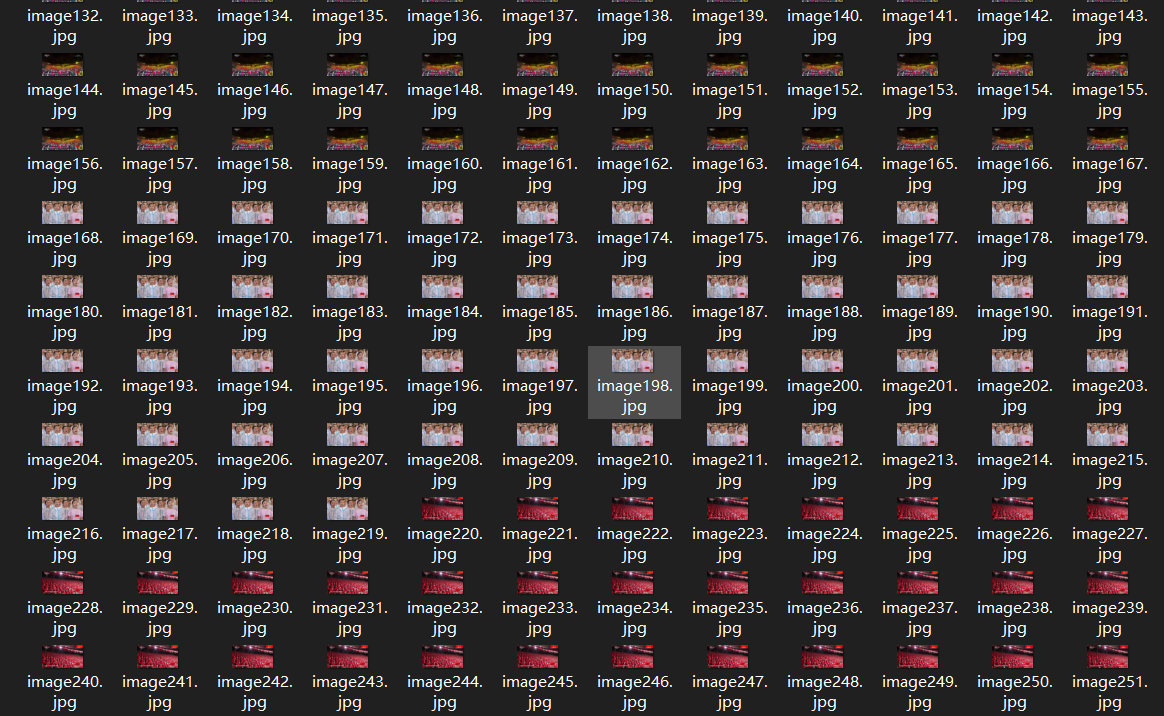
在相应的pic文件夹下也有单帧的图片。
四、视频分镜处理
1、基于哈希
python代码:
扫描二维码关注公众号,回复:
13332270 查看本文章

from flask import Flask,render_template
import cv2
import os


app=Flask(__name__)

def aHash(img):
    img=cv2.resize(img,(8,8))
    gray = cv2.cvtColor(img, cv2.COLOR_BGR2GRAY)
    s = 0
    hash_str = ""
    for i in range(8):
        for j in range(8):
            s = s + gray[i, j]
    avg = s / 64
    for i in range(8):
        for j in range(8):
            if gray[i, j] > avg:
                hash_str=hash_str+"1"
            else:
                hash_str=hash_str+"0"
    return hash_str

def cmpHash(hash1,hash2):
    n=0
    if len(hash1)!=len(hash2):
        return -1
    for i in range(len(hash1)):
        if hash1[i]!=hash2[i]:
            n=n+1
    return n


def genFrame():
    v_path='static/stereotype3.mp4'
    image_save='static/shot'
    if not(os.path.exists(image_save)):
        os.mkdir(image_save)

    cap=cv2.VideoCapture(v_path)
    fc=cap.get(cv2.CAP_PROP_FRAME_COUNT)
#NEW!!!
    _,img1=cap.read()
    cv2.imwrite('static/shot/image{}.jpg'.format(0),img1)
    for i in range(int(fc)-1):
         _,img2=cap.read()
         hash1=aHash(img1)
         hash2=aHash(img2)
         n=cmpHash(hash1,hash2)
         if n>25:
              cv2.imwrite('static/shot/image{}.jpg'.format(i),img2)
         img1 = img2


@app.route('/')
def index():
    genFrame()

    path="static/shot"
    filename=os.listdir(path)
    filename.sort(key=lambda x: int(x[5:-4]))#能让最后显示的图片顺序体现先后顺序
    framecount=len(filename)


    return render_template('index.html',filename=filename,framecount=framecount)

if "__main__"==__name__:
    app.run(port="5008")
html代码:
<!DOCTYPE html>
<html lang="en">
<head>
    <meta charset="UTF-8">
    <title>Flask分镜</title>
</head>
<body>
视频分镜<br>
<video width="640" height="480" controls autoplay>
  <source src="static/ghz.mp4" type="video/mp4">
  <object data="static/ghz.mp4" width="640" height="480">
    <embed width="640" height="480" src="static/ghz.mp4">
  </object>
</video>
<br>
帧数:{

   {framecount}}<br>
{% for i in filename %}
    <img height="40" src="static/pic/{

     {i}}" />
{

   {filename[i]}}
{% endfor %}
</body>
</html>
2、基于直方图
py代码:
from flask import Flask,render_template
import cv2
import os


app=Flask(__name__)


# 通过得到RGB每个通道的直方图来计算相似度
def classify_hist_with_split(image1, image2, size=(256, 256)):
    image1 = cv2.resize(image1, size)
    image2 = cv2.resize(image2, size)


    sub_image1 = cv2.split(image1)
    sub_image2 = cv2.split(image2)
    sub_data = 0

    for im1, im2 in zip(sub_image1, sub_image2):
        sub_data += calculate(im1, im2)
    sub_data = sub_data / 3
    return sub_data

def calculate(image1, image2):
    hist1 = cv2.calcHist([image1], [0], None, [256], [0.0, 255.0])
    hist2 = cv2.calcHist([image2], [0], None, [256], [0.0, 255.0])
    degree = 0
    for i in range(len(hist1)):
        if hist1[i] != hist2[i]:
            degree = degree + (1 - abs(hist1[i] - hist2[i]) / max(hist1[i], hist2[i]))
        else:
            degree = degree + 1
    degree = degree / len(hist1)
    return degree


def genFrame():
    v_path='static/stereotype3.mp4'
    image_save='static/pic'
    if not(os.path.exists(image_save)):
        os.mkdir(image_save)

    cap=cv2.VideoCapture(v_path)
    fc=cap.get(cv2.CAP_PROP_FRAME_COUNT)

    _,img1=cap.read()
    cv2.imwrite('static/pic/image{}.jpg'.format(0),img1)
    for i in range(int(fc)-1):
         _,img2=cap.read()
         n=classify_hist_with_split(img1,img2)

         if (n<0.5):
             cv2.imwrite('static/pic/image{}.jpg'.format(i), img2)
             img1 = img2


@app.route('/')
def HIST():
    genFrame()
    path="static/pic"
    filename=os.listdir(path)
    filename.sort(key=lambda x: int(x[5:-4]))
    framecount=len(filename)


    return render_template('index.html',filename=filename,framecount=framecount)

if "__main__"==__name__:
    app.run(port="5008")
html代码:
<!DOCTYPE html>
<html lang="en">
<head>
    <meta charset="UTF-8">
    <title>Flask分镜</title>
</head>
<body>
视频分镜<br>
<video width="640" height="480" controls autoplay>
  <source src="static/ghz.mp4" type="video/mp4">
  <object data="static/ghz.mp4" width="640" height="480">
    <embed width="640" height="480" src="static/ghz.mp4">
  </object>
</video>
<br>
帧数:{

   {framecount}}<br>
{% for i in filename %}
    <img height="40" src="static/pic/{

     {i}}" />
{

   {filename[i]}}
{% endfor %}
</body>
</html></html>

