文章目录
1.下载maven包
下载第一个

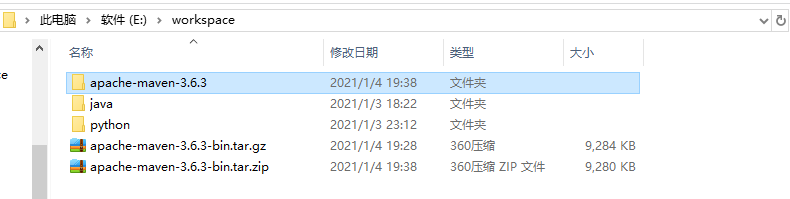
2.自己指定位置解压缩
3.添加环境变量
此电脑→属性→高级系统设置→环境变量→系统变量→新建 MAVEN_HOME
变量值为刚才解压的maven路径

4.在path下添加%MAVEN_HOME%\bin

5.检查是否配置成功
win+R 输入cmd在弹出的黑框中输入mvn -v(一定要在上一步确定之后)

成功显示:
6.配置本地的maven仓库mavenRepository
自己选定位置新建文件夹mavenRepository

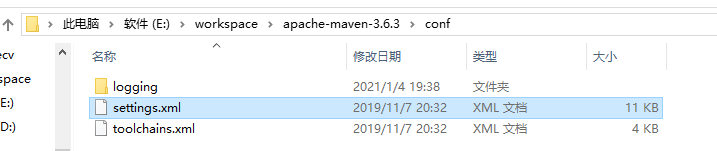
7.修改maven配置文件
路径如下:E:\workspace\apache-maven-3.6.3\conf
7.1修改mave的默认jdk版本
在profiles标签内加入以下内容
<id>JDK-1.8</id>

    <activation>

        <activeByDefault>true</activeByDefault>

        <jdk>1.8</jdk>

    </activation>

    <properties>

        <maven.compiler.source>1.8</maven.compiler.source>

        <maven.compiler.target>1.8</maven.compiler.target>

        <maven.compiler.compilerVersion>1.8</maven.compiler.compilerVersion>

    </properties>
如图

7.2修改mave的默认jdk版本
为了下载的快点配置国内的maven依赖下载地址
<mirrors>
        <mirror>
            <id>alimaven</id>
            <name>aliyun maven</name>
            <url>http://maven.aliyun.com/nexus/content/groups/public/</url>
            <mirrorOf>central</mirrorOf>
        </mirror>
        <mirror>
            <id>ui</id>
            <mirrorOf>central</mirrorOf>
            <name>Human Readable Name for this Mirror.</name>
            <url>http://uk.maven.org/maven2/</url>
        </mirror>
        <mirror>
            <id>jboss-public-repository-group</id>
            <mirrorOf>central</mirrorOf>
            <name>JBoss Public Repository Group</name>
            <url>http://repository.jboss.org/nexus/content/groups/public</url>
        </mirror>
        <mirror>
            <id>repo2</id>
            <mirrorOf>central</mirrorOf>
            <name>Human Readable Name for this Mirror.</name>
            <url>http://repo2.maven.org/maven2/</url>
        </mirror>
        <mirror>
            <id>OSChina</id>
            <name>OSChina Central</name>
            <url>http://maven.oschina.net/content/groups/public/</url>
            <mirrorOf>central</mirrorOf>
        </mirror>
        <mirror>
            <id>nexus-osc-thirdparty</id>
            <mirrorOf>thirdparty</mirrorOf>
            <name>Nexus osc thirdparty</name>
            <url>http://maven.oschina.net/content/repositories/thirdparty/</url>
        </mirror>
    </mirrors>
如图
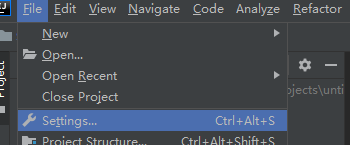
8配置idea集成maven(在mavnesetting中设置)