前言
本文的文字及图片来源于网络,仅供学习、交流使用,不具有任何商业用途,如有问题请及时联系我们以作处理。+
开发工具
python 3.6.5
pycharm
pdfkit
requests
parsel
相关模块可pip安装
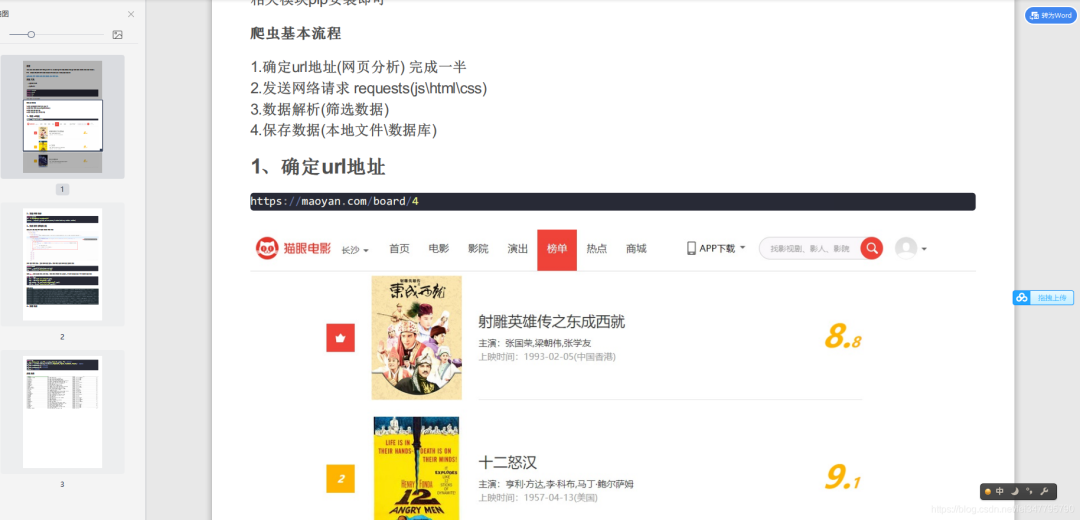
1、获取每篇文章的url地址
如果你不知道怎么写css选择器,不知道怎么写xpath 教你一个不推荐使用的小技巧
选择你想要获取的数据,点击右键 copy 有copy selector就是复制css提取,copy xpath则是xpath的
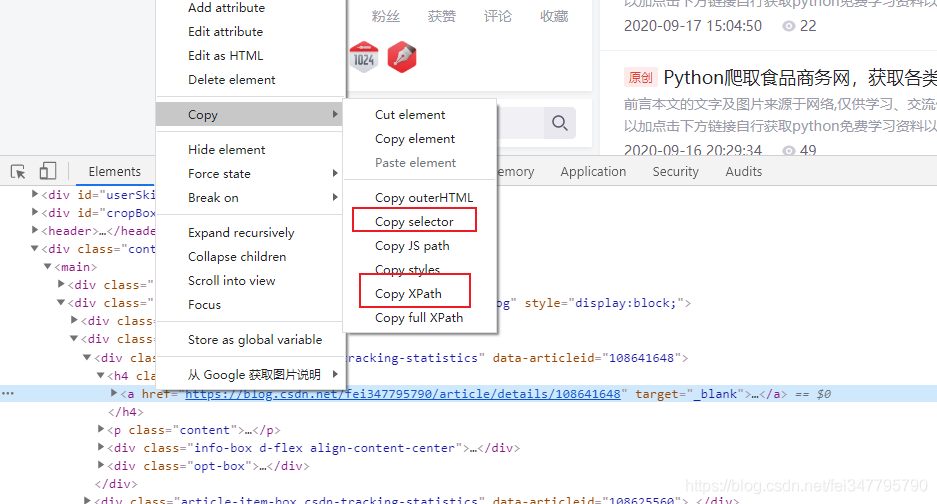
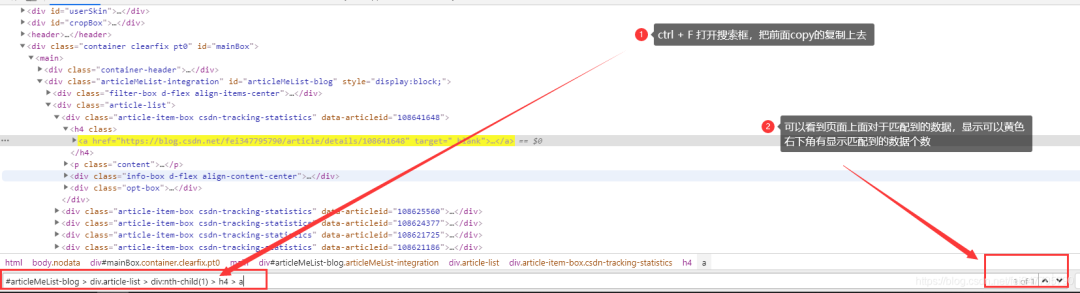
当然了,还是不建议这样去写,不过可以,这样的方法可以检测你提取数据时,是否有错误
实现代码
import requests
import parsel
response = requests.get(url=url, headers=headers, cookies=cookie)
selector = parsel.Selector(response.text)
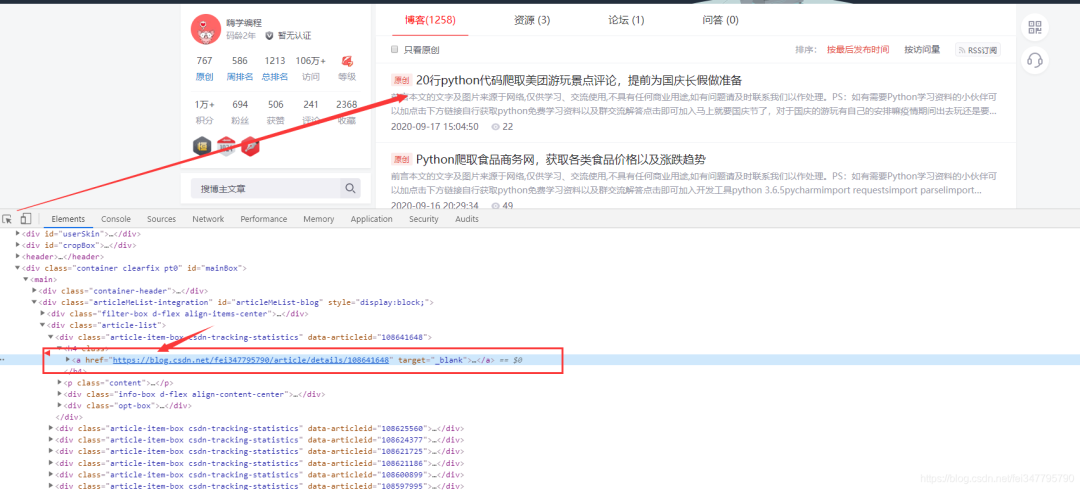
urls = selector.css('.article-list h4 a::attr(href)').getall()
for html_url in urls:
print(html_url)
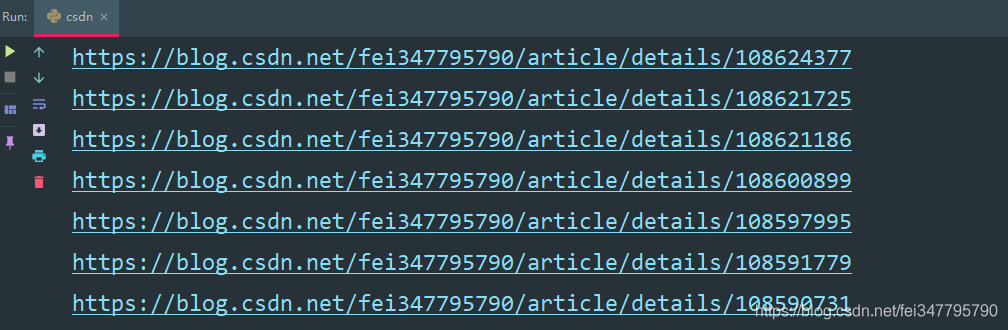
这样就获取了每一篇文章的url地址
2、获取每一篇文章内容
提取解析方法同上
response = requests.get(url, headers=headers, cookies=cookie)
# text 文本(字符串)
# 遭遇了反扒
# print(response.text)

# 提取文章部分
sel = parsel.Selector(response.text)
# css 选择器
article = sel.css('article').get()
title = sel.css('h1::text').get()
print(title)
print(article)

现在所看到的返回的内容结果,除了标题是咱们需要的那样,但是内容确实网页数据。
咱们只需要把html改成PDF格式
保存数据
import pdfkit
html_str = """
<!doctype html>
<html lang="en">
<head>
<meta charset="UTF-8">
<title>Document</title>
</head>
<body>
{article}
</body>
</html>
"""
html = html_str.format(article=article)
with open(f'{title}.html', mode='w', encoding='utf-8') as f:
f.write(html)
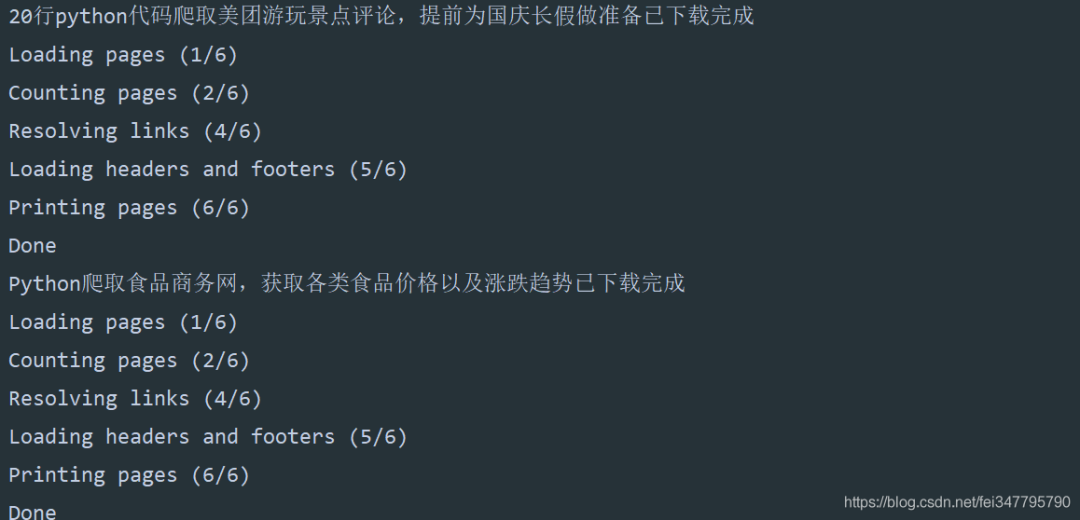
print('{}已下载完成'.format(title))
# exe 文件存放的路径
config = pdfkit.configuration(wkhtmltopdf='C:\\Program Files\\wkhtmltopdf\\bin\\wkhtmltopdf.exe')
# 把 html 通过 pdfkit 变成 pdf 文件
pdfkit.from_file(f'{title}.html', f'{title}.pdf', configuration=config)
这里是需要一个wkhtmltopdf.exe 配置文件的
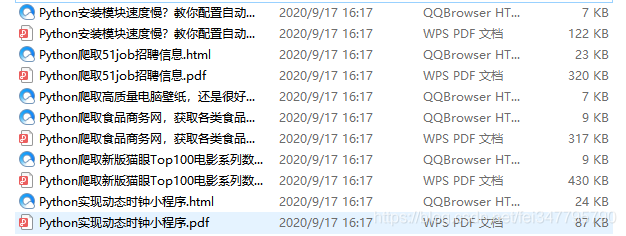
实现效果: