提示:本地安装elasticsearch及安装head插件,如未安装,请按照https://blog.csdn.net/dulei17816/article/details/80493541文章进行安装,该文章时在windows10上进行安装的。
前提
本地已经运行elasticsearch及head插件后,打开http://localhost:9100,显示如下网页:

库操作
库操作即对索引进行操作。
- 1.创建索引
-
请求方法:PUT
链接: http://localhost:9200/teacher
点击提交请求,右侧返回如下代码,创建成功
 {
 "acknowledged": true,
 "shards_acknowledged": true,
 "index": "teacher"
 }
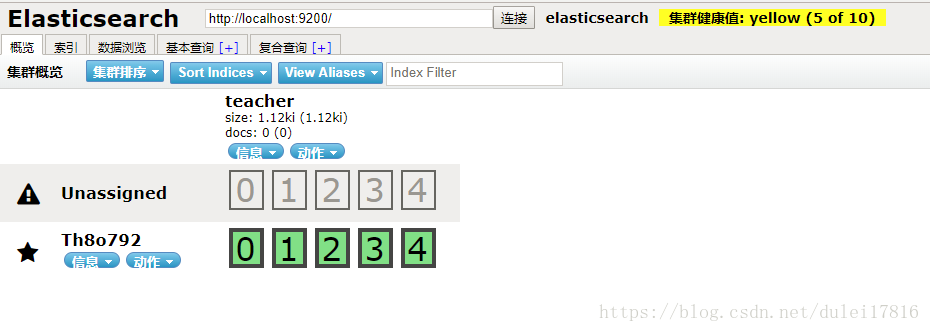
查看索引:
点击上边链接按钮,会进行刷新,会显示如下页面:
- 2.删除索引
-
请求方法:DELETE
链接: http://localhost:9200/teacher
点击提交请求,右侧返回如下代码,删除成功
 {
 "acknowledged": true
 }

文档操作
在索引中添加文档,即添加数据。
- 1.插入数据
-
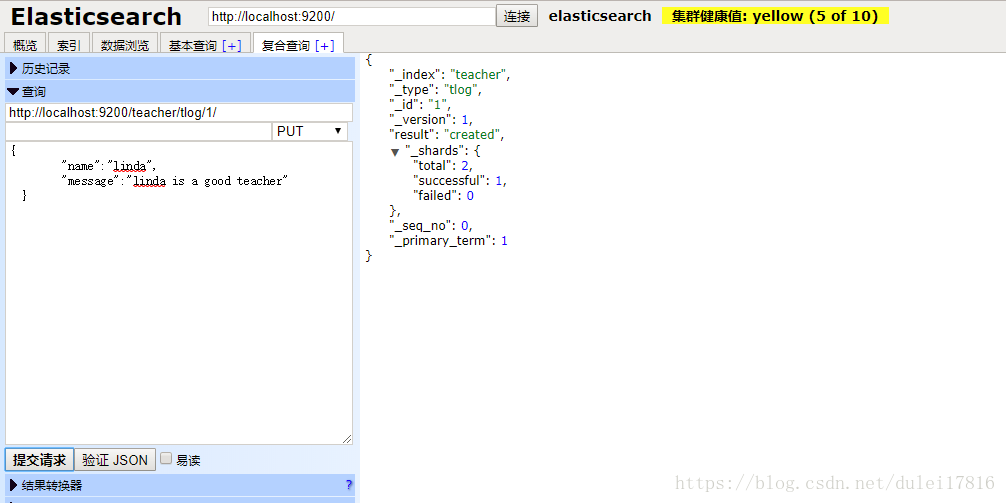
请求方法:PUT
链接:http://localhost:9200/teacher/tlog/1
参数:{ “name”:”linda”, “message”:”linda is a good teacher” }
返回值:
{
“_index”: “teacher”,
“_type”: “tlog”,
“_id”: “1”,
“_version”: 1,
“result”: “created”,
“_shards”:
{
“total”: 2,
“successful”: 1,
“failed”: 0
},
“_seq_no”: 0,
“_primary_term”: 1
}结果如下图片:
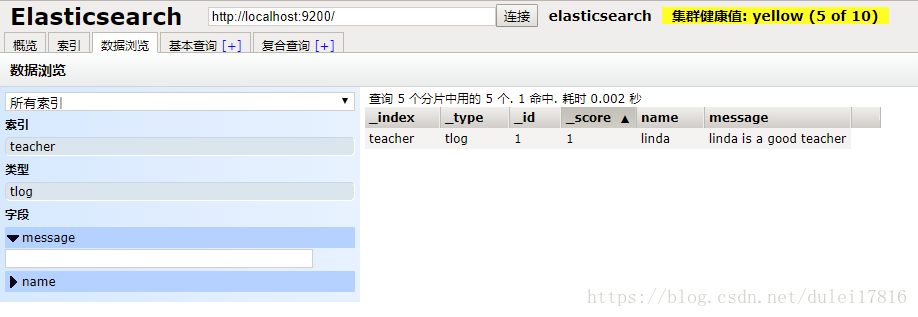
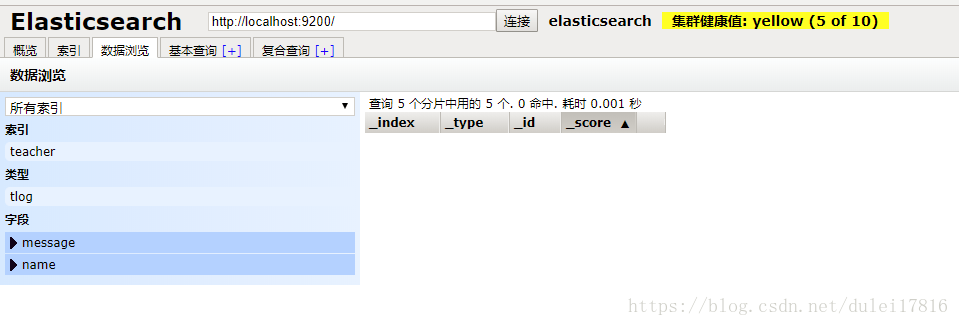
在数据下,会有下数据:
- 2.更新数据
-
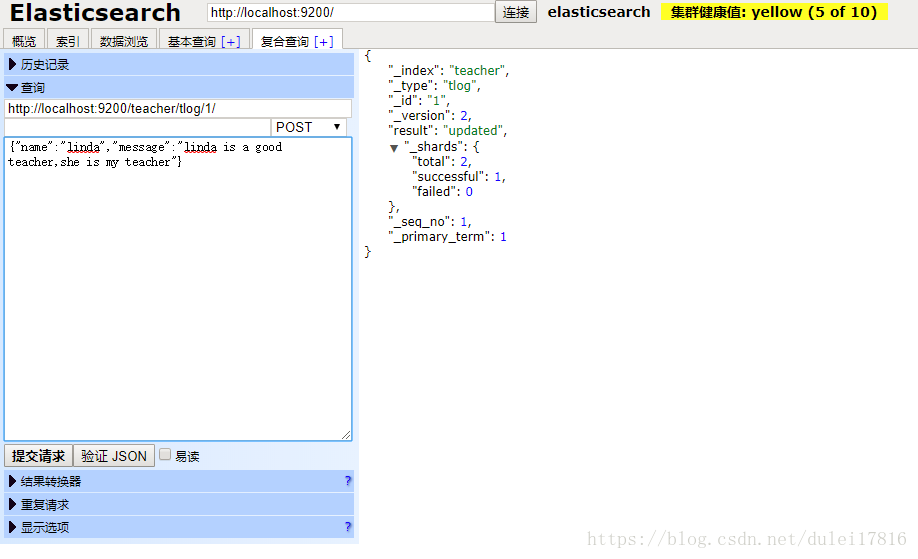
请求方法:POST
链接:http://localhost:9200/teacher/tlog/1
参数:{
“name”:”linda”,
“message”:”linda is a good teacher,she is my teacher”
}返回值:
{
“_index”: “teacher”,
“_type”: “tlog”,
“_id”: “1”,
“_version”: 2,
“result”: “updated”,
“_shards”: {
“total”: 2,
“successful”: 1,
“failed”: 0
},
“_seq_no”: 1,
“_primary_term”: 1
}返回结果,如下图:
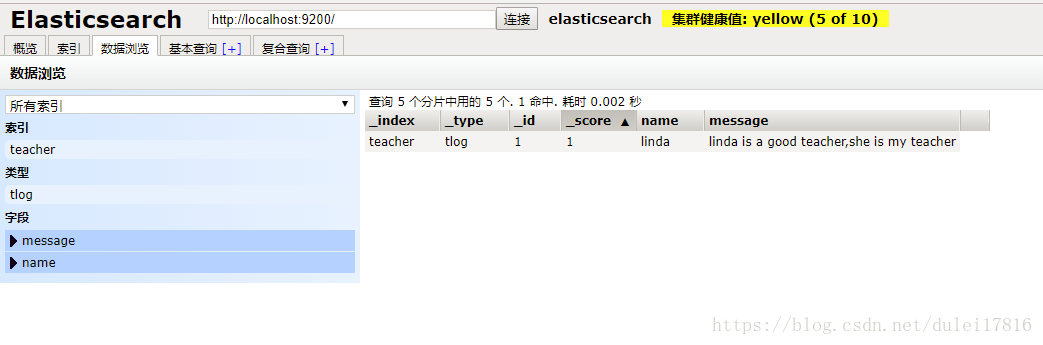
查看数据如下:
- 3.查询数据
-
请求方法:GET
链接: http://localhost:9200/teacher/tlog/1/
参数: 无
返回值:{ "_index": "teacher", "_type": "tlog", "_id": "1", "_version": 2, "found": true, "_source": { "name": "linda", "message": "linda is a good teacher,she is my teacher" } } - 4.删除数据
-
请求方法:DELETE
链接:http://localhost:9200/teacher/tlog/1
参数: 无
返回值:{
"_index": "teacher",
"_type": "tlog",
"_id": "1",
"_version": 3,
"result": "deleted",
"_shards": {
"total": 2,
"successful": 1,
"failed": 0
},
"_seq_no": 2,
"_primary_term": 1
}删除后,如下图,会没有数据