场景
若依前后端分离版手把手教你本地搭建环境并运行项目:
https://blog.csdn.net/BADAO_LIUMANG_QIZHI/article/details/108465662
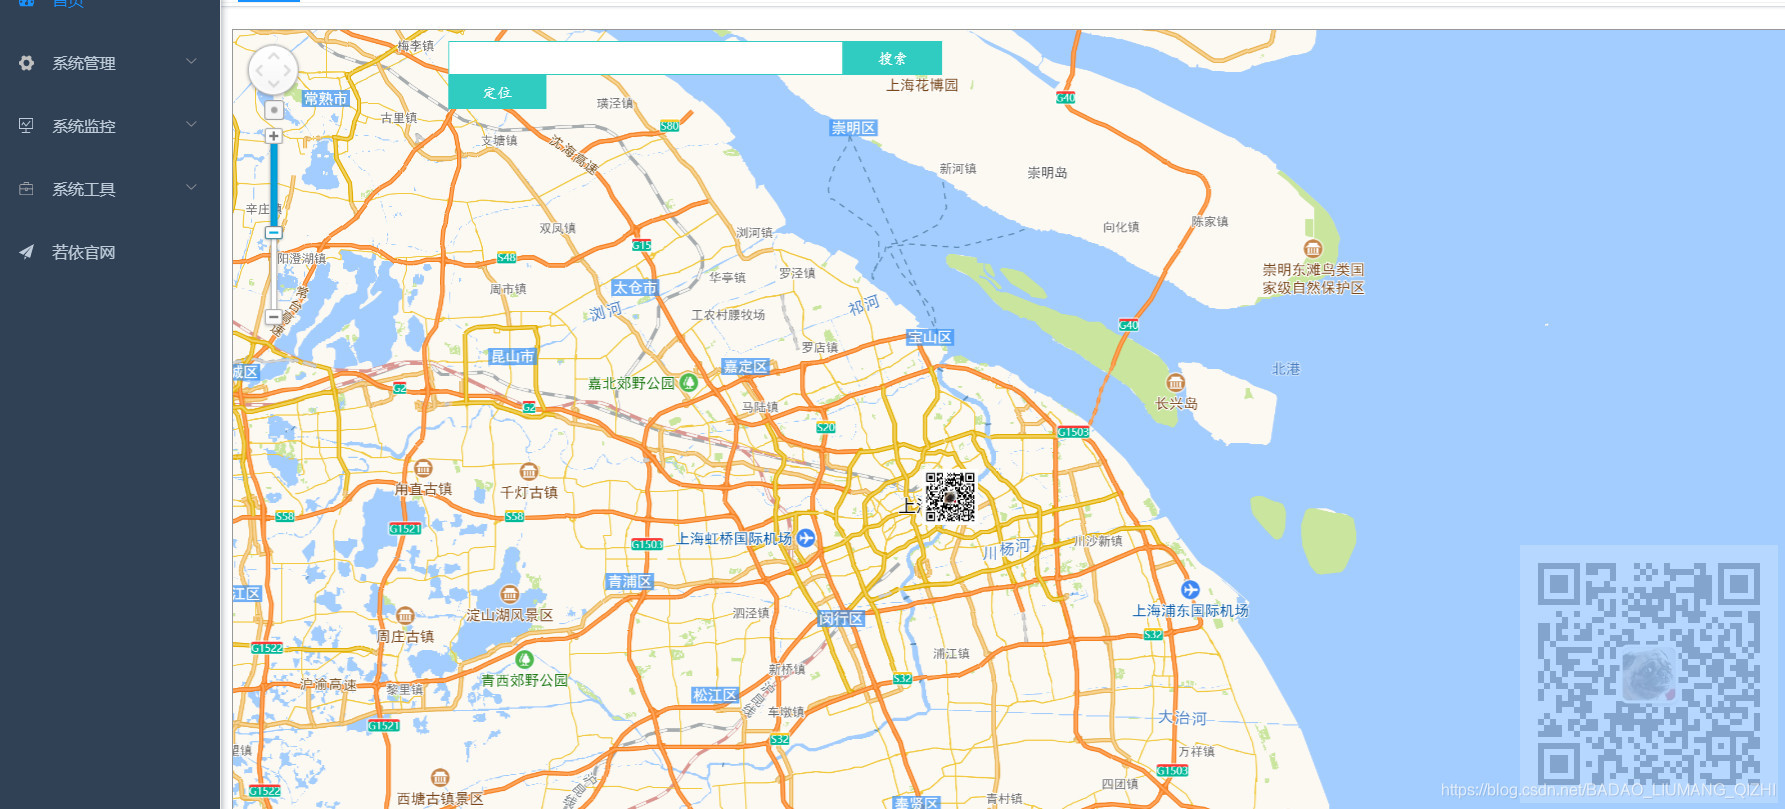
在上面将前后端项目搭建起来后,要集成高德地图实现地图显示与定位功能的实现。

然后在地图的基础上实现根据坐标进行定位并自定义信息窗体,实现效果如下

然后关掉窗体还可以实现定位标记的图片
注:
博客:
https://blog.csdn.net/badao_liumang_qizhi
关注公众号
霸道的程序猿
获取编程相关电子书、教程推送与免费下载。
实现
登录高德开放平台,然后新建应用

然后
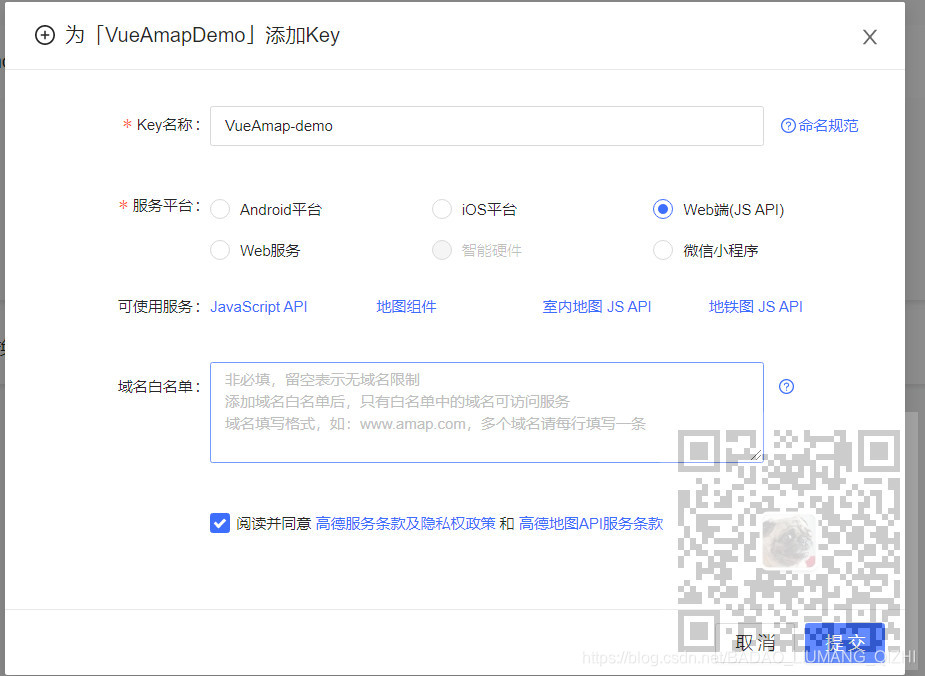
然后为新建的应用新建key,这里的服务平台选择Web端,然后提交

然后就可以获取到Key,下面代码中会用到这个Key
然后在Vue项目中安装高德地图Amap相关依赖
npm install vue-amap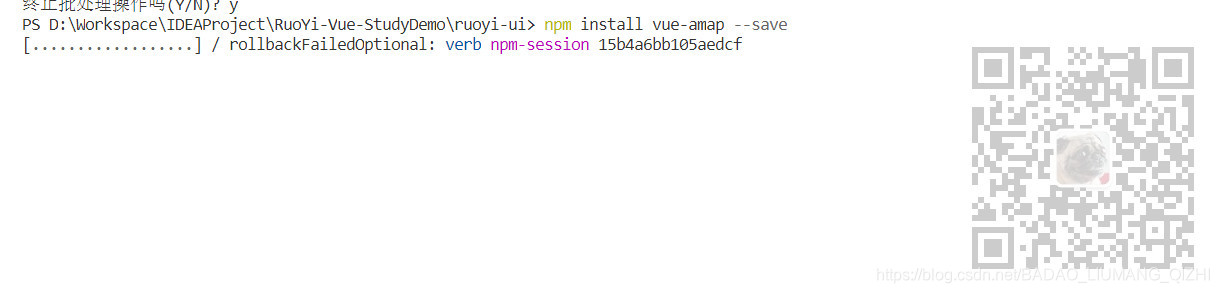
然后在main.js中引入,将上面的key填入
//引入高德地图
import VueAMap from 'vue-amap'
Vue.use(VueAMap)
VueAMap.initAMapApiLoader({
  key: '你自己的高德地图的key',
  plugin: ['AMap.Scale', 'AMap.OverView', 'AMap.ToolBar', 'AMap.MapType', 'AMap.PlaceSearch', 'AMap.Geolocation', 'AMap.Geocoder'],
  v: '1.4.4',
  uiVersion: '1.0'
})
添加位置

然后编写地图组件AMap.vue
<template lang="html">
<div style="width:100%;height:800px;">
<div class="container">
<div class="search-box">
<input
v-model="searchKey"
type="search"
id="search">
<button @click="searchByHand">搜索</button>
<div class="tip-box" id="searchTip"></div>
<button @click="positionByHand">定位</button>
</div>
<!--
amap-manager: 地图管理对象
vid:地图容器节点的ID
zooms: 地图显示的缩放级别范围,在PC上,默认范围[3,18],取值范围[3-18];在移动设备上,默认范围[3-19],取值范围[3-19]
center: 地图中心点坐标值
plugin:地图使用的插件
events: 事件
-->
<el-amap class="amap-box"
:amap-manager="amapManager"
:vid="'amap-vue'"
:zoom="zoom"
:plugin="plugin"
:center="center"
:events="events"
>
<!-- 标记 -->
<el-amap-marker v-for="(marker, index) in carmarkers" :key="index" :position="marker.position" :vid="index" :content="marker.content" :events="marker.events"></el-amap-marker>
<el-amap-info-window
:position="currentWindow.position"
:content="currentWindow.content"
:visible="currentWindow.visible"
:events="currentWindow.events">
</el-amap-info-window>
</el-amap>
</div>
</div>
</template>
<script>
import { AMapManager, lazyAMapApiLoaderInstance } from 'vue-amap'
let amapManager = new AMapManager()
export default {
name:'AMap',
data() {
let self = this
return {
carmarkers :[],
currentWindow: {
position: [116.396624,39.908167],
content: '111',
events: {},
visible: false
},
address: null,
searchKey: '',
amapManager,
markers: [],
searchOption: {
city: '全国',
citylimit: true
},
center: [116.396624,39.908167],
zoom: 17,
lng: 0,
lat: 0,
loaded: false,
events: {
init() {
lazyAMapApiLoaderInstance.load().then(() => {
self.initSearch()
})
},
// 点击获取地址的数据
click(e) {
self.markers = []
let { lng, lat } = e.lnglat
self.lng = lng
self.lat = lat
self.center = [lng, lat]
self.markers.push([lng, lat])
// 这里通过高德 SDK 完成。
let geocoder = new AMap.Geocoder({
radius: 1000,
extensions: 'all'
})
console.log(lng+","+lat) //控制台打印坐标
geocoder.getAddress([lng, lat], function(status, result) {
if (status === 'complete' && result.info === 'OK') {
if (result && result.regeocode) {
console.log(result.regeocode.formattedAddress) //控制台打印地址
self.address = result.regeocode.formattedAddress
self.searchKey = result.regeocode.formattedAddress
self.$nextTick()
}
}
})
}
},
// 一些工具插件
plugin: [
{
pName: 'Geocoder',
events: {
init (o) {
//console.log("一些工具插件--地址"+o.getAddress())
}
}
},
{
// 定位
pName: 'Geolocation',
events: {
init(o) {
// o是高德地图定位插件实例
o.getCurrentPosition((status, result) => {
if (result && result.position) {
// 设置经度
self.lng = result.position.lng
// 设置维度
self.lat = result.position.lat
// 设置坐标
self.center = [self.lng, self.lat]
self.markers.push([self.lng, self.lat])
// load
self.loaded = true
// 页面渲染好后
self.$nextTick()
}
})
}
}
},
{
// 工具栏
pName: 'ToolBar',
events: {
init(instance) {
//console.log("工具栏:"+instance);
}
}
},
{
// 鹰眼
pName: 'OverView',
events: {
init(instance) {
//console.log("鹰眼:"+instance);
}
}
},
{
// 地图类型
pName: 'MapType',
defaultType: 0,
events: {
init(instance) {
//console.log("地图类型:"+instance);
}
}
},
{
// 搜索
pName: 'PlaceSearch',
events: {
init(instance) {
//console.log("搜索:"+instance)
}
}
}
]
}
},
methods: {
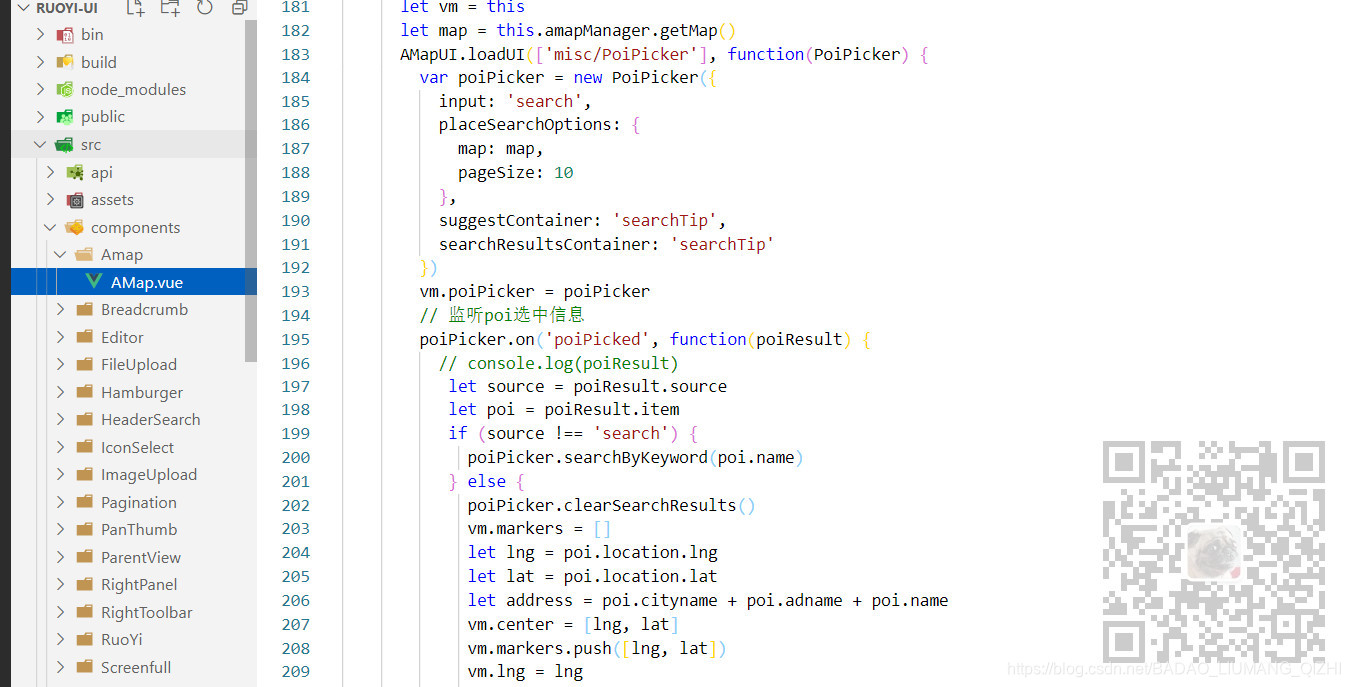
initSearch() {
let vm = this
let map = this.amapManager.getMap()
AMapUI.loadUI(['misc/PoiPicker'], function(PoiPicker) {
var poiPicker = new PoiPicker({
input: 'search',
placeSearchOptions: {
map: map,
pageSize: 10
},
suggestContainer: 'searchTip',
searchResultsContainer: 'searchTip'
})
vm.poiPicker = poiPicker
// 监听poi选中信息
poiPicker.on('poiPicked', function(poiResult) {
// console.log(poiResult)
let source = poiResult.source
let poi = poiResult.item
if (source !== 'search') {
poiPicker.searchByKeyword(poi.name)
} else {
poiPicker.clearSearchResults()
vm.markers = []
let lng = poi.location.lng
let lat = poi.location.lat
let address = poi.cityname + poi.adname + poi.name
vm.center = [lng, lat]
vm.markers.push([lng, lat])
vm.lng = lng
vm.lat = lat
vm.address = address
vm.searchKey = address
}
})
})
},
searchByHand() {
if (this.searchKey !== '') {
this.poiPicker.searchByKeyword(this.searchKey)
}
},
positionByHand() {
this.currentWindow = {
position: [121.492439,31.233264],
content: `<div style="color: #1c84c6;">公众号:霸道的程序猿</div>`,
events: {
close: (e) => {
this.currentWindow.visible = false
}
},
visible: true }
this.carmarkers = [
{
position:[121.492439,31.233264],
content: `<div><img width=50 height=50 src="https://images.cnblogs.com/cnblogs_com/badaoliumangqizhi/1539113/o_qrcode_for_gh_f76a8d7271eb_258.jpg" alt="汽车"></div>`,
events: {
click: (e) => {
this.currentWindow = {
position: this.center,
content: `<div style="color: #1c84c6;">公众号:霸道的程序猿 </div>`,
events: {
close: (e) => {
this.currentWindow.visible = false
}
},
visible: true }
}
}
}
]
}
}
}
</script>
<style lang="css">
.container {
width: 100%;
height: 100%;
position: relative;
left: 50%;
top: 50%;
transform: translate3d(-50%, -50%, 0);
border: 1px solid #999;
}
.search-box {
position: absolute;
z-index: 5;
width: 30%;
left: 13%;
top: 10px;
height: 30px;
}
.search-box input {
float: left;
width: 80%;
height: 100%;
border: 1px solid #30ccc1;
padding: 0 8px;
outline: none;
}
.search-box button {
float: left;
width: 20%;
height: 100%;
background: #30ccc1;
border: 1px solid #30ccc1;
color: #fff;
outline: none;
}
.tip-box {
width: 100%;
max-height: 260px;
position: absolute;
top: 30px;
overflow-y: auto;
background-color: #fff;
}
</style>组件的位置
然后找到需要显示地图组件的页面,这里是首页,将没有用的内容删掉,然后
import AMap from '@/components/Amap/AMap'
export default {
  name: "index",
   components: {
      AMap
  },
引入组件,然后在需要显示地图的地方
<template>
  <div class="app-container home">
    <el-row :gutter="20">
      <AMap></AMap>
    </el-row>
    <el-divider />
  </div>
</template>
这样就能看实现上面需求的功能了
注意其他功能的开发可以参考官方开发文档
在地图上点自定义标记,通过
<el-amap-marker v-for="(marker, index) in carmarkers" :key="index" :position="marker.position" :vid="index" :content="marker.content" :events="marker.events"></el-amap-marker>标签来实现
然后自定义窗体通过
        <el-amap-info-window
            :position="currentWindow.position"
            :content="currentWindow.content"
            :visible="currentWindow.visible"
            :events="currentWindow.events">
        </el-amap-info-window>
然后在定位按钮的点击事件中
    positionByHand() {
            this.currentWindow = {
              position: [121.492439,31.233264],
              content: `<div style="color: #1c84c6;">公众号:霸道的程序猿</div>`,
              events: {
                close: (e) => {
                  this.currentWindow.visible = false
                }
              },
              visible: true }
            this.carmarkers = [
              {
                position:[121.492439,31.233264],
                content: `<div><img  width=50 height=50 src="https://images.cnblogs.com/cnblogs_com/badaoliumangqizhi/1539113/o_qrcode_for_gh_f76a8d7271eb_258.jpg" alt="汽车"></div>`,
                events: {
                  click: (e) => {
                    this.currentWindow = {
                      position: this.center,
                      content: `<div style="color: #1c84c6;">公众号:霸道的程序猿 </div>`,
                      events: {
                        close: (e) => {
                          this.currentWindow.visible = false
                        }
                      },
                      visible: true }
                  }
                }
              }
            ]
    }
首先设置自定义窗体的坐标和位置以及要显示的窗体的内容,然后再设置点标记的图片覆盖,并且设置这个点标记图片的点击事件也是显示上面的自定义信息窗体。